Prices for UK customers are shown inc 20% VAT

Other countries, inc EU, prices shown are ex VAT. 

UK based

KASTENLOK INDEX

A guide to installing decoder and sound

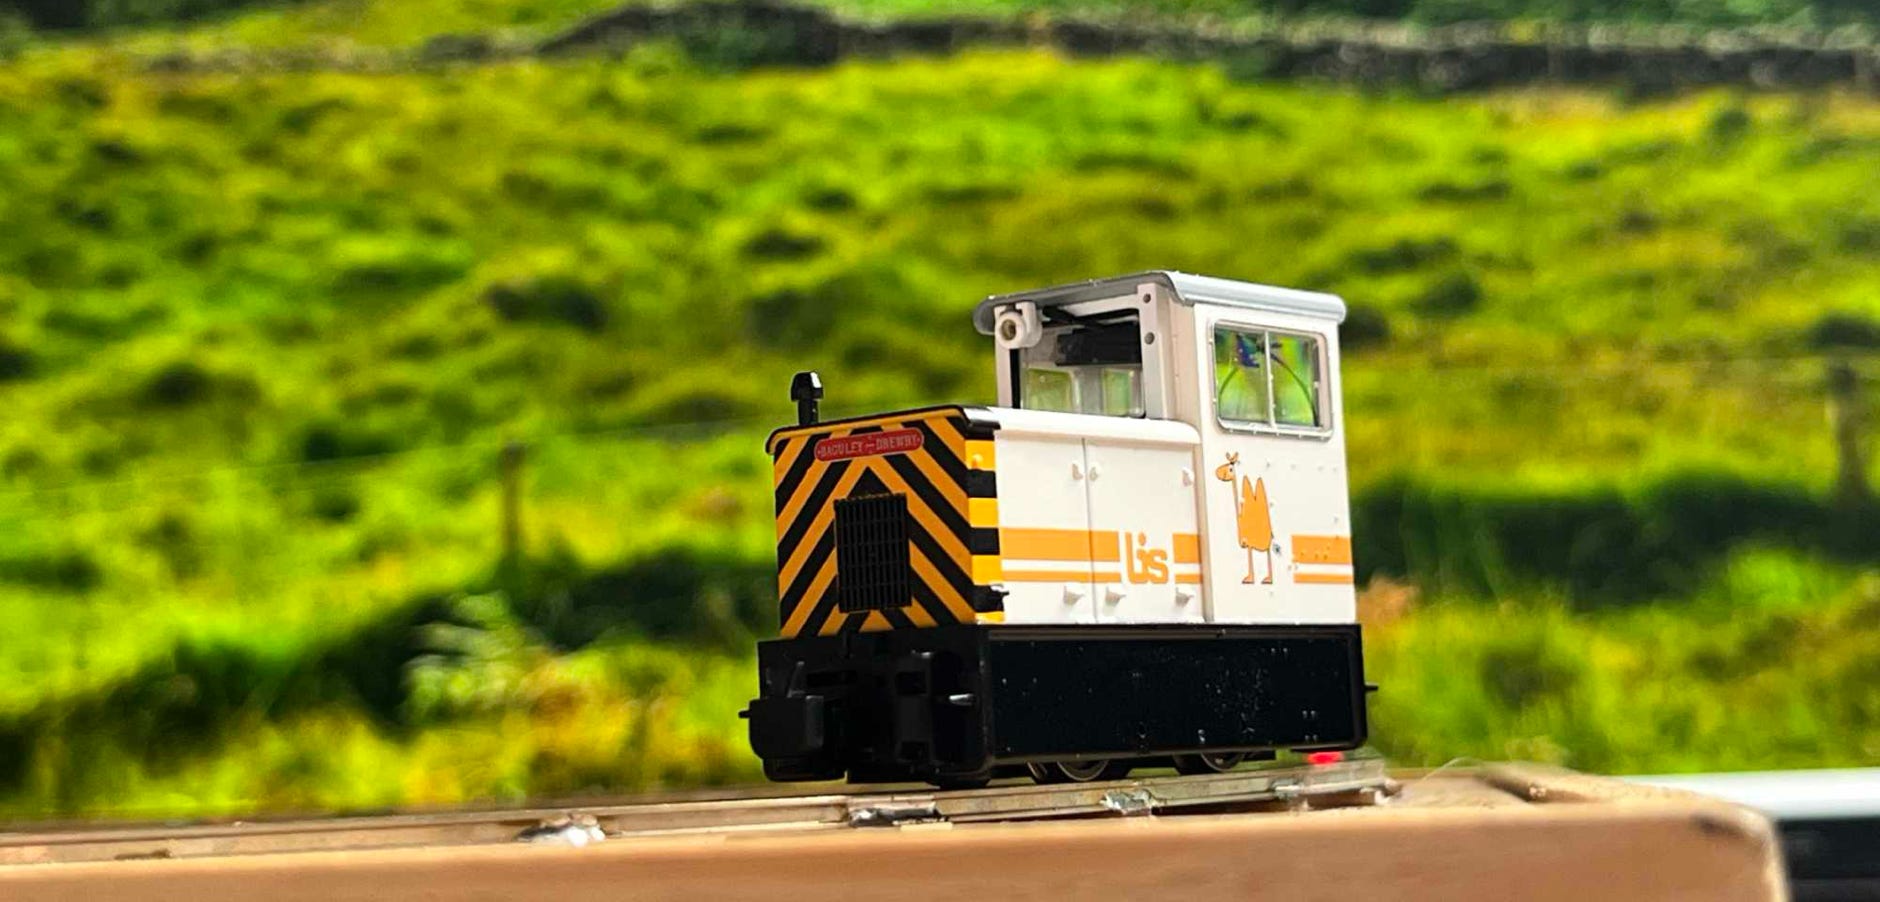
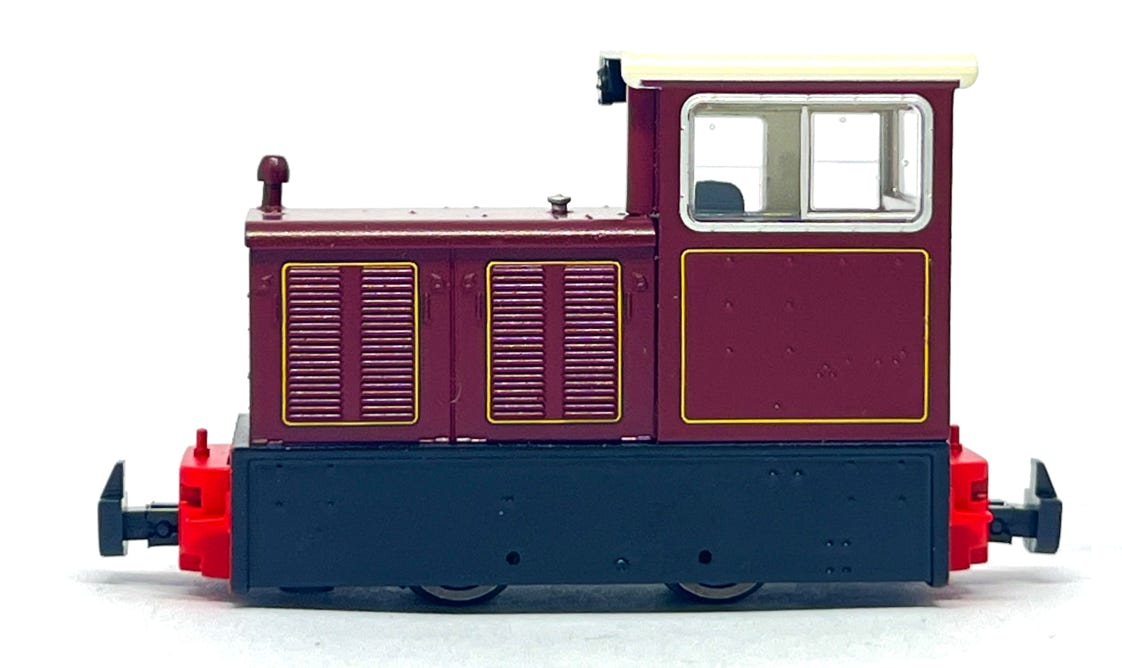
Bachmann Baguley-Drewry 70hp

On Friday the 31st of May 2024, the over five years earlier announced 009 model of the Baguley-Drewry 70hp was finally released. It was worth the wait, what a great model. Well running and a heavy weight for such a small model. In anticipation of the release of this model, the Tramfabriek already prepared a sound file. This was released for free on the next day and available here for free on the website. Below you will find instructions how to take the model apart, with extra awareness tips, to avoid damaging the model.

For this installation is needed, available from the Tramfabriek:

- Zimo sound decoder MS590N18 or MS591M18

- Train-O-Matic SPP Nano Stayalive

- Tramfabriek 8 x 12 mm speaker

- Ultra thin wire or thin enamel wire

Specifications

Length (frame): 48.7 mm

Width: 17.8 mm

Height: 33 mm

Weight: 45 grams

Wheelbase: 15.5 mm

Wheel diameter: 7.3  mm

Height in cabine for figure: +/- 12 mm

Announced: January 2019

Released: May 2024

Speaker

9x16mm

Black Ultra thin wire

During the process, I keep the model on a piece of foam, to protect it from damage. 

Take apart - Disassembly

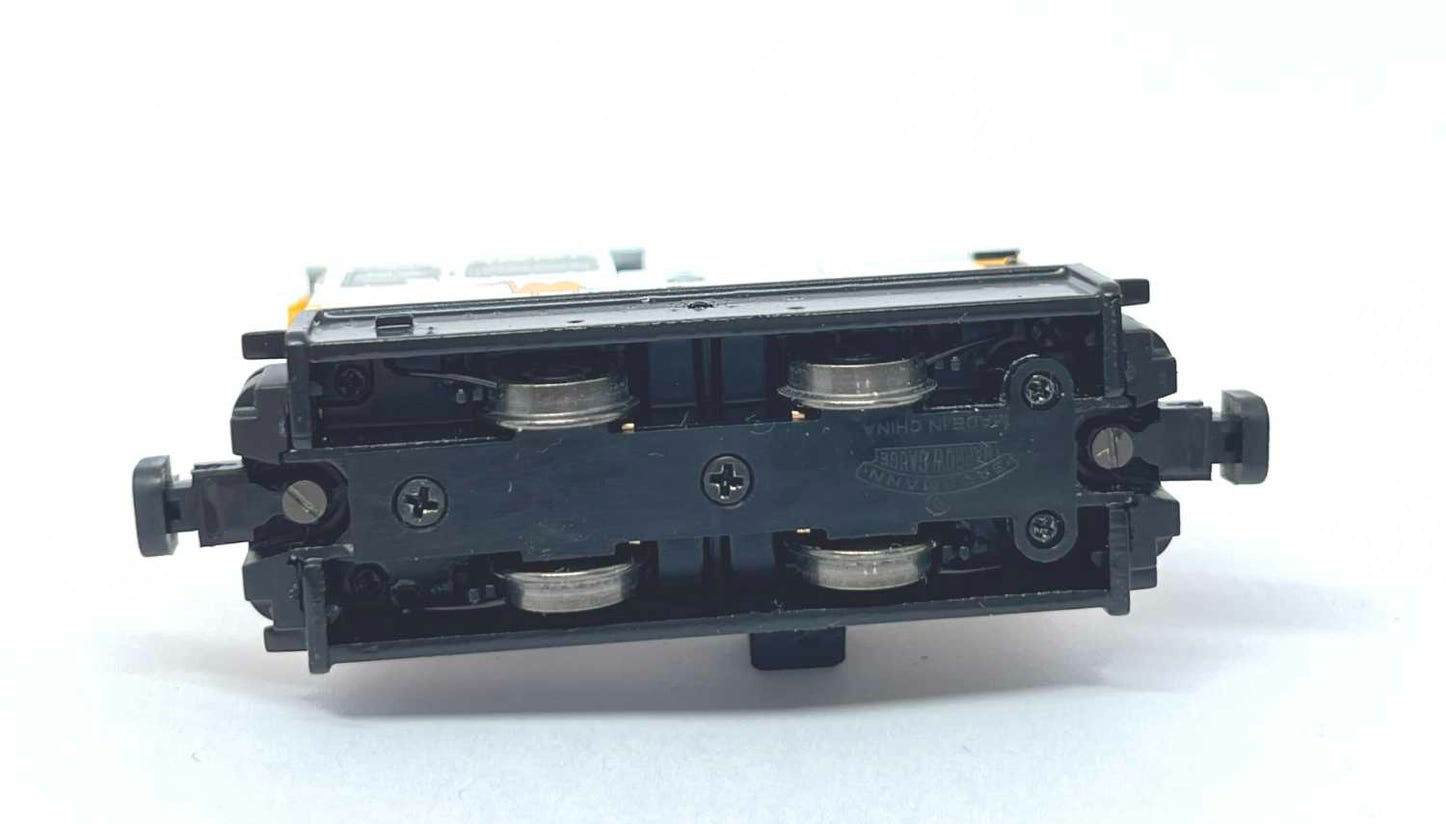
Remove the screws at each corner, deep inside the model, against the footplate.

The Bachmann instructions tell you to take off the front and rear buffers. This is NOT needed for DCC nor sound installation. But if you want to take them off, just peel with you nail on the bottom, between buffer and chassis. When refitting, note the peg on the buffer to centre it.

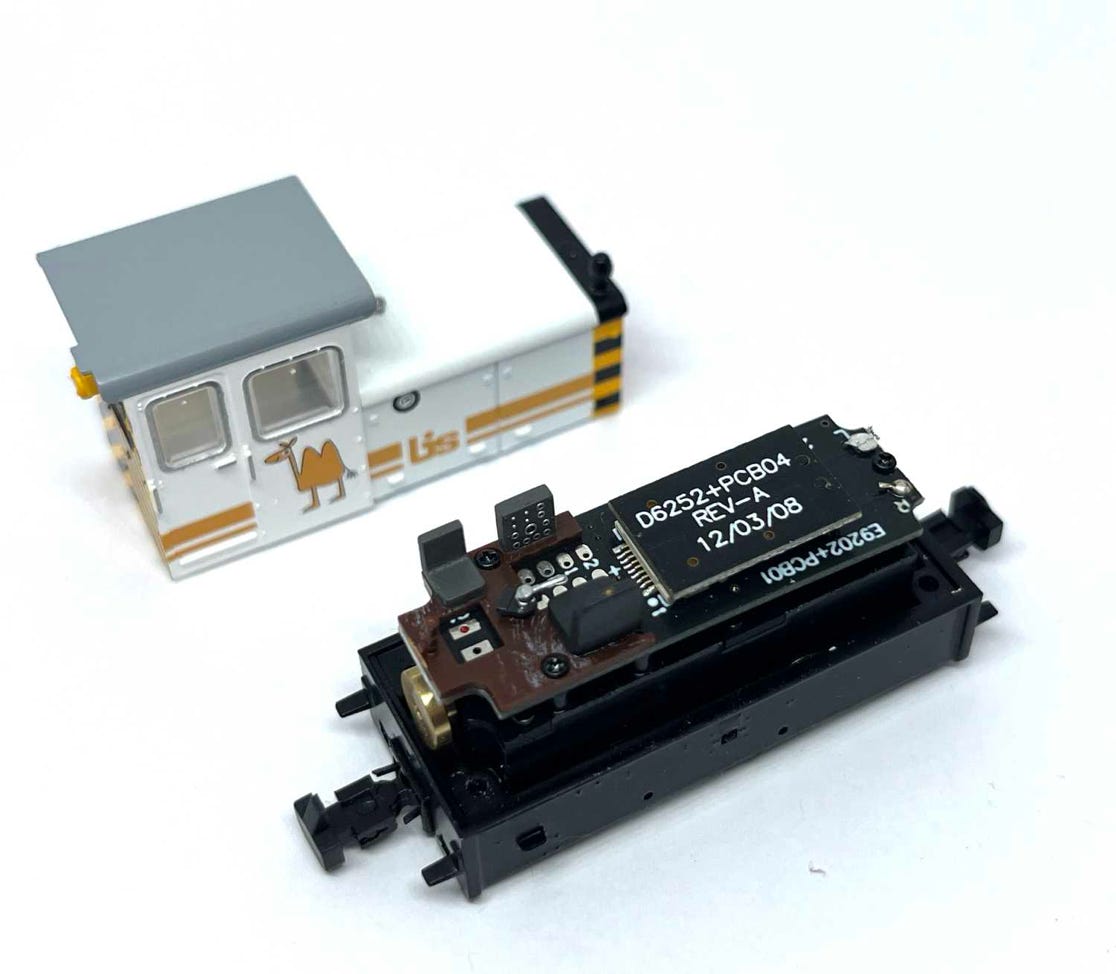
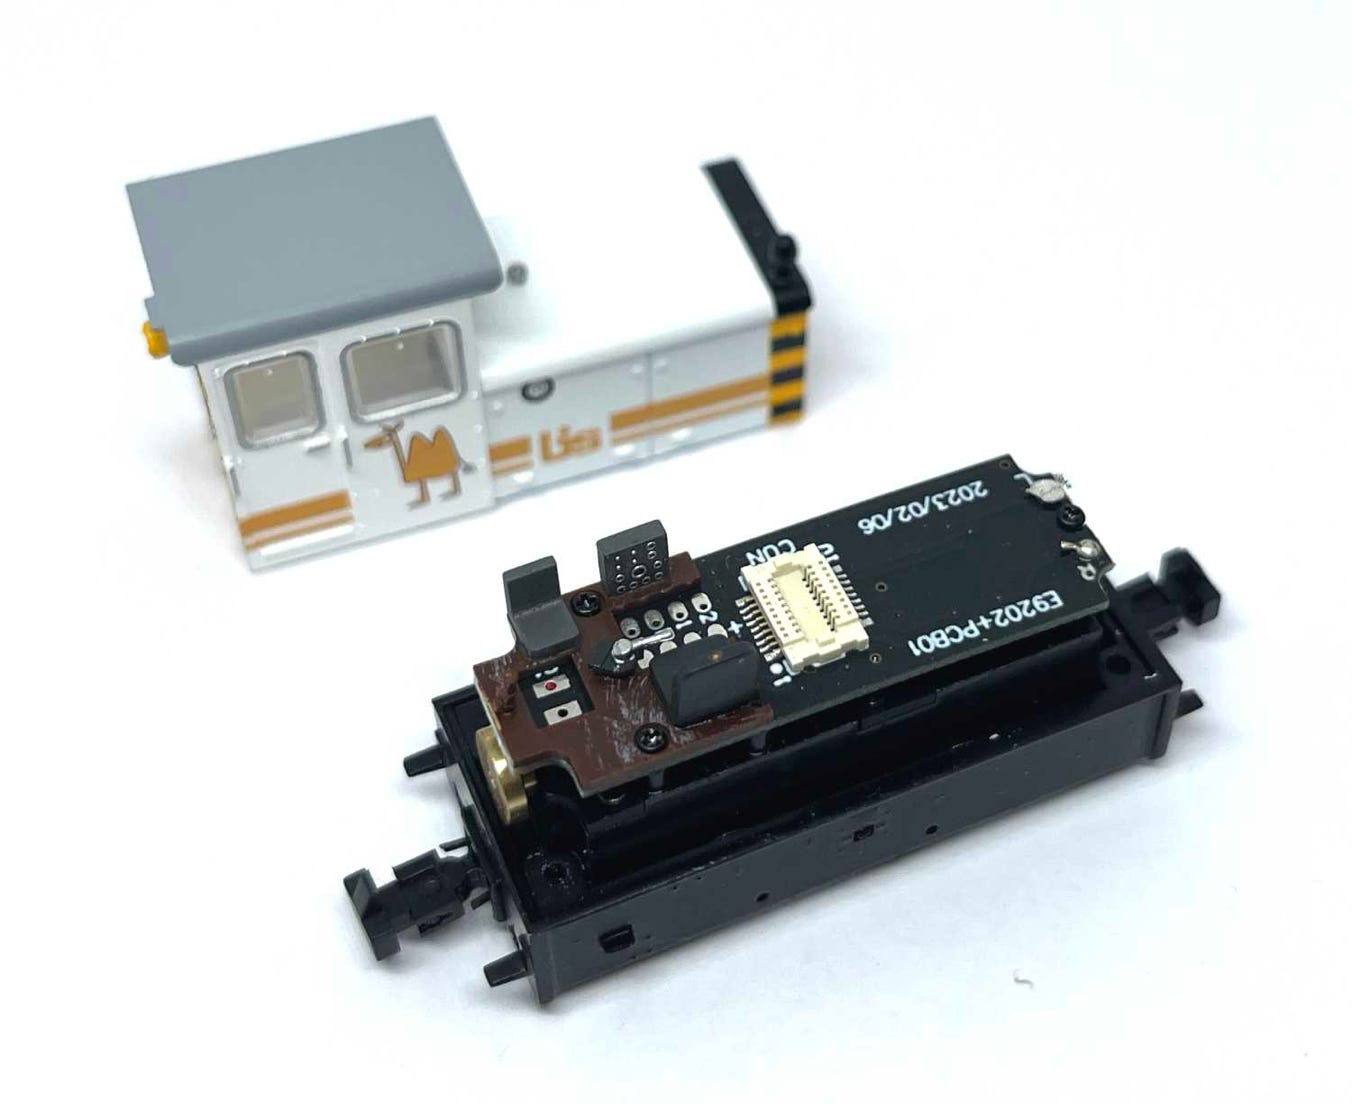
The inside of the model is now revealed. Very organised and clean. Nice, Bachmann!

Lifting the Next18 blanking plug off, as we are going to replace this with a sound decoder. Just pull it upwards.

Remove the two screws to get to take the interior out. Once you’ve done that, put the screws back. If you are going to install the stayalive, you can’t have the interior at the same time.  A sound decoder without stayalive is like voluntary torturing yourself.

M1.0 L5

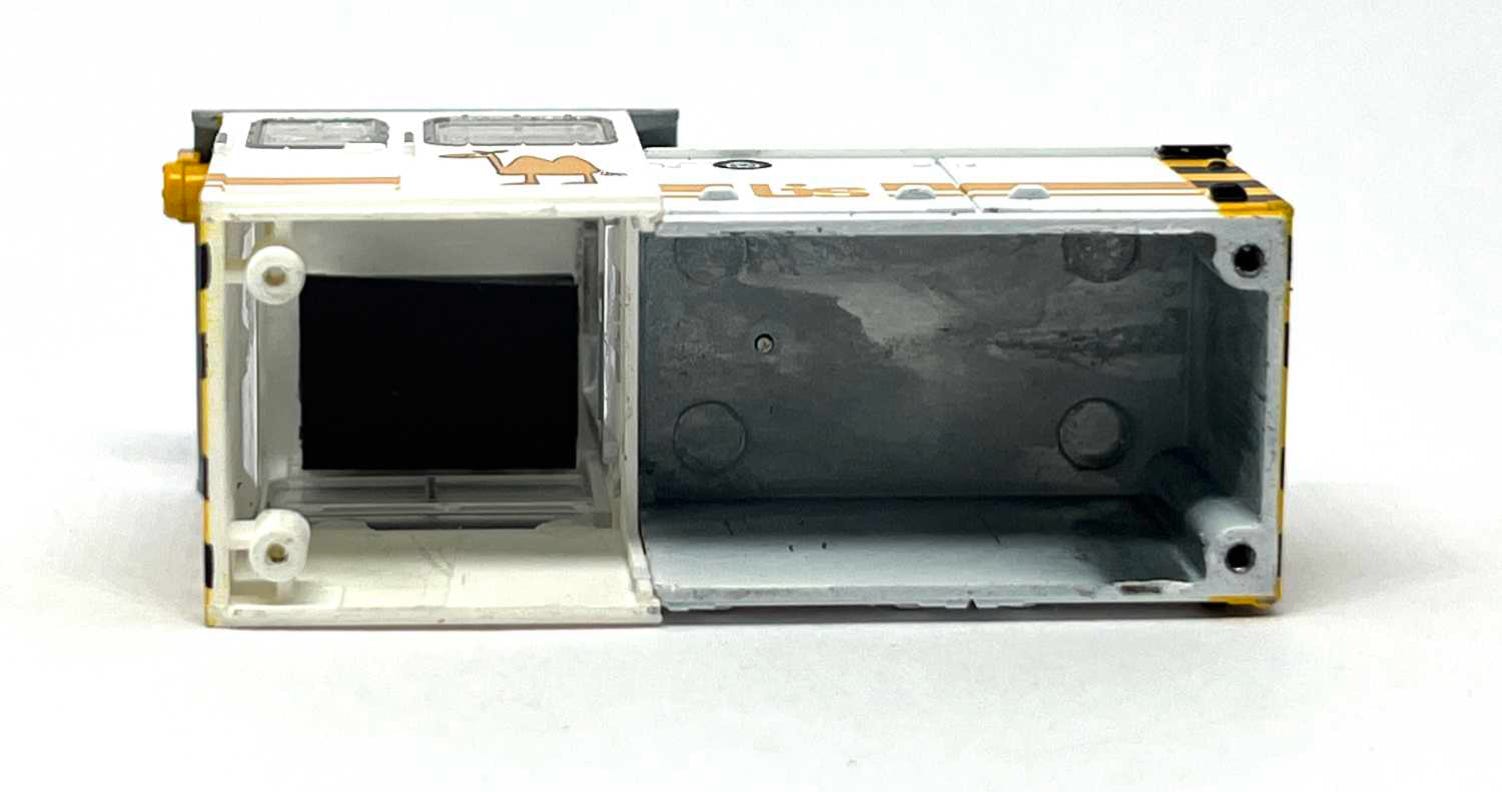
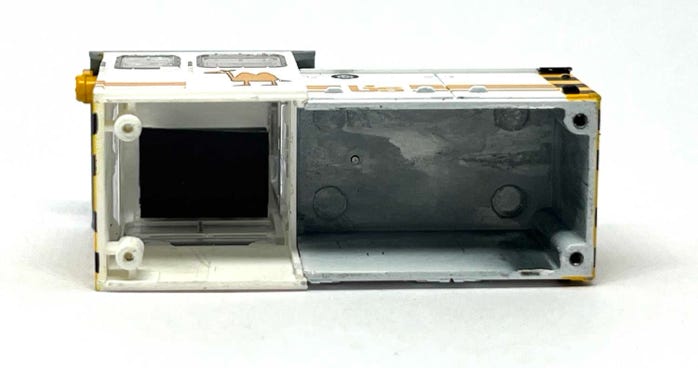
Please be aware that the two screws on the front side are different from the ones on the rear. The front part of the model is metal, the rear is plastic. If you put the machine screw from the front in the self tapping hole in the back, you ruin the thread and the original screw doesn’t hold anymore.

M1.2 L6

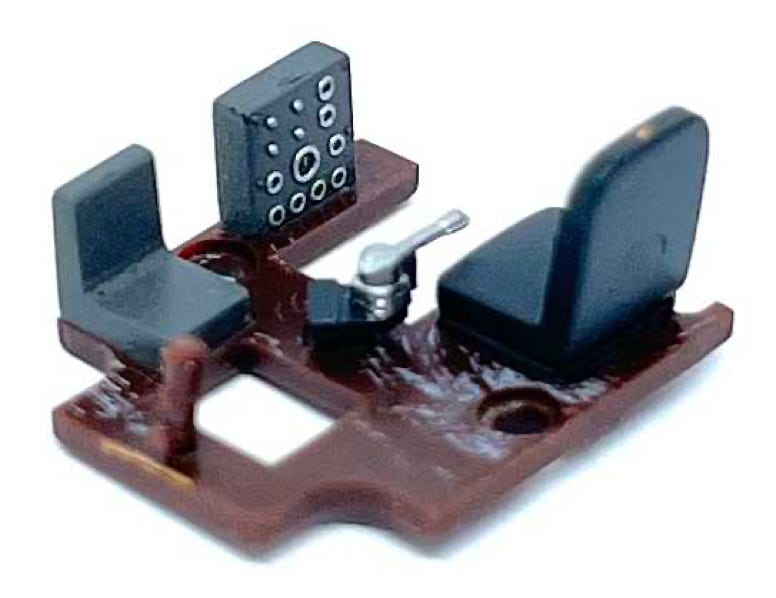
Even with a detailed interior.

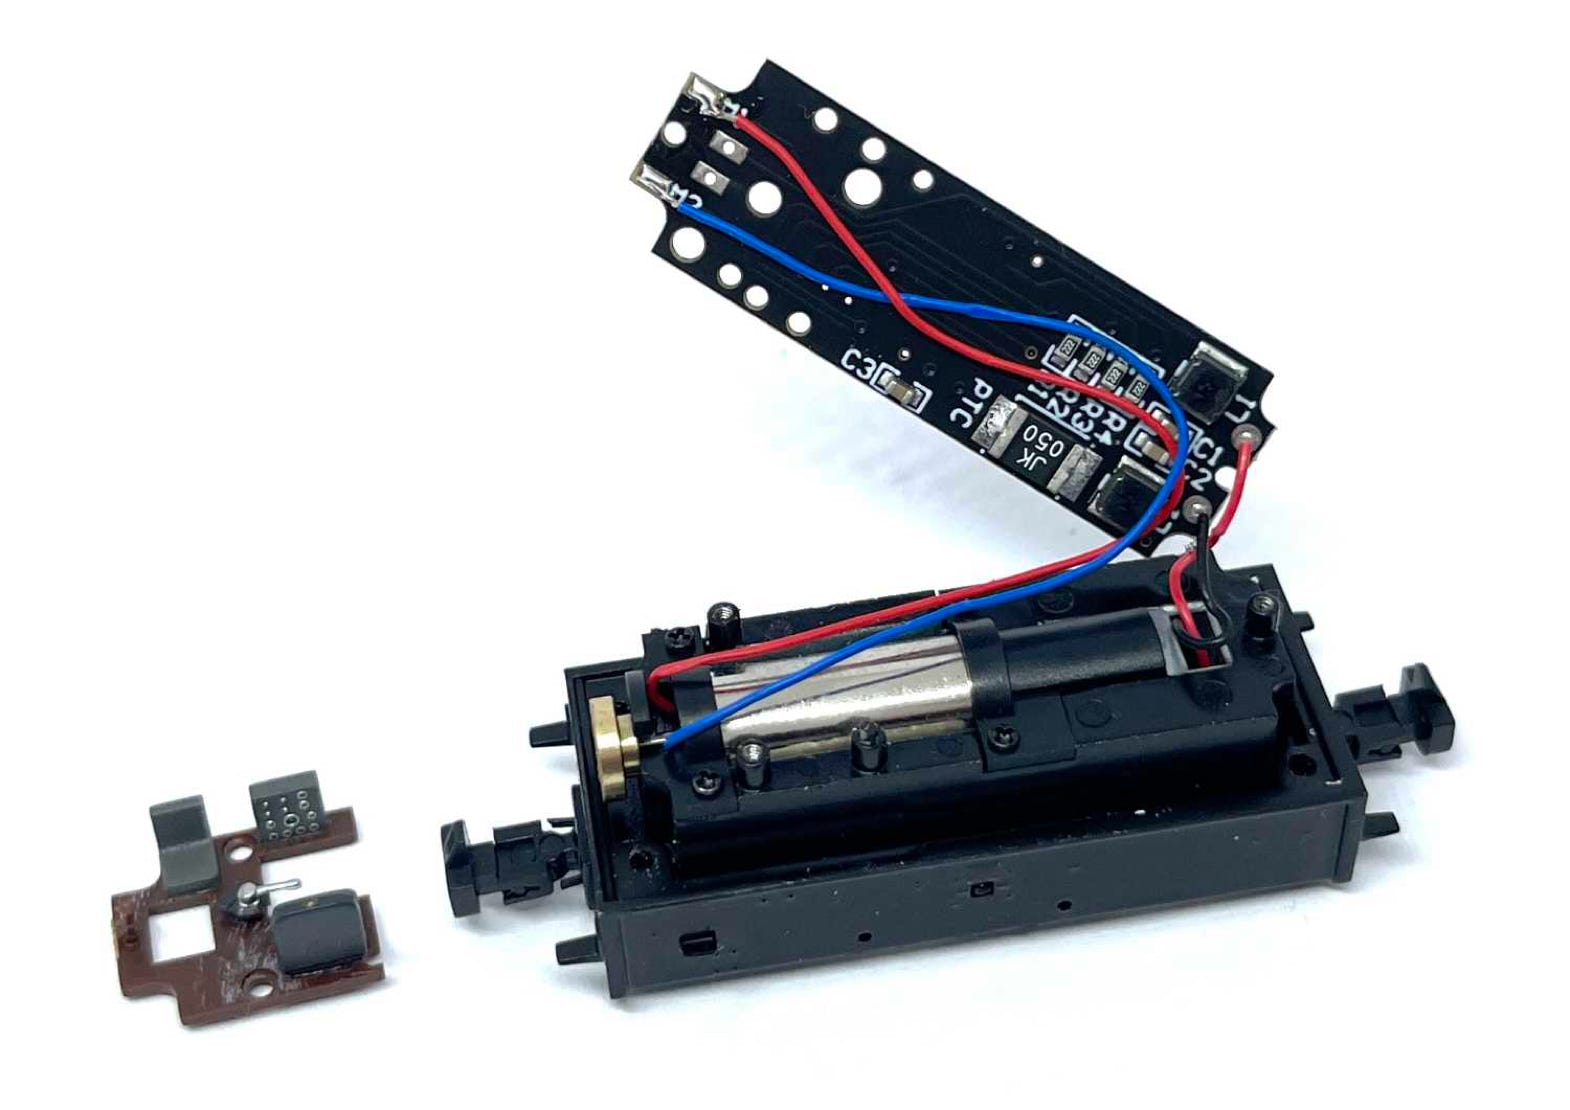
Just in case you are interested, if you remove the third screw at the front, this is what you will find underneath the PCB. 

Sound installation

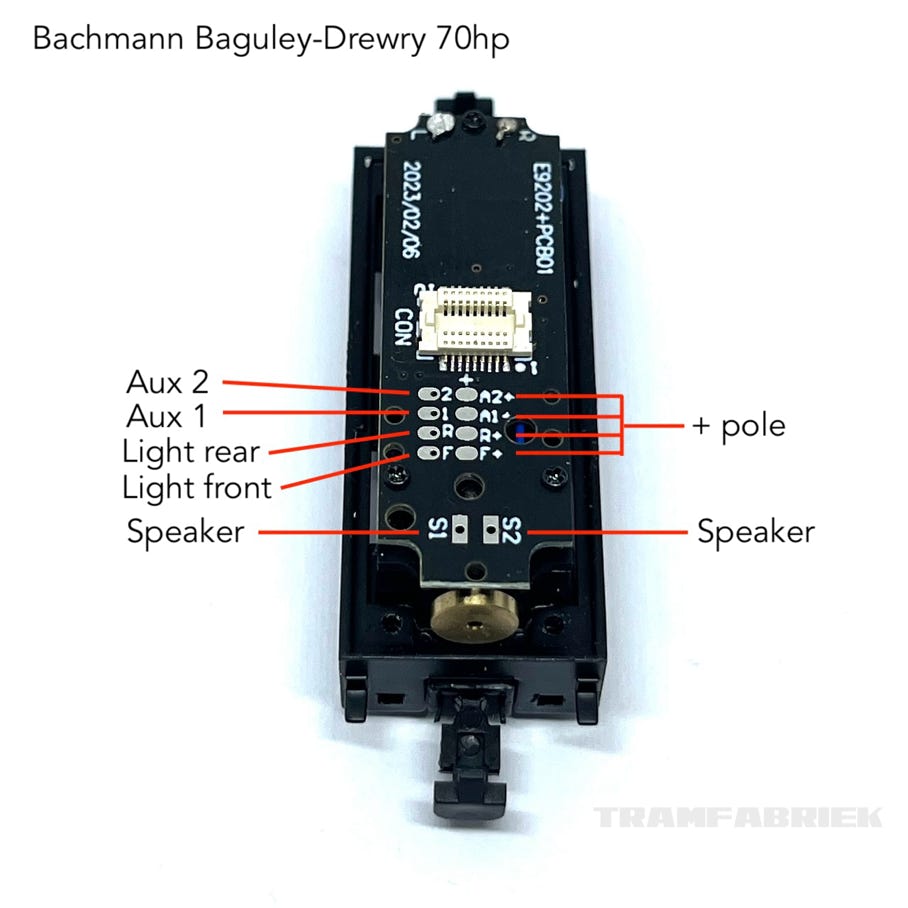
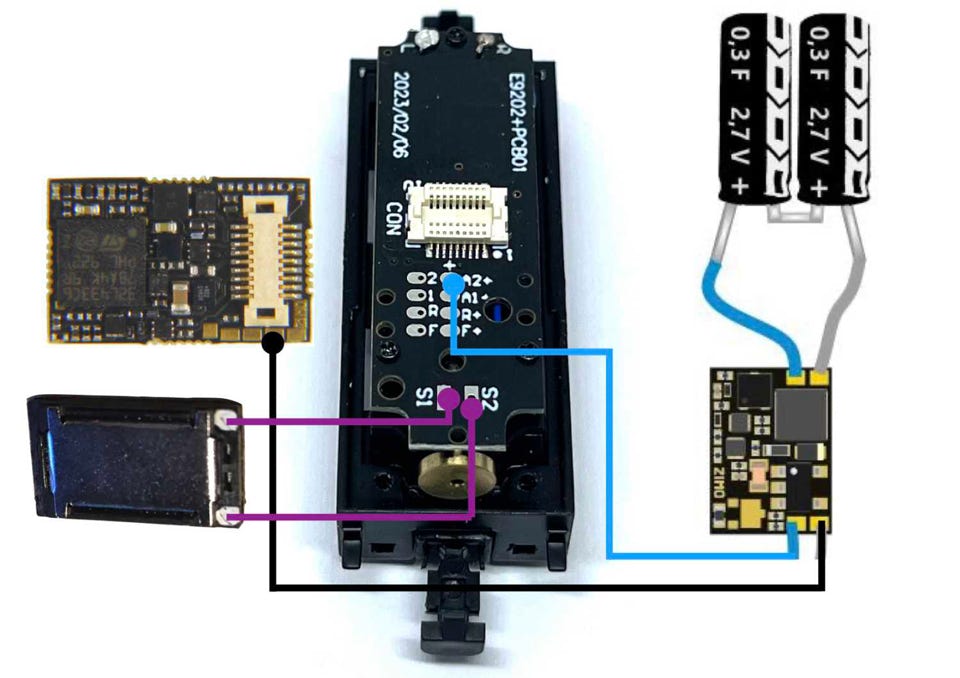
Explanation of all the connectors.


Aux 1 and 2 are for optional functions. Like interior light, if you want to install this (a LED is required, does not come with the model).


To install a front and rear light, again, you need to bring the LEDs. I would think 0402 warm white LED pre-wired would be a suitable choice.

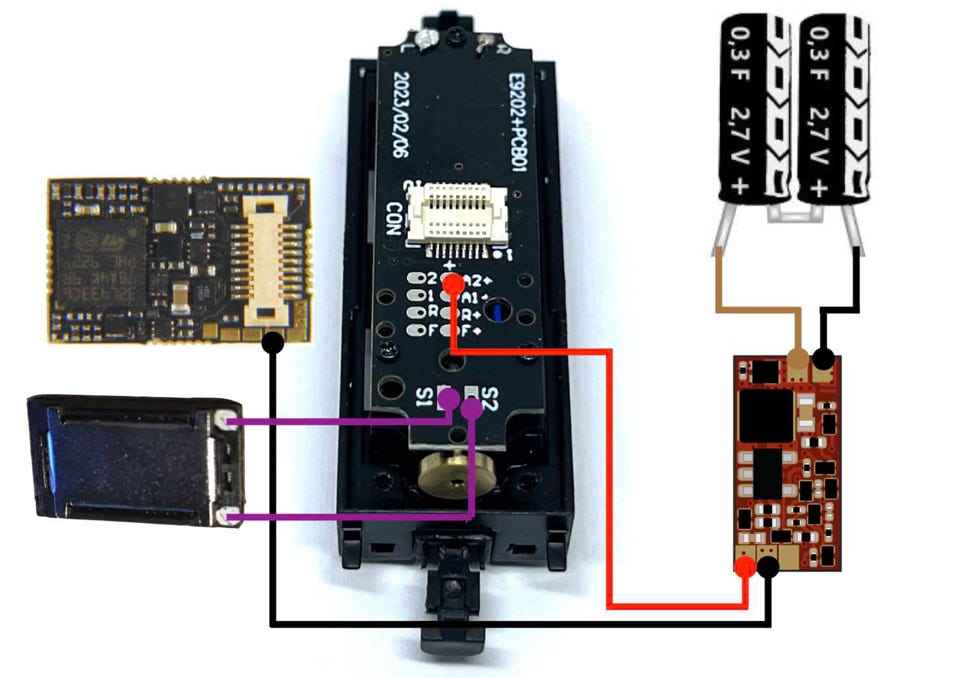
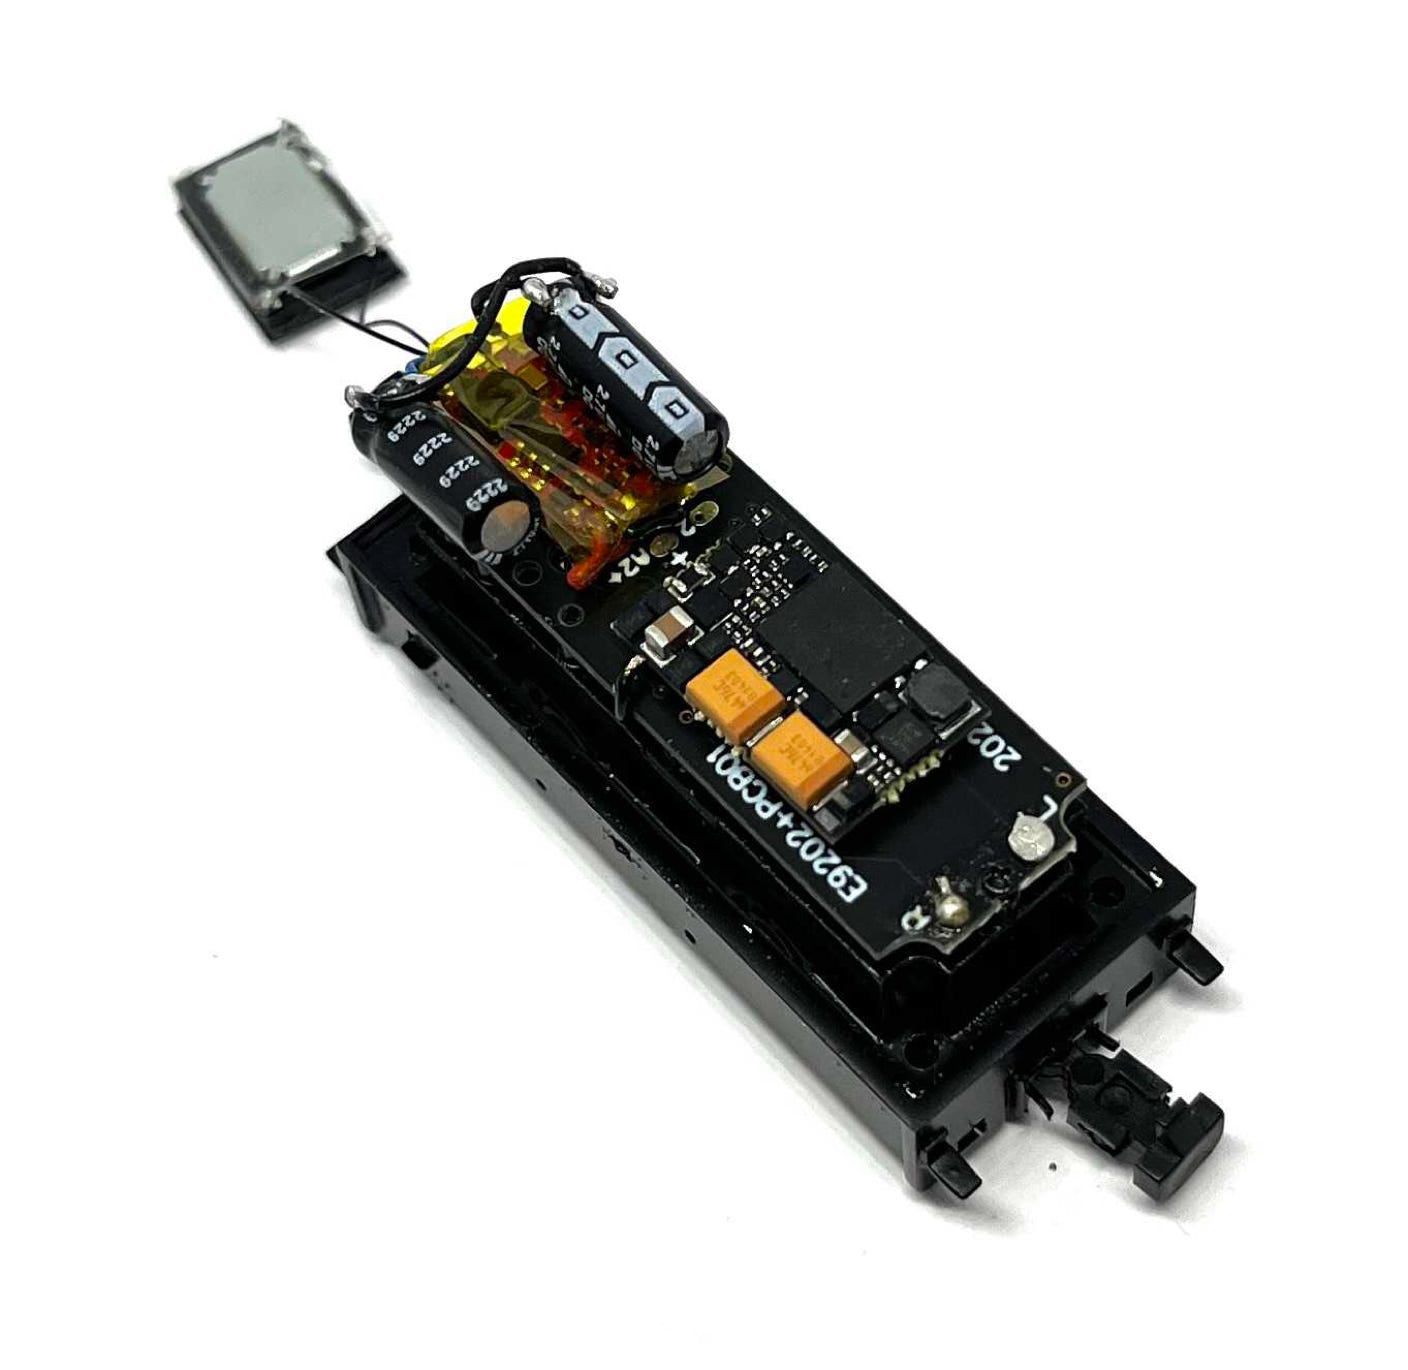
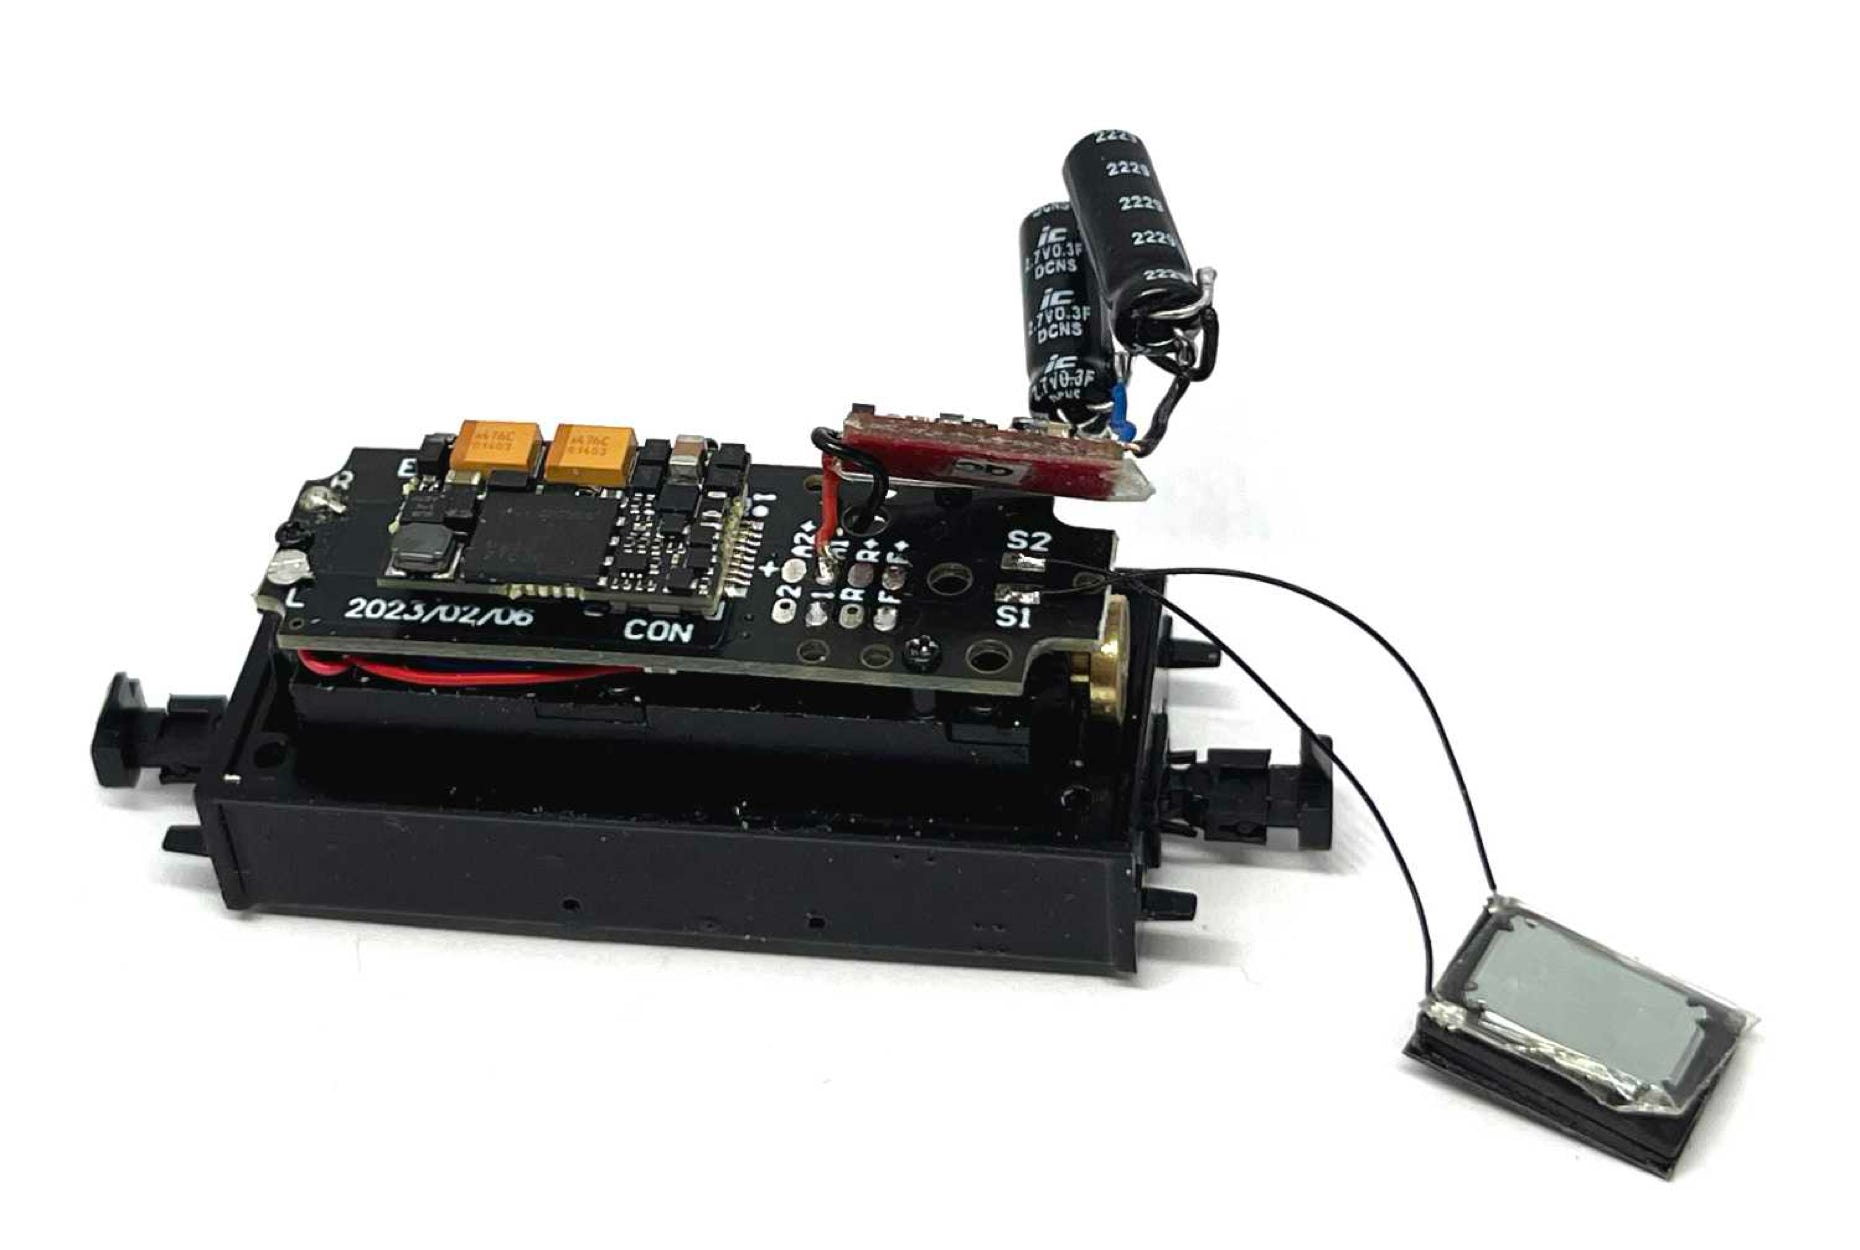
Here are all the parts of the sound installation.

Installation with Train-O-Matic SPP Nano Stayalive

Installation with ZIMO STACO3A Stayalive

Zimo Next18 sound decoder

Supercapacitors

+ wire

8x12 mm speaker

- wire (GND)

+ wire

PCB of Train-O-Matic SPP Nano Stayalive

- wire (GND)

PCB of Zimo STACO3A Stayalive

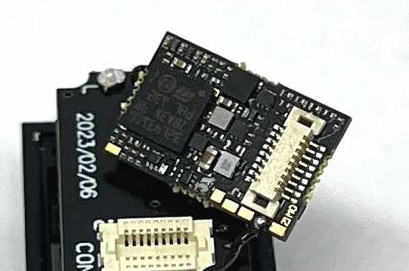
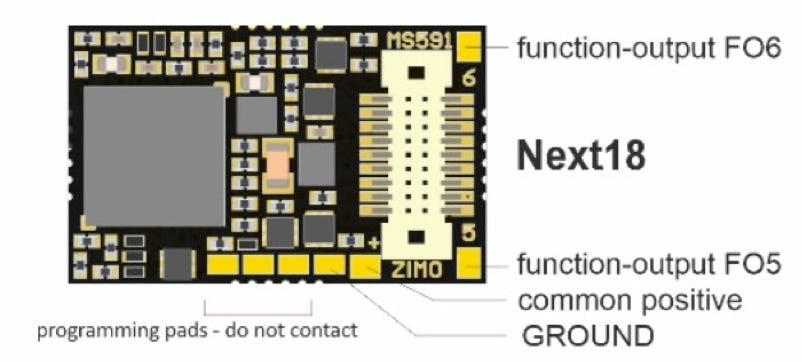
Solder a black wire on the indicated solder pad on the sound decoder.  This is the minus (aka Ground) of the stayalive.

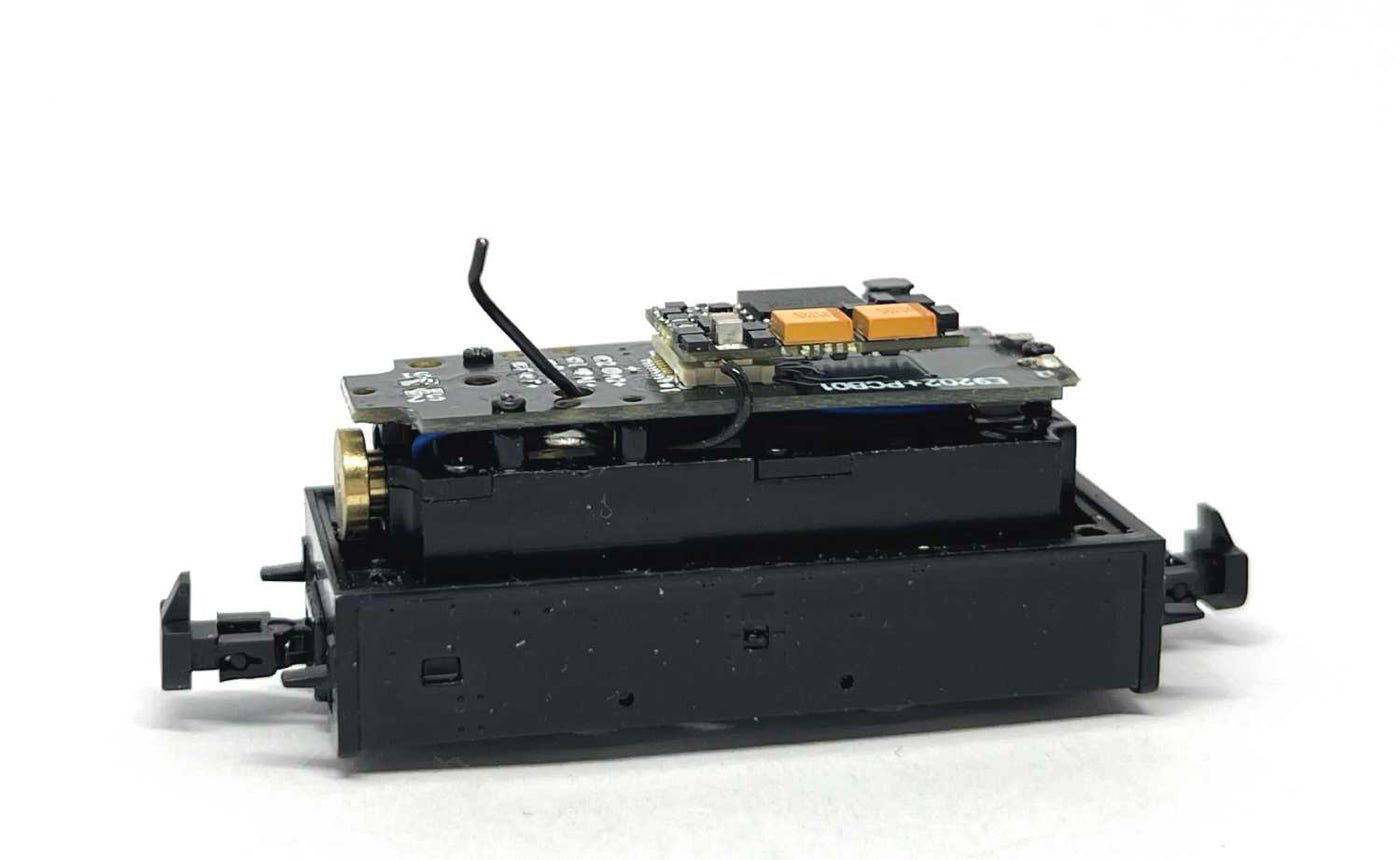
Because the housing of the model has a part that reaches the PCB (see picture below), the black wire needs to be guided under the PCB, not over it. See next image.

MS590N18

MS591N18

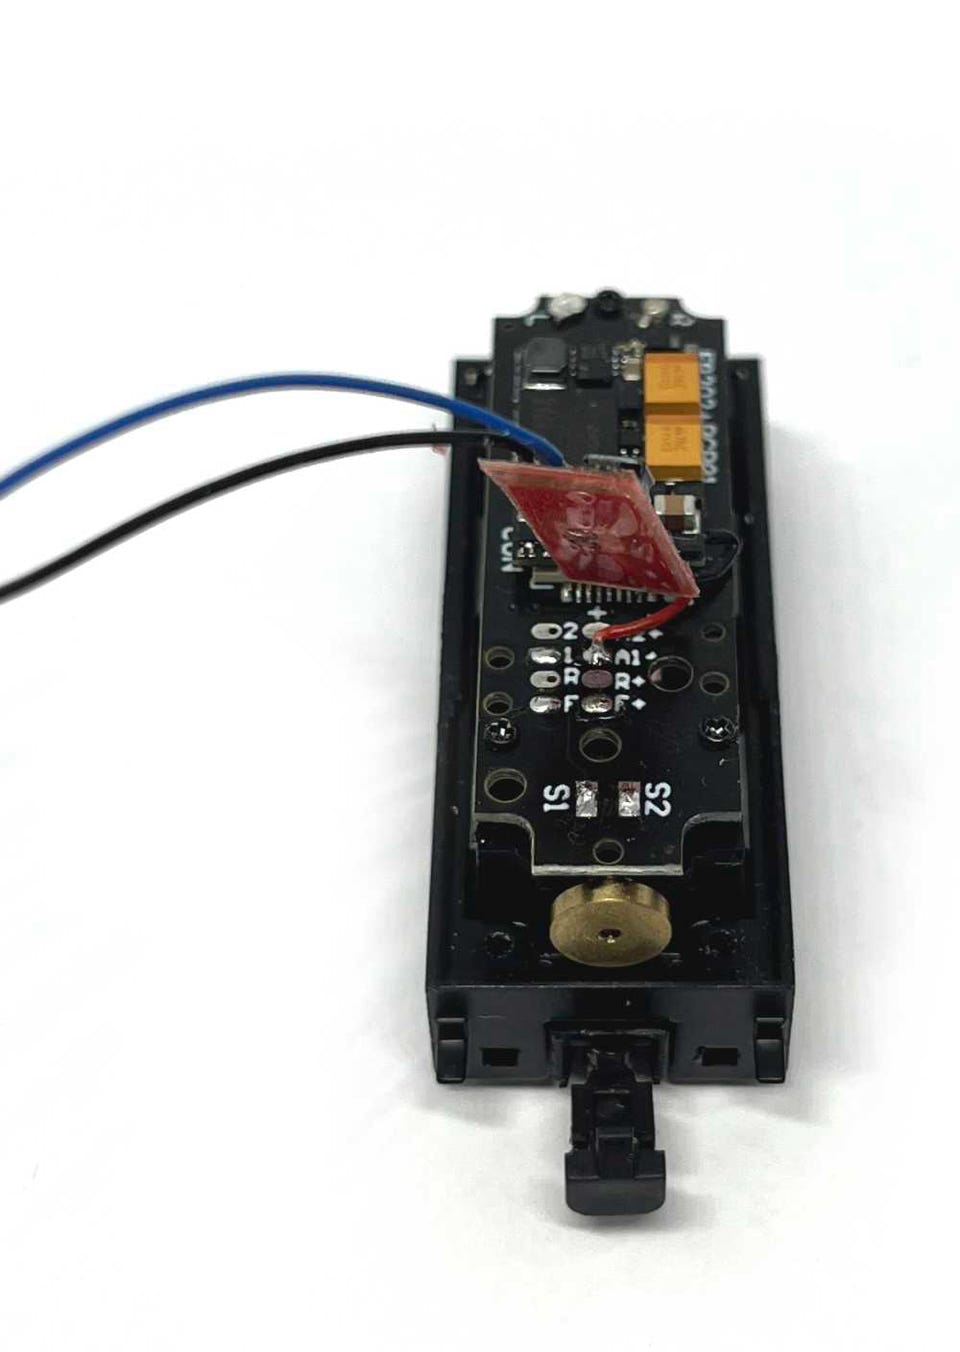
The black wire then comes up again through the hole.

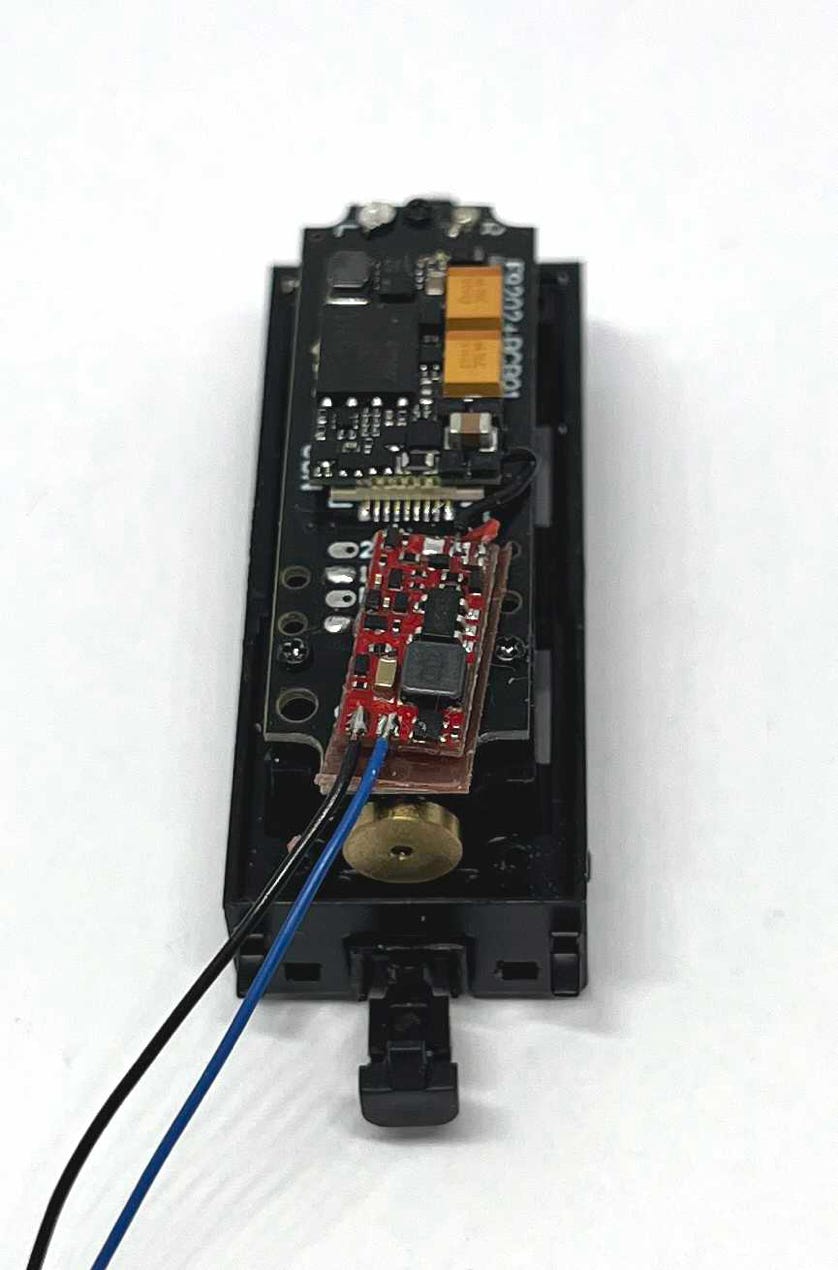
The black wire is then kept as short as possible and soldered to the stayalive. Then connect the red wire (Train-O-Matic) or blue wire (Zimo) from the stayalive to any of the 4 solder pads in the row with the + at the top. I used one of the top two ones.

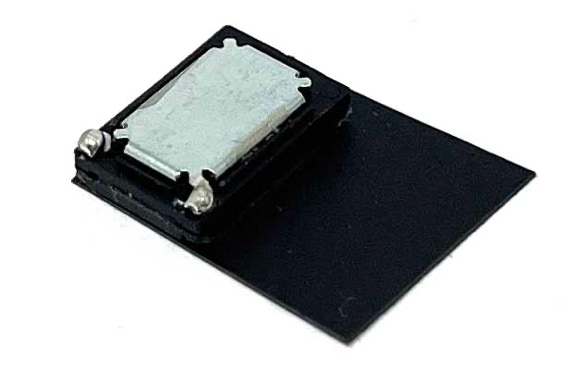
Lay the speaker on the supplied sheet of black 0.25 mm styrene. With a brush, run superglue or styrene weld along the edge, to connect these parts air tied together. Then cut the styrene to the size of the speaker. A larger resonator box is not necessary. The cab will serve as one.

Solder wires to the speaker and solder these two S1 and S2. A speaker has no polarity, so it doesn’t matter which cable you connect to which ’S’ solder pad. Use wire as thin as possible, so it won’t be obvious in the cab.

Solder the supercaps to the stayalive.

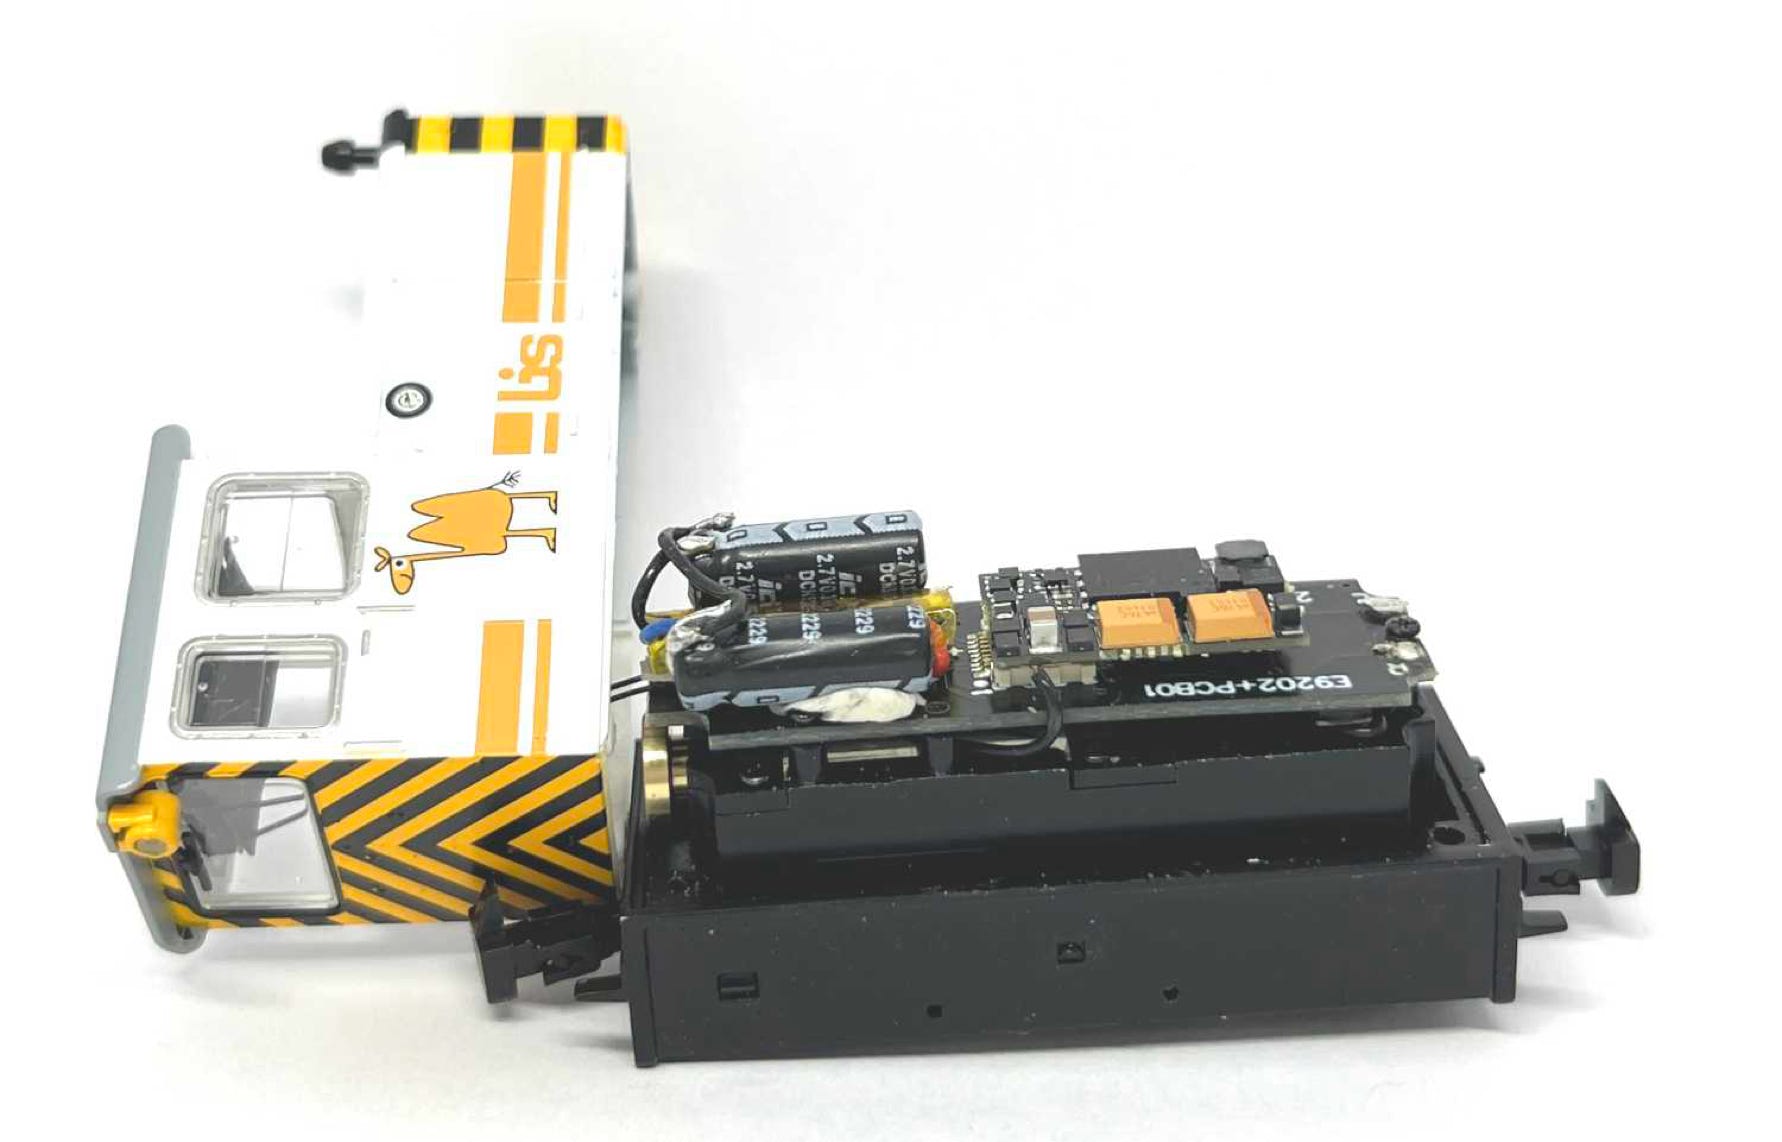
A piece of thin double sided tape on the metal side of the speaker is sufficient to keep it stuck to the underside of the roof. You can find 0.25 mm double sided tape on eBay (red rolls). I also have put this same tape under the decoder and later, also under the supercaps. Initially I used blu tac, but that wasn’t reliable.

The great thing of the Train-O-Matic stayalive over the Zimo one, is that its form factor is long.  With the supercaps they lay nicely next to each other, where with Zimo the supercaps would be more raised.

Re-assembly

Before you stick the speaker under the roof, first test the sound and stayalive. It takes 30 seconds for the stayalive to be fully charged.

Again, pay attention the 4 screws go into the correct hole. Self tapping screws at the rear, machine screws at the front.