

UK based
Prices for UK customers are shown inc 20% VAT
Other countries, inc EU, prices shown are ex VAT.
UK based
Prices for UK customers are shown inc 20% VAT
Other countries, inc EU, prices shown are ex VAT.
A guide to installing invisible sound and stayalive
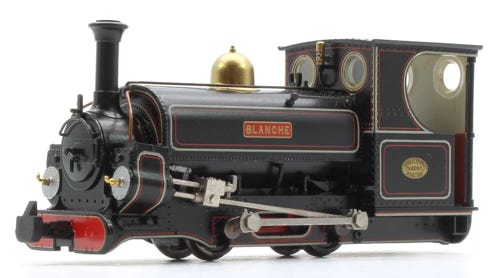
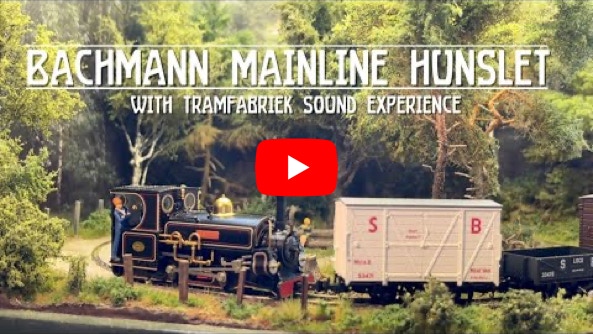
009 Mainline Hunslet
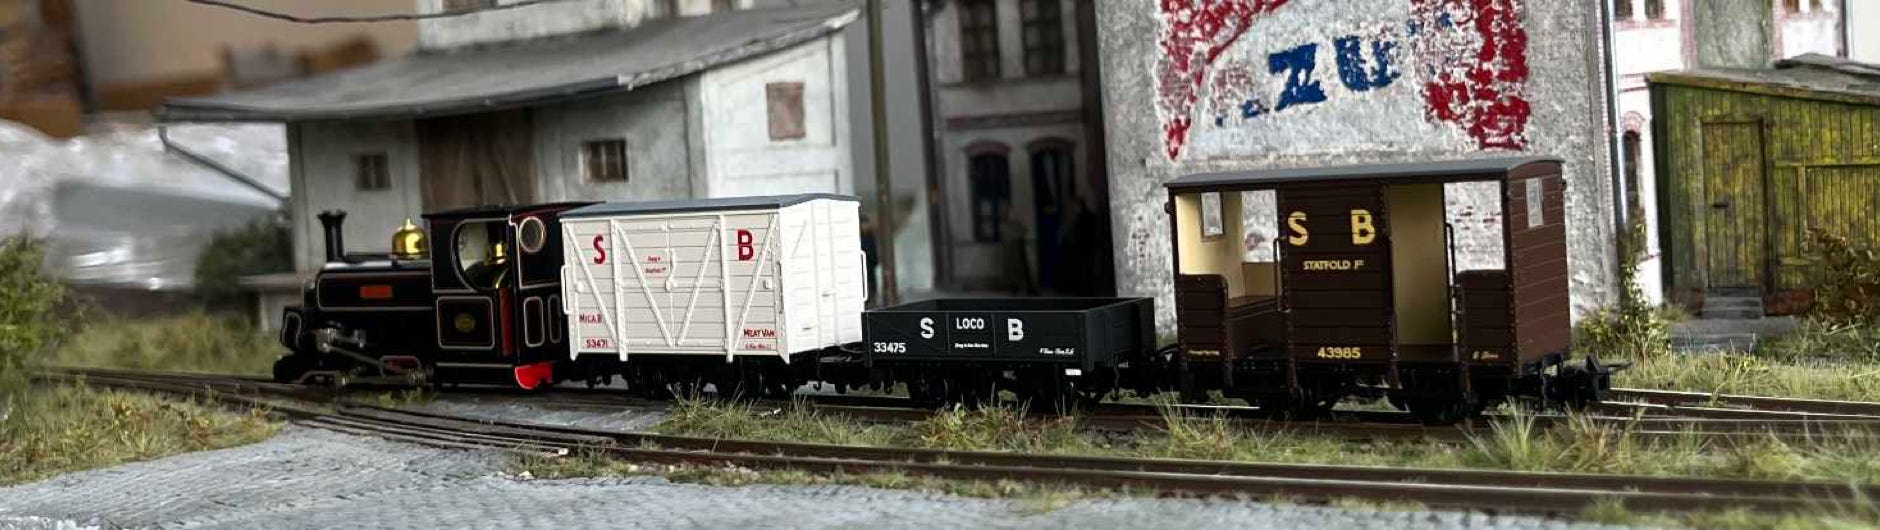
In November 2022 Bachmann released three black models of the Mainline Hunslet, with a fourth, green one following shortly after that. In this article I will show you how to open one and how to install sound and a stayalive, with all parts neatly hidden in the boiler. Nothing in the cabin. Except for a driver. Who, accidentally, you can download for free from this website.
For this installation is needed, available from the Tramfabriek:
- Zimo sound decoder MS500 or MS500N
- Zimo STACO3A Stayalive
To purchase a NEXT18 decoder, so without stayalive, get this here.
OR
Specifications (non tender model)
Length: 67 mm
Width: 23.6 mm
Weight: 58 grams
Wheelbase: 20 mm
Wheel diameter: 8.4 mm
Width available for decoder: 11.4 mm
Height in cabine for figure: 23.5 mm
Released: November 2022
Free download
Sound file for Zimo decoder, go to Free sound files page.
If the MS500 with wires is out of stock, purchase the MS500N with 6 pins. The choice is depending on your soldering skills.
Please note: In the installation below the longer MS490 has been used, but even though that works fine, after having the experience fitting the decoder I would advise to use the MS500.
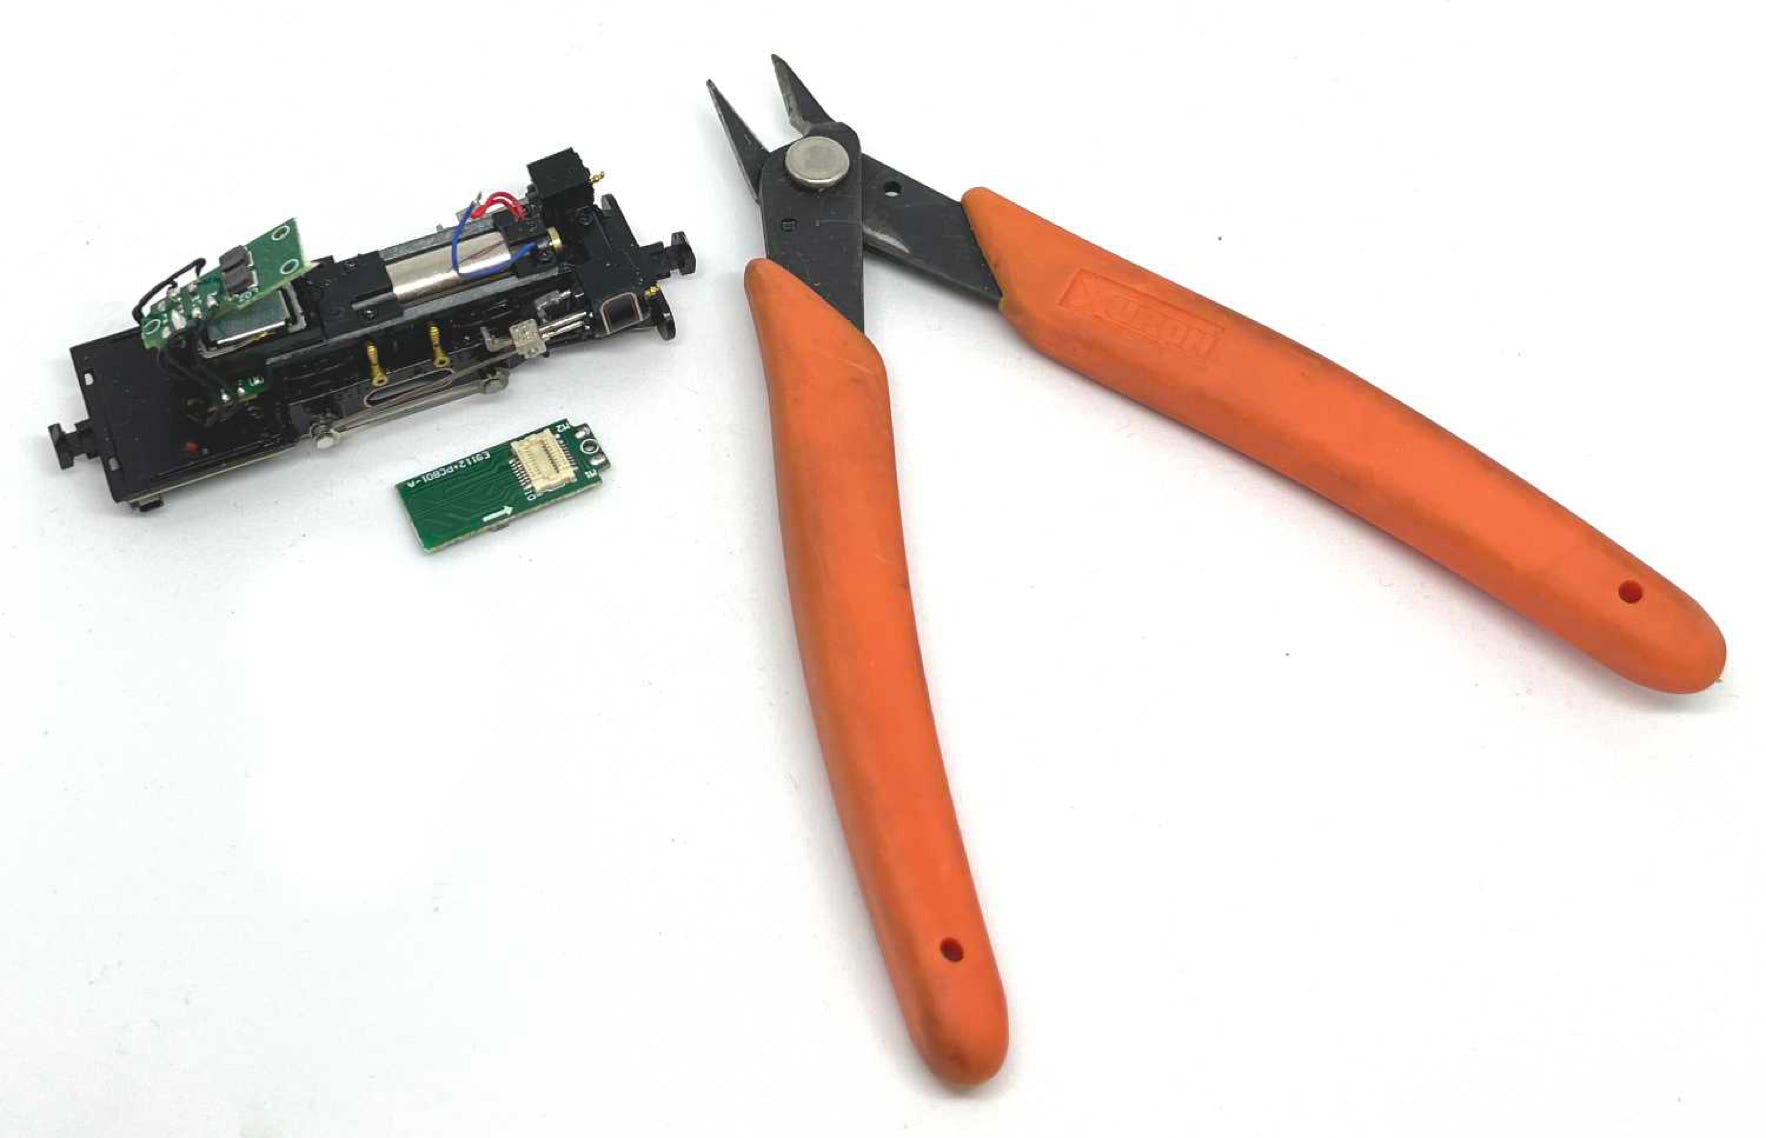
Take apart
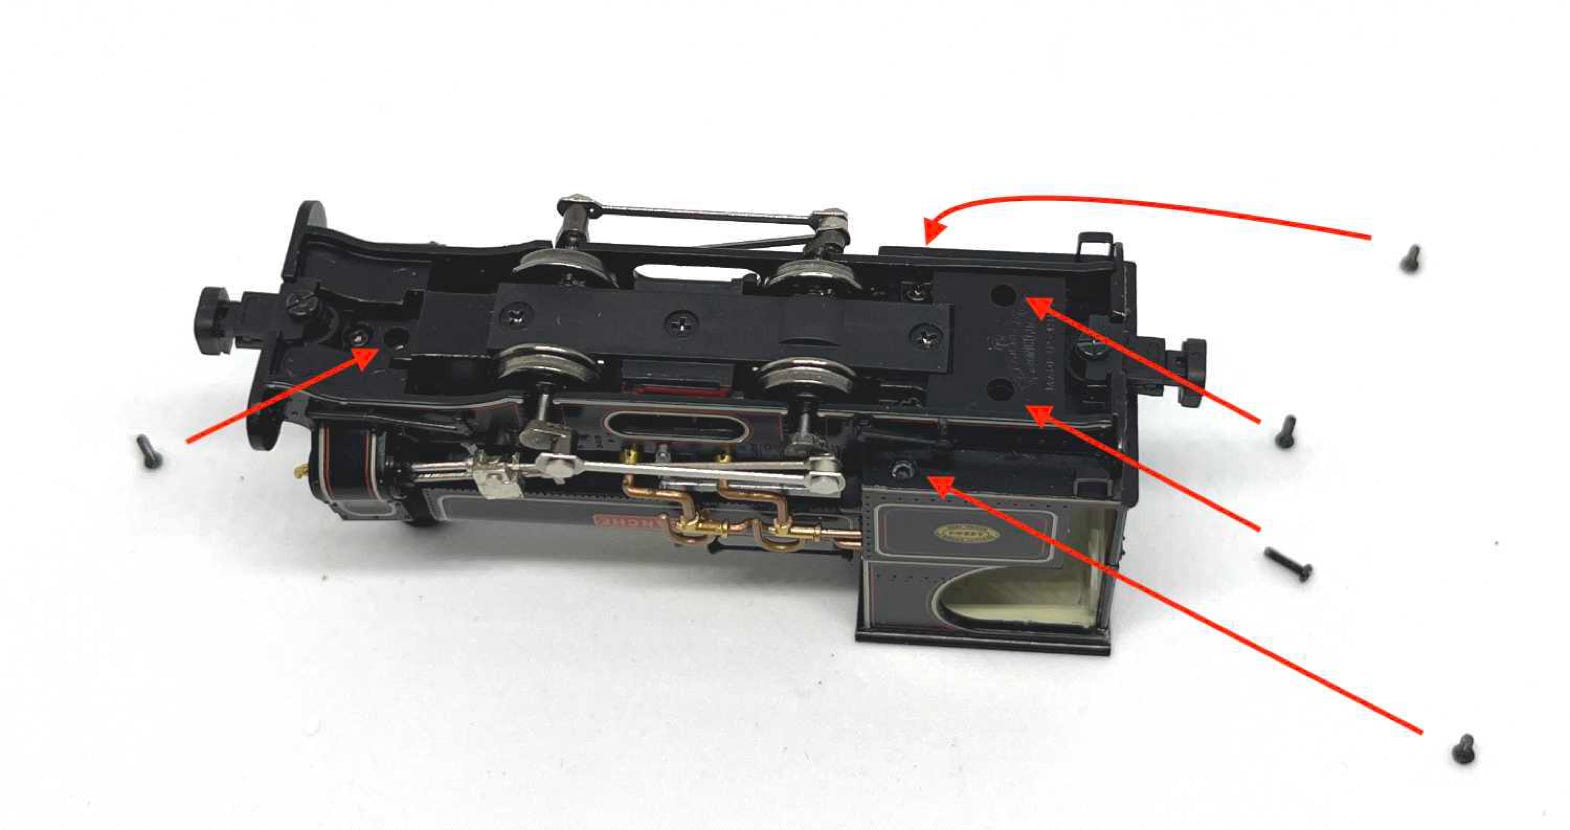
During the process, I keep the model on a piece of foam, to protect it from damage.
Remove the 6 screws.
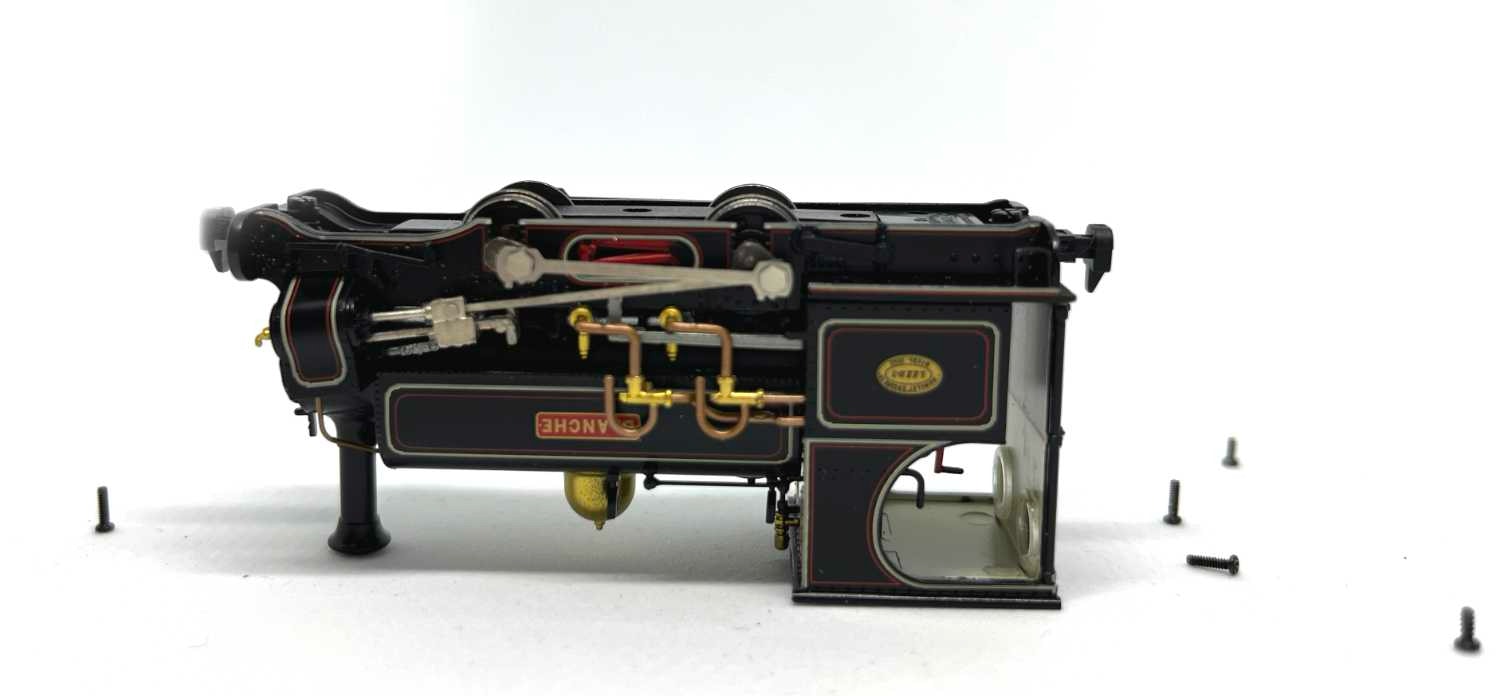
Take note that there are two smaller screws, three are larger. Here they are positioned in how they need to be re-fitted later on.
Lift the indicated parts out of their holes with a fine pair of tweezers.
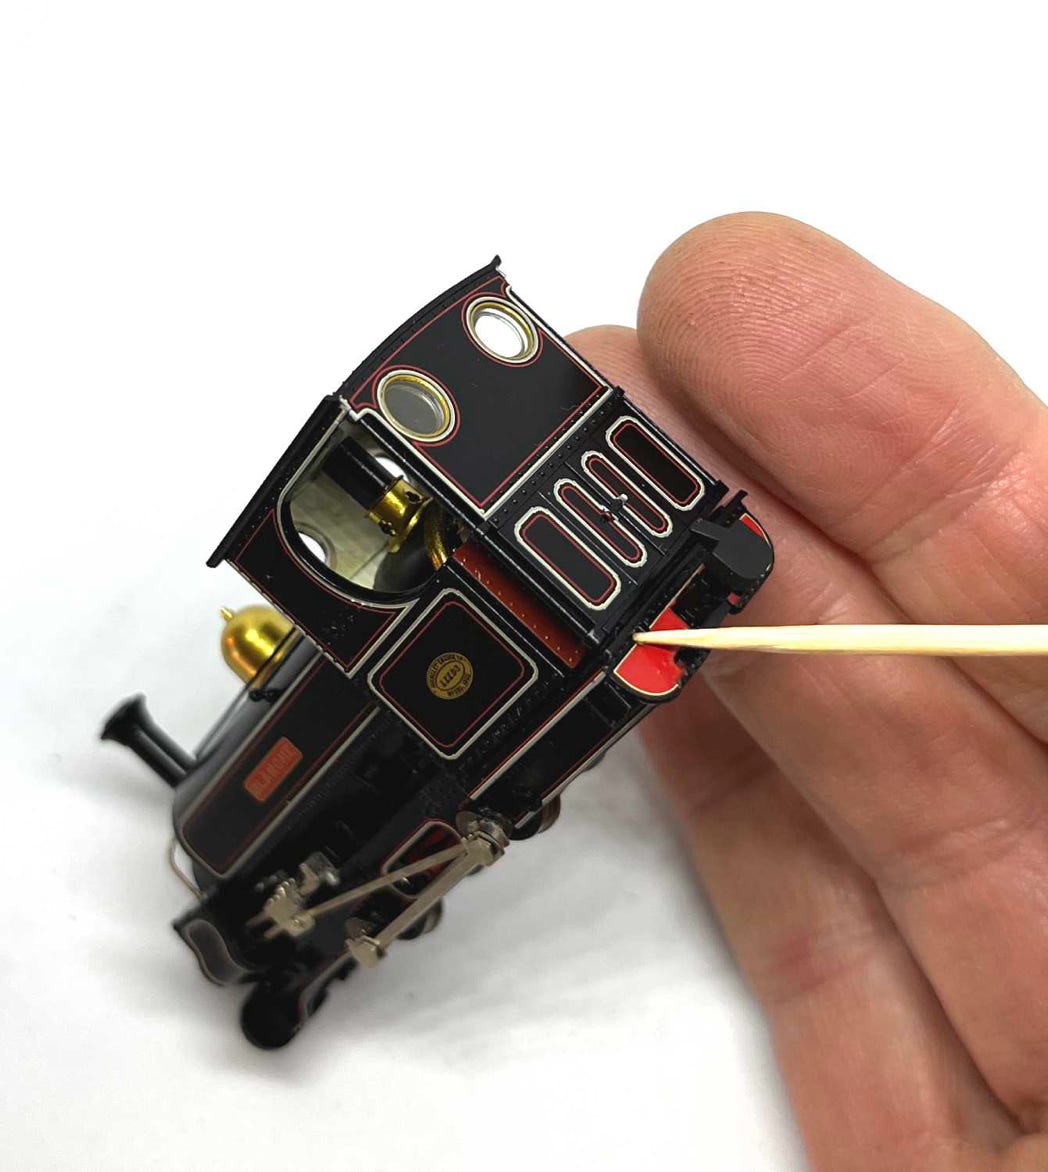
There are two tabs on the bottom of the back panel. Be very careful to push them out of the hole so to not break them. You can also just wiggle and pull the tabs out of the gaps.
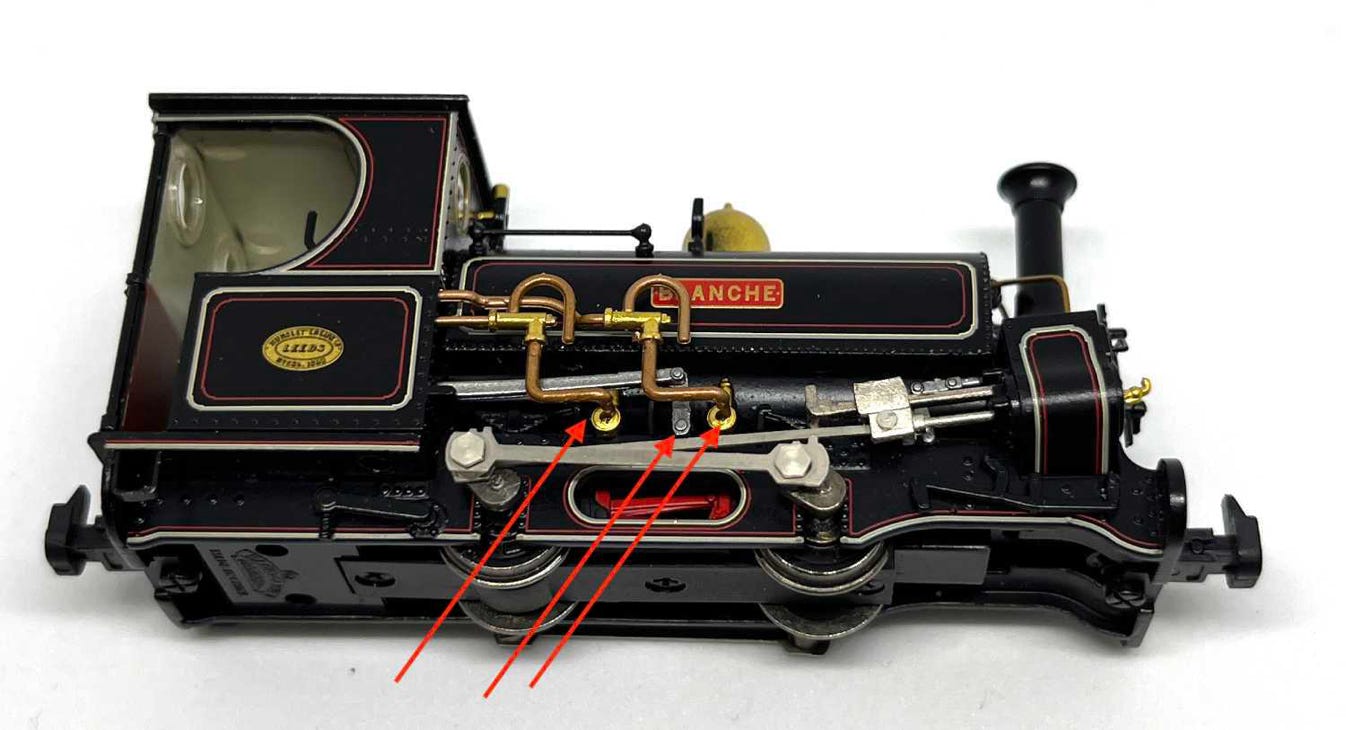
The two metal rods are held in place in the hole at the bottom of it. Lift them both up. Here I’m using a cocktail stick, as the paint will come off fairly easily from metal. When placing them you can use fine tweezers to grab them at the bottom, where it is not painted.
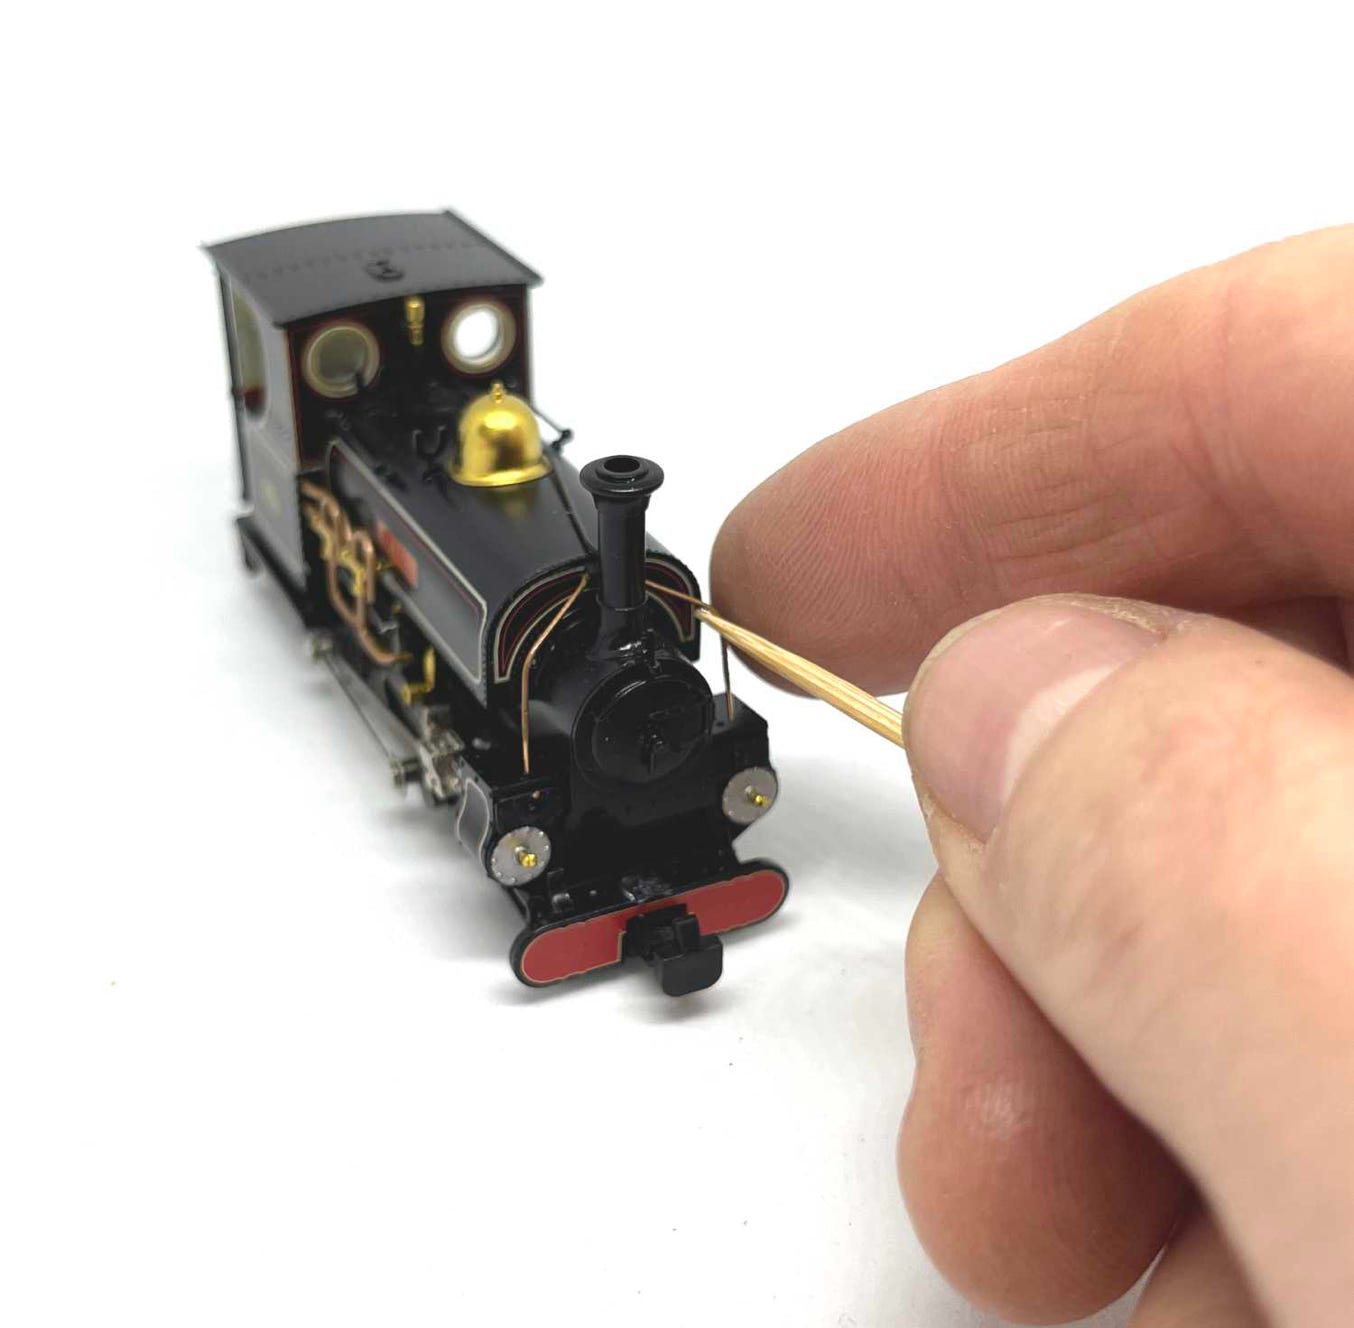
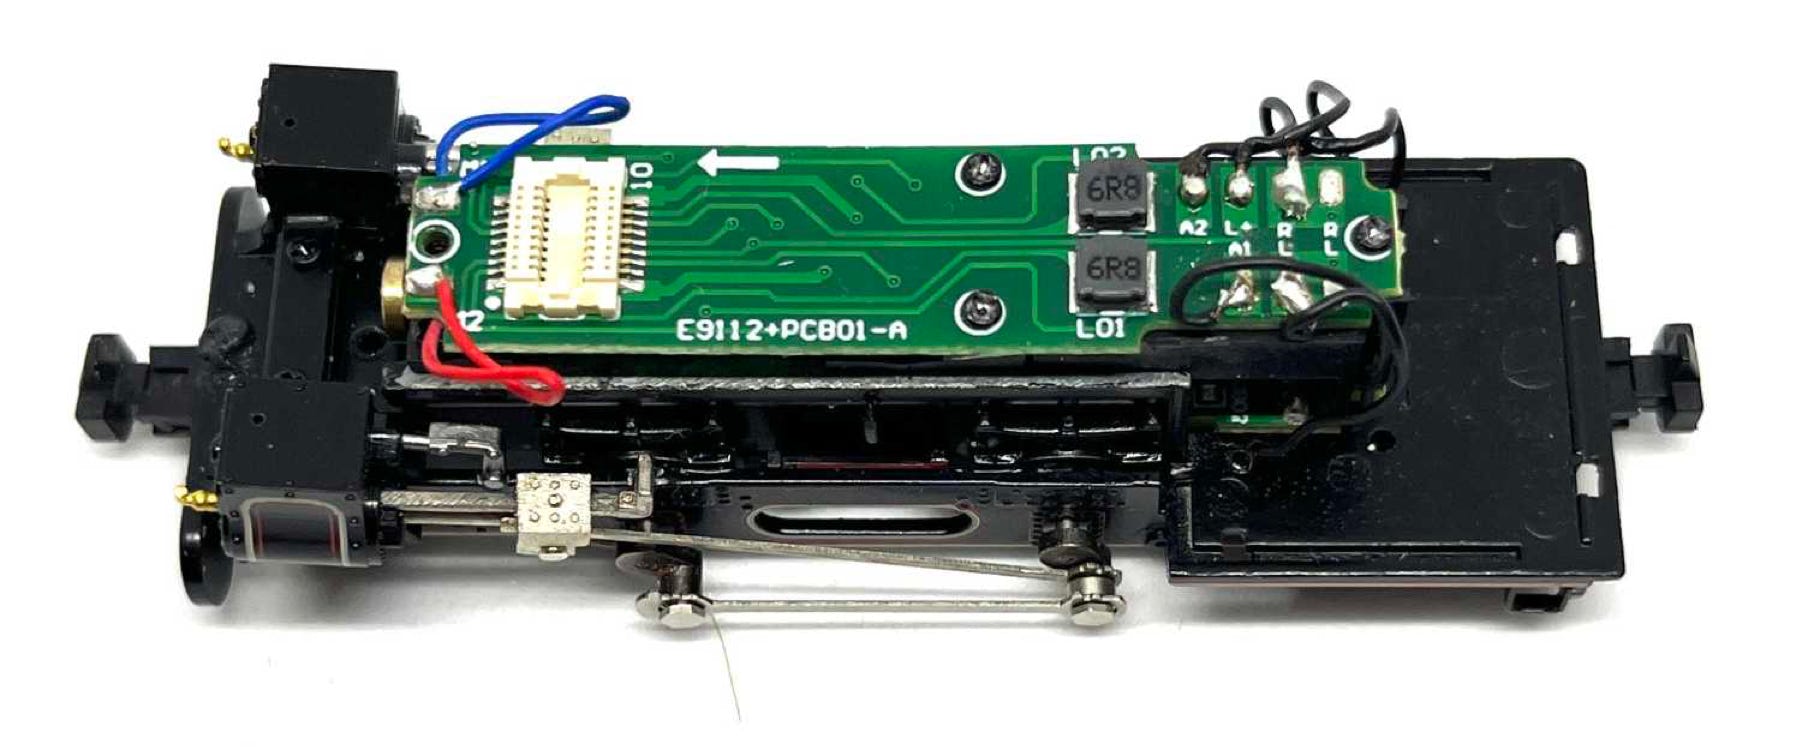
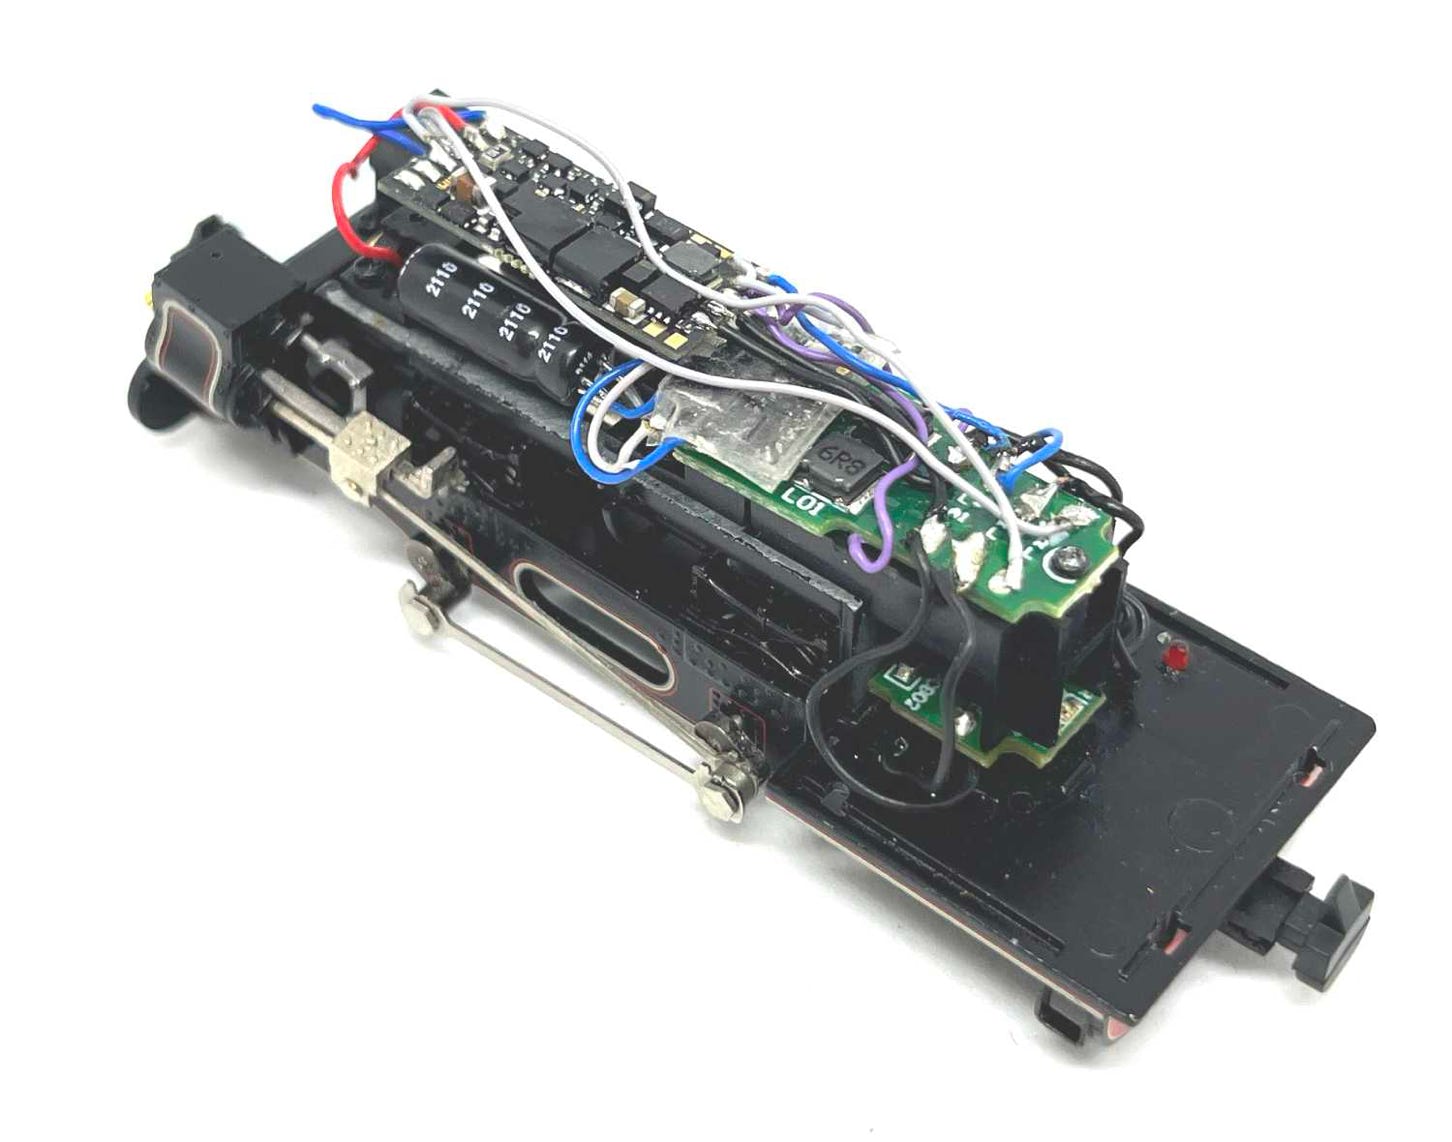
You can now lift off the housing. Below is what you see. I have removed the Next18 plug already.

Sound installation
Next I’ll be doing the sound installation. The model performs better than the Bachmann Baldwin and Hunslet, because of the amount of metal in the model, but with sound a stayalive is in my opinion a must to enjoy “undisturbed” sound. As it’s not expensive and if you do not shy away from the installation, do it!
Used parts
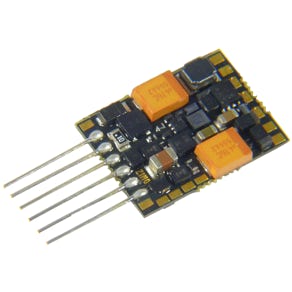
Zimo MS490
Train-O-Matic SPP Nano
Here are all the parts of the sound installation.
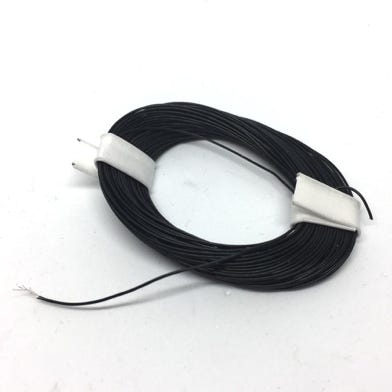
Tramfabriek Ultra Thin Wire
Sound decoder

8x12 mm speaker already pre-installed
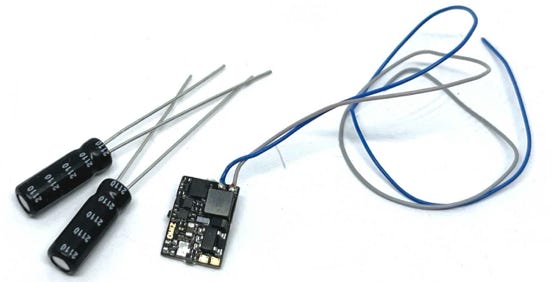
The Stayalive. Here covered in 0.25mm double sided tape.
Supercapacitors, part of stayalive.
I’m digging a little deeper in the model out of curiosity. The motor is a 0716D motor, which means a replacement is available from the Tramfabriek. The gears are M0.3.
Now there is no way back anymore: cutting the PCB. Use a Xuro cutter for the best and cleanest cut. Cut it close to the screw holes, so the PCB can still be screwed in place with the three screws.
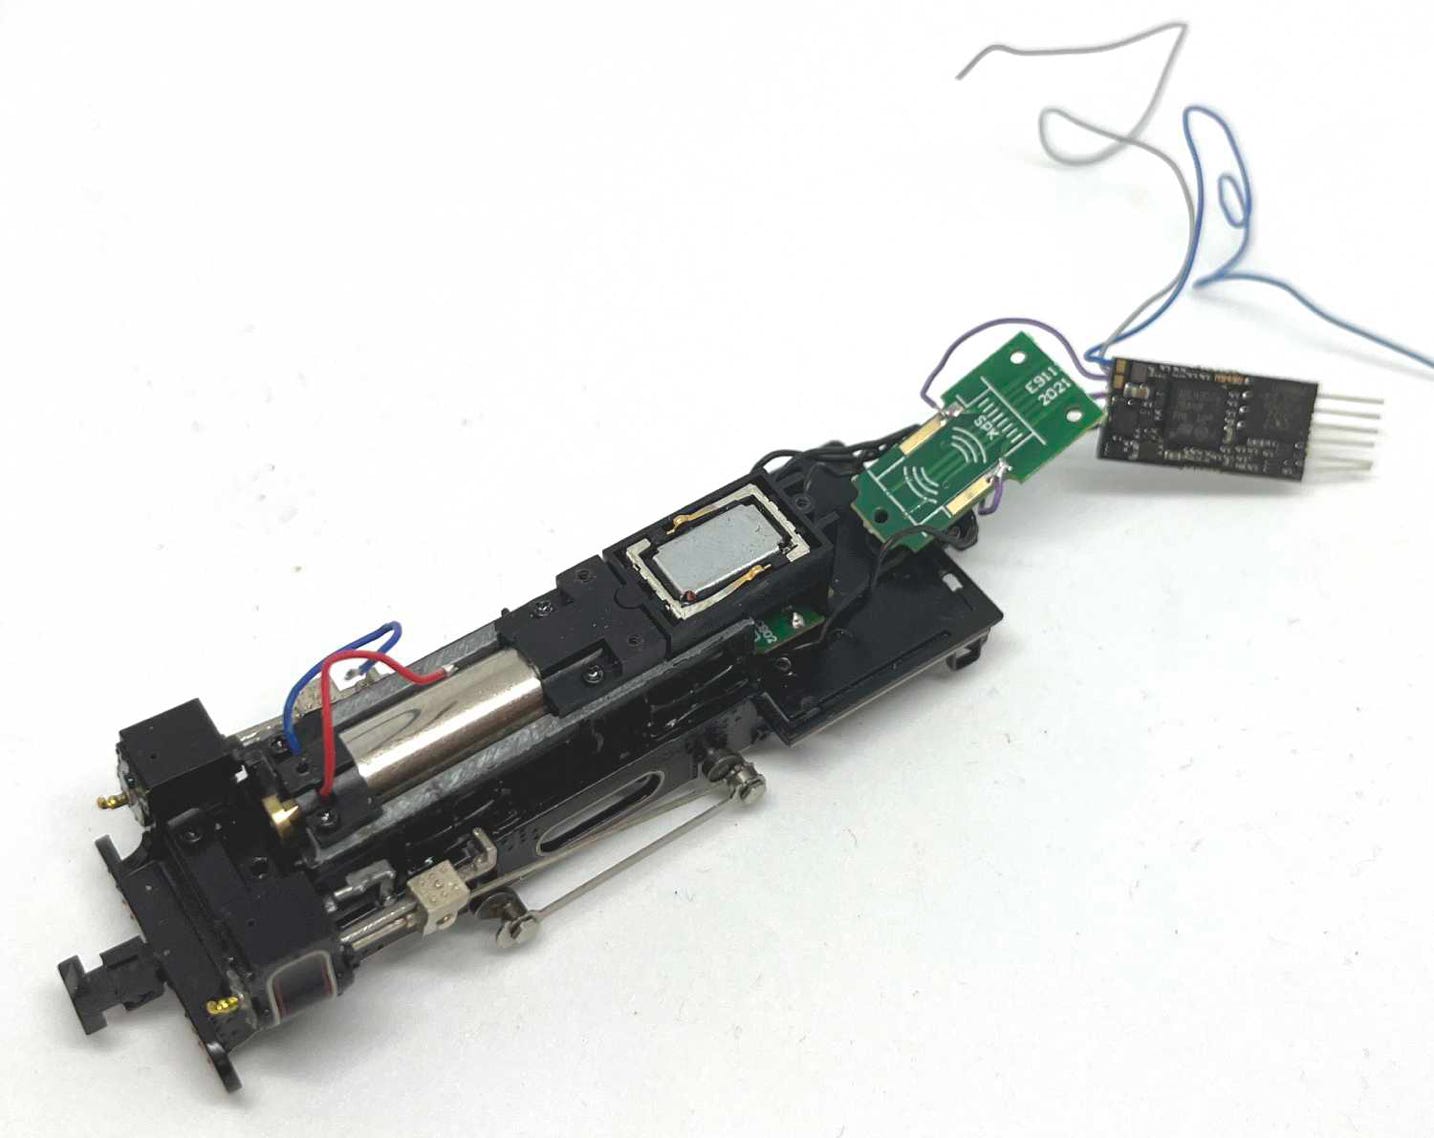
A closer look at the 8 x 12 mm speaker. If you are impressed with the sound it gives after your installation, you can get these from the Tramfabriek here. With a good resonator arrangement, you can get a pretty good volume out of it.
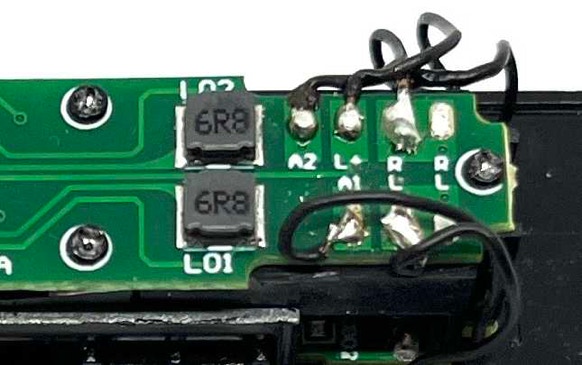
To connect the coal fire flicker to the decoder, here is an overview to understand the connections:
A1: LED Red > Connect to AUX1
A2: LED Yellow > Connect to AUX2
L+: Plus wire > Connect to Plus (Normally the blue wire on the decoder)
R (x2): Rail right > Connect to red wire
L (x2): Rail left > Connect to black wire
The two Rail solder pads per side are connected to each other.
On the picture below, you should be able to see how to connect the wires.
For the track power solder pads, I used the grey cables left over from the Stayalive. These are normally red and black. The left cable goes to track R, the right cable to track L. This means they will lead to the solder pads at the complete other end, marked R and L.
AUX1 and AUX2, which lead to respectively A1 and A2.
Red and blue wire of motor go on the outer left solder pads of the decoder.
Purple wires are soldered to the speaker.
Grey wire of the stayalive to the minus of the capacitor.
Plus of capacitor back with blue wire to stayalive PCB.
Connect one capacitor the the other by connecting the plus (left cap) to the minus (right cap).
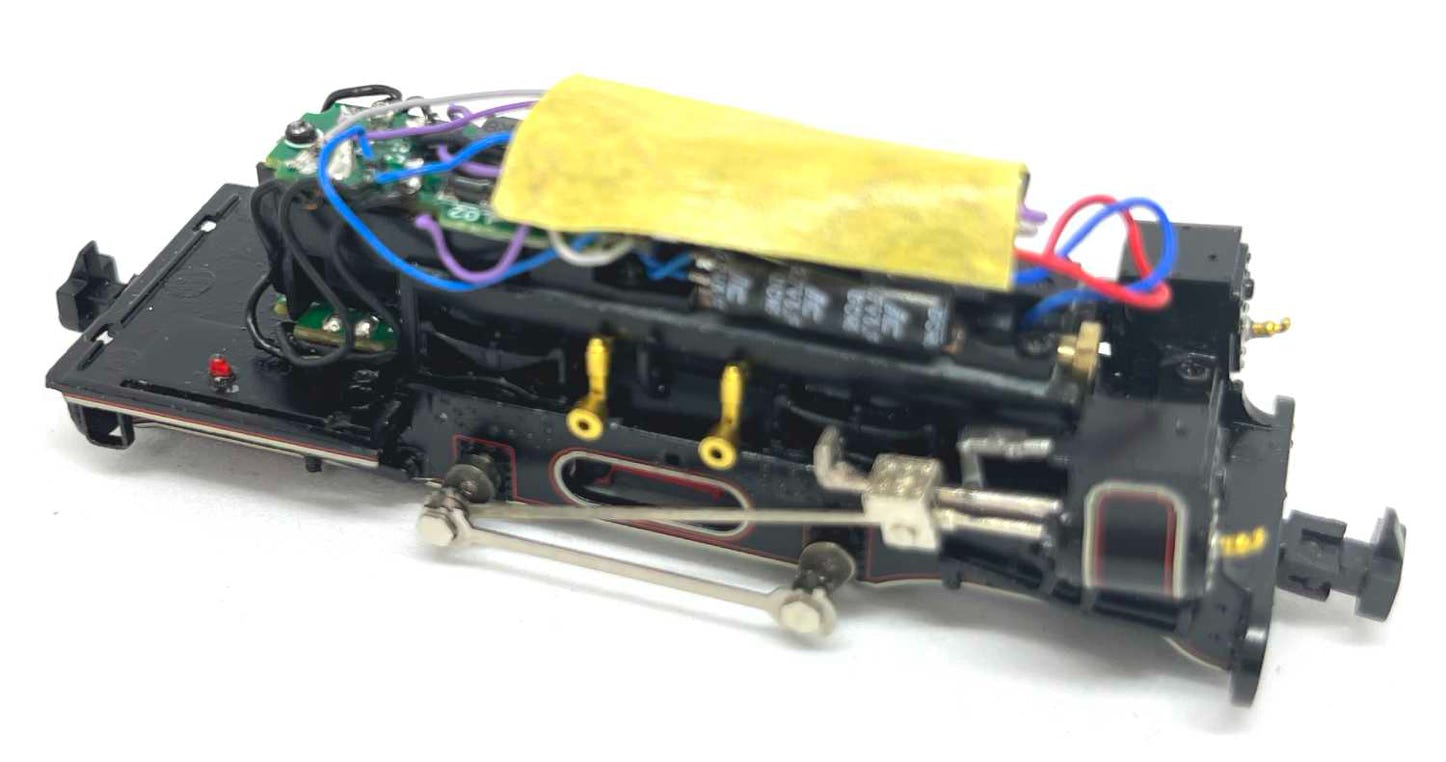
Here a few pictures of the final installation. Here can you see where the two (grey) wires go from the decoder to the track power pickup.
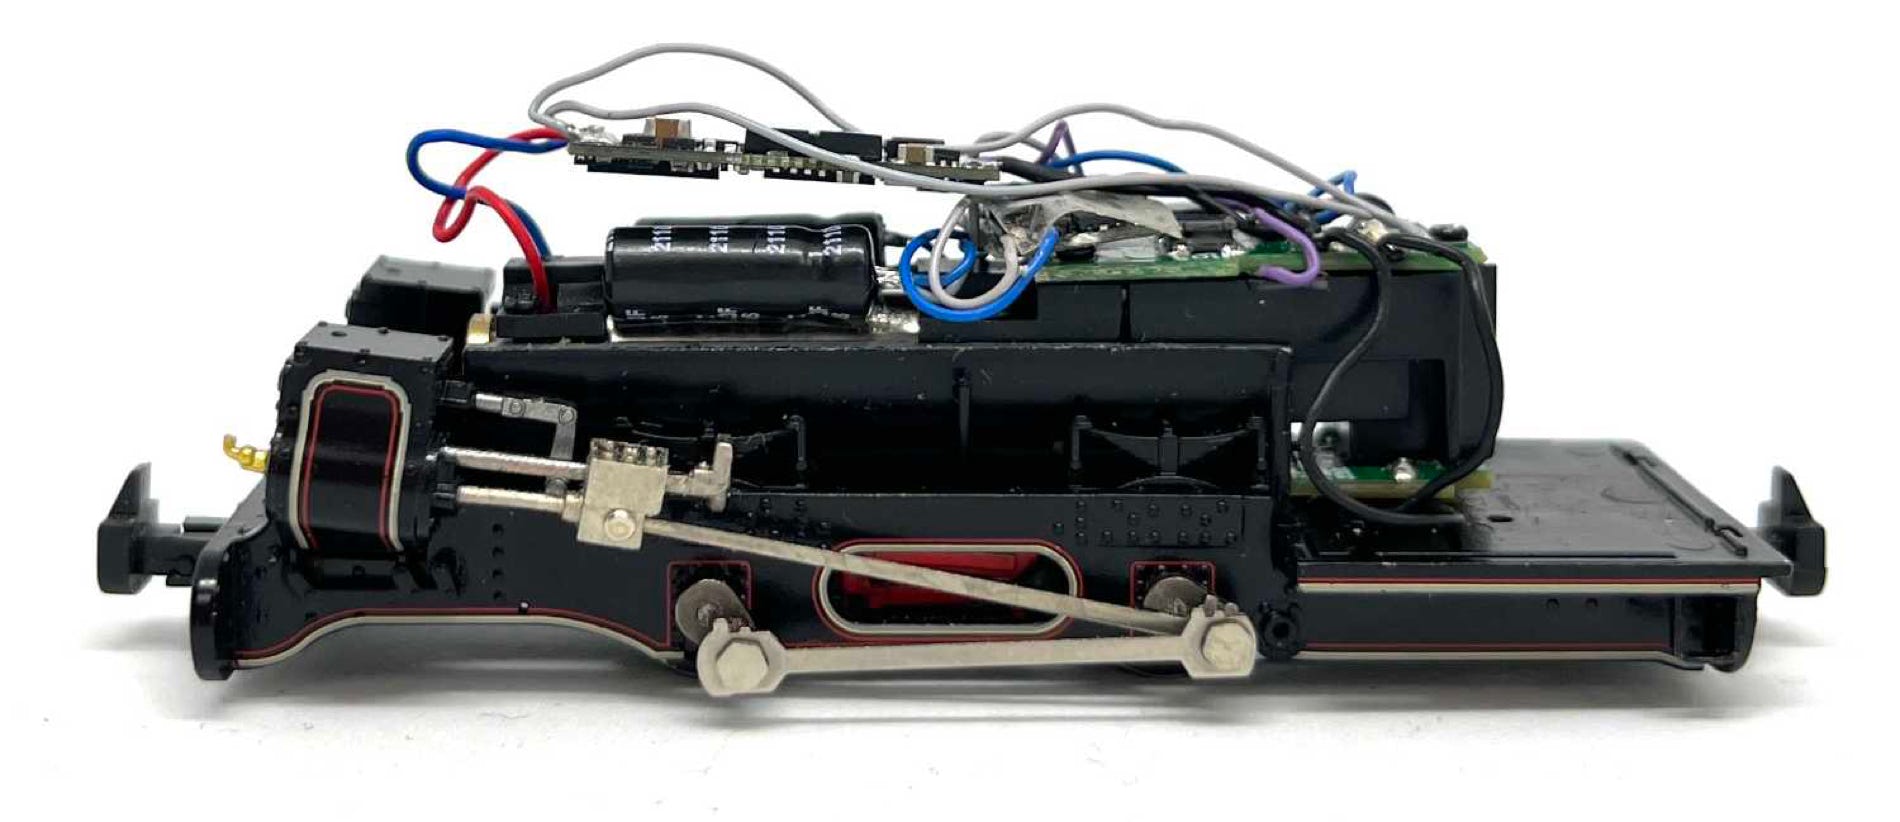
Sound decoder
Stayalive PCB
Stayalive capacitors
I’ve placed a small strip (0.25 thin, about 2 mm wide) of double sided tape on each side of the motor, so the capacitors will be held in place. When you close the model, the capacitors will move inwards to fit between the sides of the boiler.
The decoder is not glued nor taped and will float on top of it, so it can find its space under the boiler. The decoder and capacitor will end up laying next to each other.
To protect the components from shorts, I have put double sided tape on top and on the bottom of the stayalive PCB. The decoder receives masking tape on the top. Sorry for the blurry picture.
Hope the installation is all clear to you. If not, let me know.
Coal fire flicker
One thing that didn’t work for me was getting the light flicker to work for the second (yellow). Even though the F key is connected in the software to the AUX1 and AUX2 output, only the red light (LED1) will flicker. But as it works very good, I don’t see this as a problem.
DCC settings to make the fire flicker and connected to F key
CV127 12 Flicker effect for AUX1 and AUX2 (AUX2 not working however)
CV42 4 AUX1 linked to F8 (for example). Check manual for the CV to use for other F key.
CV61 97 Shift function output (8 function mapping), needed to reach higher F function keys.
If you use the sound file I am sharing (see below), you don’t need to set this up. It’s already done.
Free sound file
If you already have the sound decoder and a Z21 or Zimo MXULFA, you can download the sound file for the Mainline Hunslet for free from this website. Go to this page.
Free figurines
To get free drivers to populate this loco, go to this page.
•


