Minitrains Henschel Tramway even better looking
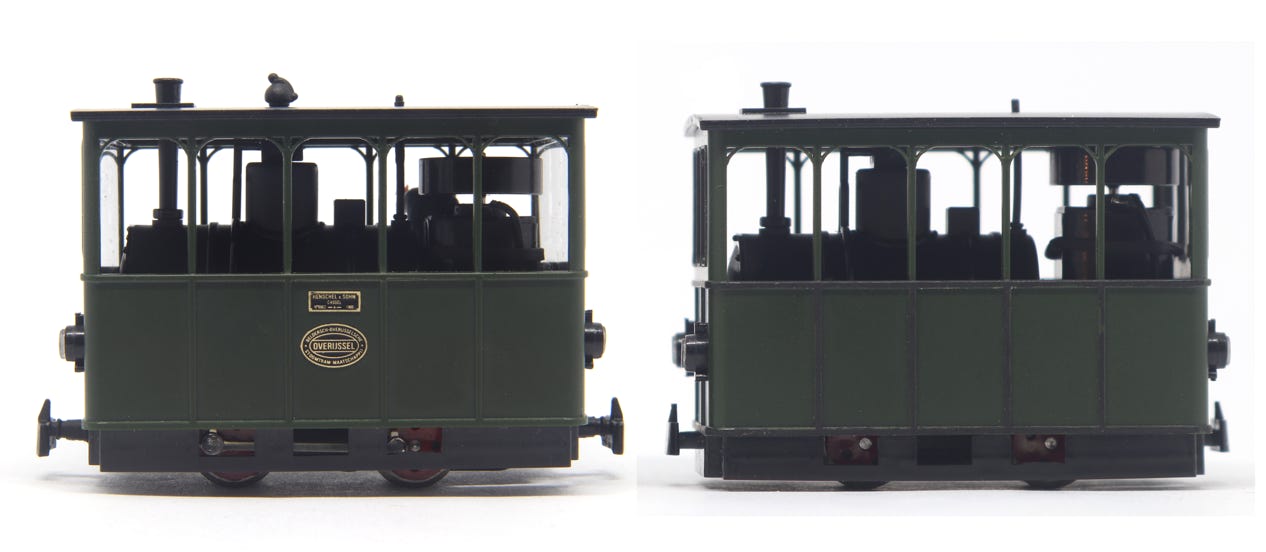
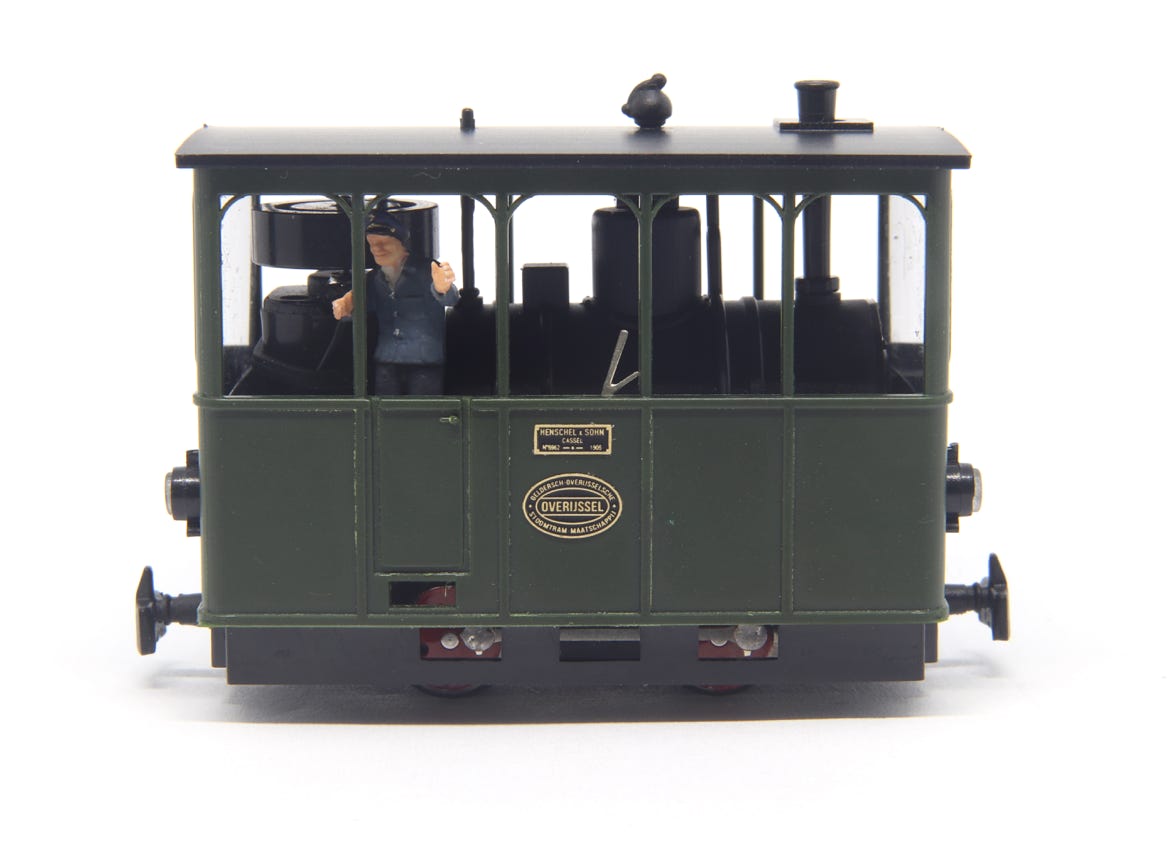
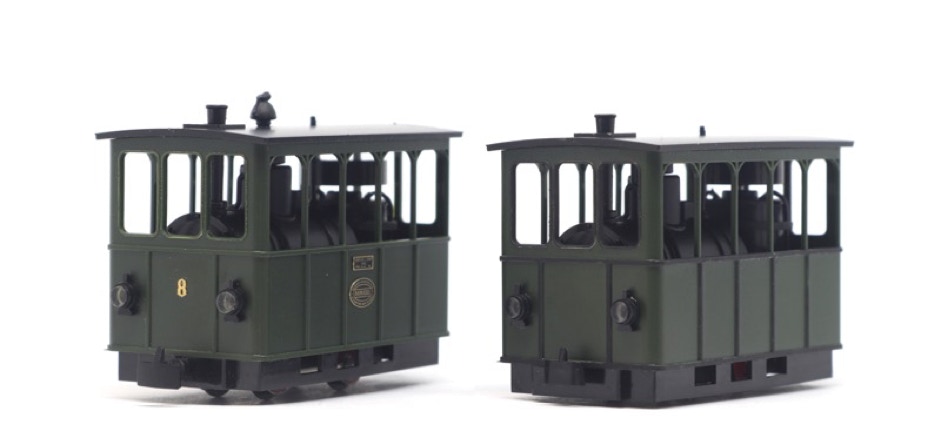
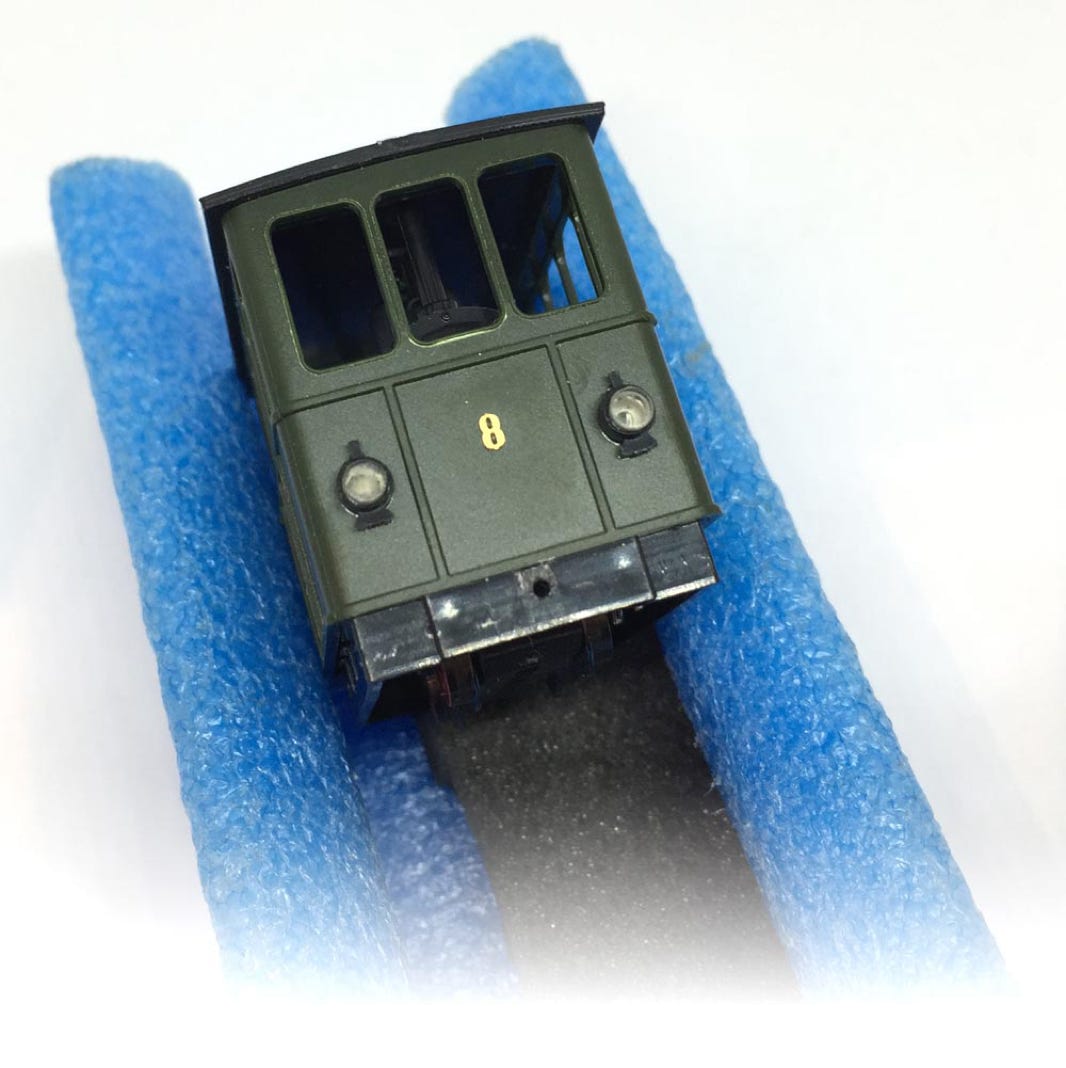
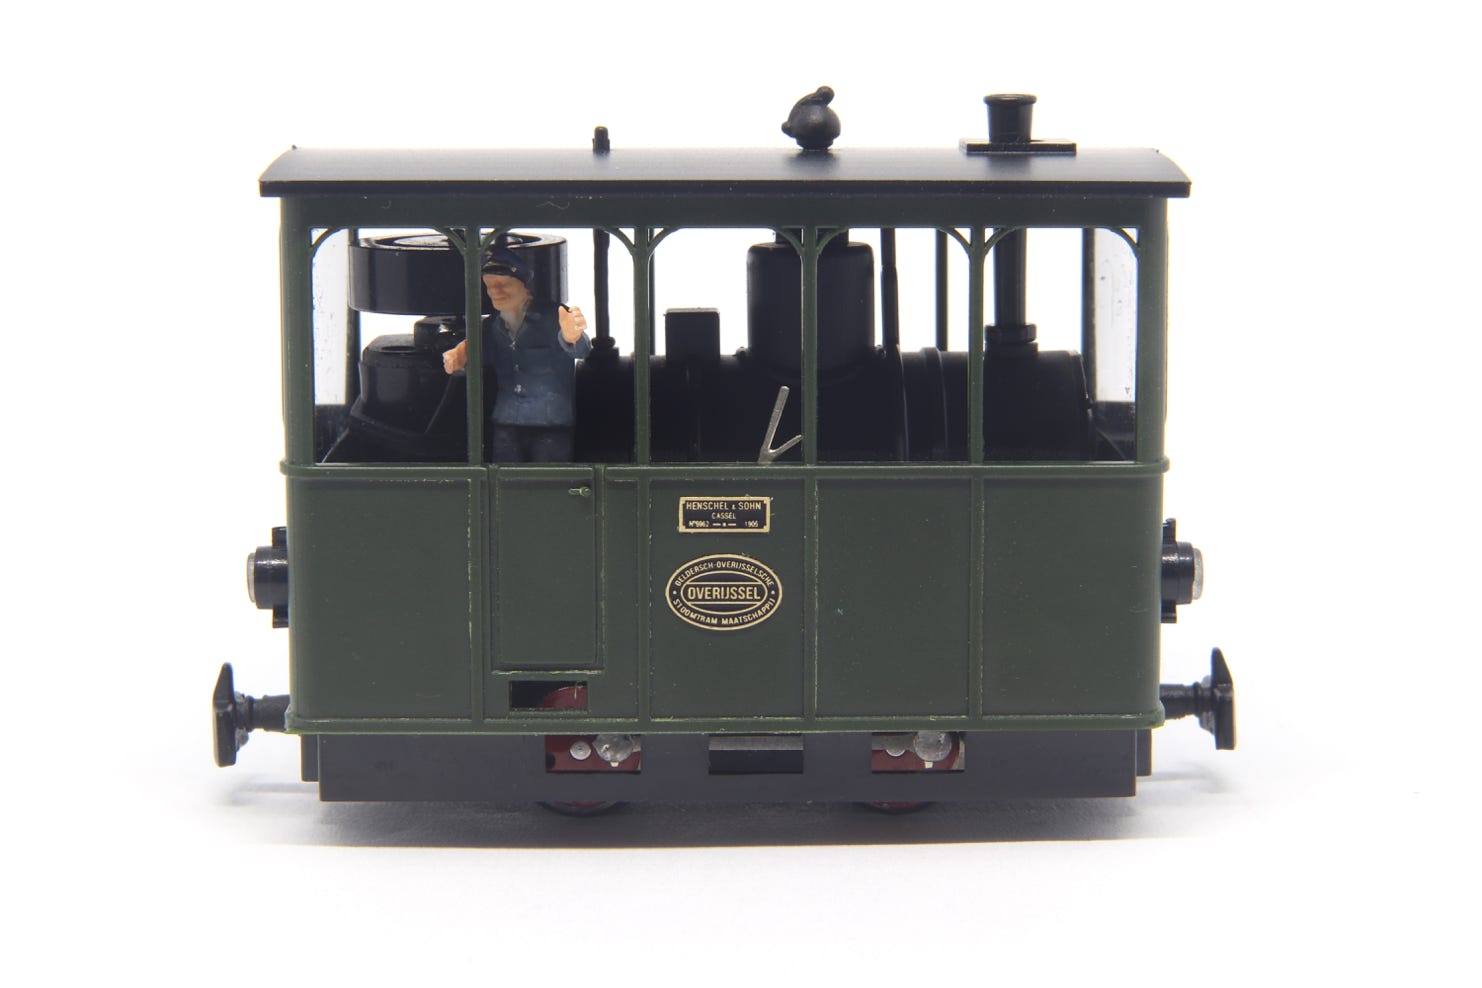
Upgraded model
Original model (except for black lining)
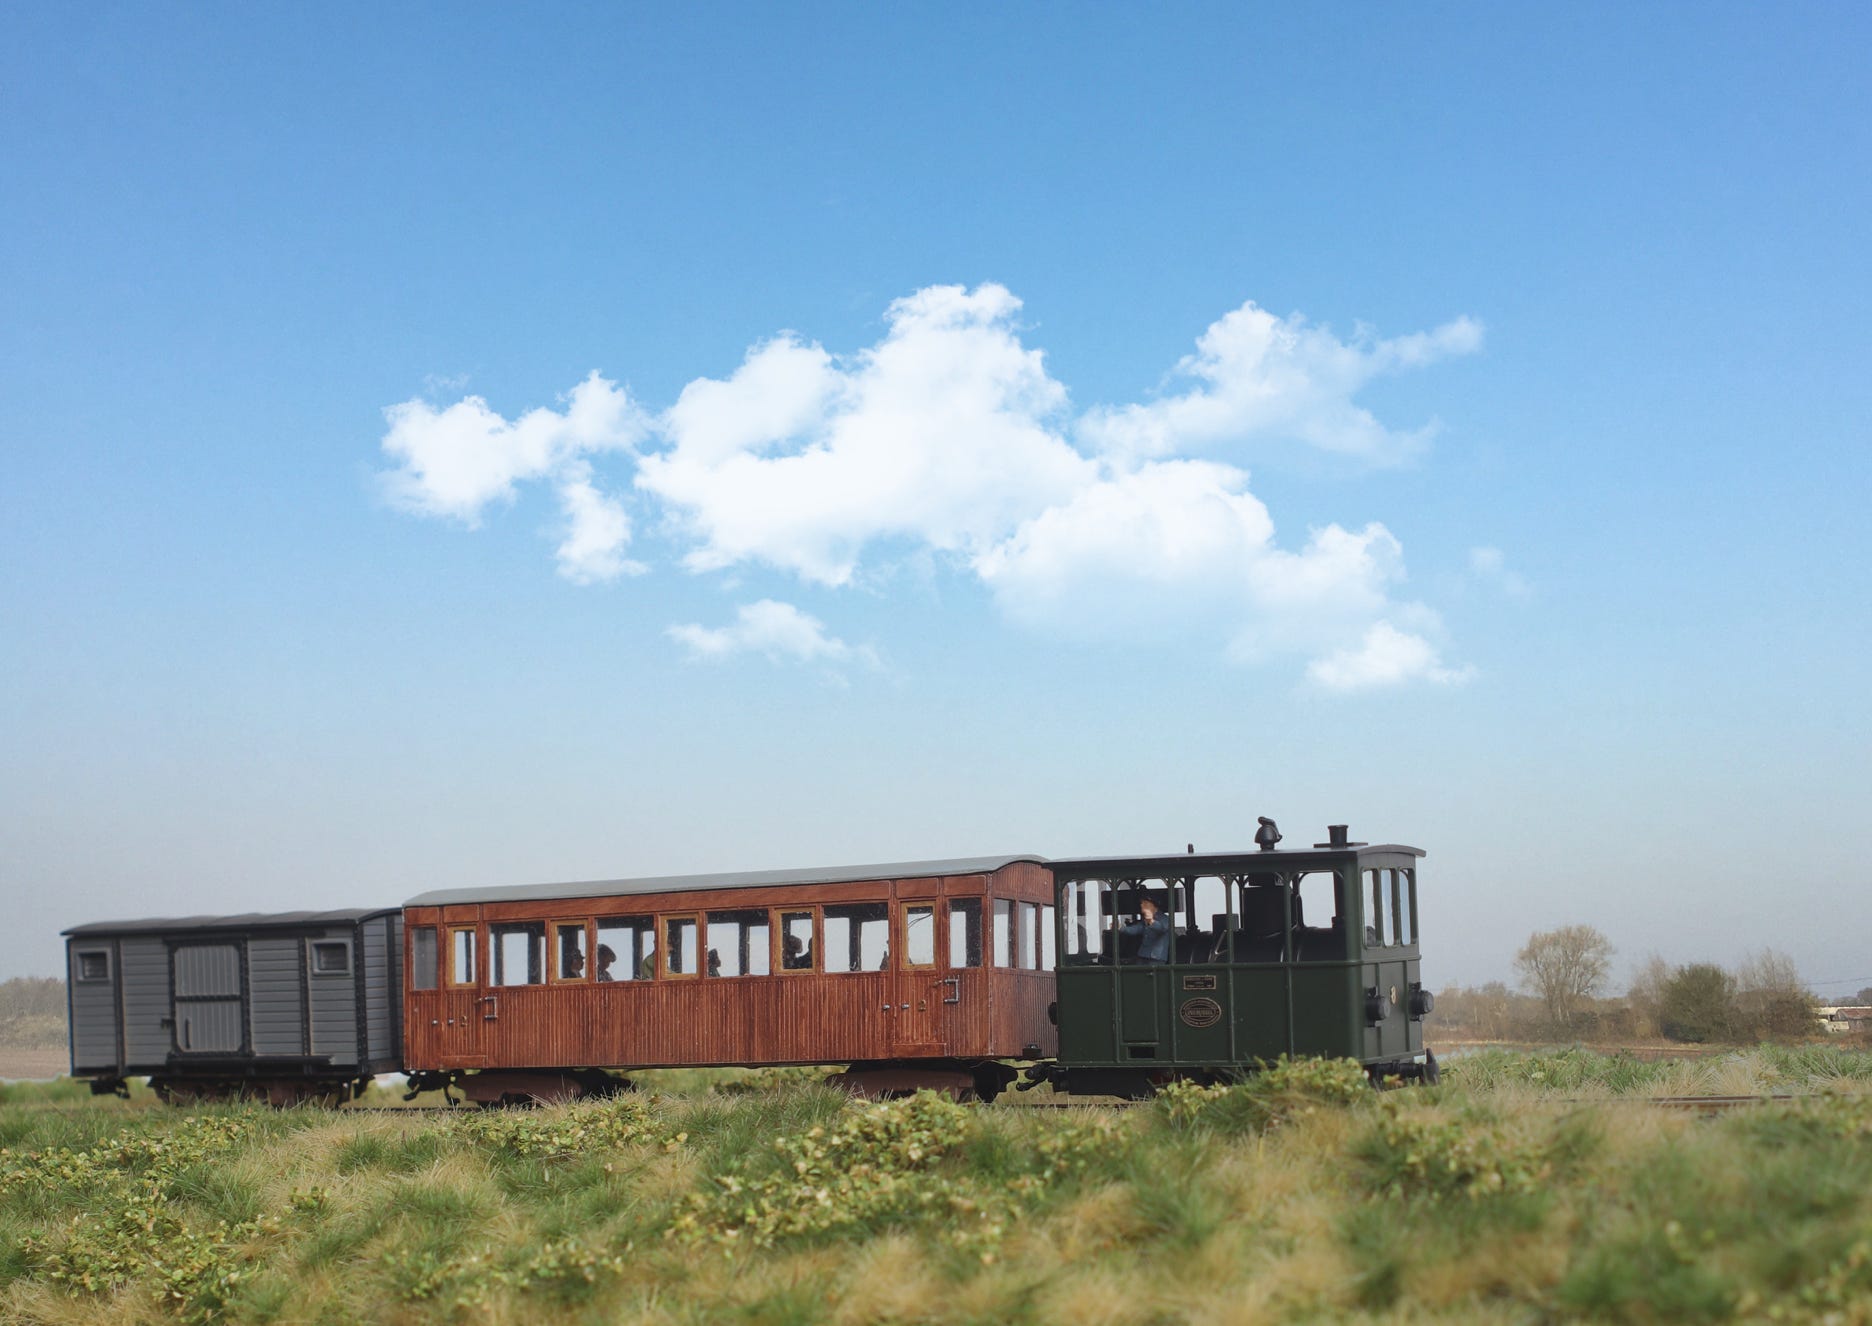
Minitrains released in March 2020 a long awaited model of a steam tram. A nice basic model, which is very suitable for simple upgrades. Every one knows that details make the difference and this model really stands out with this Tramfabriek “Good looks” upgrade kit.
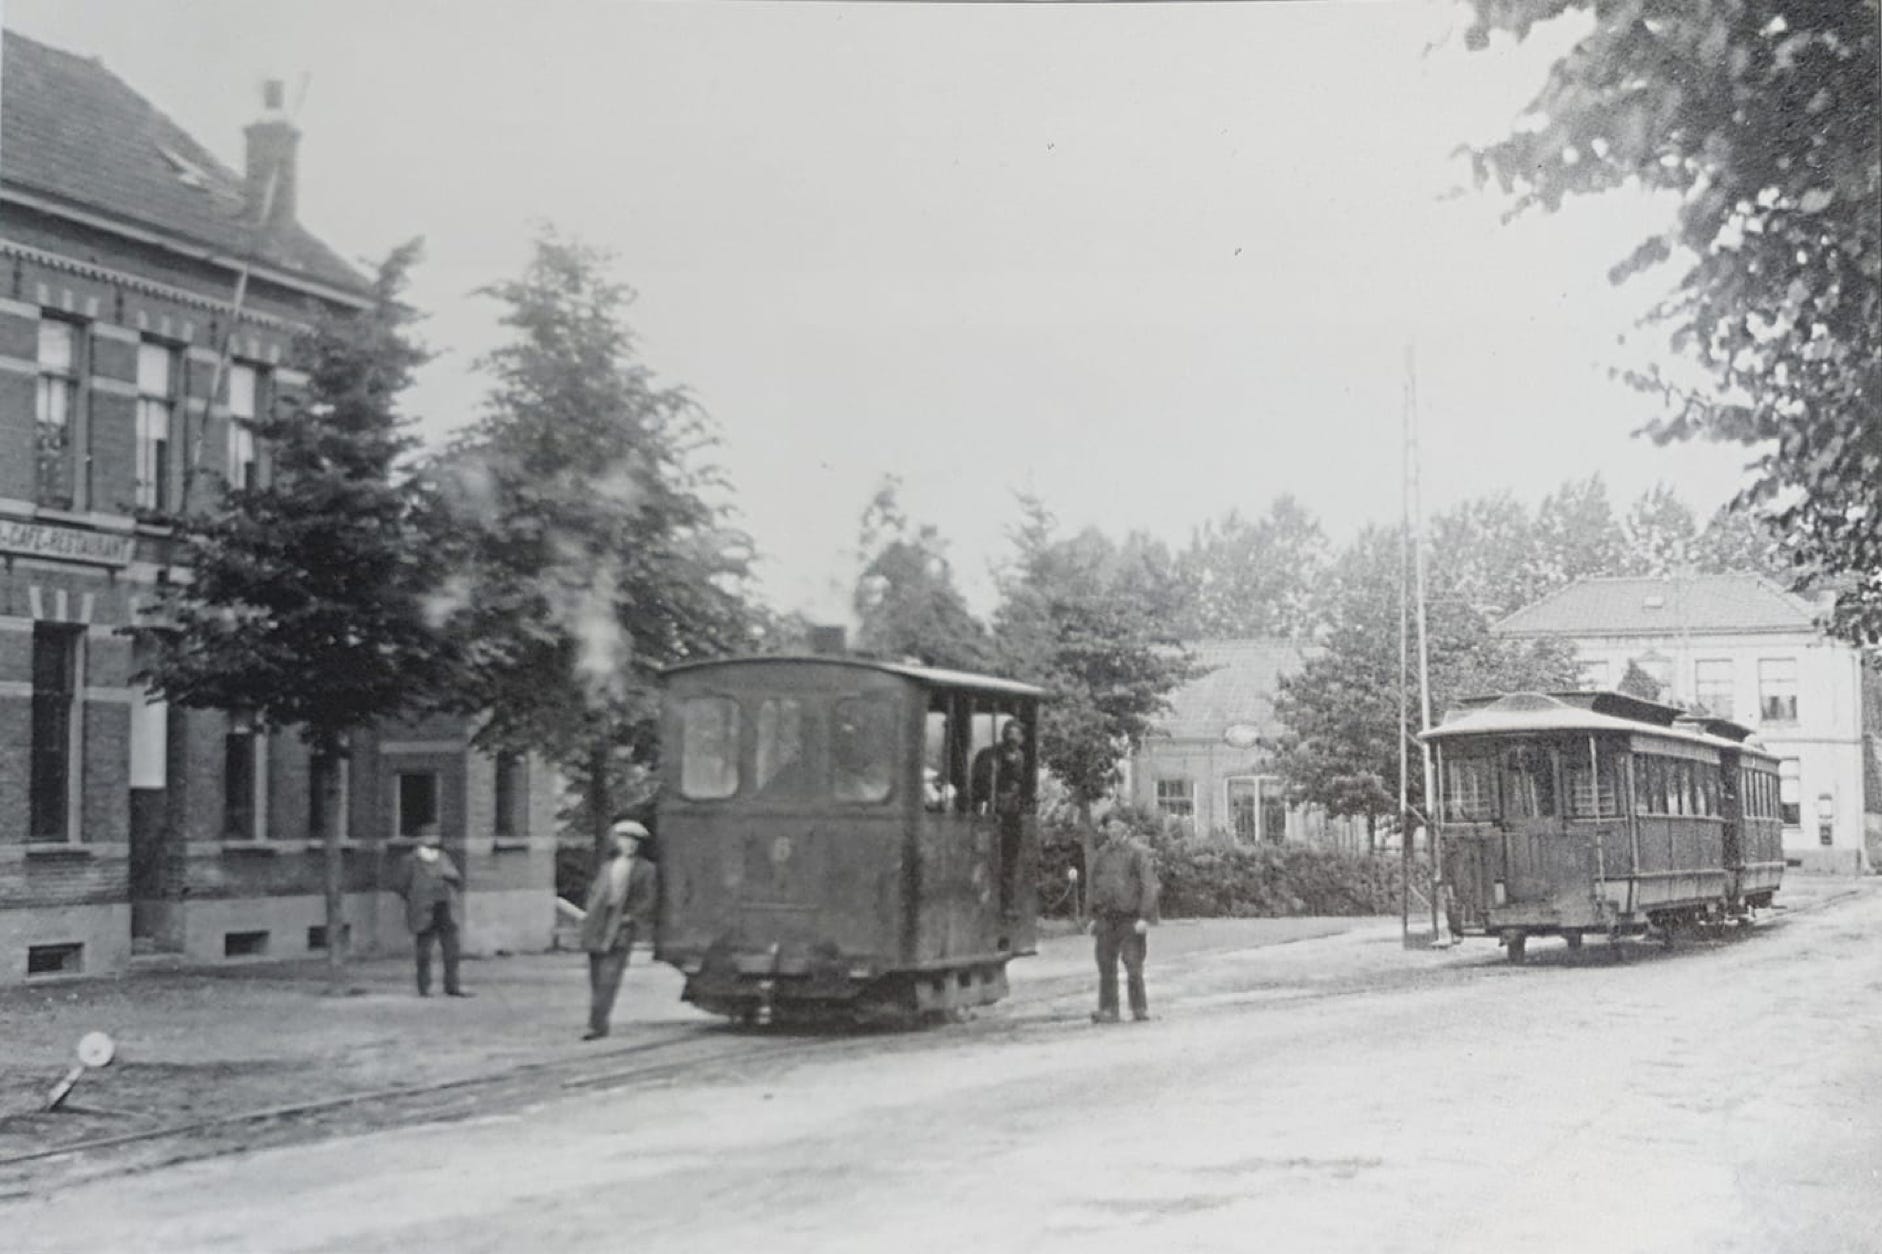
This kit features the prototypical, highly detailed (and correct!) name plates of the GOSM (Geldersch-Overijsselsche Stoomtram Maatschappij of the Netherlands) or GS (Gooische Stoomtram).
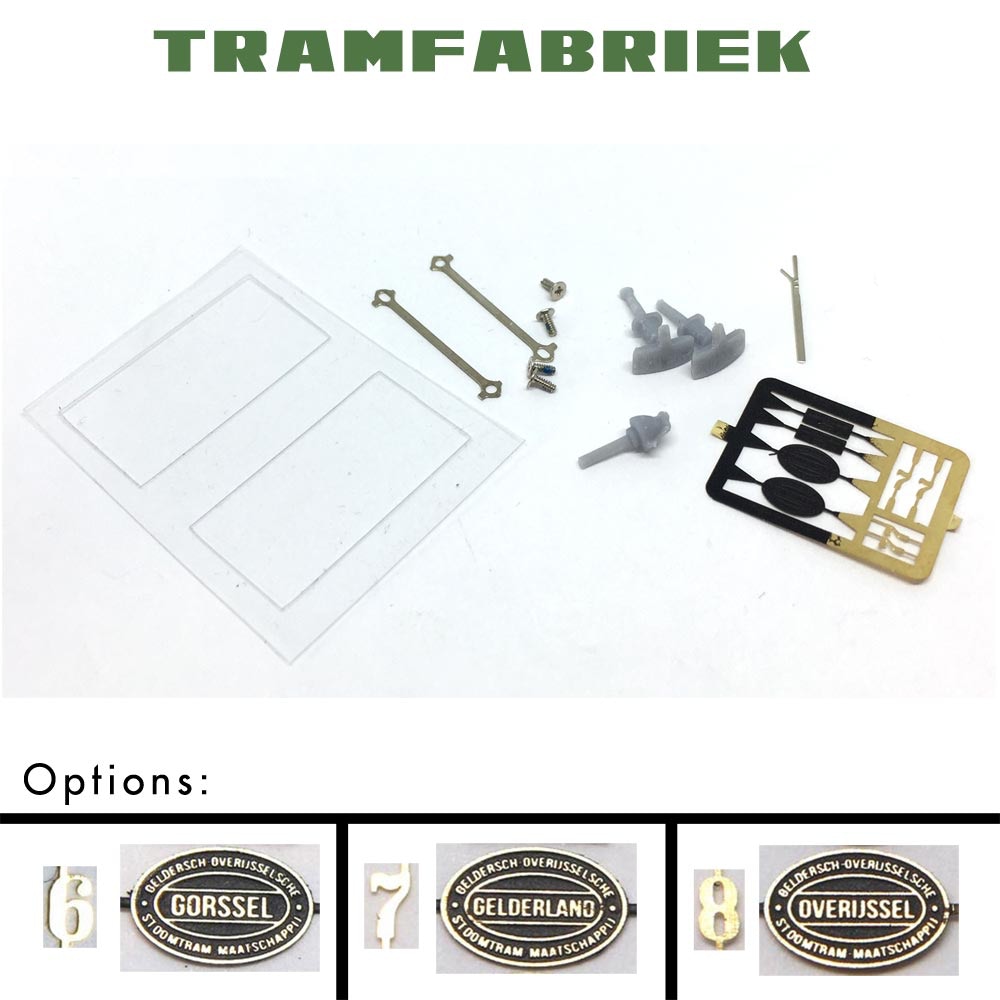
Included in the kit:
1x brass etched plates. Choice of three name/numbers
2x coupling rods and 4 screws
1x steam bell
2x couplings
1x set front + rear windows
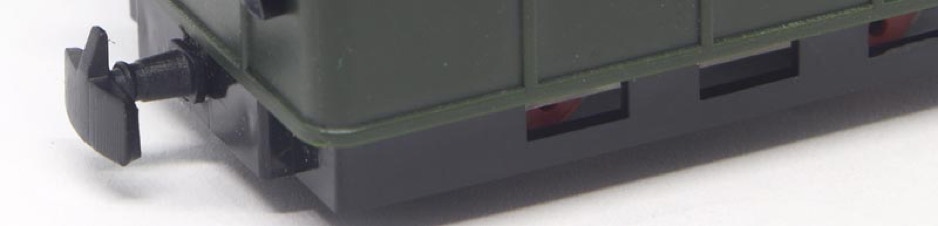
1x pole reverser
Minitrains model itself is not included! Buy it from Dundas Models or find your nearest dealer on the Minitrains website.
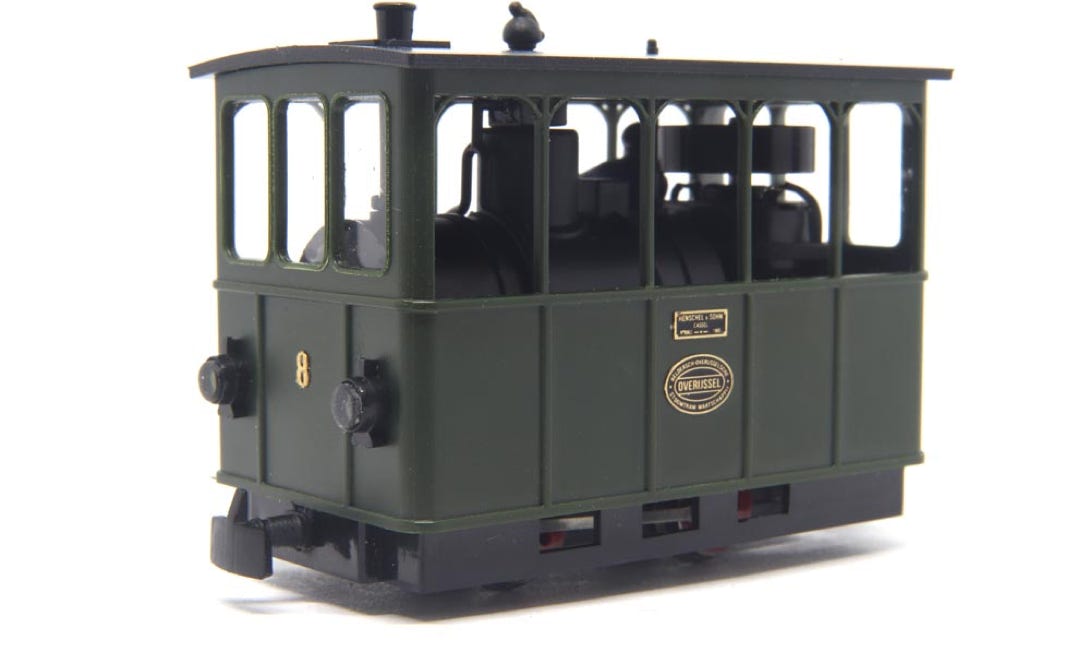
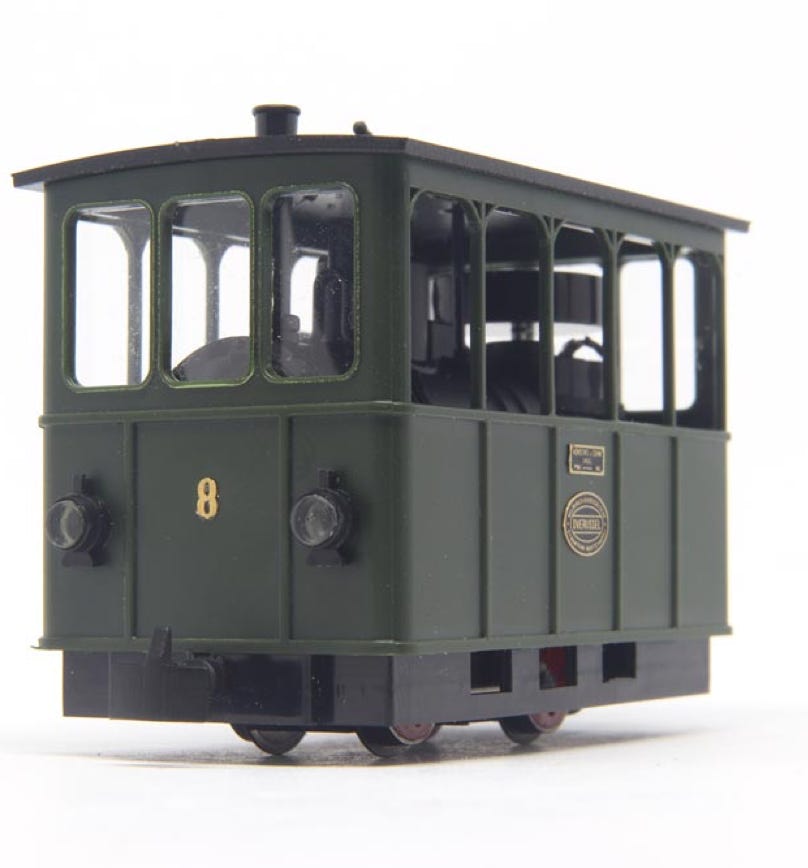
Upgraded model
Original model (except for black lining)
Installation instructions
0
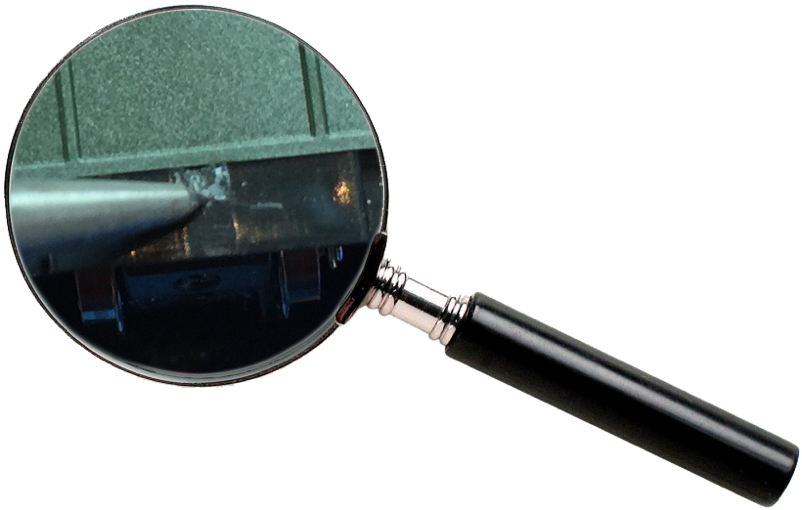
Tips on how to place the brass plates, you can find here: https://tramfabriek.nl/fixing-brass-plates.html
1
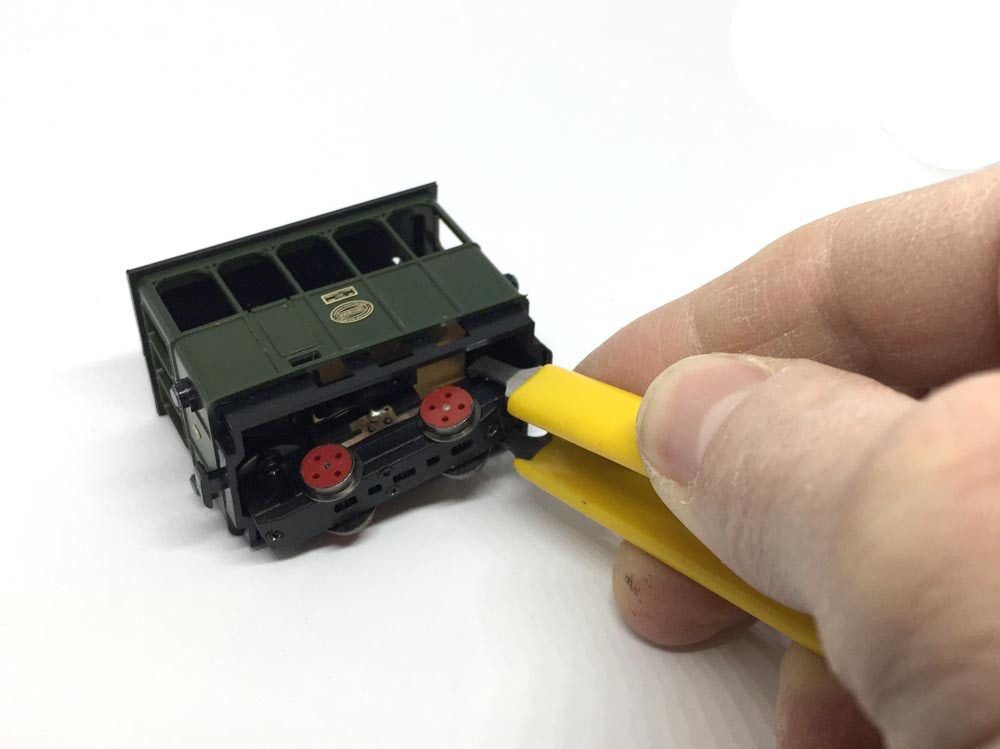
This tool is called an IC puller.
3
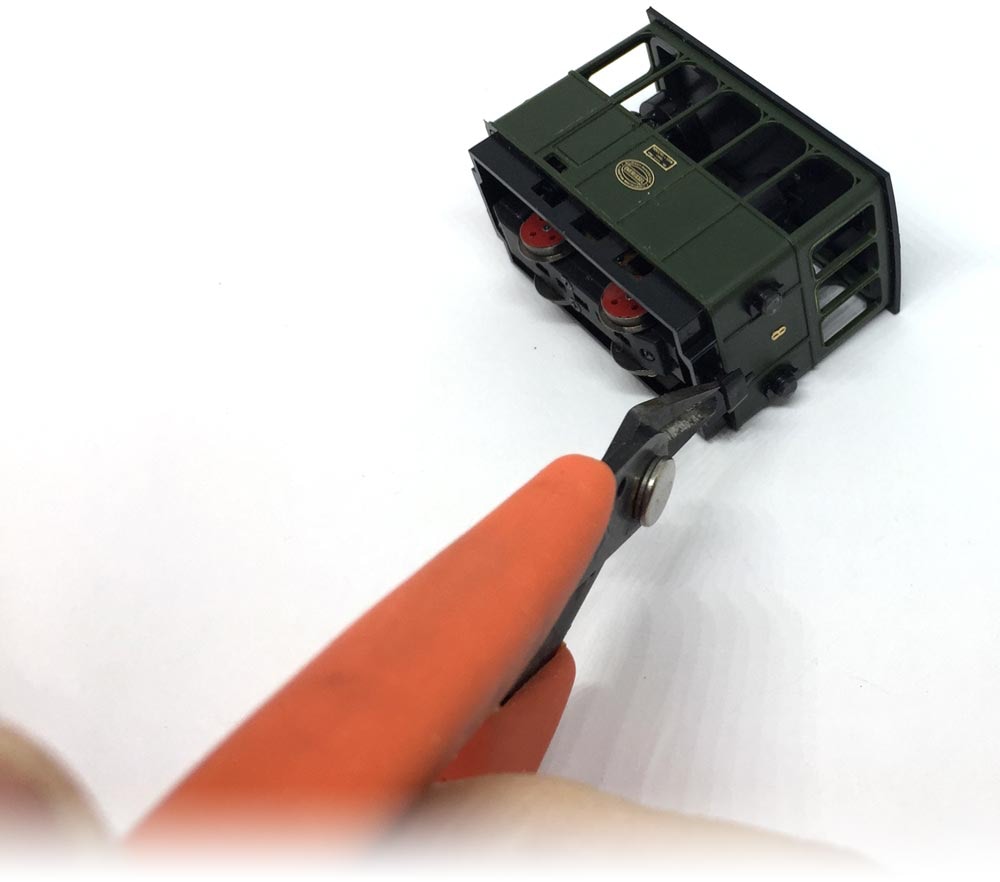
Cut the coupling off. I like the Xuron side cutter, for example their Rail Cutter. Not much cleaning up has to be done.
5
Fit couplings
Use a very sharp item to mark a hole right on the bottom edge of the cut, centred of course. Then use a 0.5 or 0.6 mm drill to (hand!) drill the hole, then use a larger drill, until you reach a 1.1 mm hole. Glue the black painted coupling with superglue.
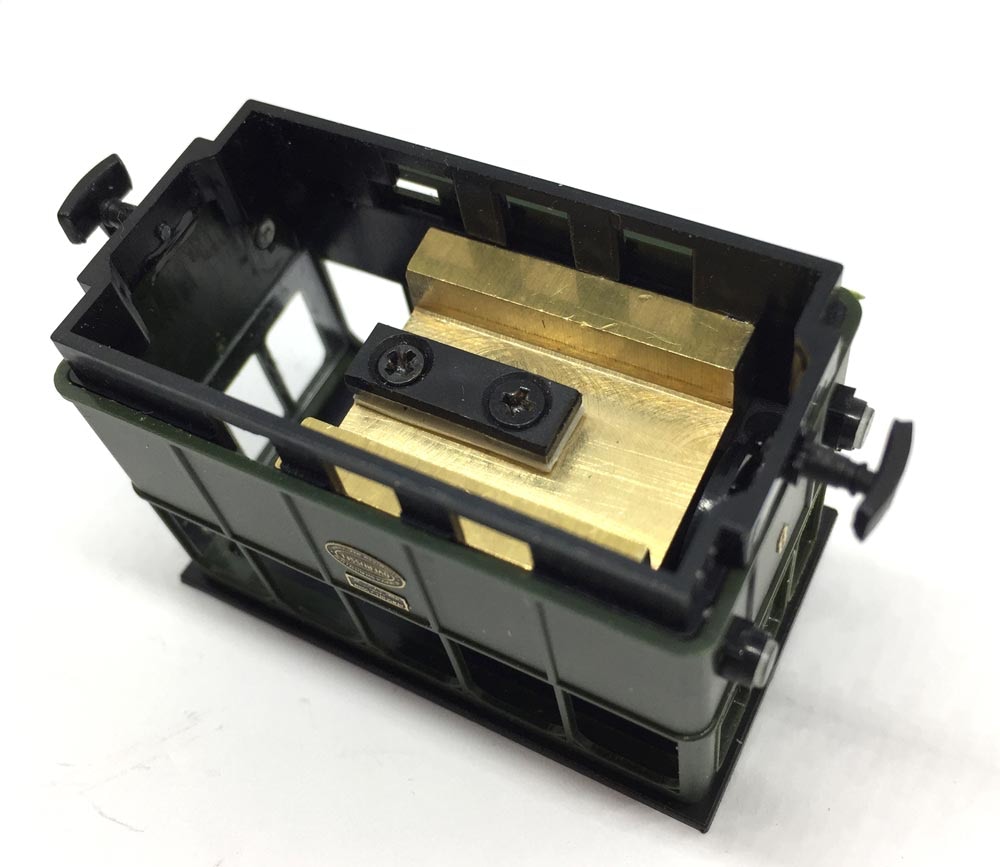
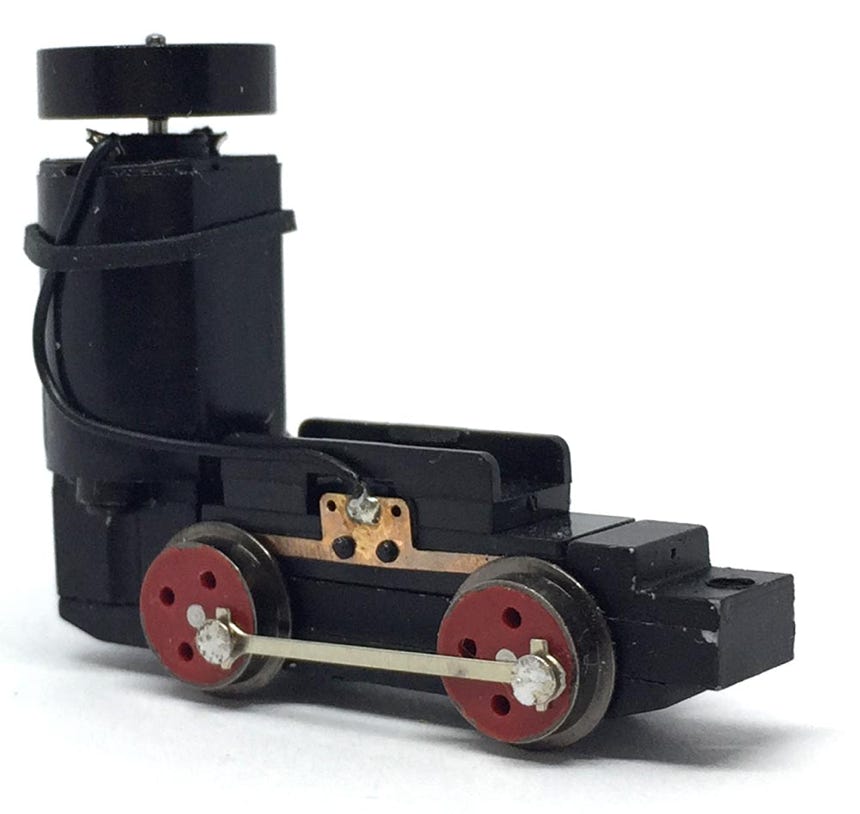
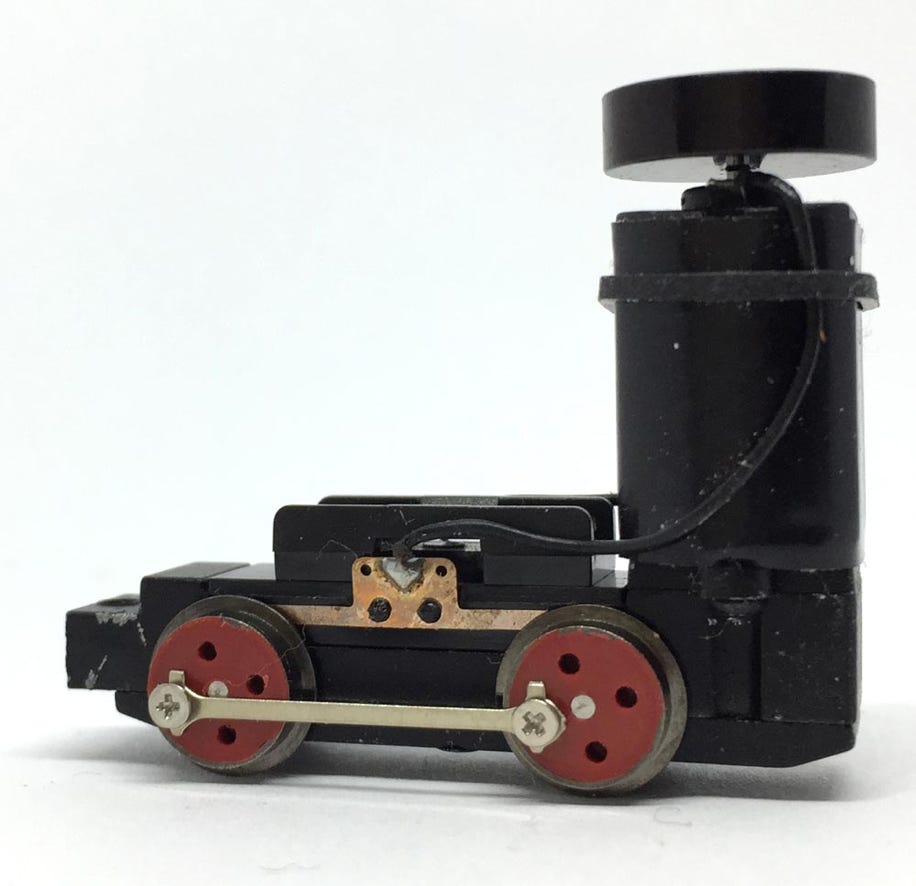
Remove the motor by pulling it on the front of the motor. You can give a firm pull, to pull it off the clips in the middle.
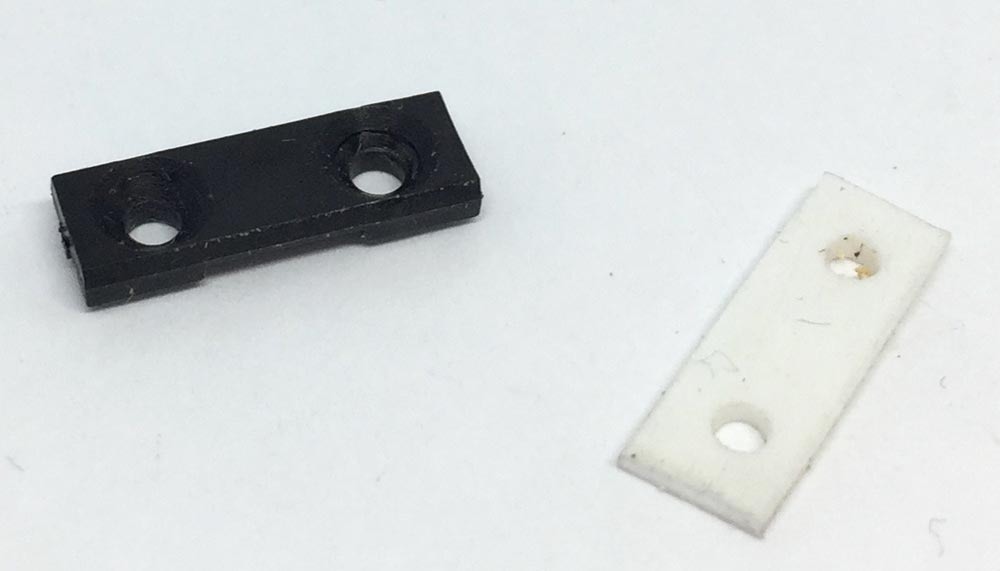
2
Remove the two screws and take the black plastic plate out. Use this as a template to drill two holes in the white plastic plate, which is supplied in the kit. The holes need to be of similar size as the ones in the black plate. Then fit the white plate between the brass block and the black plastic plate.
4
Paint the couplings and bell black. I used Vallejo black and varnished it with Citadel Munitorum varnish (=satin).
6
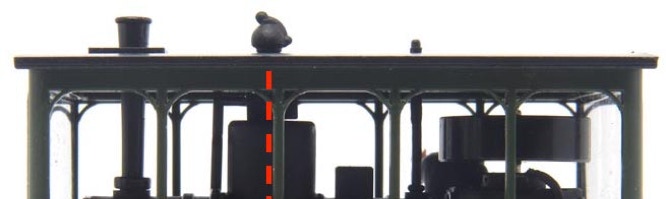
Glue the bell
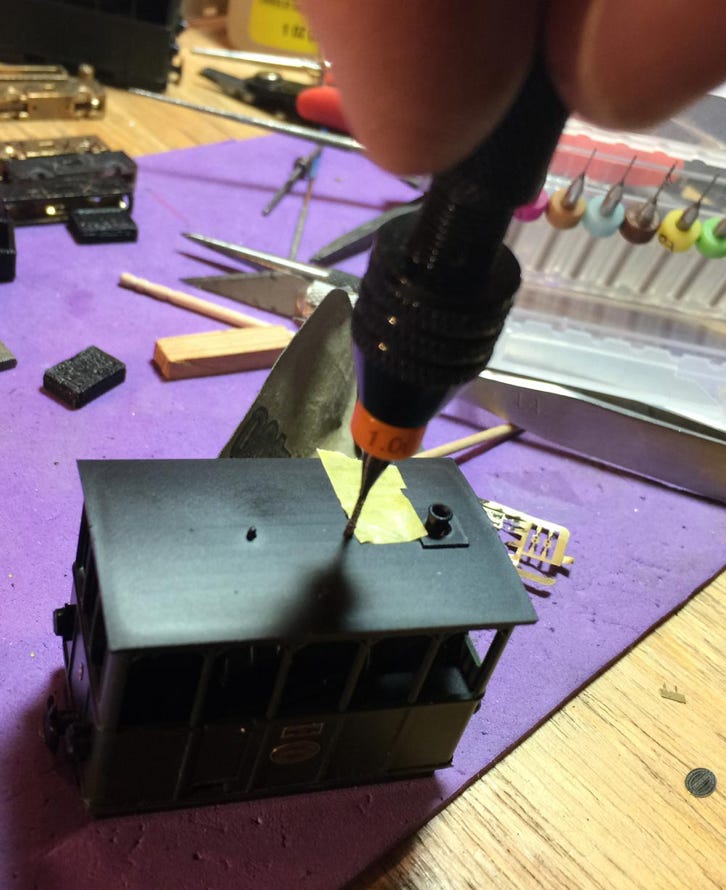
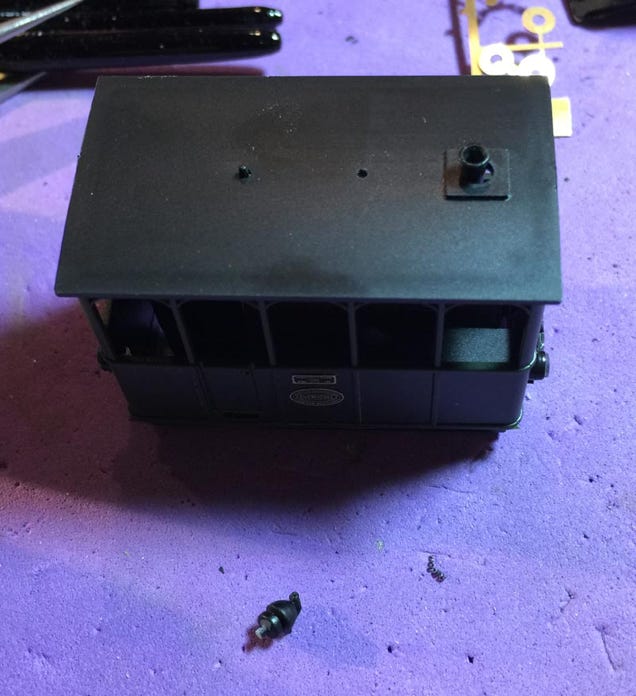
The bell-clapper (NL: Klepel, DE: Klöppel) was pointed backwards on the original. The position is STRAIGHT under the dome. Drill an 1.1 mm hole and fit the bell (advised method), or cut the pin from the bell and glue it in place without the need to drill a hole. When drilling, use the careful method explain before with the couplings. You can also use the aid of masking tape around the hole to make, to make it easier to mark the spot. I find milling drill bits better to make hole like this, than generic drill bits.
7
Fitting coupling rods can be an easy job. Check if the wheels are similar positioned. The wheel furthest from the motor has a lot of play, so you have a lot of flexibility. But check that at one point all the holes of each wheel is pointing in the similar direction as the other. Otherwise remove the 4 screws in the bottom and turn wheel until correct. Then you can push the screws in, no need to turn them. They have a friction fit.
9
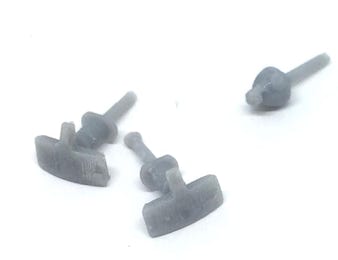
Fit pole reverser
Cut the nickel silver etched piece to size and glue in place. I actually use Blu-Tack/Poster Tack/Buddies to fit it temporary, so I can reposition it if needed when taking a picture. Optionally, place a figure, but it’s difficult to get it in the right place. There is no footplate. This figure is also been held in place by Blu-Tack.
Done!
8
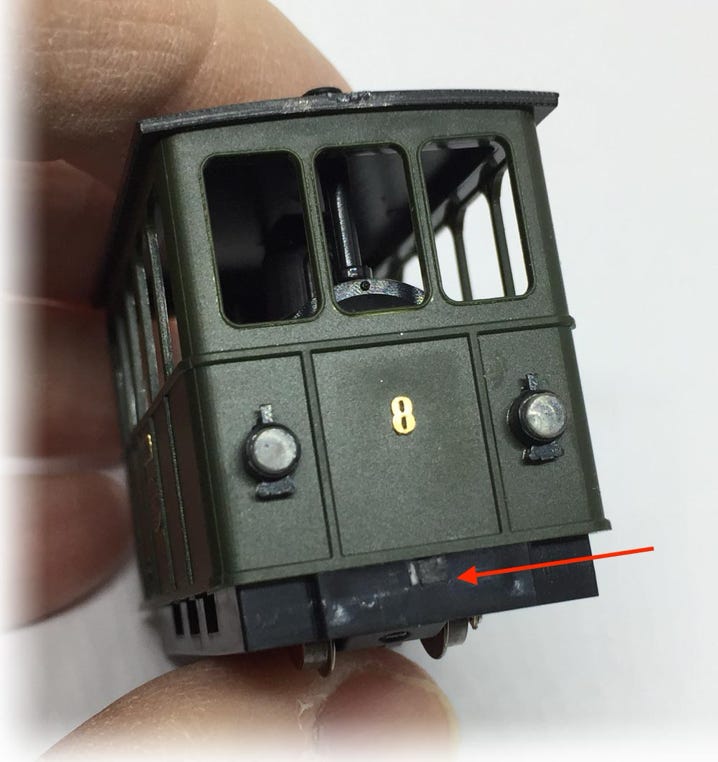
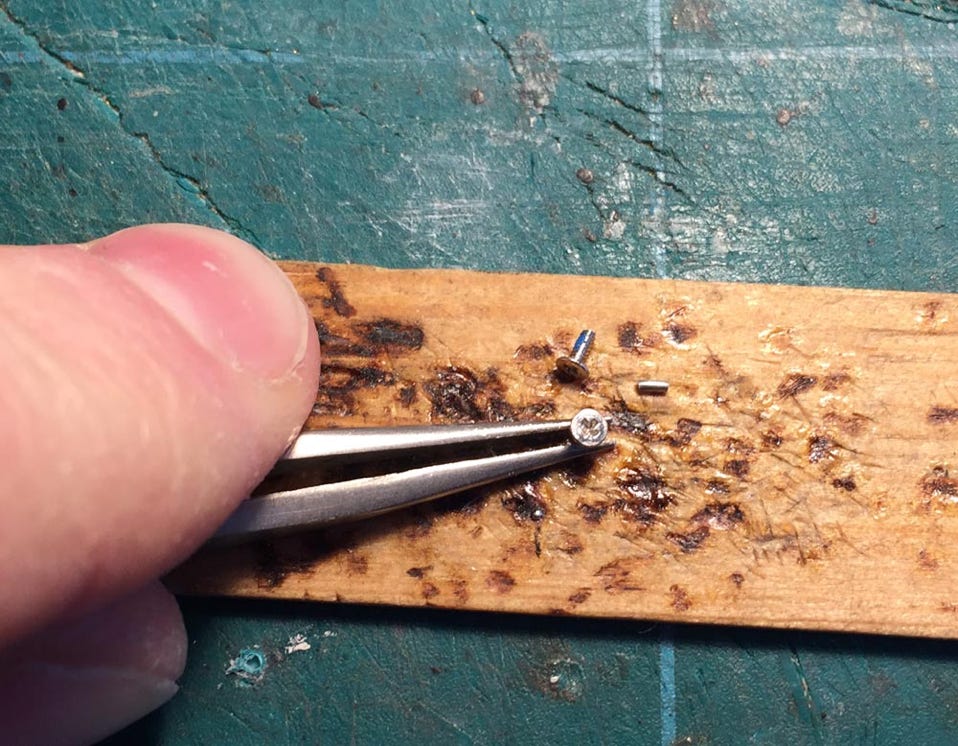
Optional added look Personally, I don’t like the look of the Phillips screw cross and as we don’t have the turn the screw to put it inside the wheels, but just to push, we can put a bit of fluxed solder in the cross. This will fill up the hole. Smoothen it with fine sandpaper. On the picture below you can see you need only a little bit of solder (right from screw). You can see the result at the image at the left side.
•


