UK based
Prices for UK customers are shown inc 20% VAT
Other countries, inc EU, prices shown are ex VAT.
UK based
Prices for UK customers are shown inc 20% VAT
Other countries, inc EU, prices shown are ex VAT.

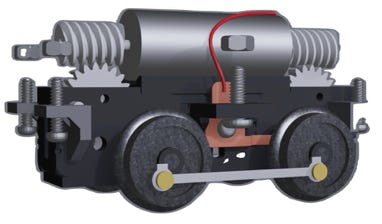
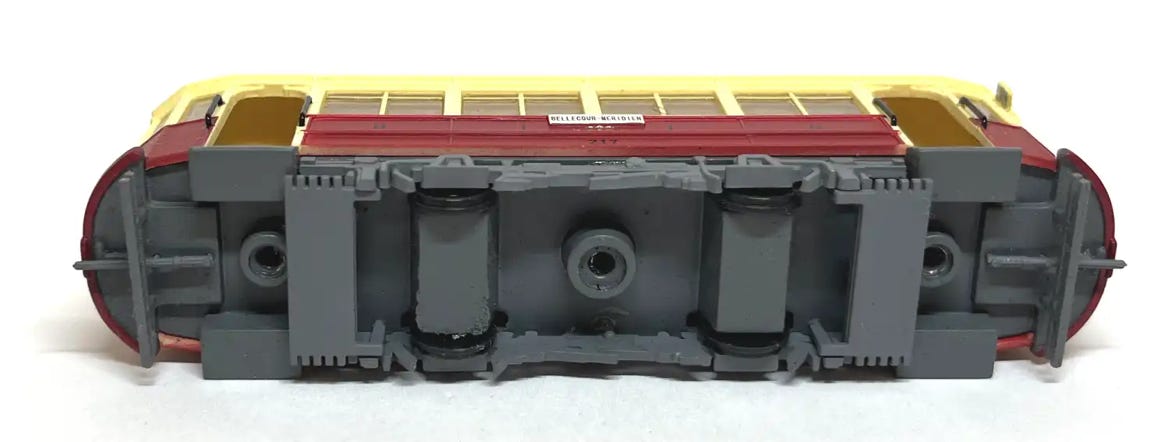
The assembled motorised chassis specs:
- 8 mm disc wheels
- RP25
- Wheelbase 30 mm
- 0716 coreless motor, 11,000 rpm
- 1/87 Scale speed at 3V: 13 KMH = 8MPH
- 1/87 Scale speed at 12V: 67 KMH = 41.6 MPH
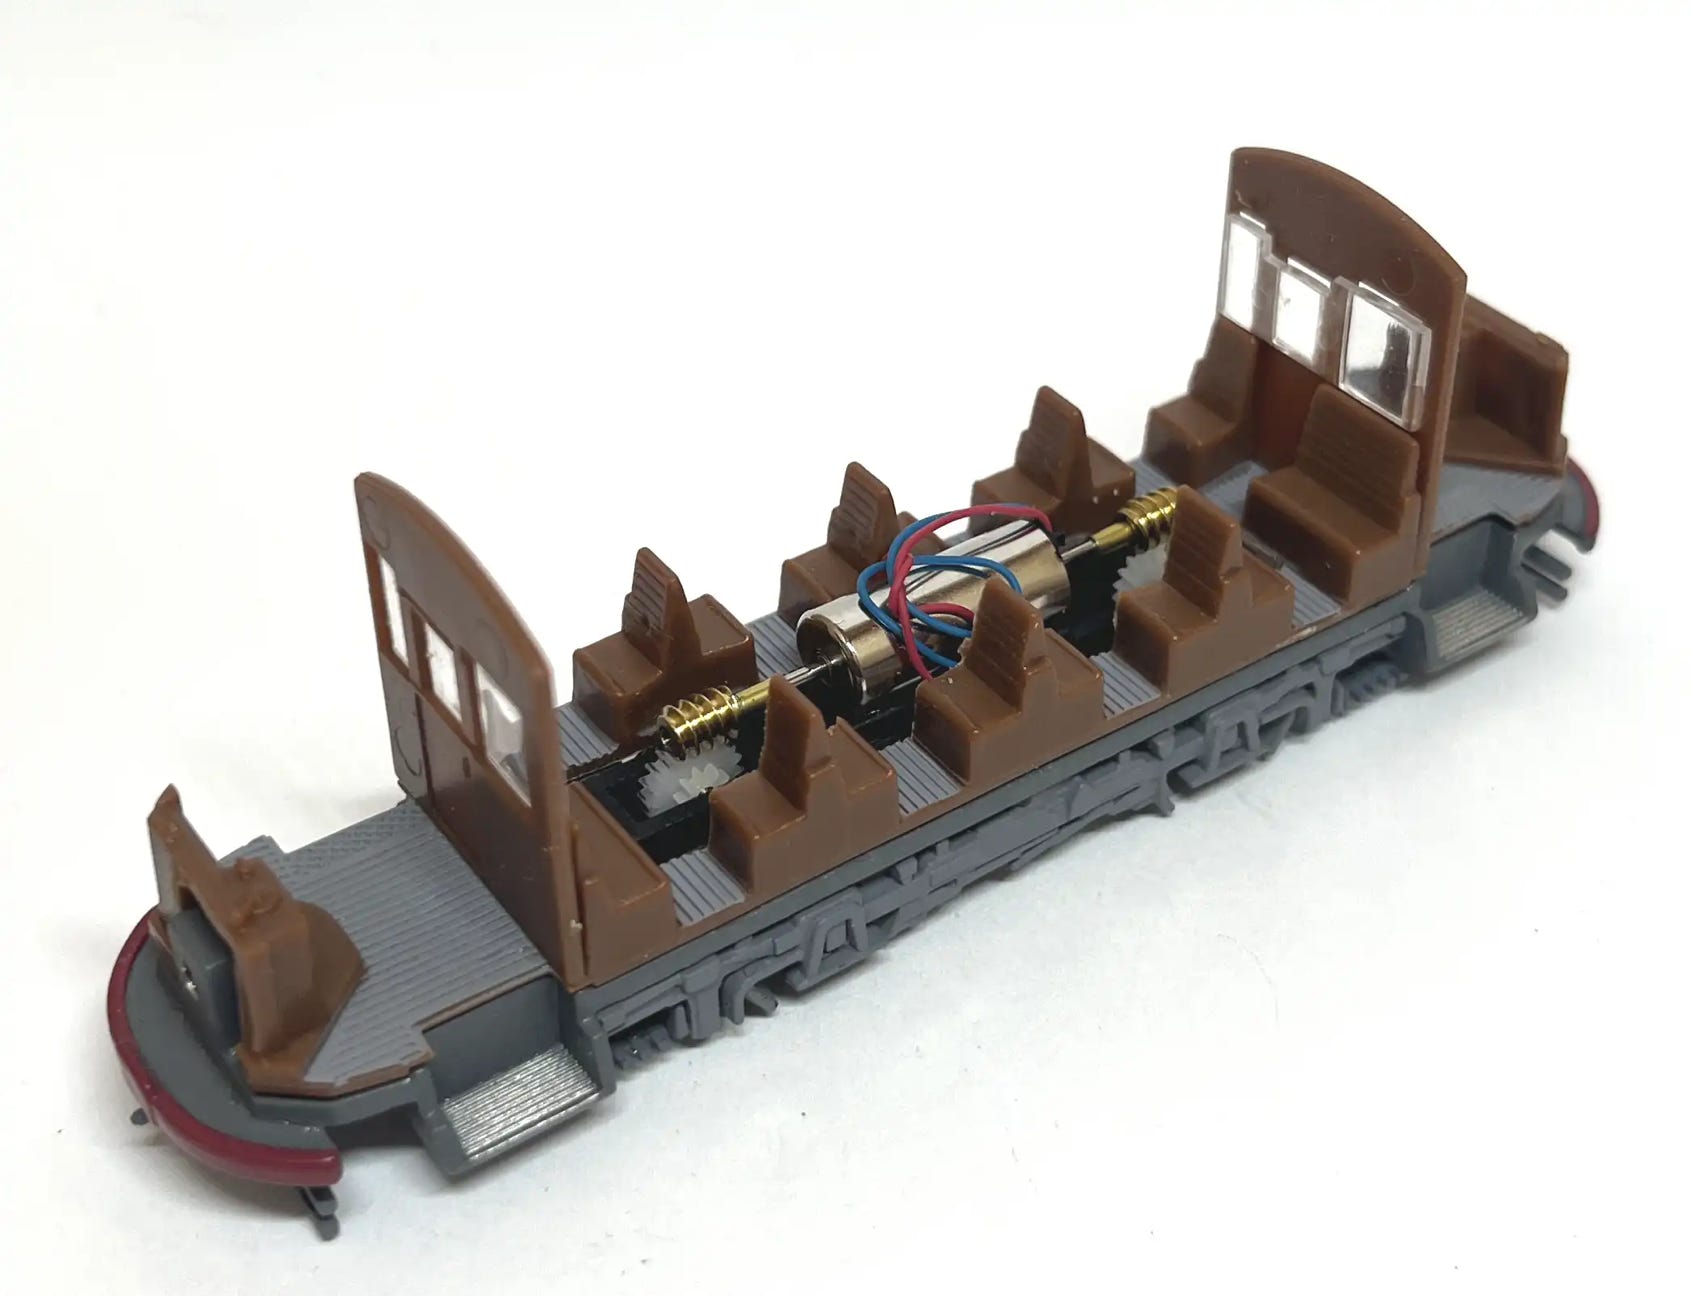
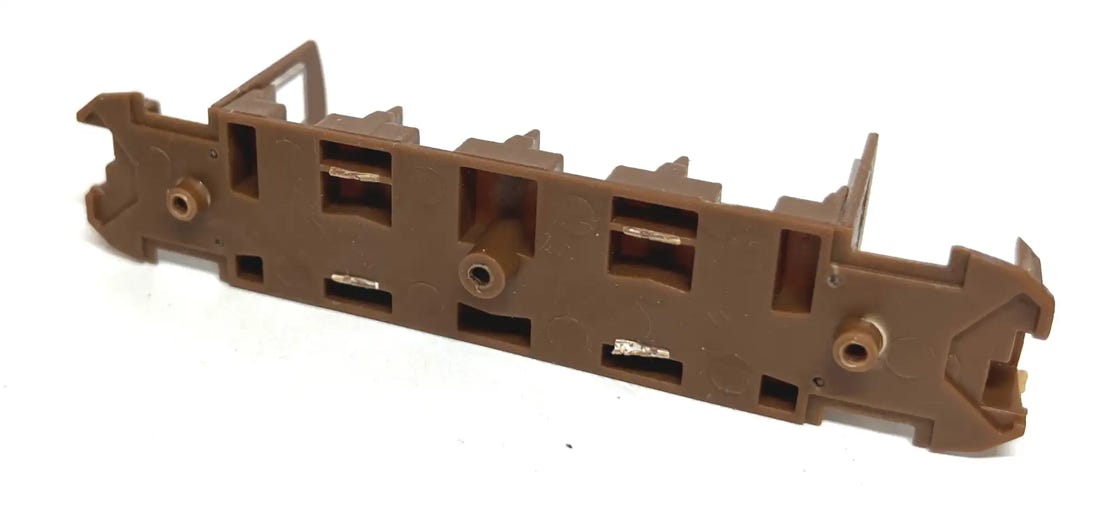
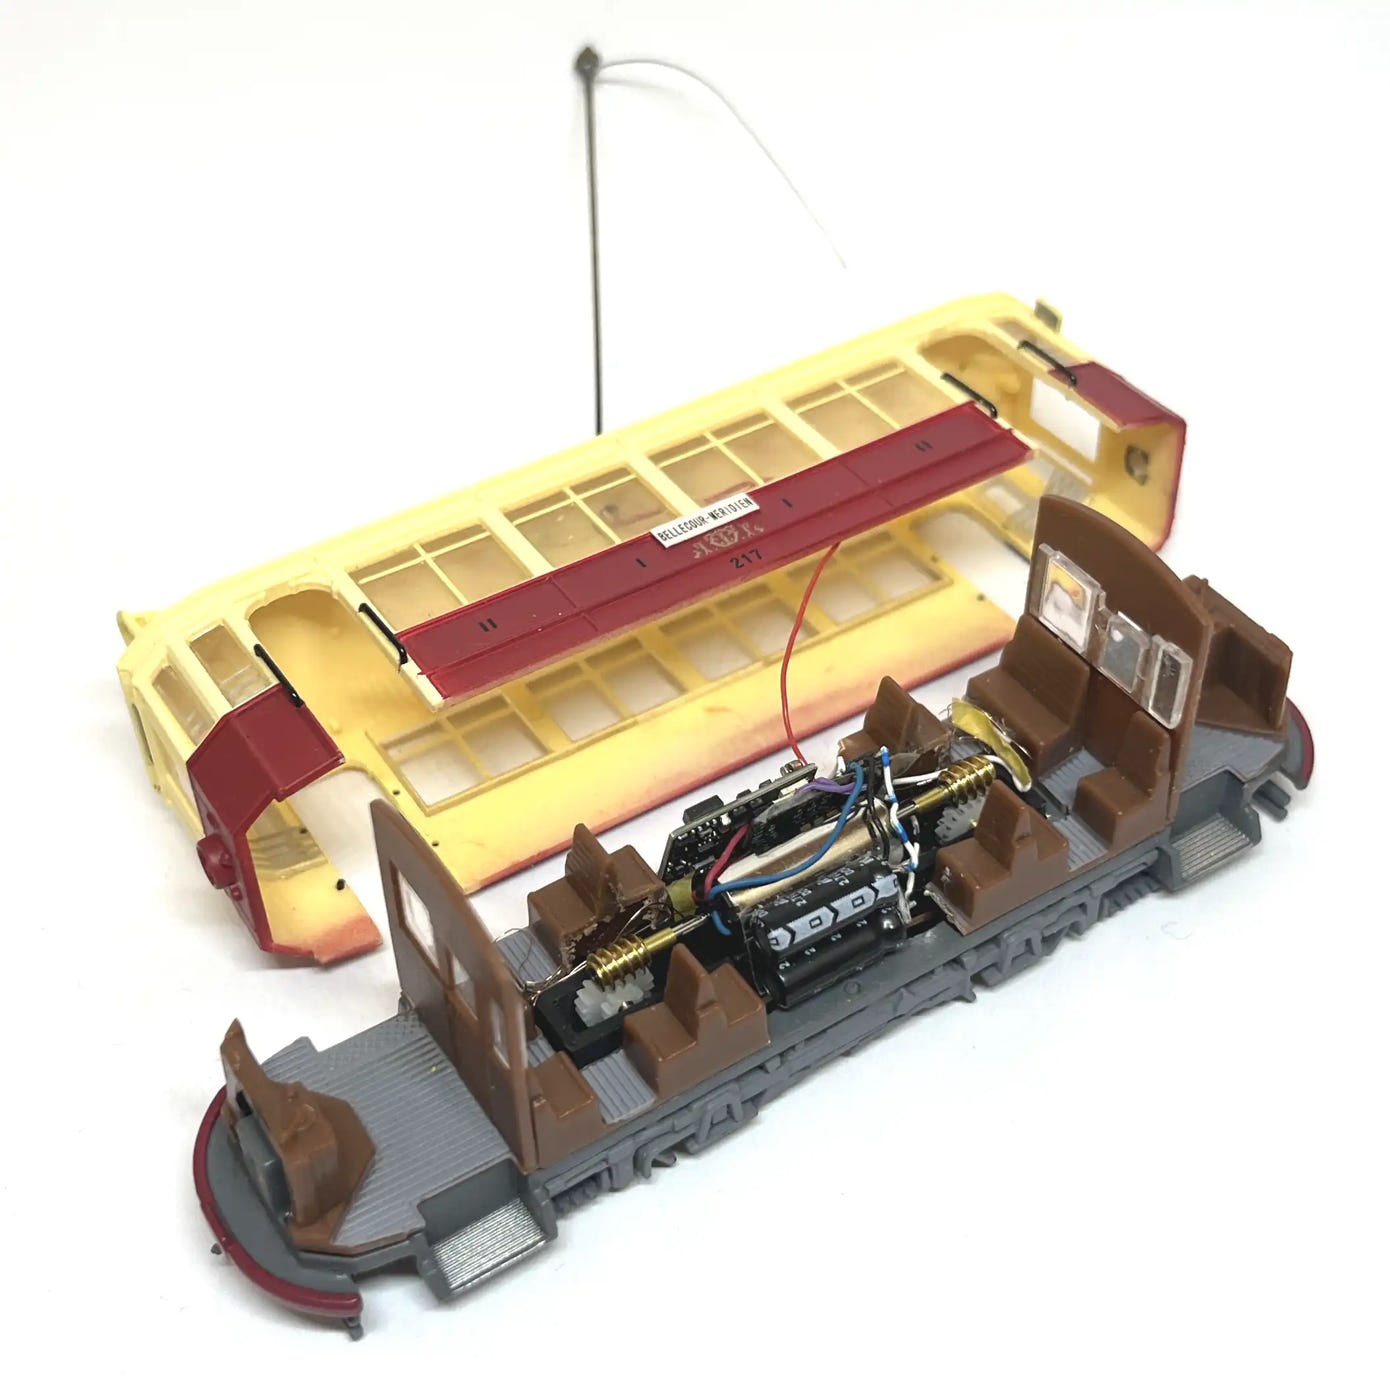
For this upgrade, you need to saw out the bottom metal plate and plastic interior with a coping saw. The motor is then pressed in place.
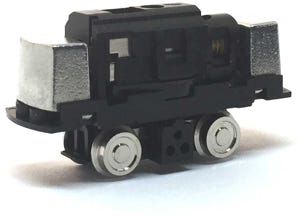
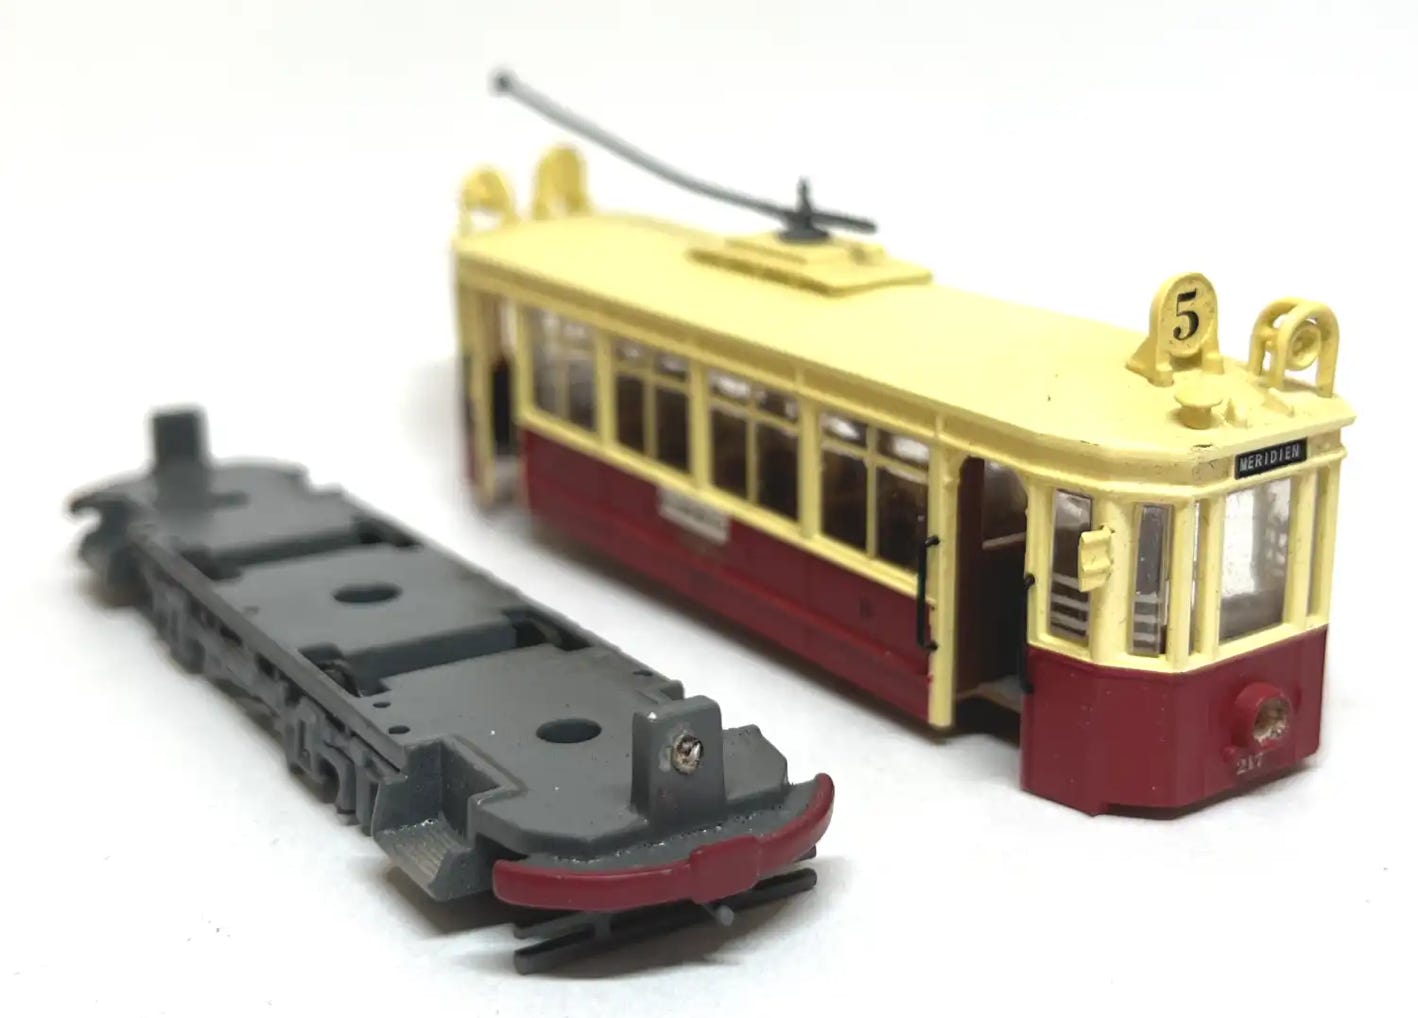
Take apart - Disassembly
Remove the screws. They are holding the interior in place.
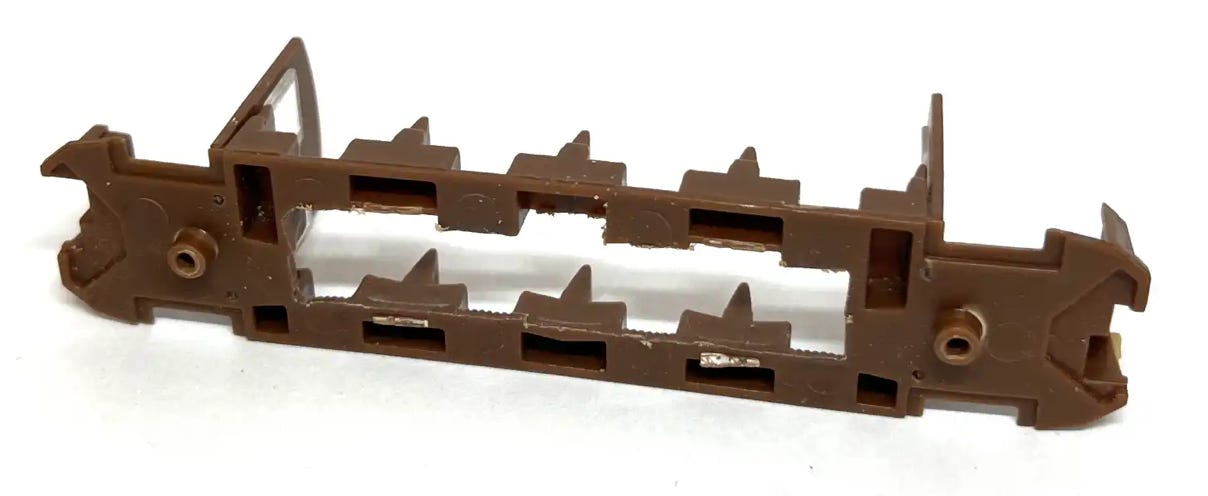
Carefully drill a hole in the head lights on both sides of the tram. The lamps are holding the chassis in place. When you fit the housing later, it will stay well enough in place with friction. Start by pressing a dent in the middle of the lamp with a sharp, pointy thing. Then start with a small drill in a hand vice. Do not use a motorised drill, as you will either melt the plastic or cause damage beyond the lamp. Increase the size of the drill bit to get to the needed diameter. The hole is eventually Ø2.5 mm.
Because I am fitting working lights, I drilled the hole completely through in the part of the metal frame (not shown). But I’m using a 2mm drill bit for this, as my acrylic light rod has that diameter.
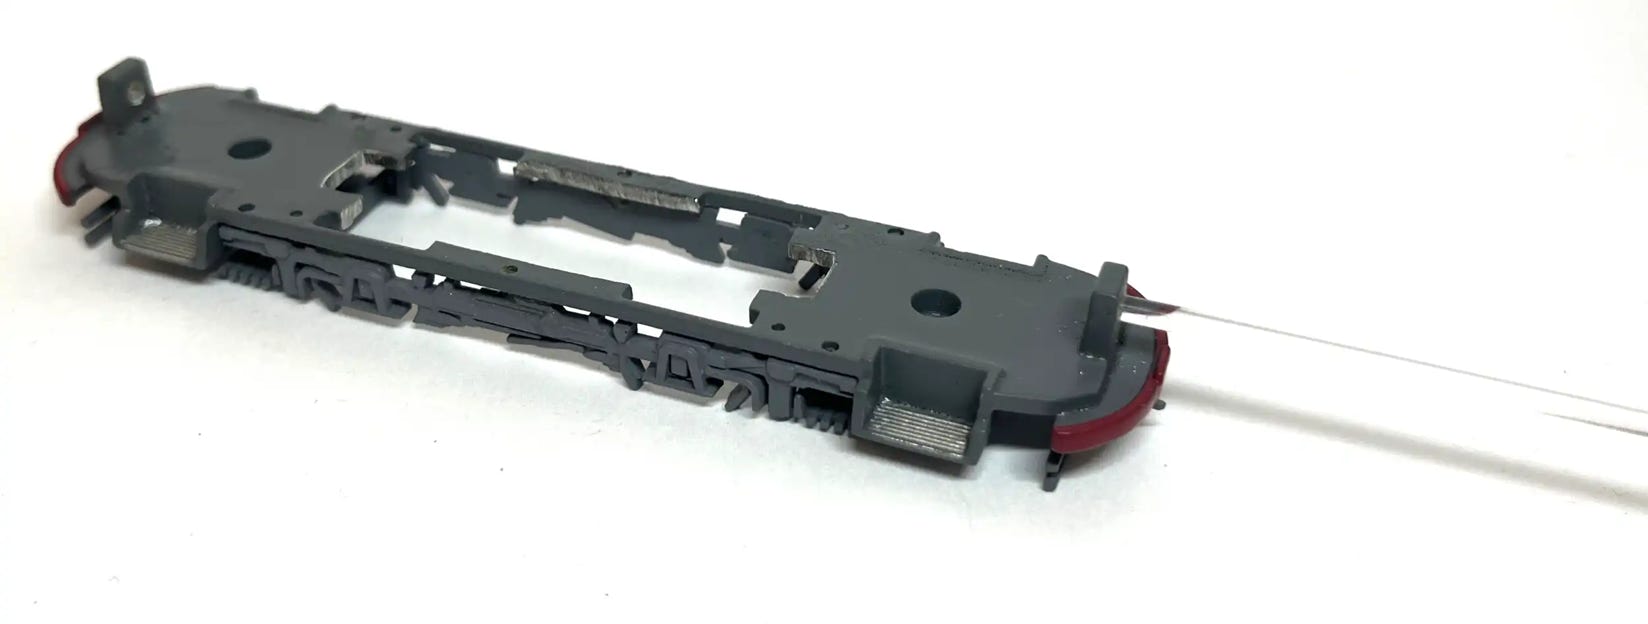
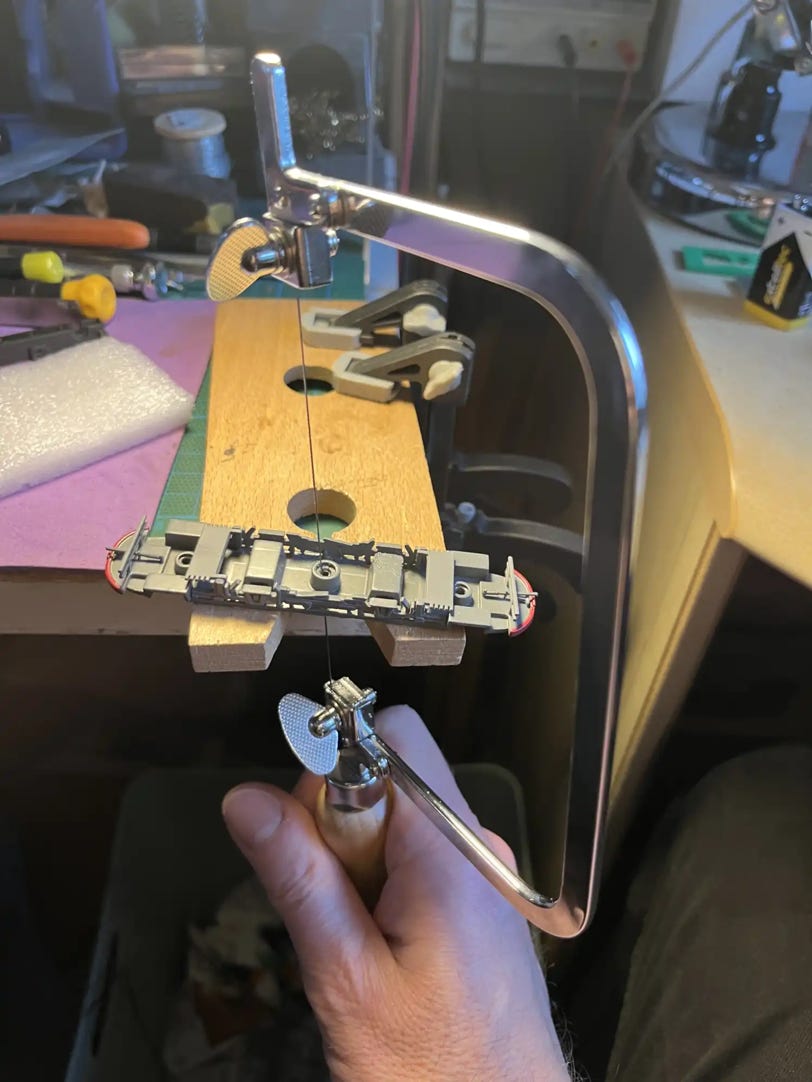
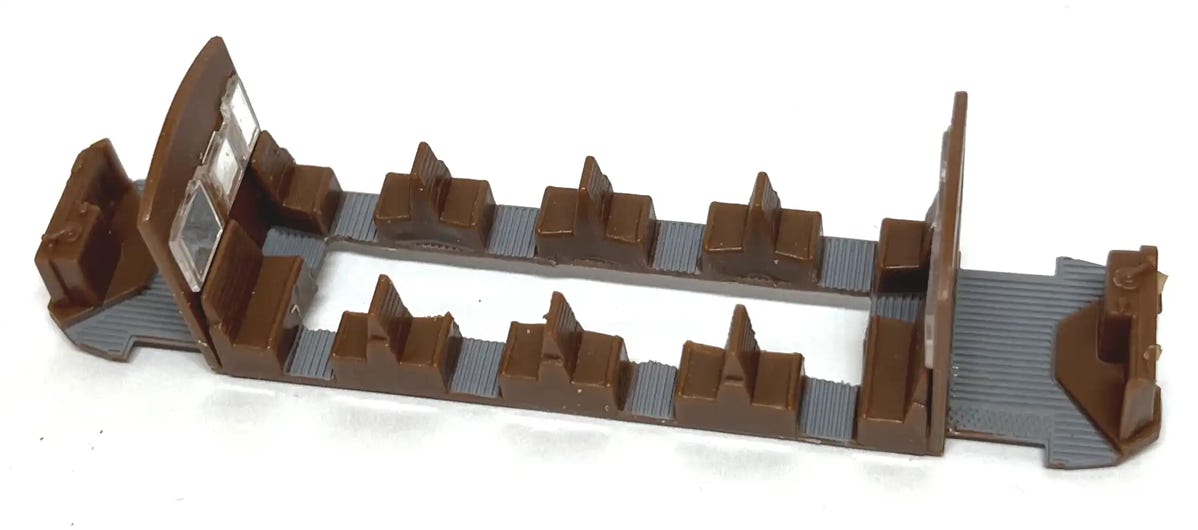
Take the wheels out and with a coping saw, saw a hole as pictured in the metal frame.
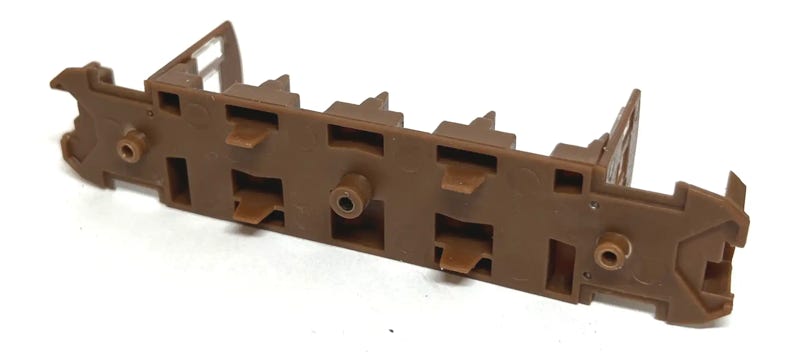
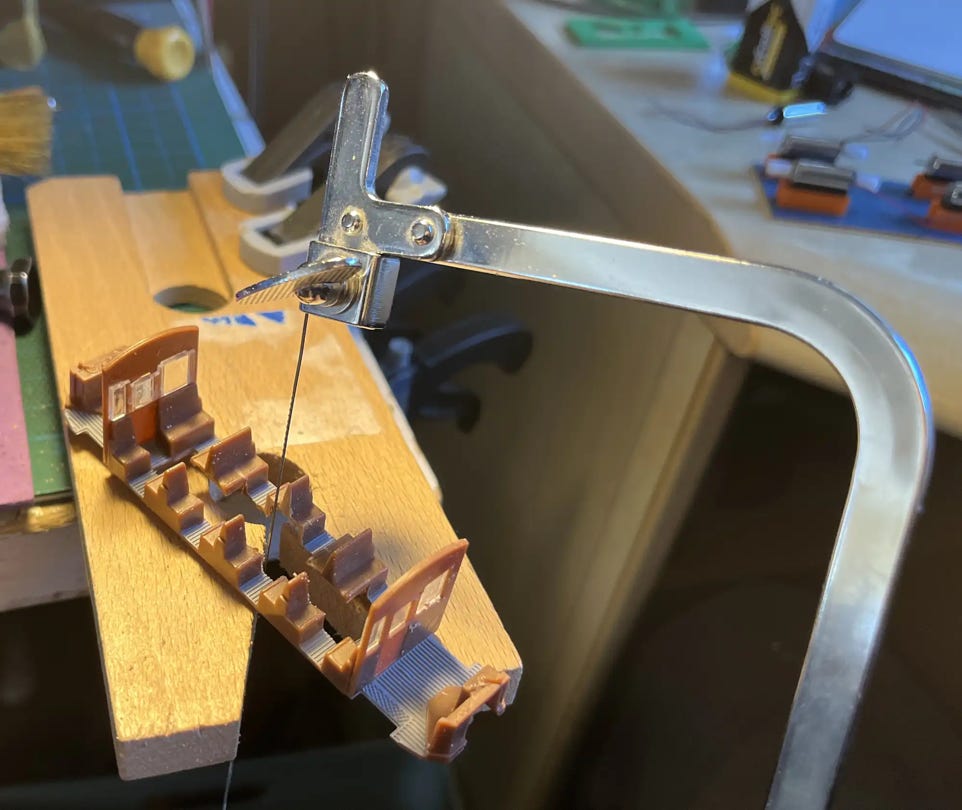
Cut the four tabs on the bottom of the interior part. I use a Xuron flush cutter for this.
Use the same coping saw to make space for the motor in the interior part.

If you want to fit working lights, the LED will be placed behind the metal piece that sticks up. The hole is 2mm if you have a 2mm transparent acrylic rod. Press this in so it fits completely in the hole and saw it to size.
If you don’t fit lights or DCC, press the Allrounder© drive in place and re-assemble the model. Fit the two screws that hold the interior to the metal chassis.
Then you’re done.
DCC fitting
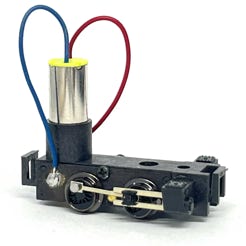
It is possible to fit DCC into this model. I would advise to use a Train-O-Matic Micro Next18 decoder with Zimo STACO2A stayalive, for your full enjoyment. The Next18 decoder slots into the STACO2A PCB board and you stick them with thin double sided tape on one side of the motor. Make sure the double sided tape covers the electronics, so no part, besides the tape, is touching the metal of the motor. The two capacitors will be taped to the motor on the other side.
For the lights I used pre-wired 0402 LEDs. The wires go between the footplate and the metal chassis. The LED is glued to the transparent rod. You can see the thin copper wires on the picture.

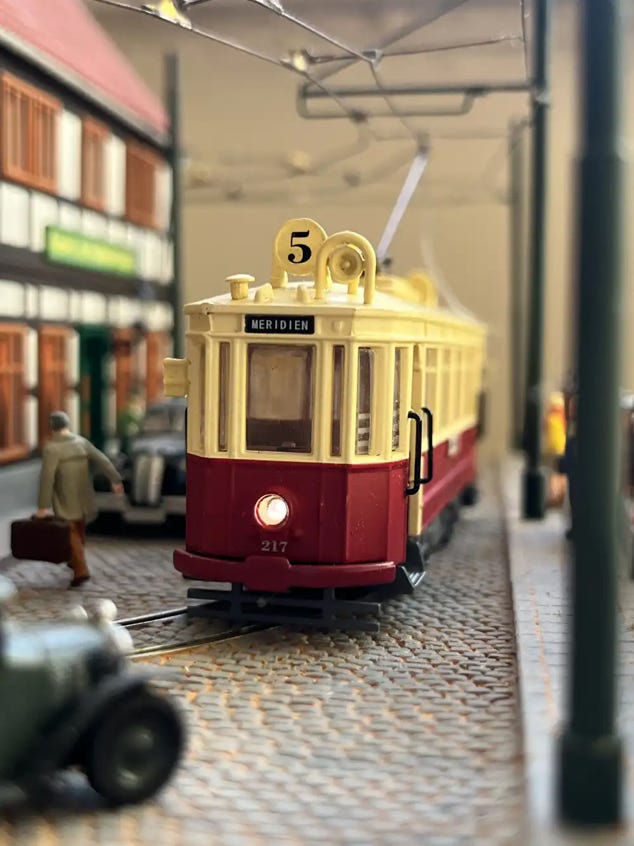
Model pimped with trolley pole by P.C. Trams (Kit - Built)