UK based
Prices for UK customers are shown inc 20% VAT
Other countries, inc EU, prices shown are ex VAT.
UK based
Prices for UK customers are shown inc 20% VAT
Other countries, inc EU, prices shown are ex VAT.
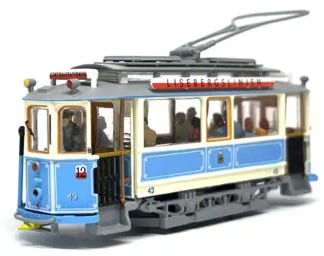
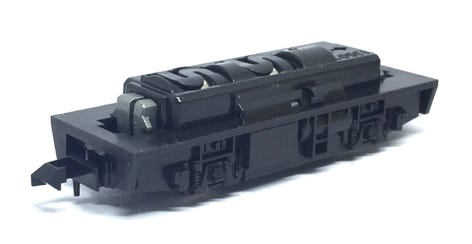
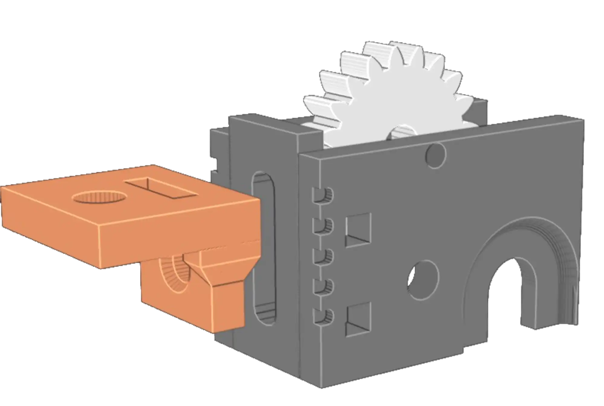
The Tramfabriek Allrounder© chassis is a development of many years building chassis for small box style locomotives. I was looking for the smallest and best solution, that would give great running capabilities at slow speeds and be quiet. One of the downside of the commonly availably (often Japanese) small chassis, is that the motor often drives the wheel axle, which causes the chassis to behave like a Mini Cooper on Brooklands. Another classic problem is that you have limited connection options to the frame of the model loco, as often the available drives were made to click in the own models of the manufacturer. The Tramfabriek Allrounder addresses all those issues.
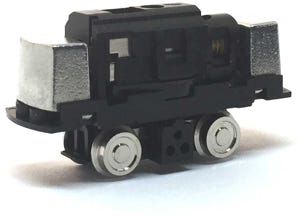
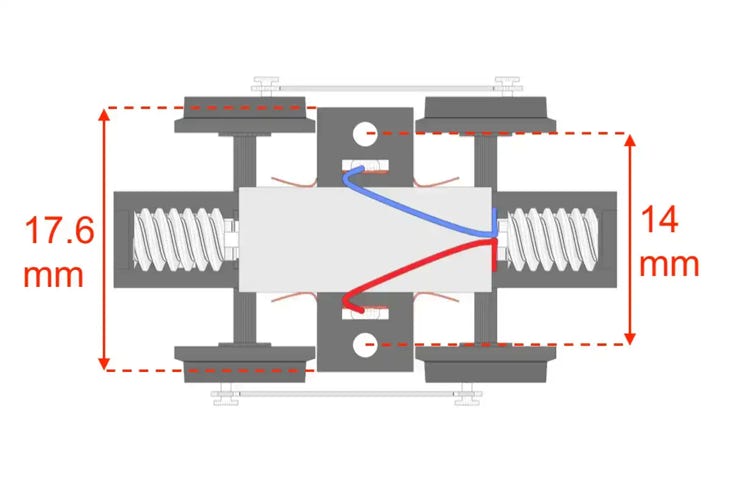
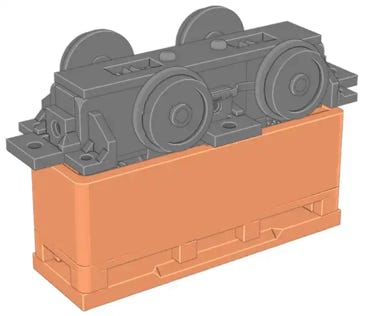
16 mm wheelbase with 8mm wheels
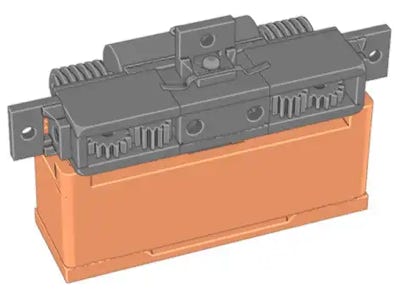
The Allrounder© has these really handy wings, so you can connect your drive in many different discrete ways to your model. Please note that a set of all wings are supplied with every Allrounder©, but the screws of the Corner Wings are optional, in order to avoid waste when people don’t need them.
There are many ways possible to use the wings. You can use only the centre wing, only the front wings or only the corner wings. Or a combination of it. You can screw the chassis to your model, or with a little bit of glue.
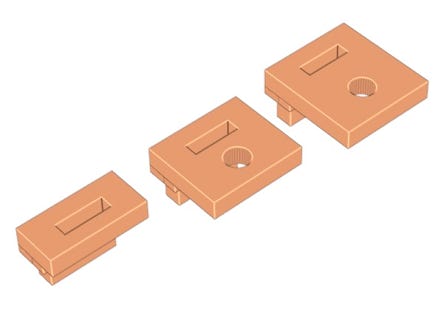
Three different sizes of Centre Wings are supplied. Select the one that fits in side your model.

Features


Proper Gearing
Not saving on quality gears, gives this chassis smooth running at every step. Excellent slow running, but also a more realistic maximum speed for small models.
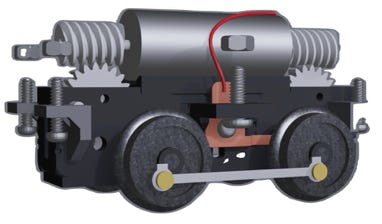
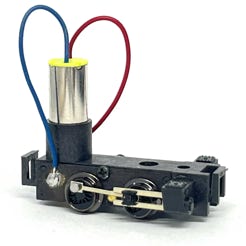
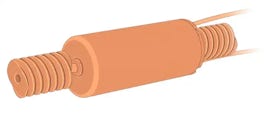
Coreless Motor
Popularised in the model train market by the Tramfabriek for a very good reason: these little 12V coreless motors are brilliant. Quiet, low current use, no snapping and staying cool. Used with proper gearing, you really get the best out of them. RPM is around 11,000 rpm.
Brass bearings and steel pins
On the axles there are brass bearings and the gears run on steel pins, to assure stable, reliable and durable running.
Several ways of connecting to model
Every model locomotive is different, so for each project you can decide how to connect the drive to it. The Allrounder© has many ways to choose from with the innovative and flexible Height Wings. All the different ways are displayed further on this page.
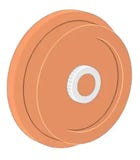
RP25 Wheels
The Allrounder© is available with 7, 8 or 9 mm RP25 wheels, which means it has slim, more realistic flangs than traditional “pizza cutters”. From wheelbase 17mm and up, 10.5 mm wheels are possible as well.
Available in different wheelbases
And more to come
Included with one Allrounder©
- Complete chassis, ready to run. Coupling rods optional.
- 8 Centre Wings (4x L, 2x M, 2x S)
- 2 Screws (5mm long) and 2 bolts M1.6 for Centre Wings
- 4 Corner Wings
Watch a video of the Allrounder in action:

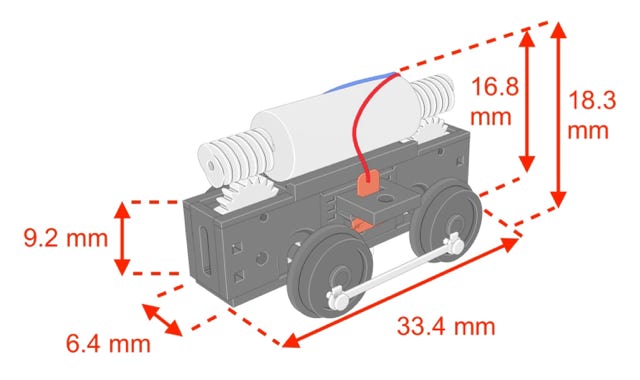
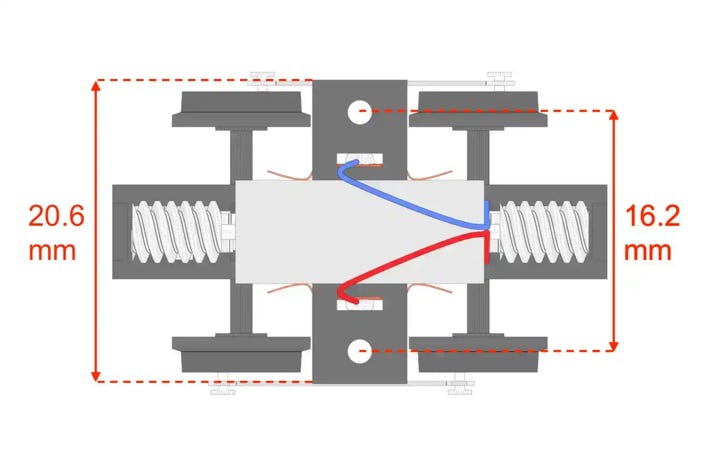
Any other wheelbase will have the same dimensions, just add the difference to the length. So the chassis for a 20.7 mm Allrounder© will be 4.7 mm longer than one with a 16 mm wheelbase (20.7-16=4.7).
Centre Wing Size M
Height Wings
Centre Wing Size L
Front Wings
Centre Wings
Corner Wings
Front Wings need to be glued at the correct height to connect the drive to the front and/or rear of the model. The slot in the chassis is for the guiding pin on the wing.
Maintenance options
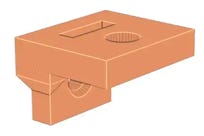
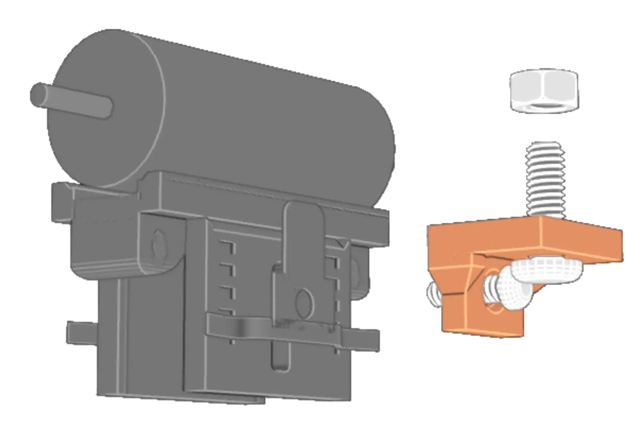
The screw of the Centre Wing hold the contact in place, as well as the wing. It connects to the bolt inside the drive and the wing can be raised or lowered to the desired height, to support the model. The bolt will secure the bottom plate of the model to the Centre Wing.
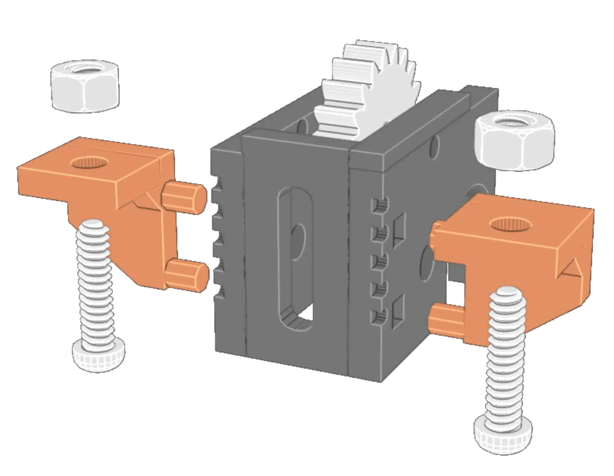
The Corner Wings can be used as extra support when the Centre Wing is connected to the bottom plate of the model. They can be used with or without screws. Or they can be the main support of the model, leaving out the Front and Centre Wings. The Corner Wings have a supporting platform, which can be turned inward or outward of the wheels. Or the platform can be cut off, if they only serve as additional support.
Maintenance cradle
The Allrounder© chassis has an awkward shape to lay on the table. This maintenance cradle I mainly made to make the work on the drive easier for myself. For those who like to have a copy of it, I have made it available. What I did myself was to stick the flat bit with double sided tape to a bit of thick cardboard, so the cradle can be held in place. You can turn the cradle around and stick the other side on.
Here two examples on how it can be useful.
Screwdriver
The screws used in this chassis are M1.2 and M1.6. Not everybody has a screwdriver for that size, so you can purchase this here. Included is a small magnet, to clip on the screwdriver. This way it becomes magnetic and makes it easier to fit the screws. The diameter of the head of this Phillips screwdriver is 1.5 mm, in case you want to check with what you’ve already got.

For the small manufacturer
If you are one of those many designer of 3D printed model trains who is looking for a good chassis for your model, then the Allrounder© might be something for you and your customers. Contact me to talk about custom solutions. Changes to the chassis with different wheelbases or custom connectors can be made on request.
DCC fitting
Fitting DCC is very easy. Just desolder the red and blue motor wires, no need to take apart anything else. Then solder the orange and grey decoder wires to the motor wires (or, if you feel brave, solder the motor wires directly to the decoder). The red and black wires from the decoder are soldered to the phosphor bronze wheel contact strips for track power. Remember when soldering: quick in, quick out. The chassis is made of plastic, so it would melt if you touch it or linger on the contacts too long. Luckily you have been given extra Height Wings, so you have a second and even a third chance if you mess up. On the picture you can see to what coloured cable of the decoder you need to connect the drive.

Train-O-Matic Micro decoder
Stayalive
My advice is, if you have the space, to purchase the brilliant Zimo STACO2A Stayalive (see at the right). This gives you an extra few seconds of back up power, which is really essential with light locos with a short wheelbase in DCC. The great thing is that this stayalive PCB integrates the tech for the Stayalive and doesn’t take much more space than the smallest stayalives without this feature! Another benefit is that it is now practically risk free to solder the motor wires directly to the PCB without the chance of damaging the decoder, making the wiring much cleaner and compact. Please note, this is only the Stayalive board, so you need a Next18 decoder, which can be gotten without sound and with sound from the Tramfabriek.
Stayalive with Next18 socket
STACO2A
Solder wires to model and plug in any Next18 decoder, for stutter free performance.
- Size: 14 x 10.4 x 1.9 mm
- 13 colour coded wires
-With 2 Nano GoldCaps 0,3F/2,7V (4x12mm)