

UK based
Prices for UK customers are shown inc 20% VAT
Other countries, inc EU, prices shown are ex VAT.


UK based
Prices for UK customers are shown inc 20% VAT
Other countries, inc EU, prices shown are ex VAT.
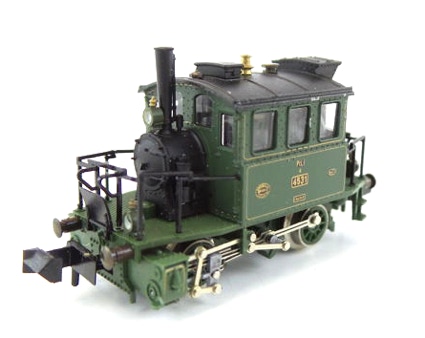
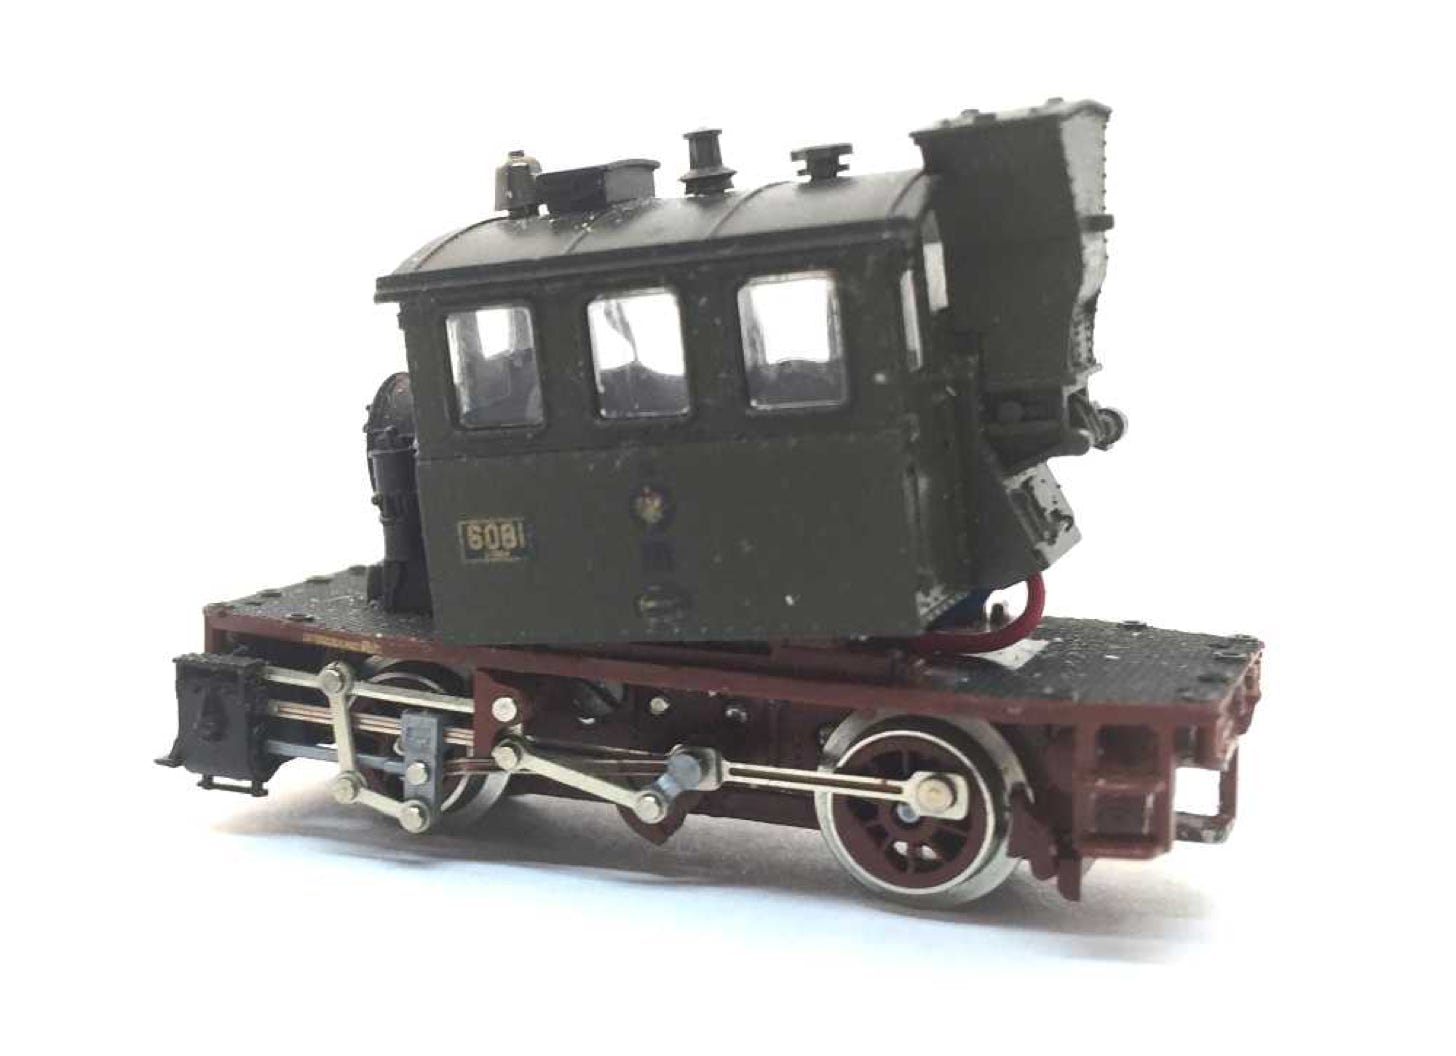
Conversion Minitrix Glaskasten
to 12V coreless motor
Lots of space to fit a decoder out of sight!
Fits Minitrix art 11009, 11012, 11015, 11020, 11021, 11087, 11102, 11617, 12004, 12005, 12011, 12015, 12016, 12017, 12114, 12212, 12241, 12256, 12430, 12606 and 12714
Question? Just reach out!
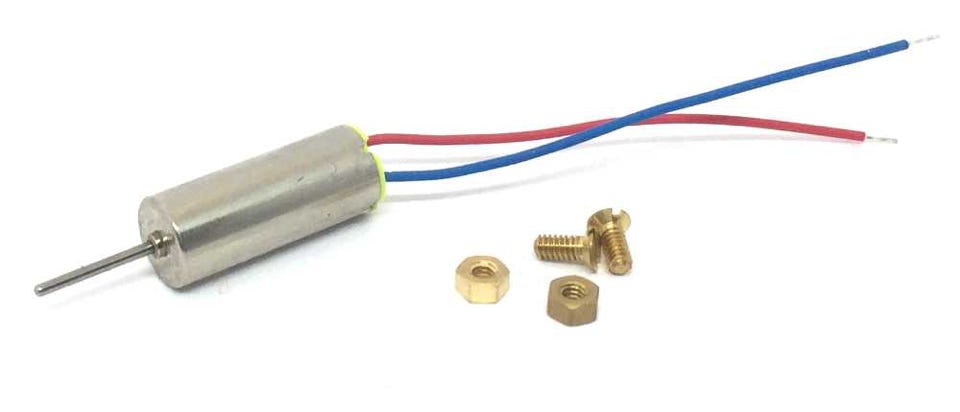
What you need for conversion set
- The model and upgrade kit
- Small Phillips screwdriver
- Soldering iron 15W/25W
- General model making tools
Installation time: Around 45 minutes
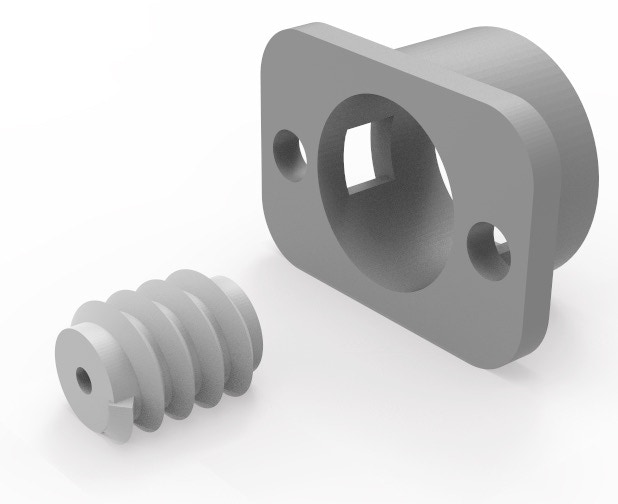
Contents of the kit.
Take apart
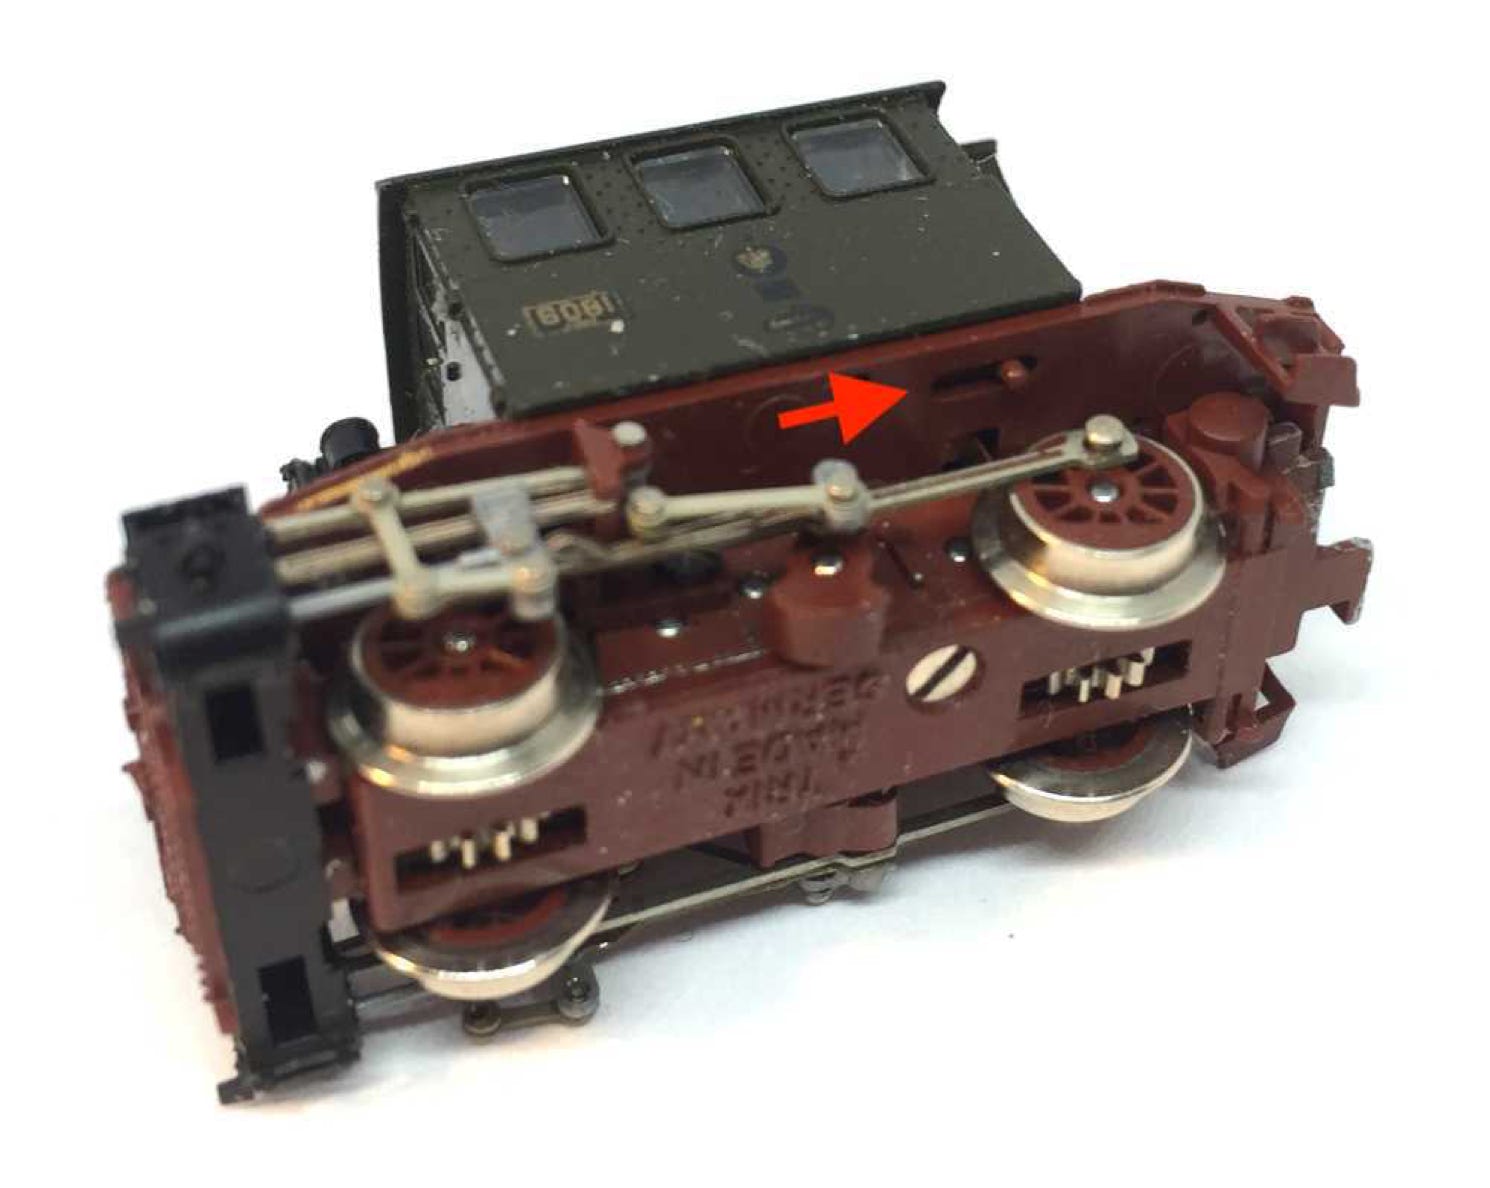
1
Slide the little pin on both sides of the model to the right, to release the cabine.
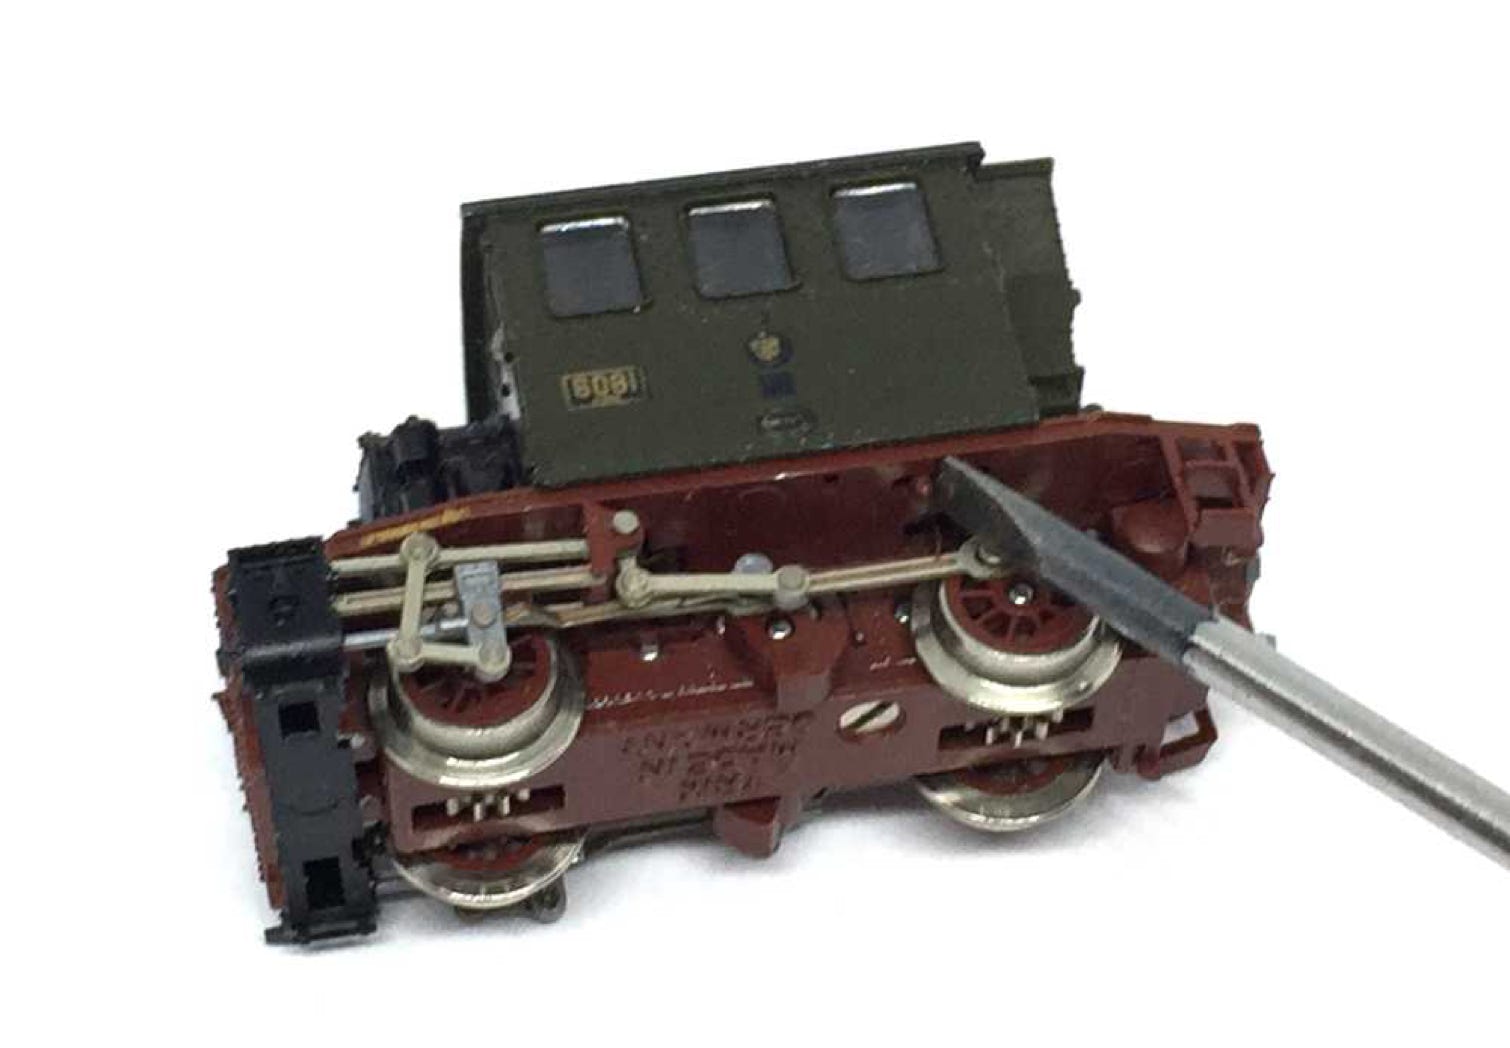
2
Take the cabine off the model by pulling it up. It might seem stuck at the front. There is an aligner there, but you can just pull it up.
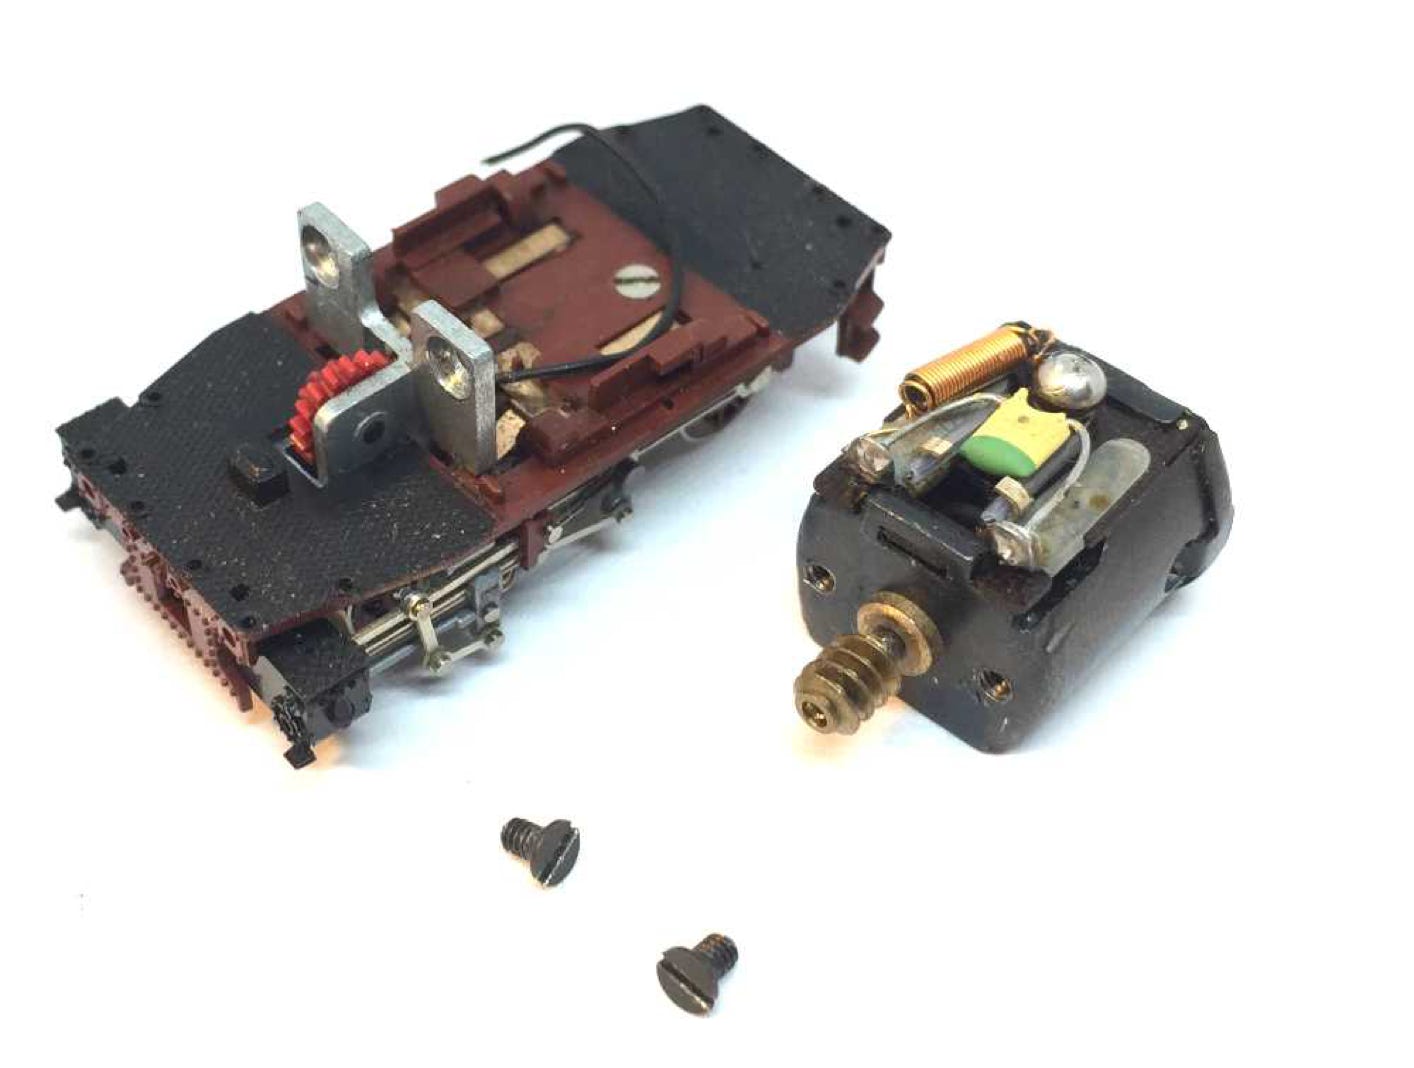
3
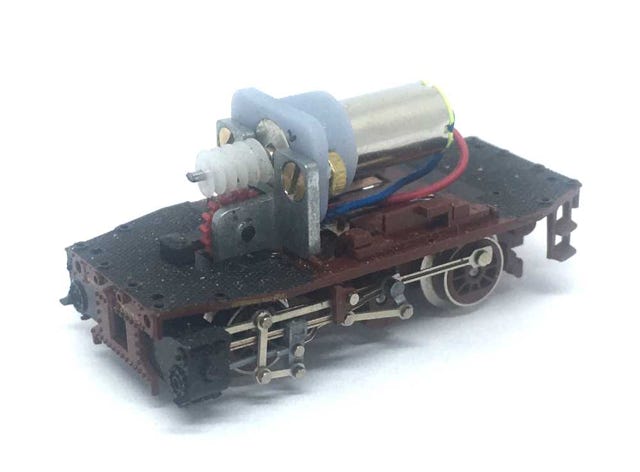
Remove the two screws that hold the motor in place and remove the motor.
4
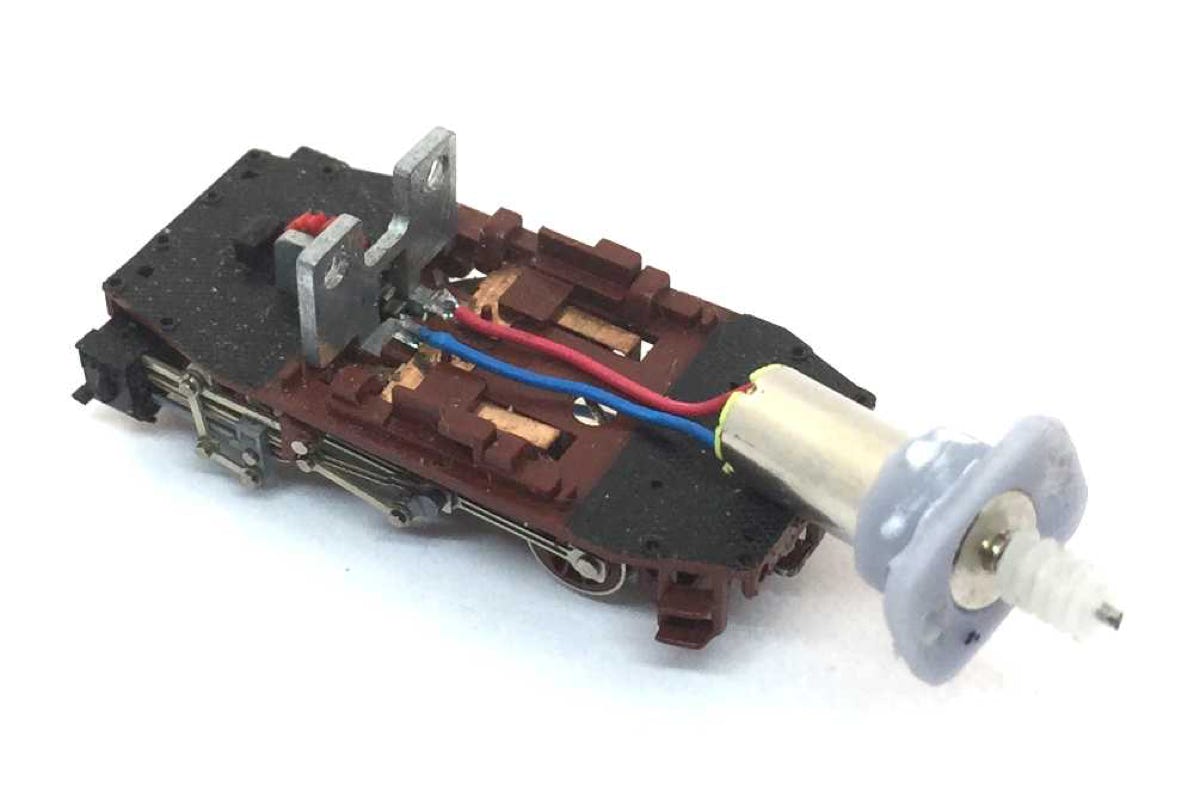
Cut the wires to size and solder them to the contacts. Note the correct place for the red and blue wire.

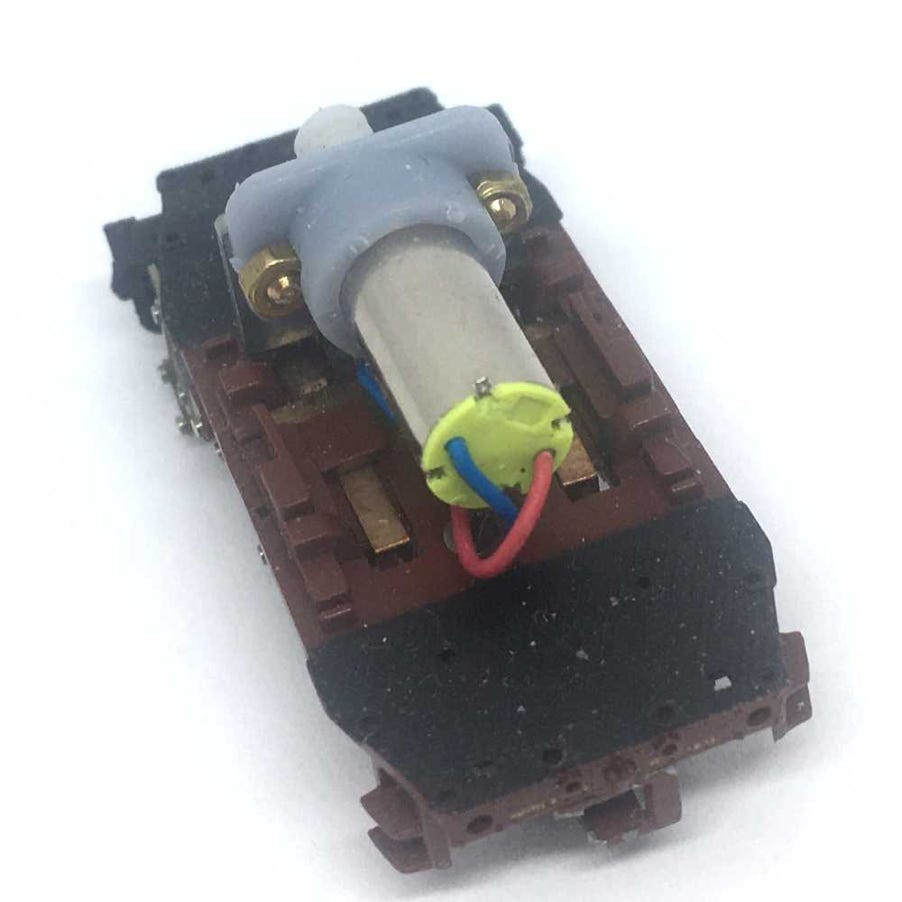
5
Fit the motor with the new screws and nuts. Don’t screw too tight with pressure, otherwise you’ll break the resin.
6
Take the model for a test run and if all is well, fit the housing back. Start aligning at the front, the press the back down. Check that the wire on the back goes well inside the model.
7
Lock the tabs on both sides and you’re done.

Note: as you might have seen, there are a few parts missing from this model. You don’t need to take them off, that was just the state of the model I could get my hands on.
Digital
If it all works well, you can fit a decoder. Train-O-Matic makes excellent small decoder, available here from the Tramfabriek.
For optimal performance, you need to change some CV settings on a decoder. For several decoder brands, the ideal CV settings can be found by clicking here.
END
•