UK based
Prices for UK customers are shown inc 20% VAT
Other countries, inc EU, prices shown are ex VAT.
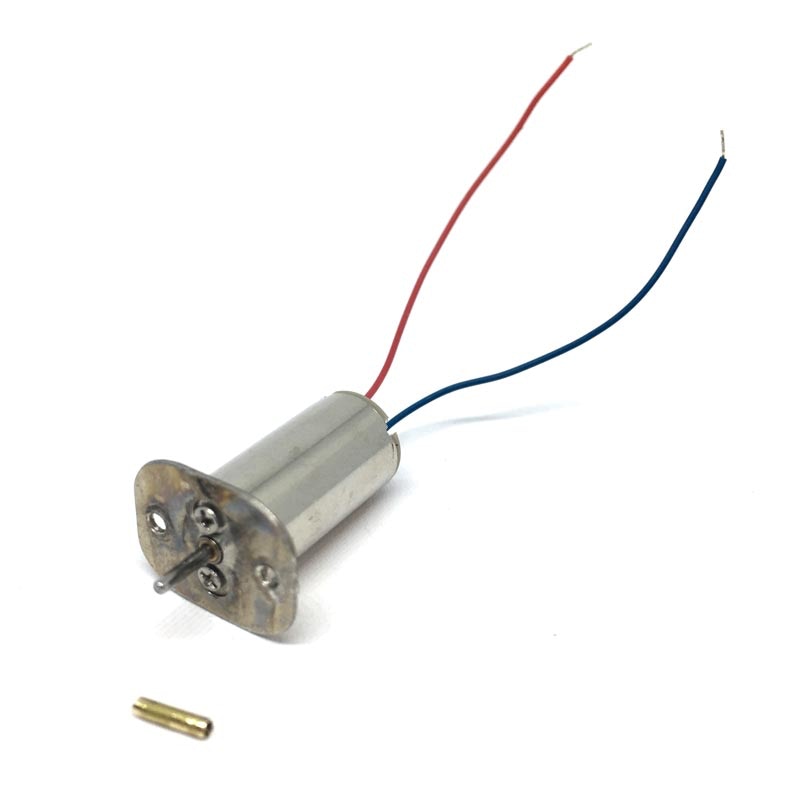
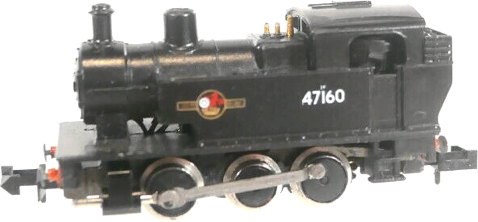
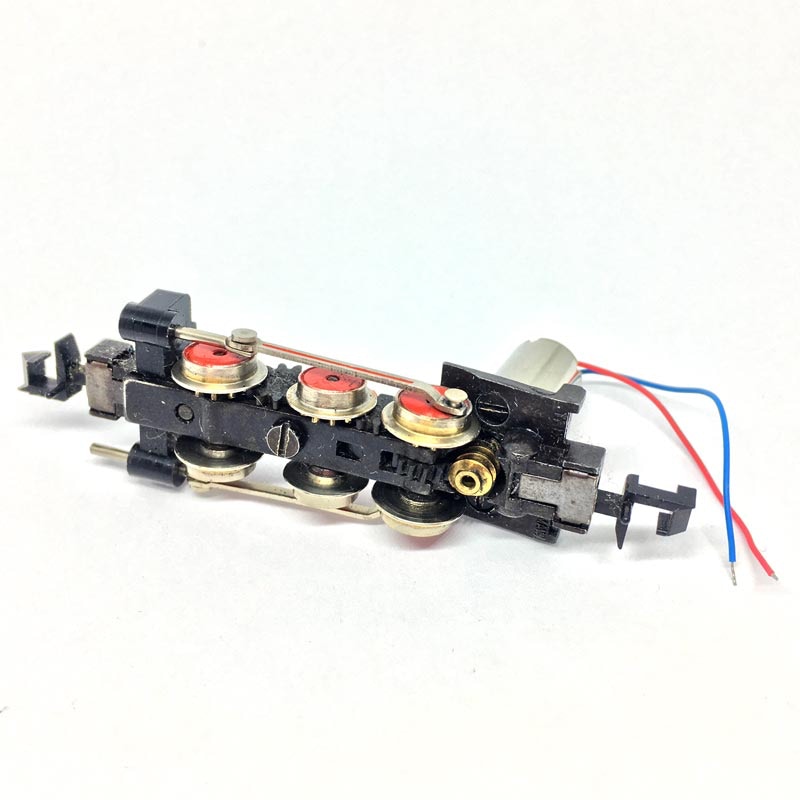
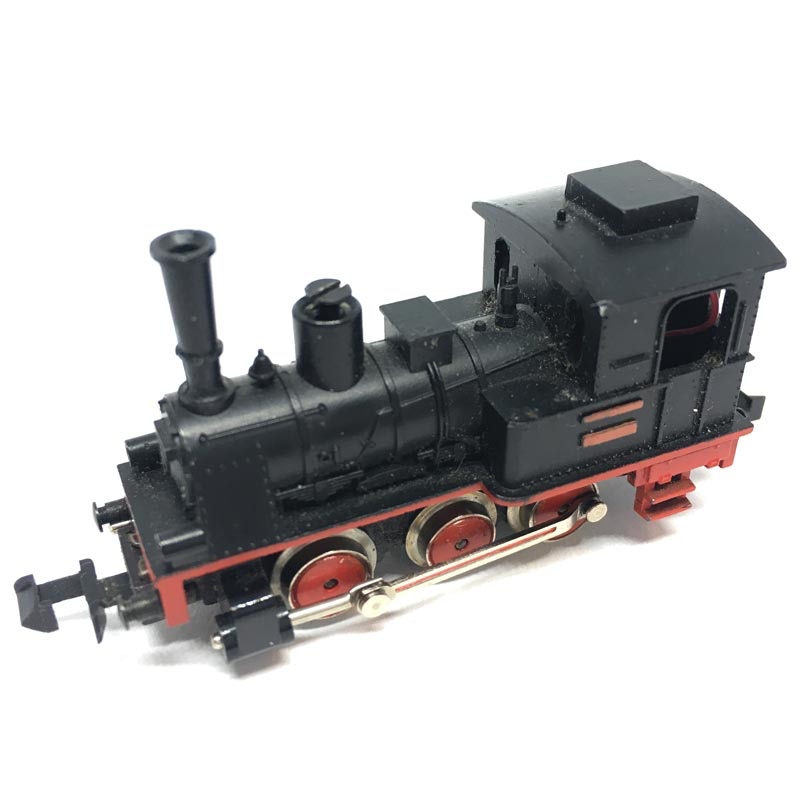
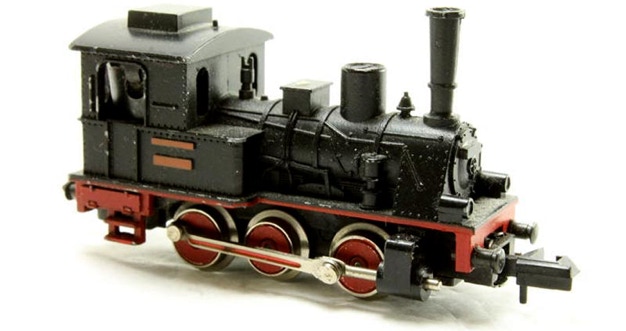
Conversion Minitrix T3 0-6-0
to 12V coreless motor
What you need for conversion set
- The model and upgrade kit
- Small flat screwdriver
- Soldering iron 15W/25W
- Super glue or Loctite
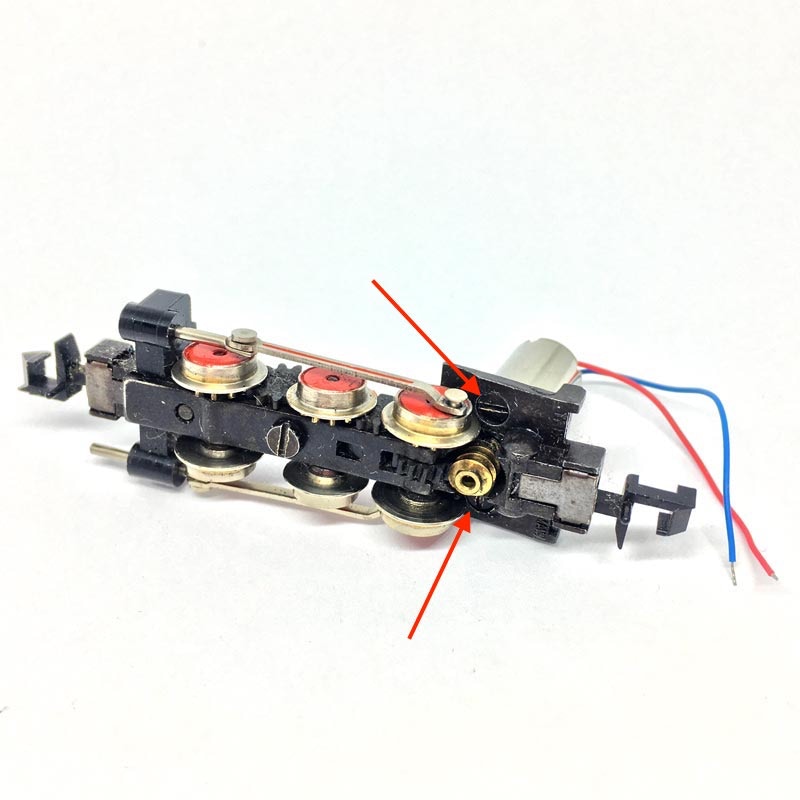
A torch, a self made pin and bracket to remove the worm. More info here.
Installation time: Around 1/2 hour
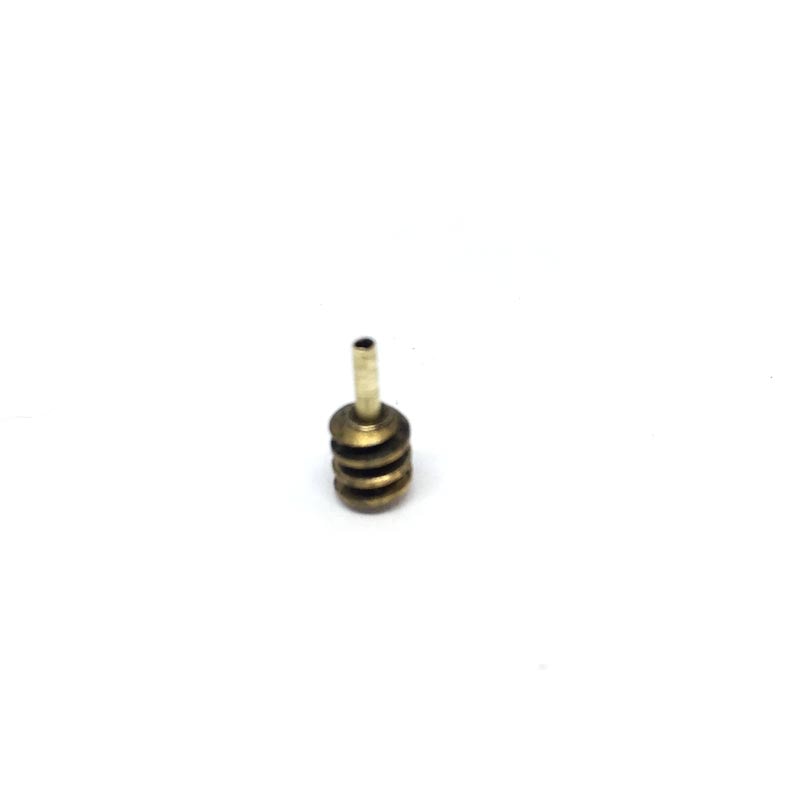
Contents of the kit
Brass worm now included!!
Fits all original Minitrix T3 models). Fits in 89 005 (fx 2043 or 12043) and 89 008 (11016).
Does NOT fit in 89 006, 89 010 and in Krombacher-Loco (91033)