

UK based
Prices for UK customers are shown inc 20% VAT
Other countries, inc EU, prices shown are ex VAT.


UK based
Prices for UK customers are shown inc 20% VAT
Other countries, inc EU, prices shown are ex VAT.

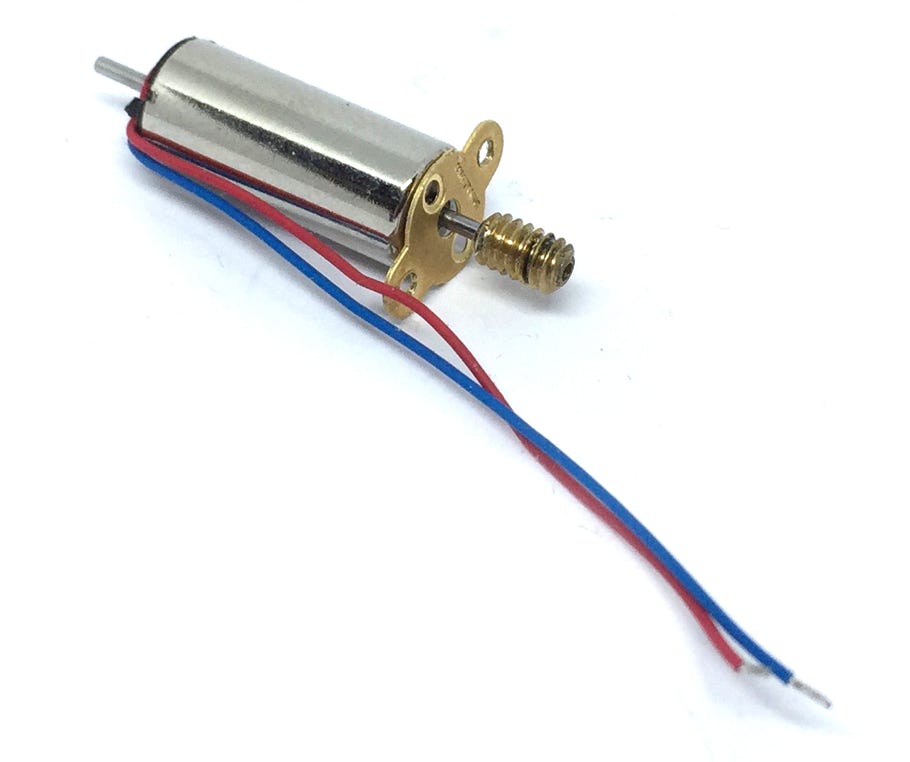
Upgrade for Minitrains motor
The Ultimate Motor Upgrade
Suitable for most modern Minitrains models (2012-now)
Unsure if it fits your model? Just reach out!
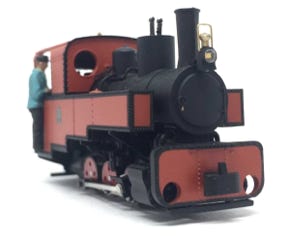
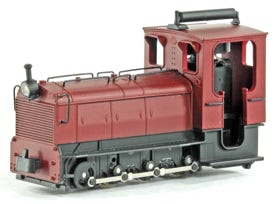
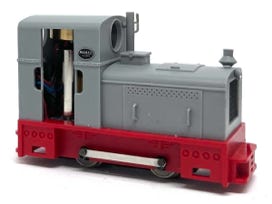
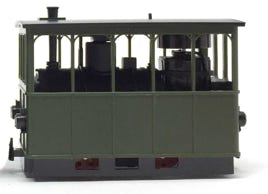
Above are just a few examples. Many more are compatible. As long as they’ve got the vertical motor with flywheel at the rear.
What you need for conversion set
- The model and upgrade kit
- Soldering iron 15W/25W
- Superglue (gel preferred)
- Gear puller
- General model making tools
Installation time: Around 45 minutes
Why replace the motor with this coreless motor, when the original is already a pretty good motor?
√ Silent
√ Earlier start at lower voltage
√ Takes up less space
√ Replace broken motor
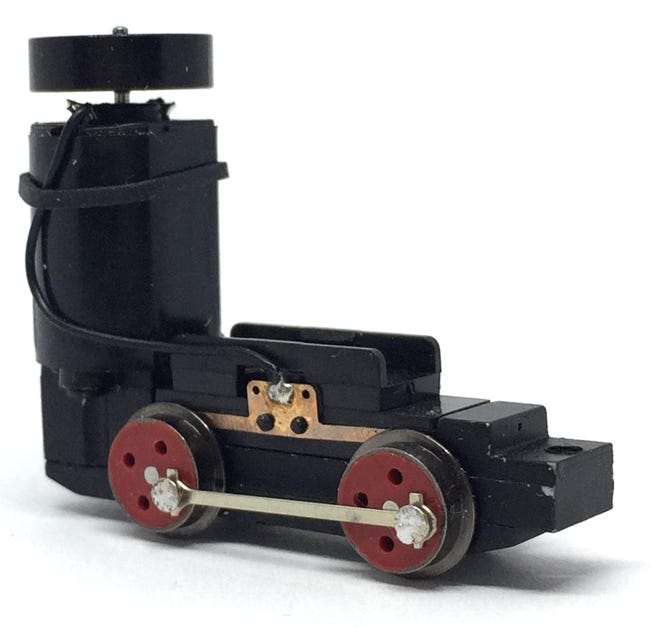
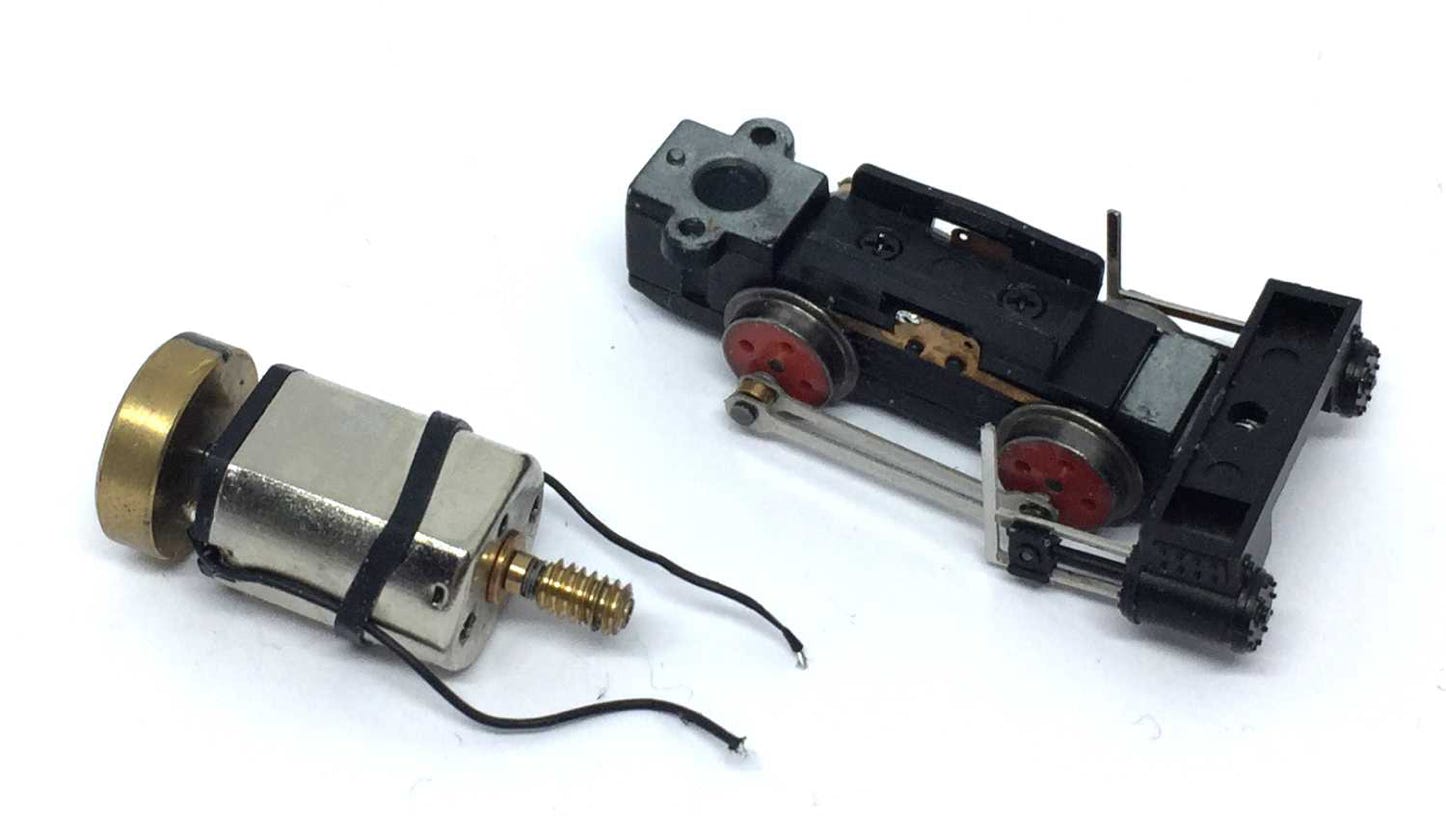
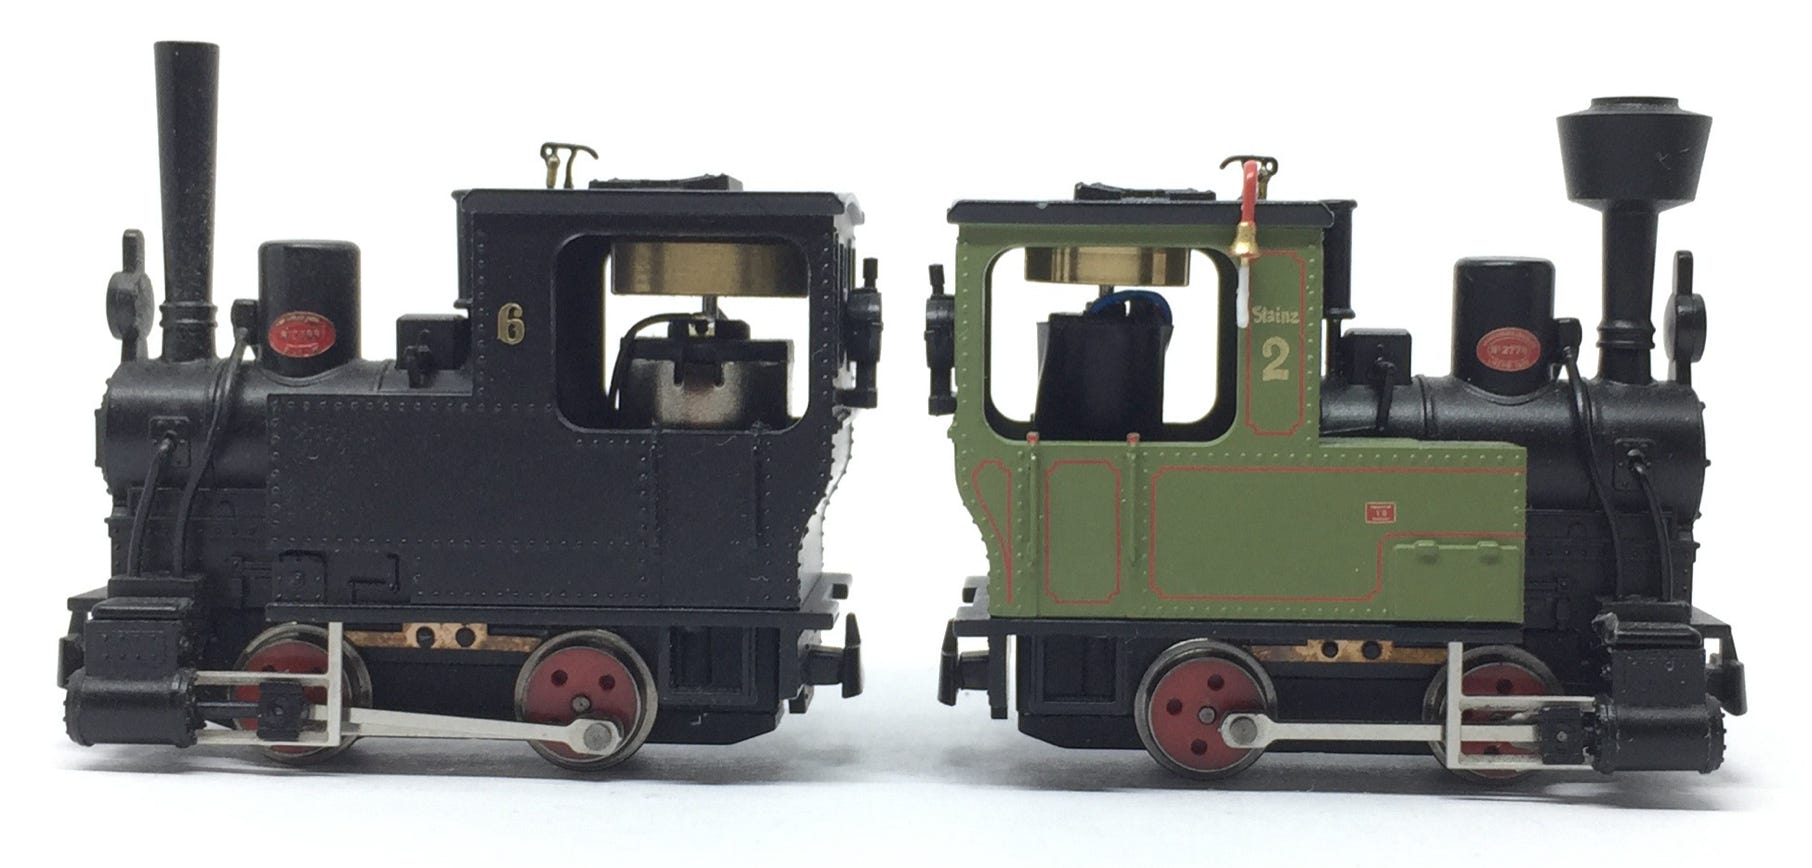
Original model
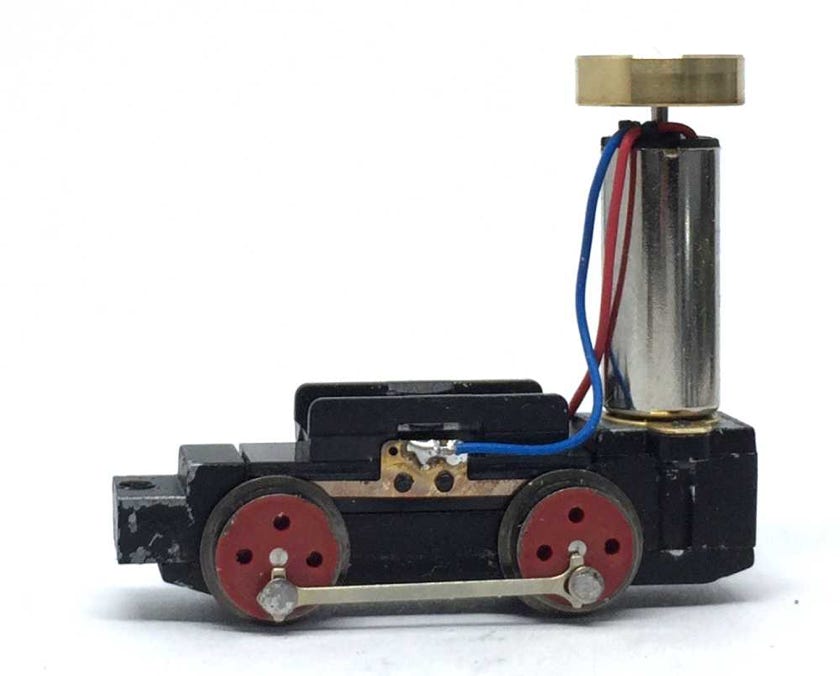
Upgraded model
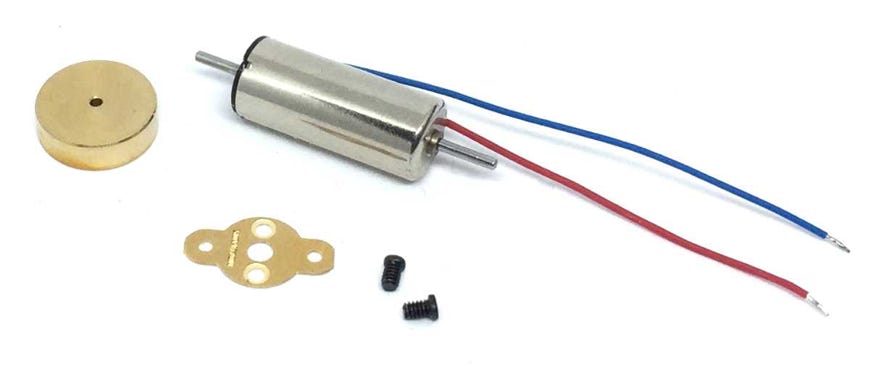
Contents of the kit.
Instructions
1
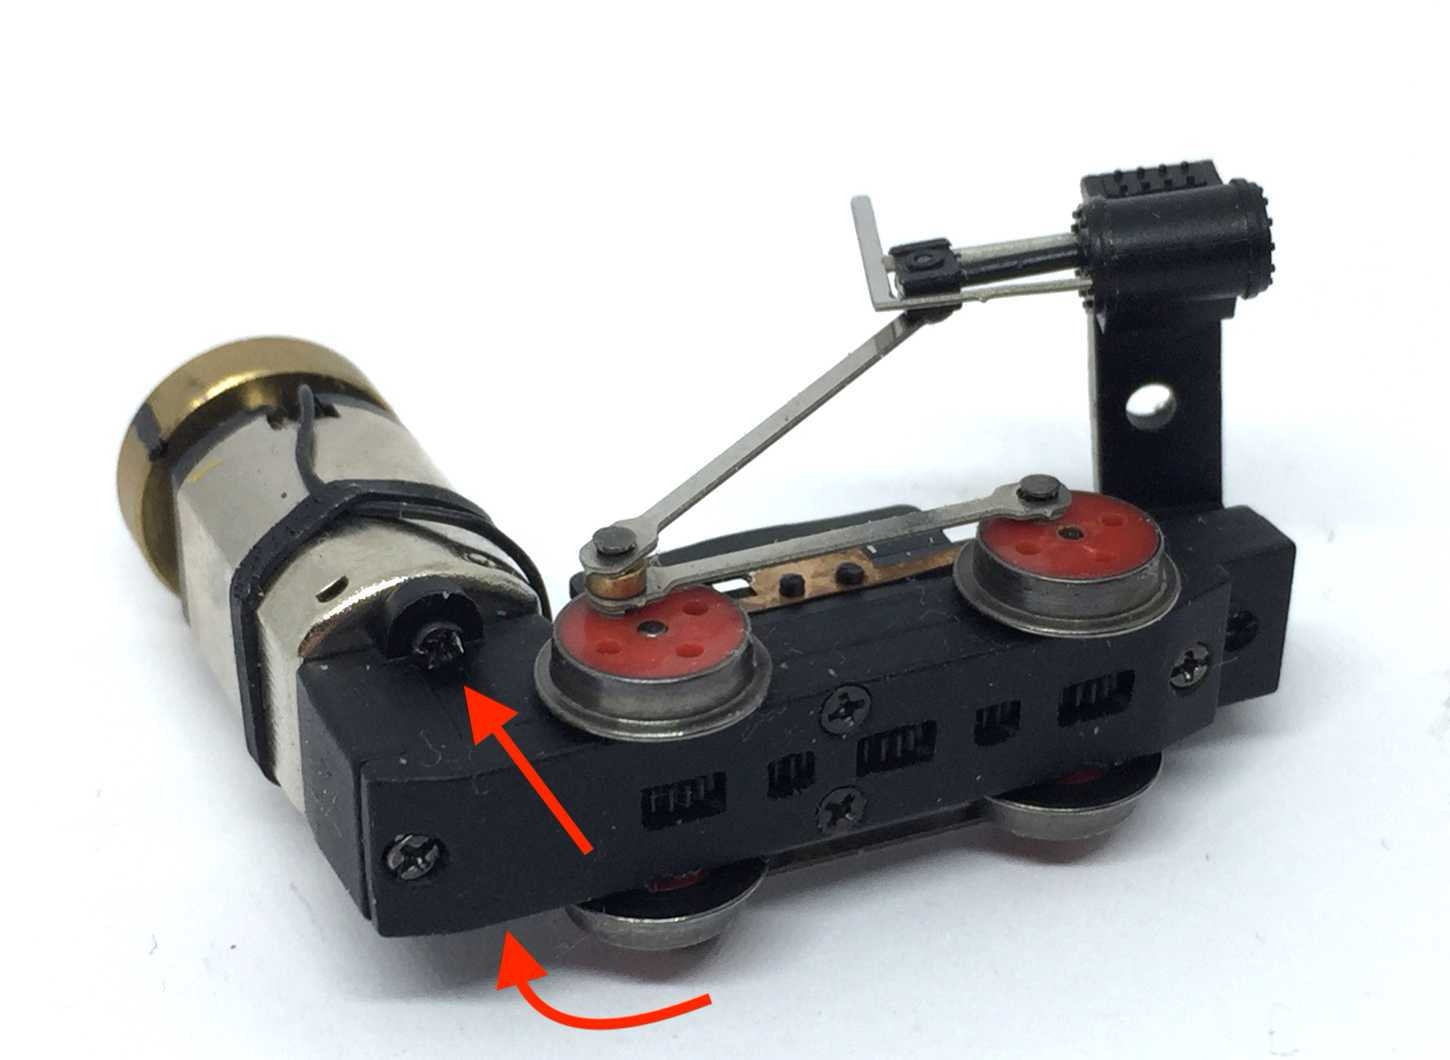
Separating the body from the chassis.
Steam model with chimney: A) Turn the chimney to release the cylinders.
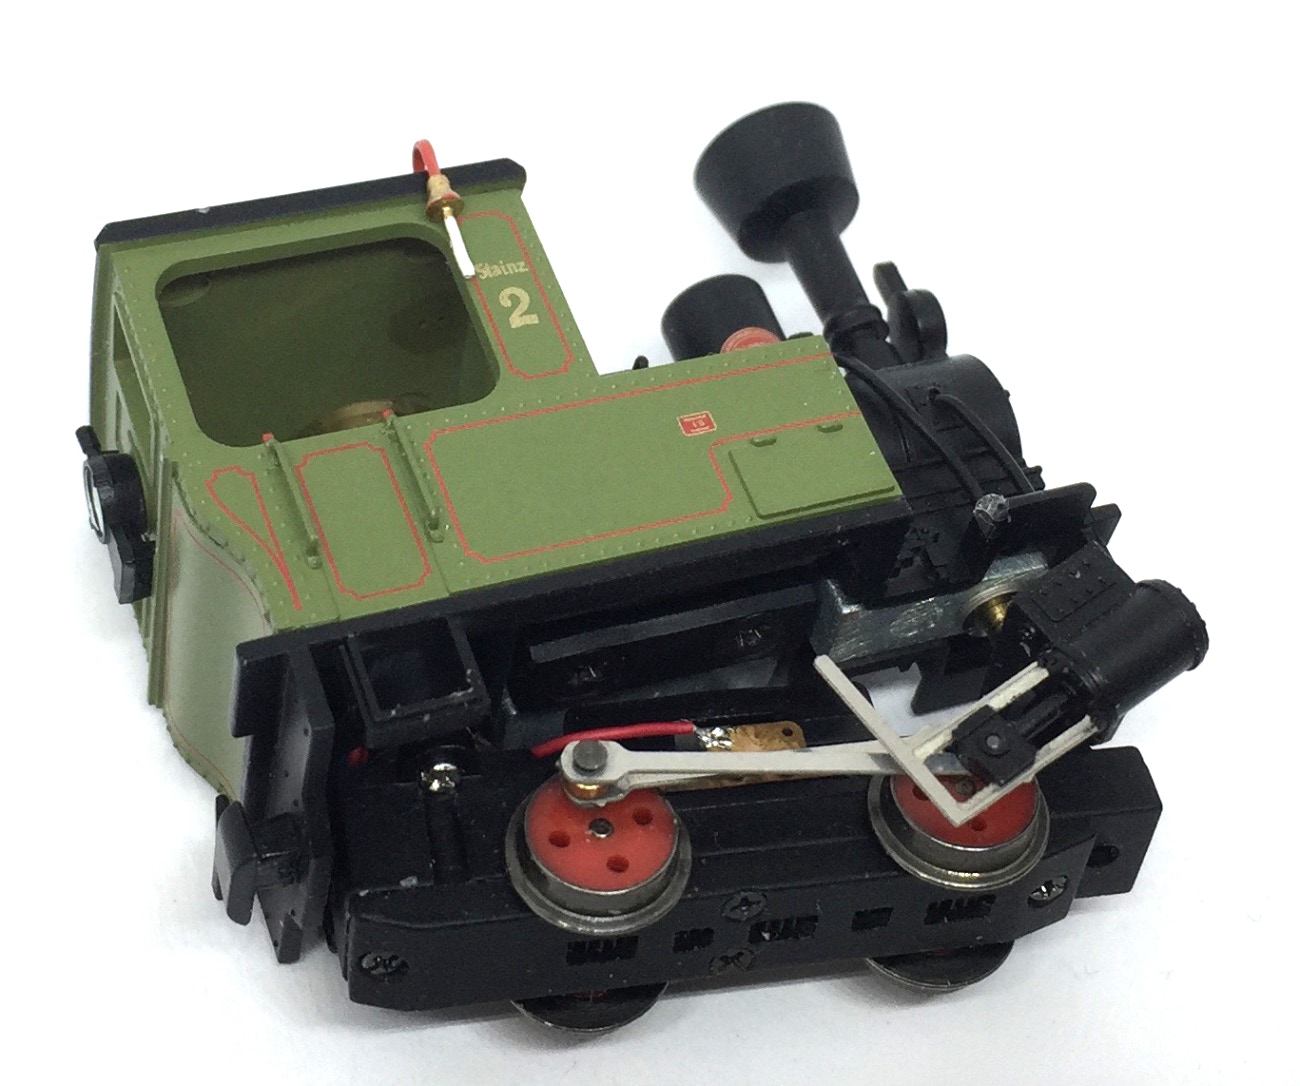
B) Pull the motor downwards out of the clipping. It’s clipped with two long plastic tabs in the body housing. If you look at pictures of the drive, you can see how that looks like to understand the clipping method better.
Diesel model: push the motor down, or pull the drive from the bottom.
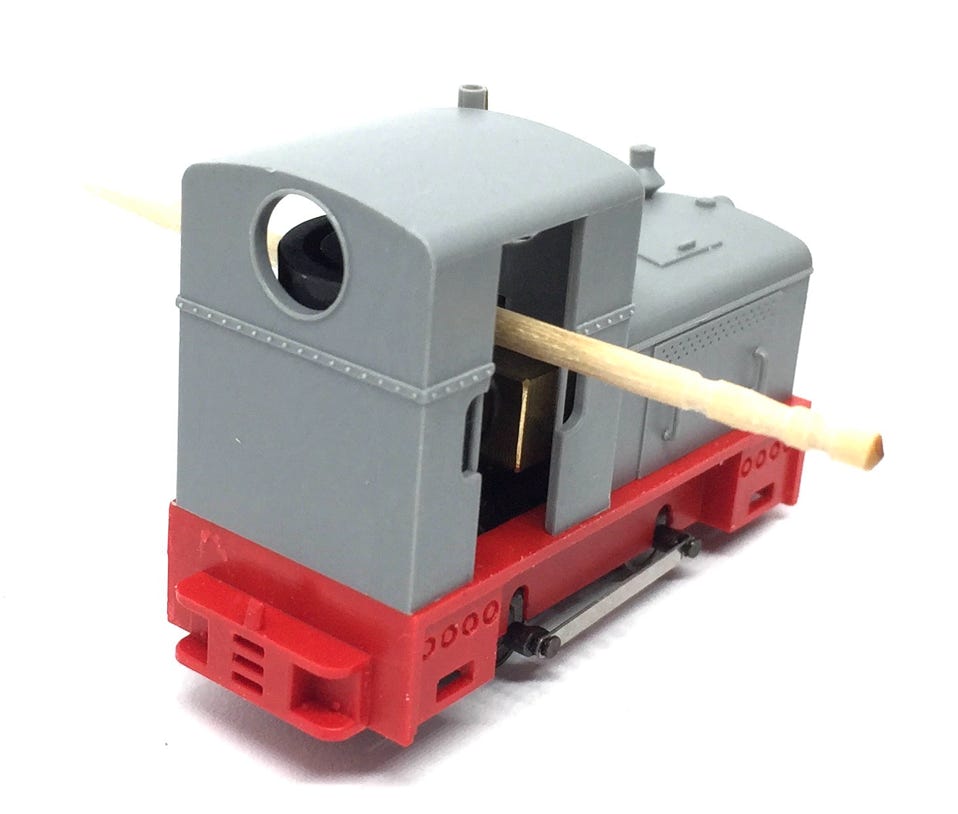
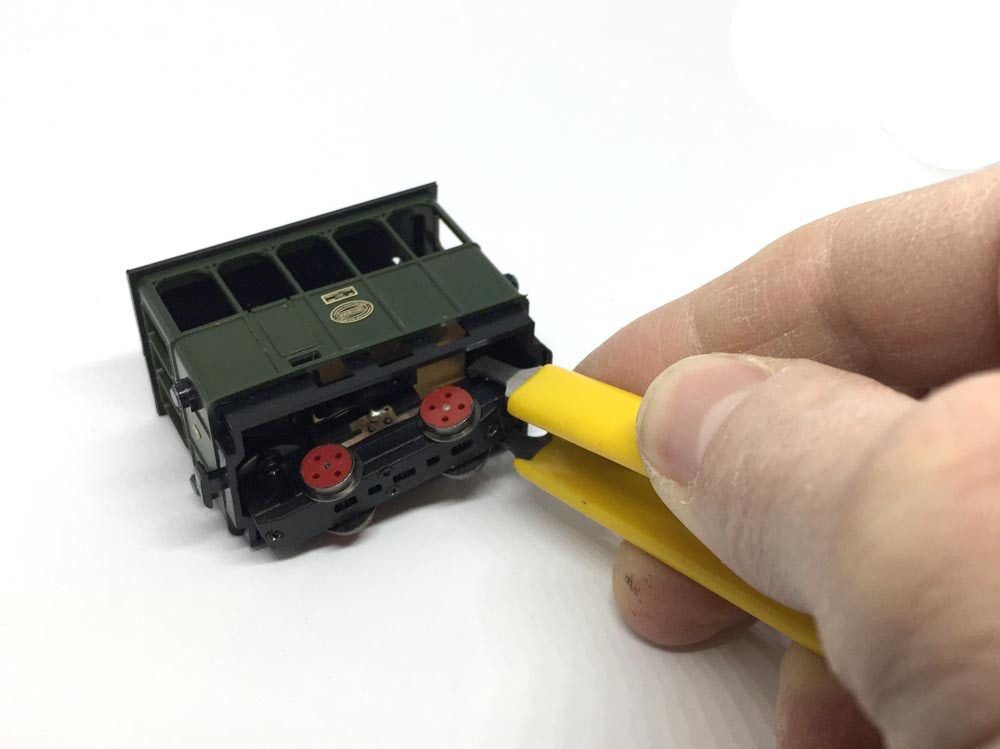
Tramway model: Pull the drive from the bottom. It can be done by hand or here, or with an IC puller, as shown.
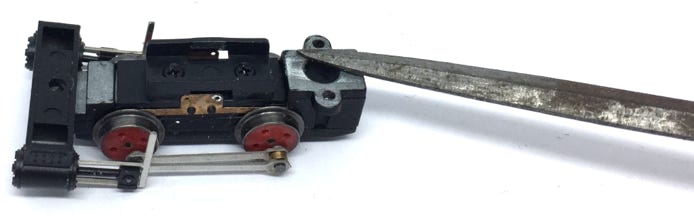
2
3
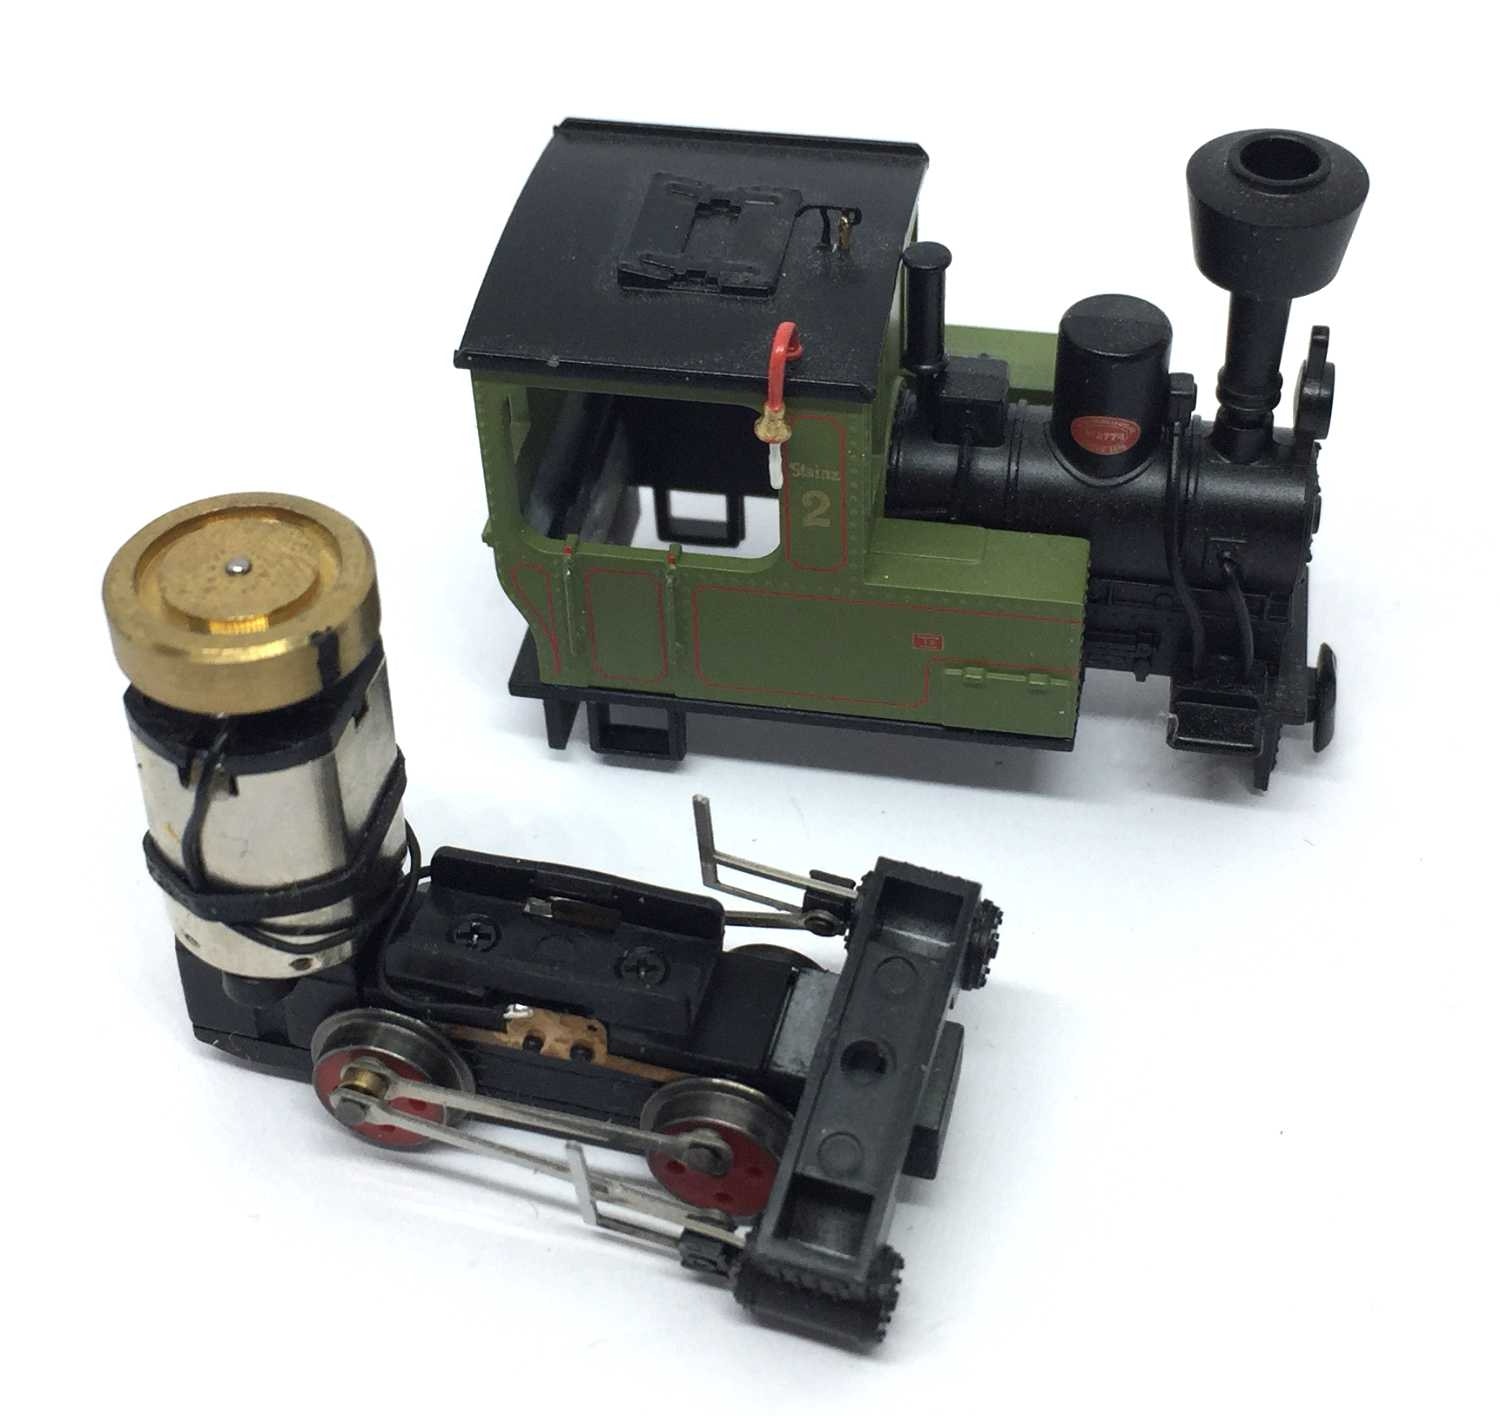
For practical reasons, I continue with the steam loco. Remove the two screws that hold the motor in place.
Desolder the two motor wires.
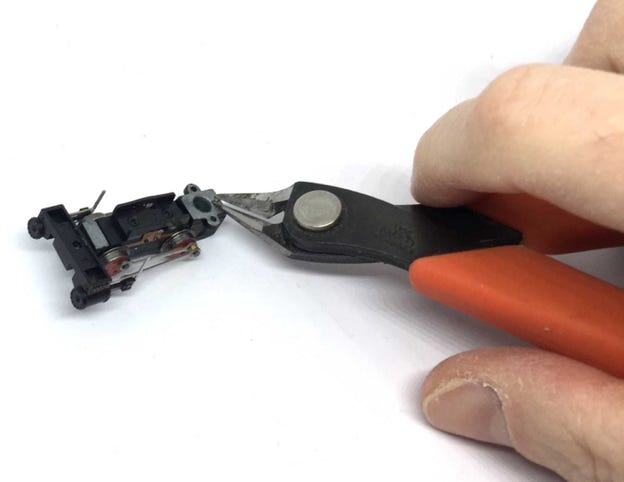
4
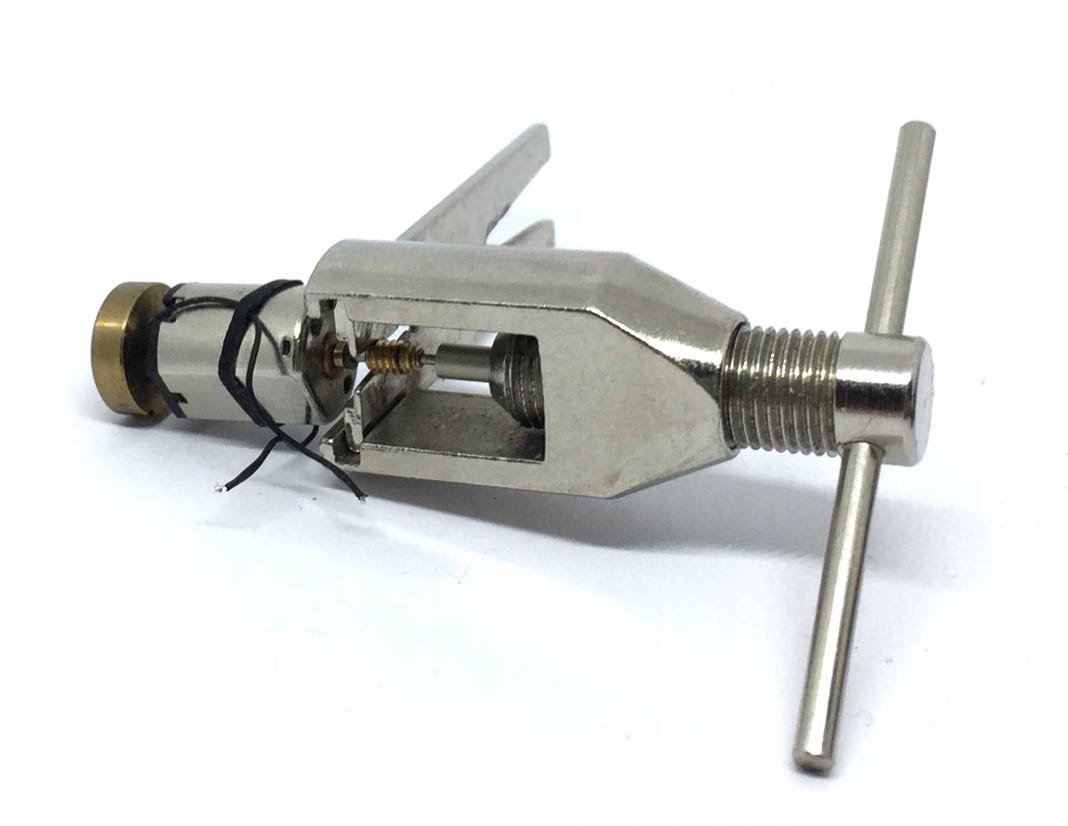
Remove the worm (M0.2, OD 2.95 ID 0.99 L4) with the gear puller. Keep the worm as deep as possible in the V gap of the metal plate, as not to damage the worm at the end (too much).
My V gap is a little worn out (I abuse it with a hammer all the time), so I had a little damage at the end of the worm. But this didn’t affect the running, as it’s only at the top.
5
6
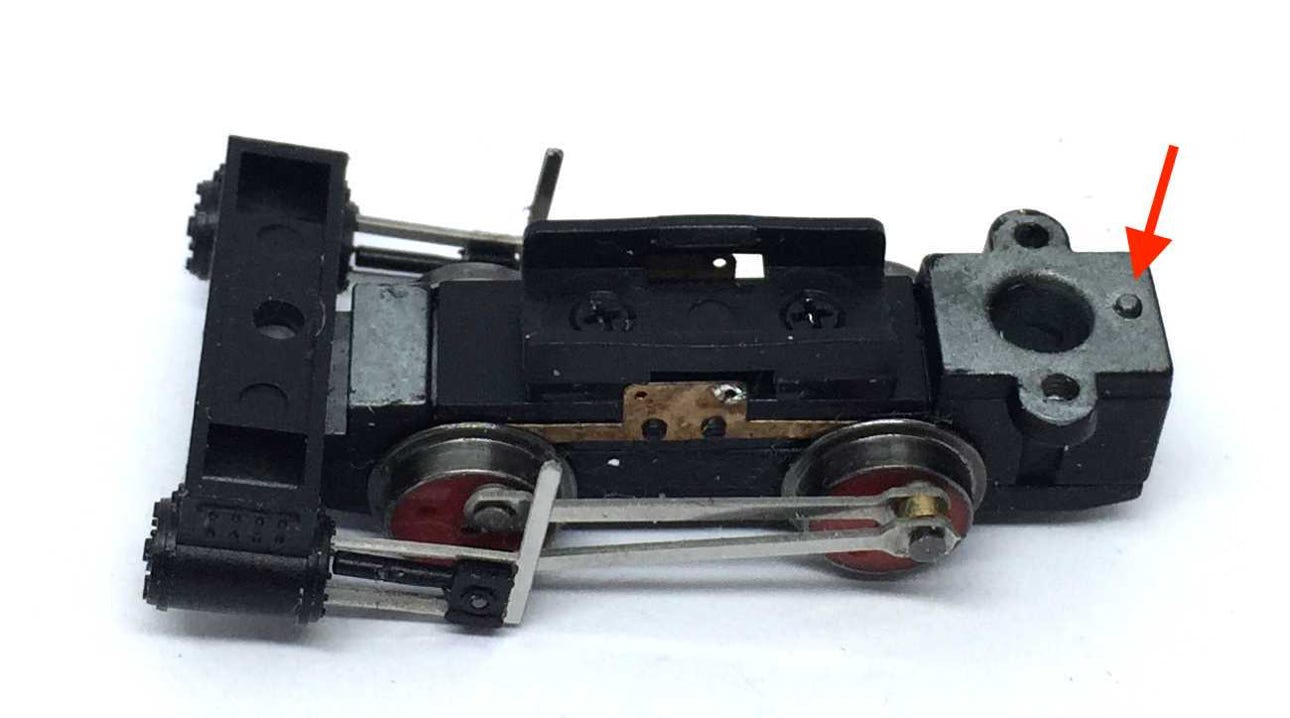
Not all models have this, and I assume this is only on earlier Minitrains models, but this had a little stud that needs to be removed. Just clip it and file it flat.
A)
B)
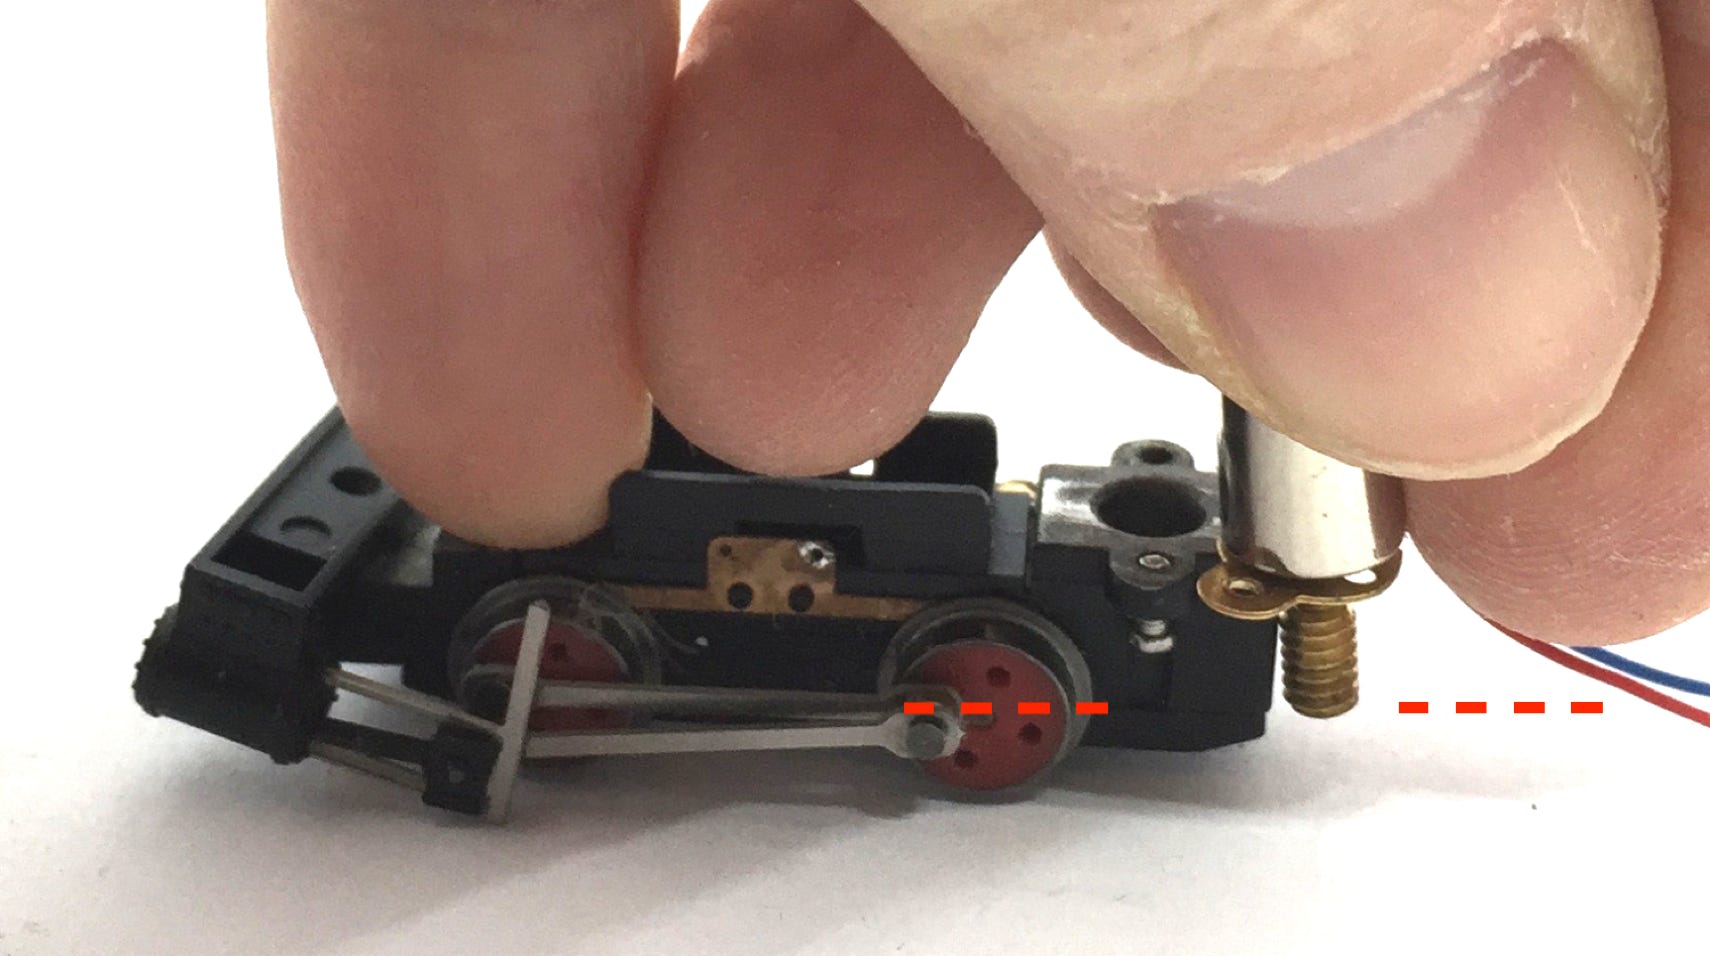
The plate needs to be fitted between the motor and the Minitrains worm. Be aware that the worm has a larger opening on one side, which makes it easier to fit. Still, you probably need to give it an extra hit with a hammer to get it in position.
Don’t be afraid of using a hammer to move the worm. I do this all the time. The motor shaft is incredibly strong. It’s hard to bend it, even if you would want it. It’s though best you use a small watchmaker’s hammer. Don’t push the motor shaft all the way through, see next note!


The worm has to be aligned just above where the bottom (metal) part (that holds the wheels in place) starts, so it doesn’t touch the bottom plate when fitted in the model. If you look inside the hole of the frame, you can see where the gear sits that is driven by the worm.
7
Fit the flywheel. It aligns to the end of the motor shaft. If you’re lucky, it will stick with friction. Otherwise a bit of glue will hold it in place. Preferably Loctite, but if you’re super fast, superglue will do it. The risk is that superglue will be dry before you have positioned the flywheel. If you use superglue, I would put the flywheel on the table, put superglue on the motor shaft and press the motor on the flywheel.
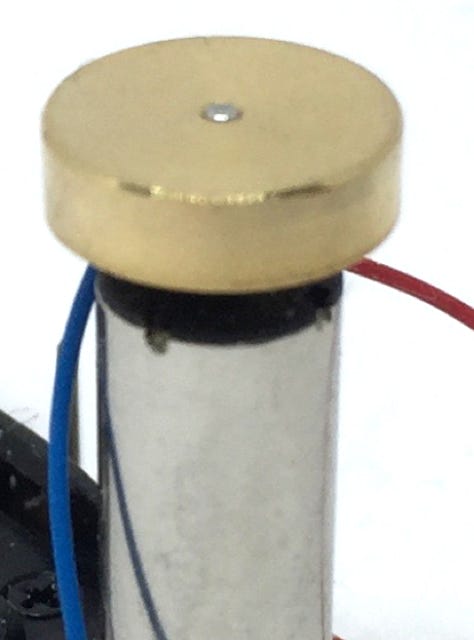
8
9
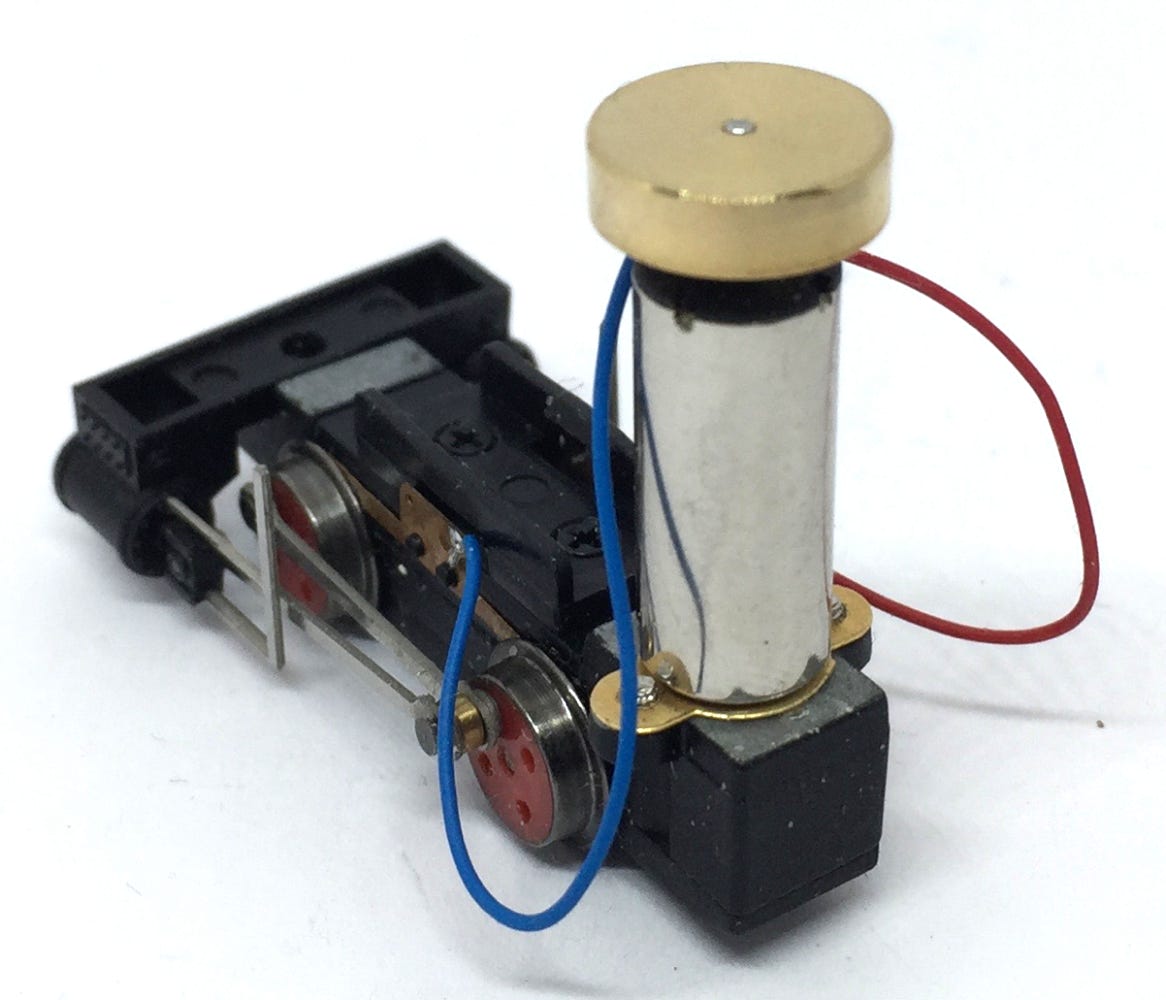
Now screw the bracket in its place and put a little glue on (arrows) between plate and motor. I used gel superglue. But normal superglue has worked for me as well, it’s just a little less stronger if you accidentally push the motor sideways. Press the motor straight in place and hold until the glue has set.
Solder the wires. Red right, blue left. If your model runs in the opposite direction of your other models, you have to swap the cables. Here I didn’t cut the cables to length, but you can do that if you want.
108
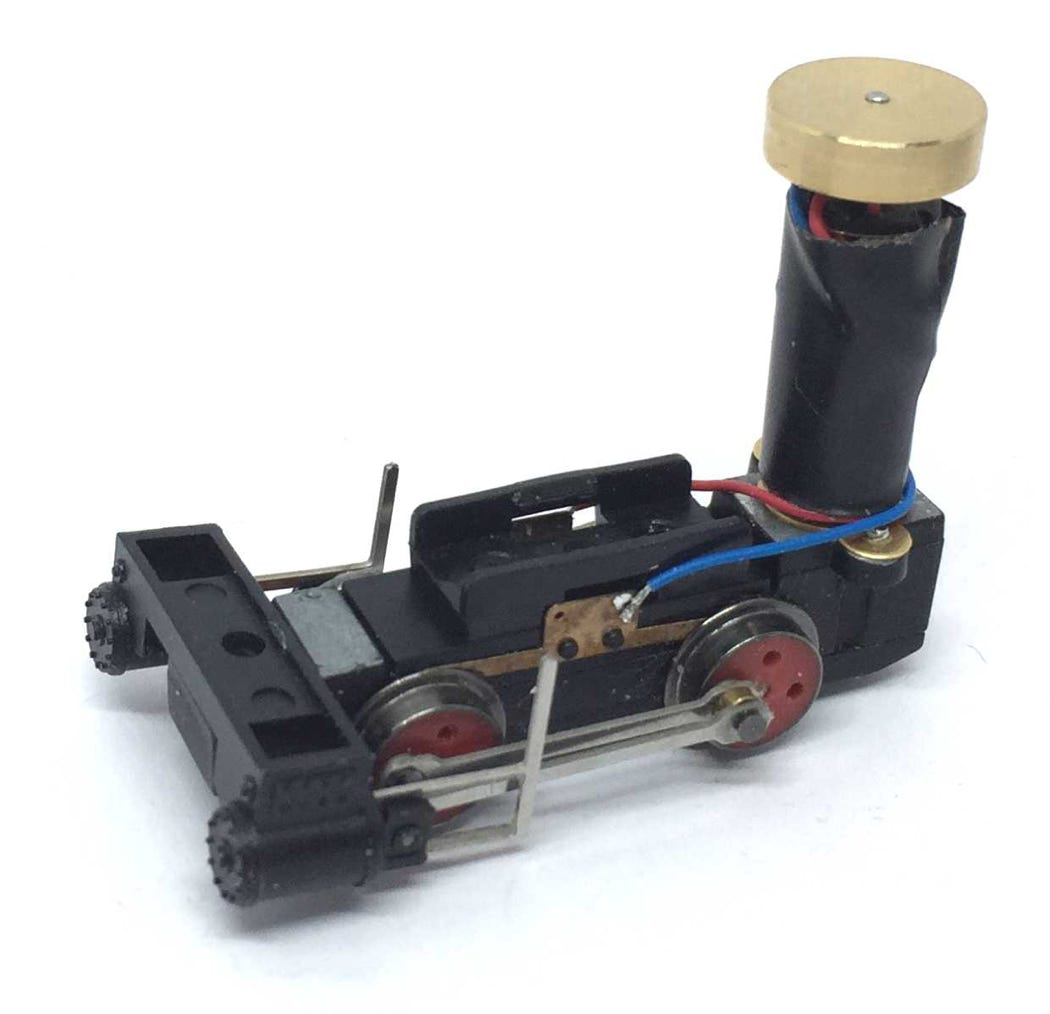
Wrap black insulation tape around the motor and wire to conceal the motor when fitted in the model. Optionally paint the flywheel black.
11
Test the drive holding to wires against the contacts. It will be hard to test it on the track without the weight and balance of the housing. Also with this steam model, the cylinders are loose, so that complicates testing.
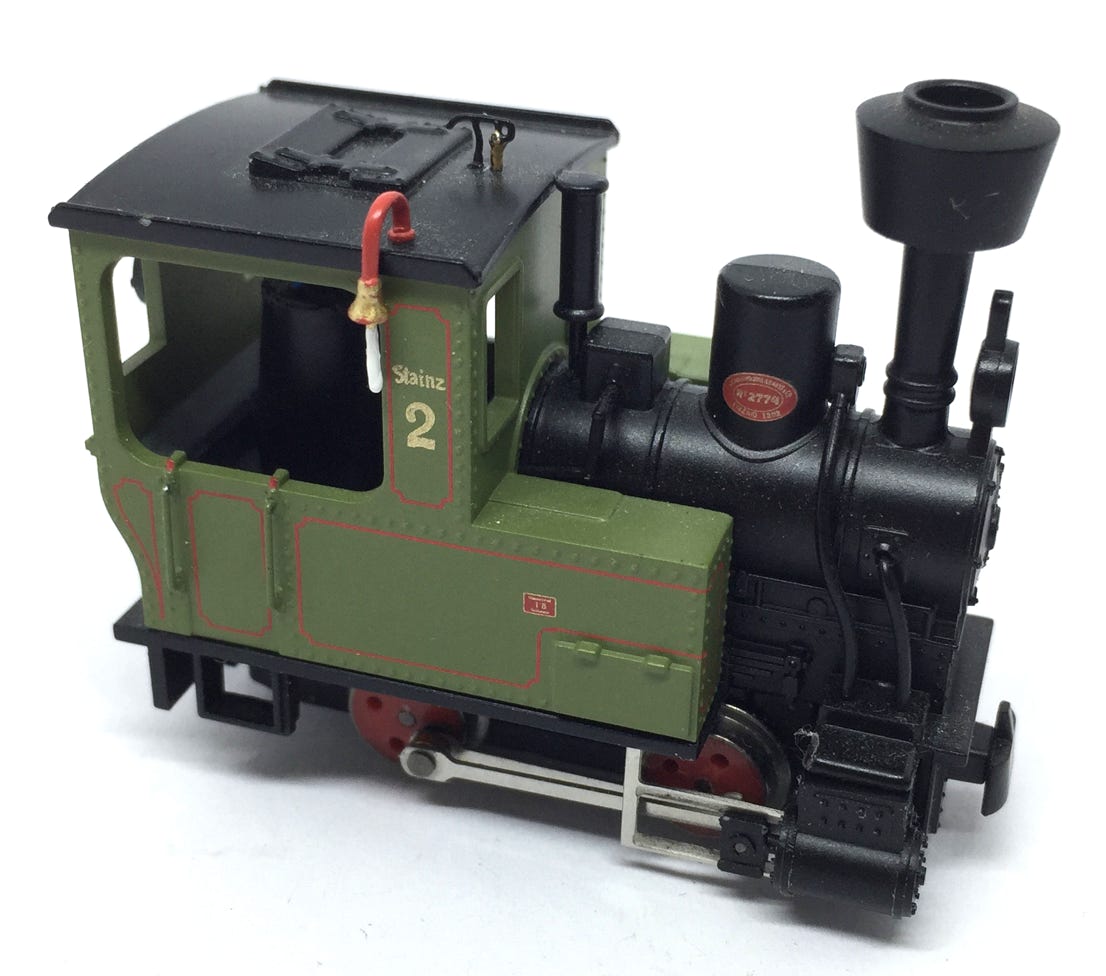
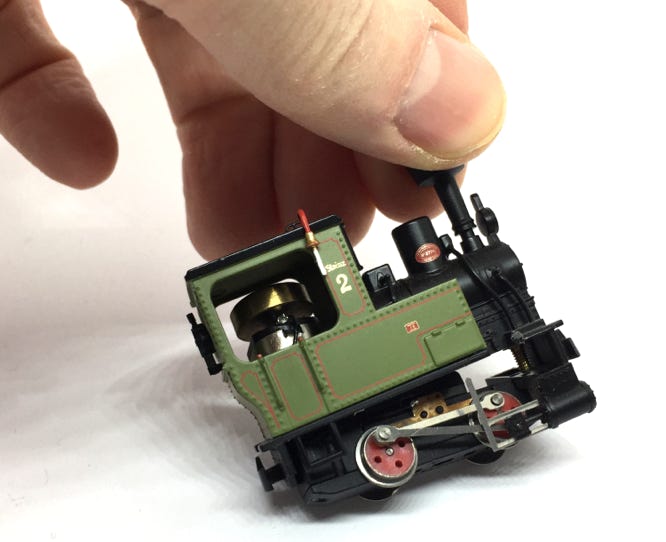
Now enjoy! See how much space you’ve won. Ideal if you want to fit DCC. I am tempted to fill it up with a Zimo sound decoder, speaker and stayalive.
Duel between the original motor/flywheel and Tramfabriek motor/flywheel.
END
•