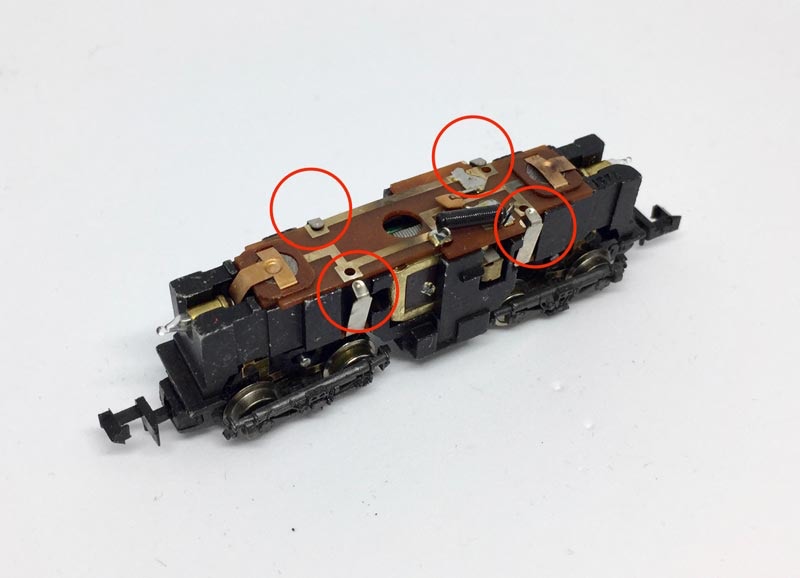
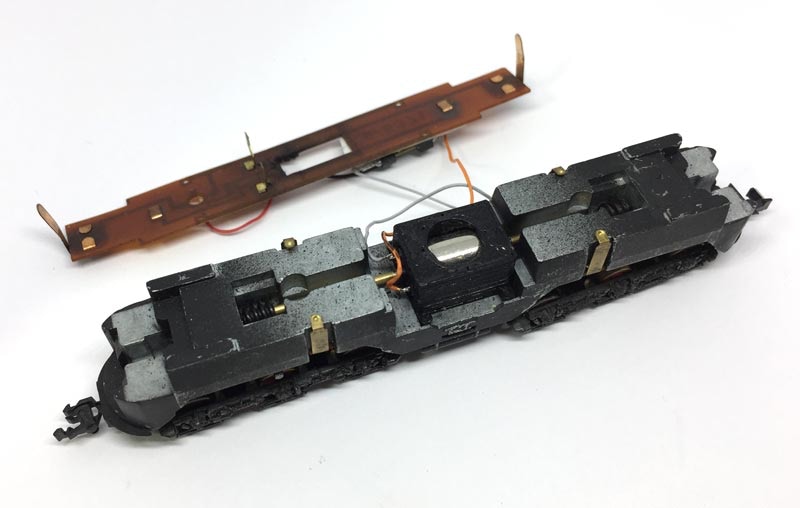
Conversion Fleischmann BR 103

to 12V coreless motor

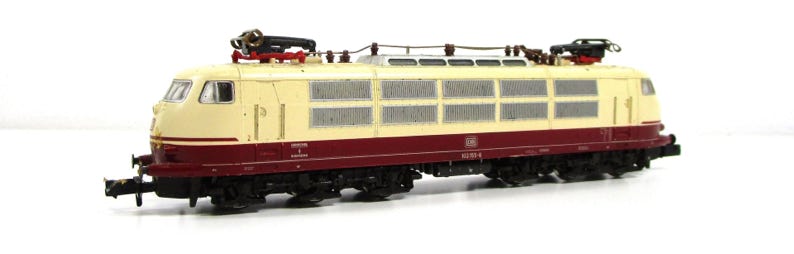
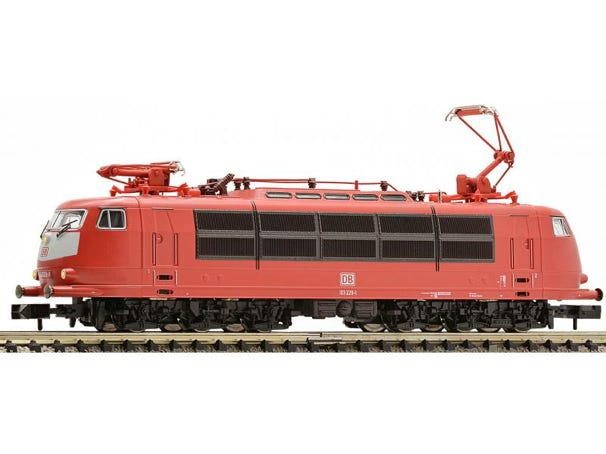
Fits all original Fleischmann BR 103 models, for example Art. 7375, 7376, 67376, 7377, 67377, 9351, 9375, 9377

What you need for conversion set

- The model and upgrade kit

- Small flat screwdriver

- Soldering iron 15W/25W


Good to have:

- Gear puller (get a brilliant one here)

(though plastic worms pull off quite easily by hand)


Installation time: Around 1 hour
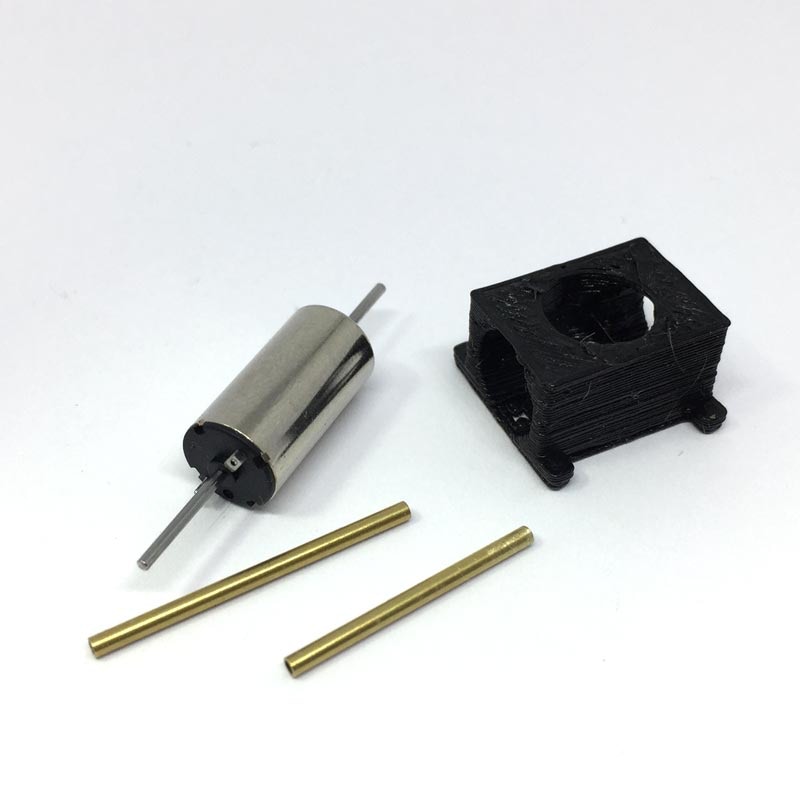
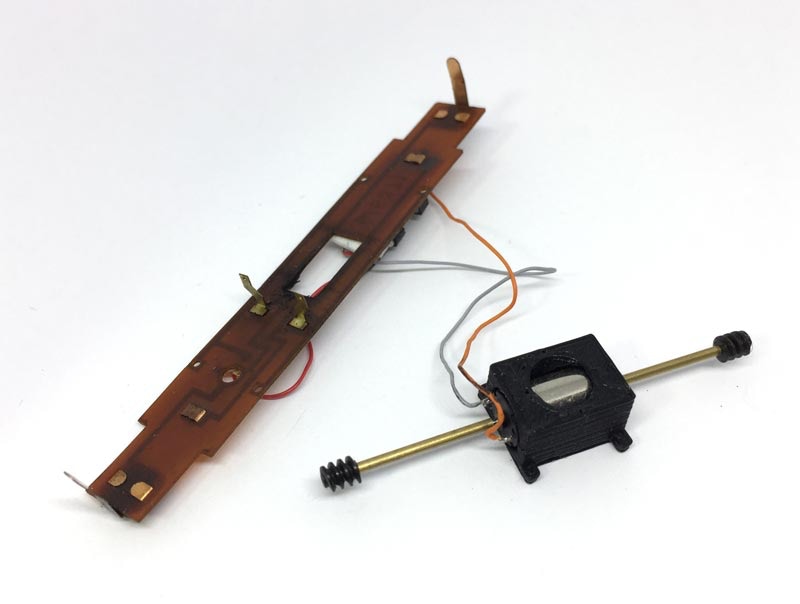
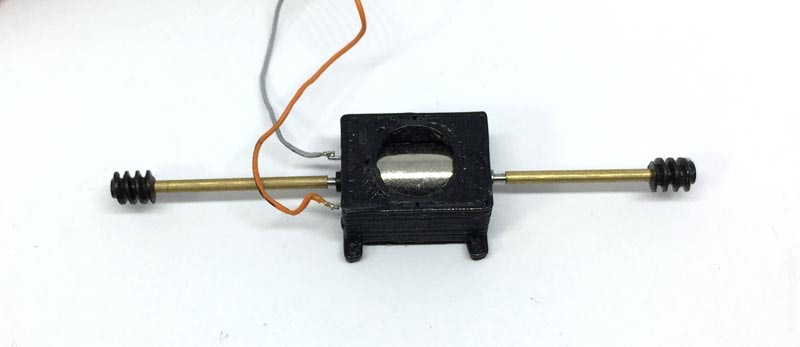
Contents of the kit

KASTENLOK INDEX

Question? Just reach out!

Take apart

1

Open model by pulling on the sides, as with most N gauge models.

2

Remove electronics board

Mind the two lamps on the fronts, put them aside. 

Pull contacts sidewards to release PCB board. Take PCB board off.  


(image of other model shown here)

3

Replace motor and worms

Remove the worms from the original motor (a gear puller, available here, comes in handy, but they should pull of quite easily by hand).

4

Solder wires to the motor

There is a round mark next to the plus pole of the motor. This is traditionally a red wire. Solder a black wire to the other connector. You can use any colour you like, but as long as you remember which is plus and which is minus. When you install the motor in the train chassis, make sure the connectors are not touching the frame.

5

Check fitting

Test the brass adapters to fit on the shaft. They have different lengths, where the longest one fits on the longest shaft (the side with the contacts). Fit each worm on the end of the brass adapter tubes and slide this adapter tube on the motor, not glueing it yet.

6

Test

Put it in the model, to make yourself familiar with the location of the adapter tube. Then super glue on the shaft, leaving about a millimeter of space between the motor and the shaft.

7

Connect wires

The motor is held in place by the electronics board. Solder all the wires to the right connectors.  The plus on the motor has to be connected to the connection to the right wheels, seen in the direction of forward driving. The minus connects to the right side.


The re-assemble the model and you’re ready to go. The electronics board should keep the motor in place. Optionally you can use some double sided tape to fix it or increase the pressure.

NOTE

If you experience a rattling noise in one direction: move one of the worms half a millimeter and see if that makes a change. If not, try the other worm.

Digital conversion

This motor upgrade kit can very well be converted to DCC. Check the digital setting page, for many decoders, to get the best driving experience.

Deze motor upgrade kit kan ook aangestuurd worden door DCC. Kijk op de digitale instellingen pagina voor de CV instellingen voor de grote decodermerken, om de beste rijervaring te hebben.