

UK based
Prices for UK customers are shown inc 20% VAT
Other countries, inc EU, prices shown are ex VAT.

KASTENLOK INDEX


UK based
Prices for UK customers are shown inc 20% VAT
Other countries, inc EU, prices shown are ex VAT.
KASTENLOK INDEX
4
2
3
3
1
What you need for conversion set
- The model and upgrade kit
- Small flat screwdriver
- Soldering iron 15W/25W
Installation time: Around 30 minutes
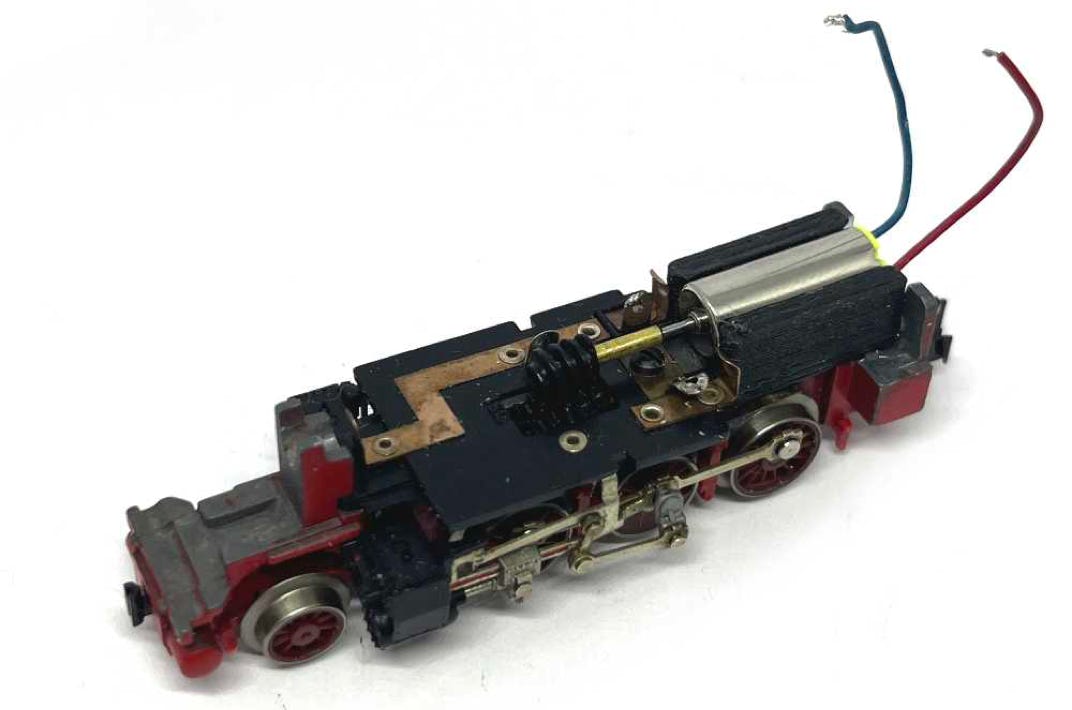
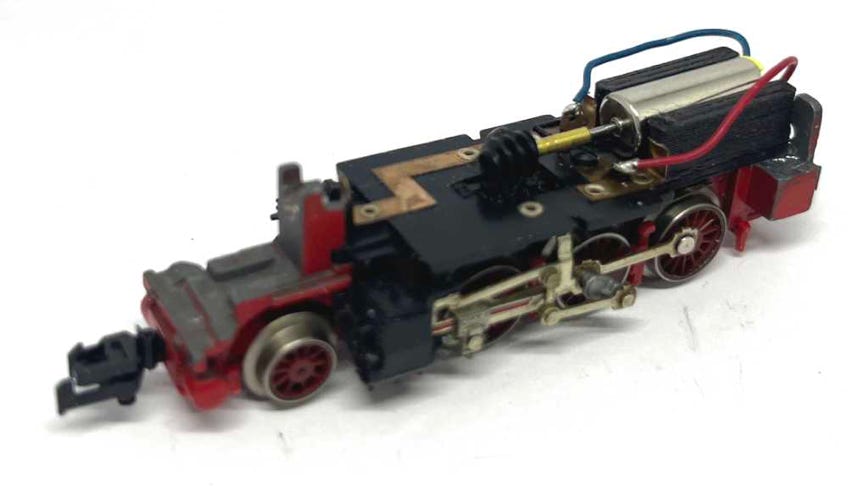
Remove the upper body to reveal the chassis by pressing carefully a small, flat screw driver under the back, to lift the plastic over the tabs. Carefully, as it will break easily.
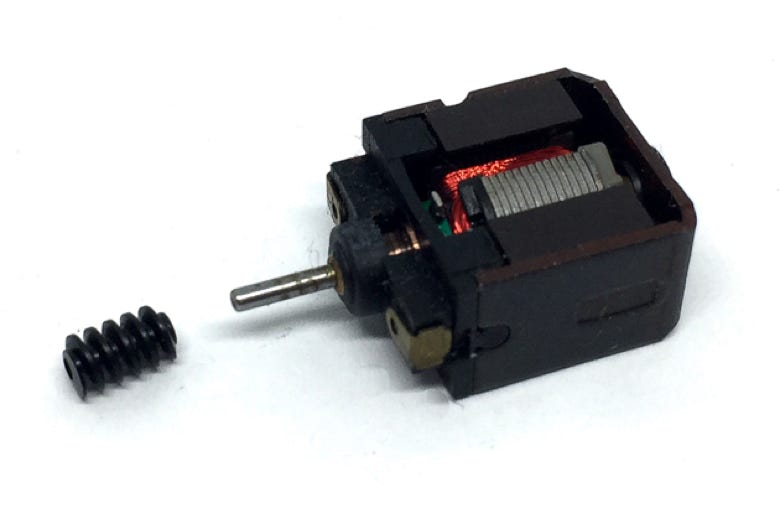
Remove the two screws from the back to release the motor.
Contents of this offer
Remove the black, plastic worm from the old motor’s shaft. This can be done with your fingers or the Tramfabriek gear puller. Push this worm on the brass adapter supplied with the kit. Then push on the new motor shaft. Do not glue yet!
Place the new motor assembly in the model. Align the worm centred above the gear below. You can move the motor to do that, instead of the worm on the shaft. When you are happy with the alignment, use Loctite metal glue (not super glue!!!! You will not have time to slide the brass adapter in the right position before the glue hardens). The blue Loctite or Granville will be the best choice.
Connect power to the motor wires, hold the motor assembly down and test how it runs in both directions. It should be a smooth sound. If you hear a louder noise in one direction, then the worm is not centred well. Then adjust this.
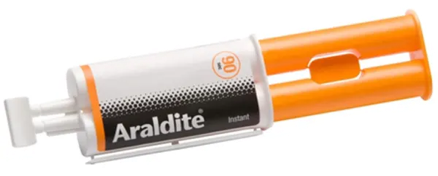
If it all works well, glue the motor casing in place with epoxy glue. I use Araldite 90 seconds drying time.
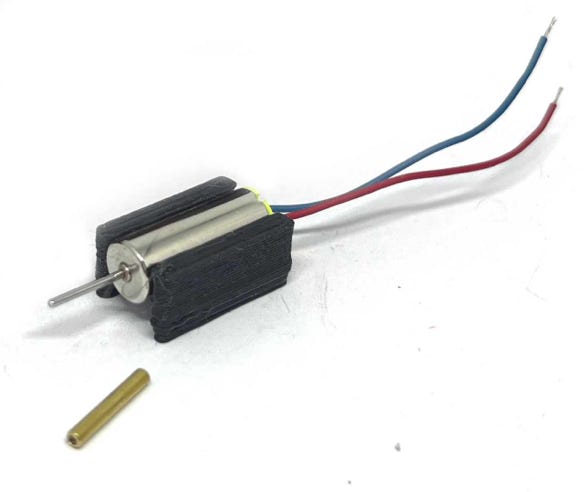
Solder the wires to the contacts on the model. Note the colour of the cables. If you would swap the wires, the model would drive in the opposite direction of all your other models.
Solder the wires to the contacts on the model. Note the colour of the cables. If you would swap the wires, the model would drive in the opposite direction of all your other models.
Please note that the blue cable goes to the contact about 15mm away from the motor. The one closer does not make contact to the wheels.
Now it’s time to perform a test run. If it isn’t working, check if you connected the blue wire to the correct contact, because you wanted to do it too fast and didn’t read.
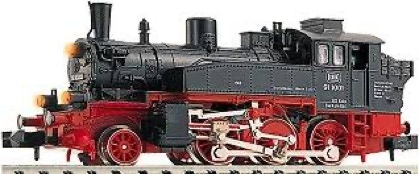
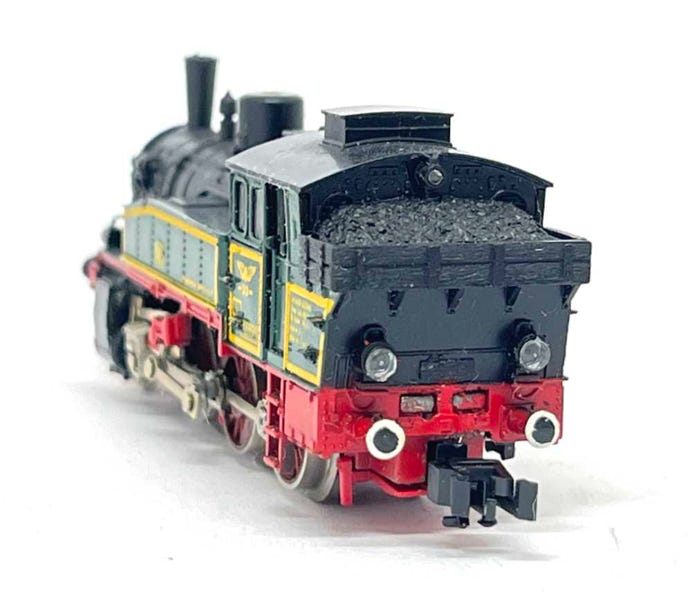
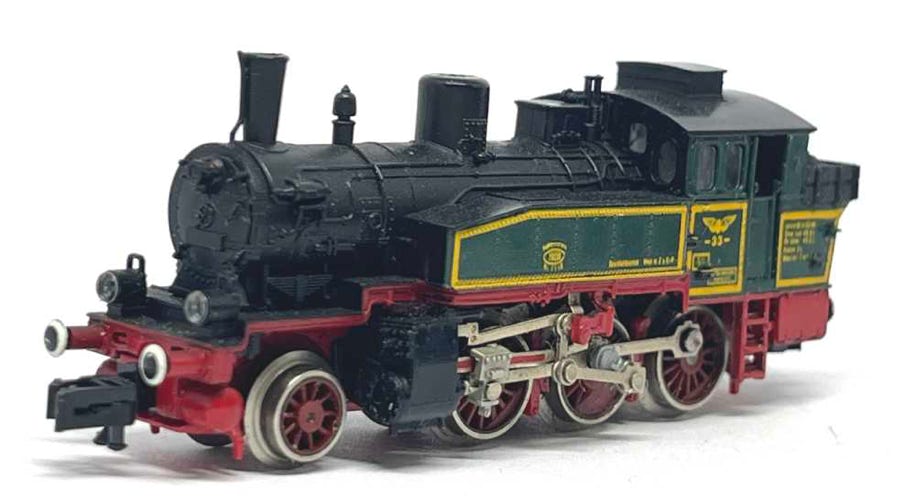
Fleischmann BR 91
(Art. 7030) to 12V coreless motor
Fits Fleischmann Art 7030 and similar models
Question? Just reach out!
5
Reattach the upper body to the chassis: Slide the buffer beam over the tabs in the front, then push the rear of the model down.
6
Give it one final check and also this steamer is ready to face a new and long future…
Digital conversion
This motor upgrade kit can very well be converted to DCC. See for suitable decoders here. Check the digital setting page, for many decoders, to get the best driving experience.
•