
UK based
Prices for UK customers are shown inc 20% VAT
Other countries, inc EU, prices shown are ex VAT.

KASTENLOK INDEX


UK based
Prices for UK customers are shown inc 20% VAT
Other countries, inc EU, prices shown are ex VAT.

KASTENLOK INDEX
Fits Fleischmann Art 7165, 7166
What you need for conversion set
- The model and upgrade kit
- Small flat screwdriver
- Soldering iron 15W/25W
- General modelling tools
Installation time: Around 30-40 minutes
(Art. 7165, 7166) to 12V coreless motor
Fleischmann BR 38

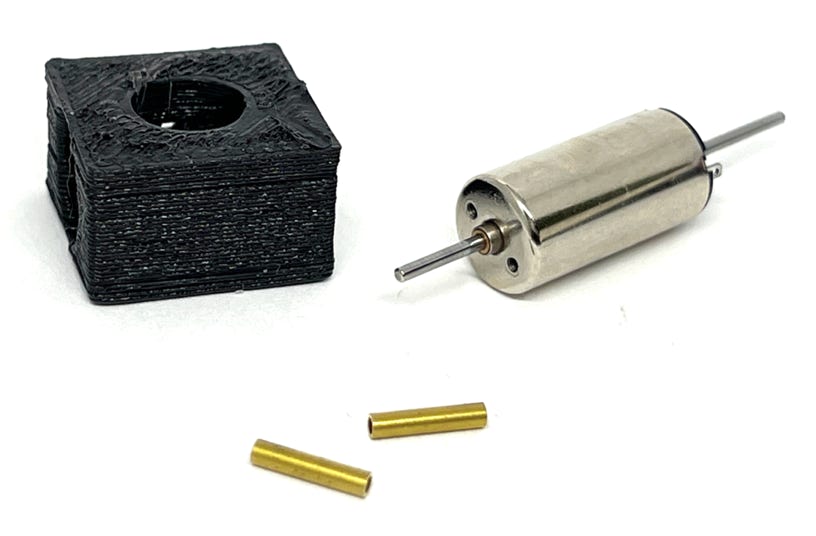
Contents of this offer with motor, as it comes from the Tramfabriek.

Question? Just reach out!
Please note! Below are the instructions for the Fleischmann BR 23. This is practically the same conversion (except for the two worms), so it works for the BR 38 as well.
1

Remove the screw and take the housing off of the tender.
2
Remove the clip by pushing the sides outwards with a flat screwdriver.
3
Pull the worm off the original motor. This can easily be achieved with your fingers.
4
Press brass adapter in worm and glue this with Loctite (It’s better not to use superglue, you won’t have enough time to position it). Cut the cable to length, as seen on the picture.
5
Solder cables of the motor as seen on the picture.
6
Clip the motor in place. If the clips loosen again, bend them a bit inward.
7
8
Test if it runs well. If you would have rattling sound, you have to centre the worm above the gear.
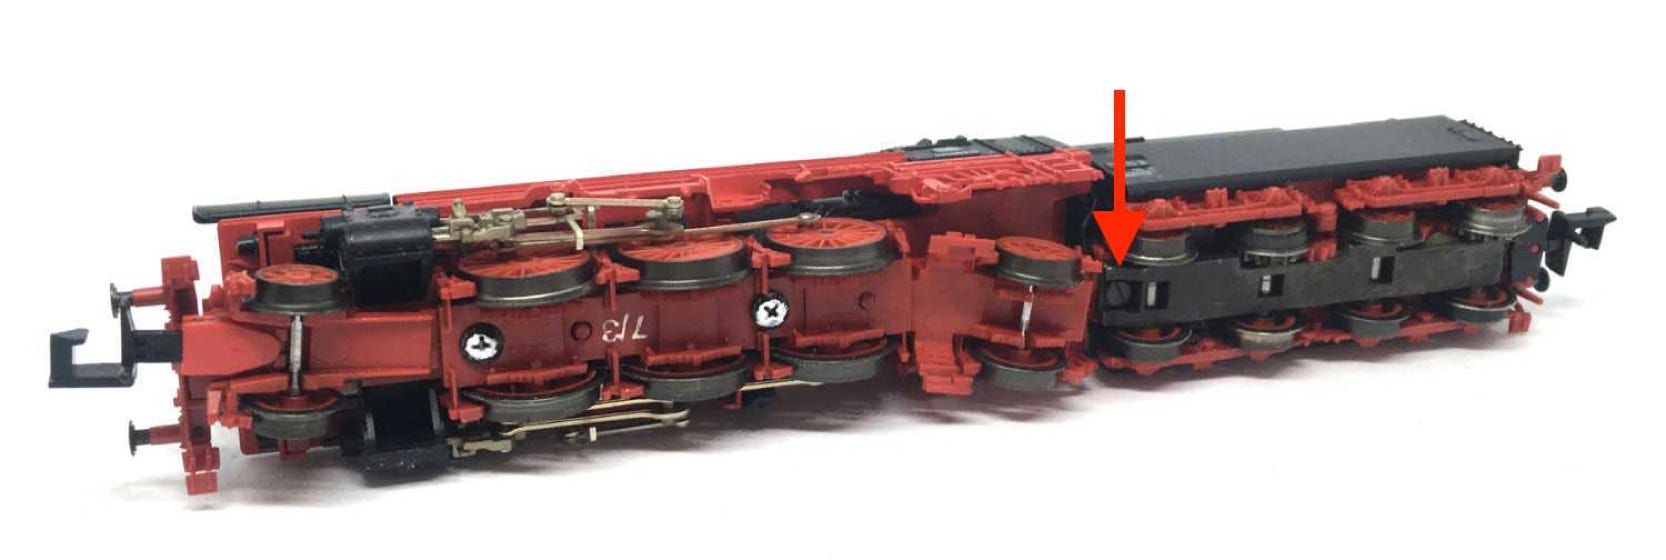
When closing the tender, here’s a help how to refit the screw and guide the coupling and power cables. The arrows point the hole to route the black and red cables.
Digital conversion
This motor upgrade kit can very well be converted to DCC. See for suitable decoders here. Check the digital setting page, for many decoders, to get the best driving experience.
•