

UK based
Prices for UK customers are shown inc 20% VAT
Other countries, inc EU, prices shown are ex VAT.


UK based
Prices for UK customers are shown inc 20% VAT
Other countries, inc EU, prices shown are ex VAT.
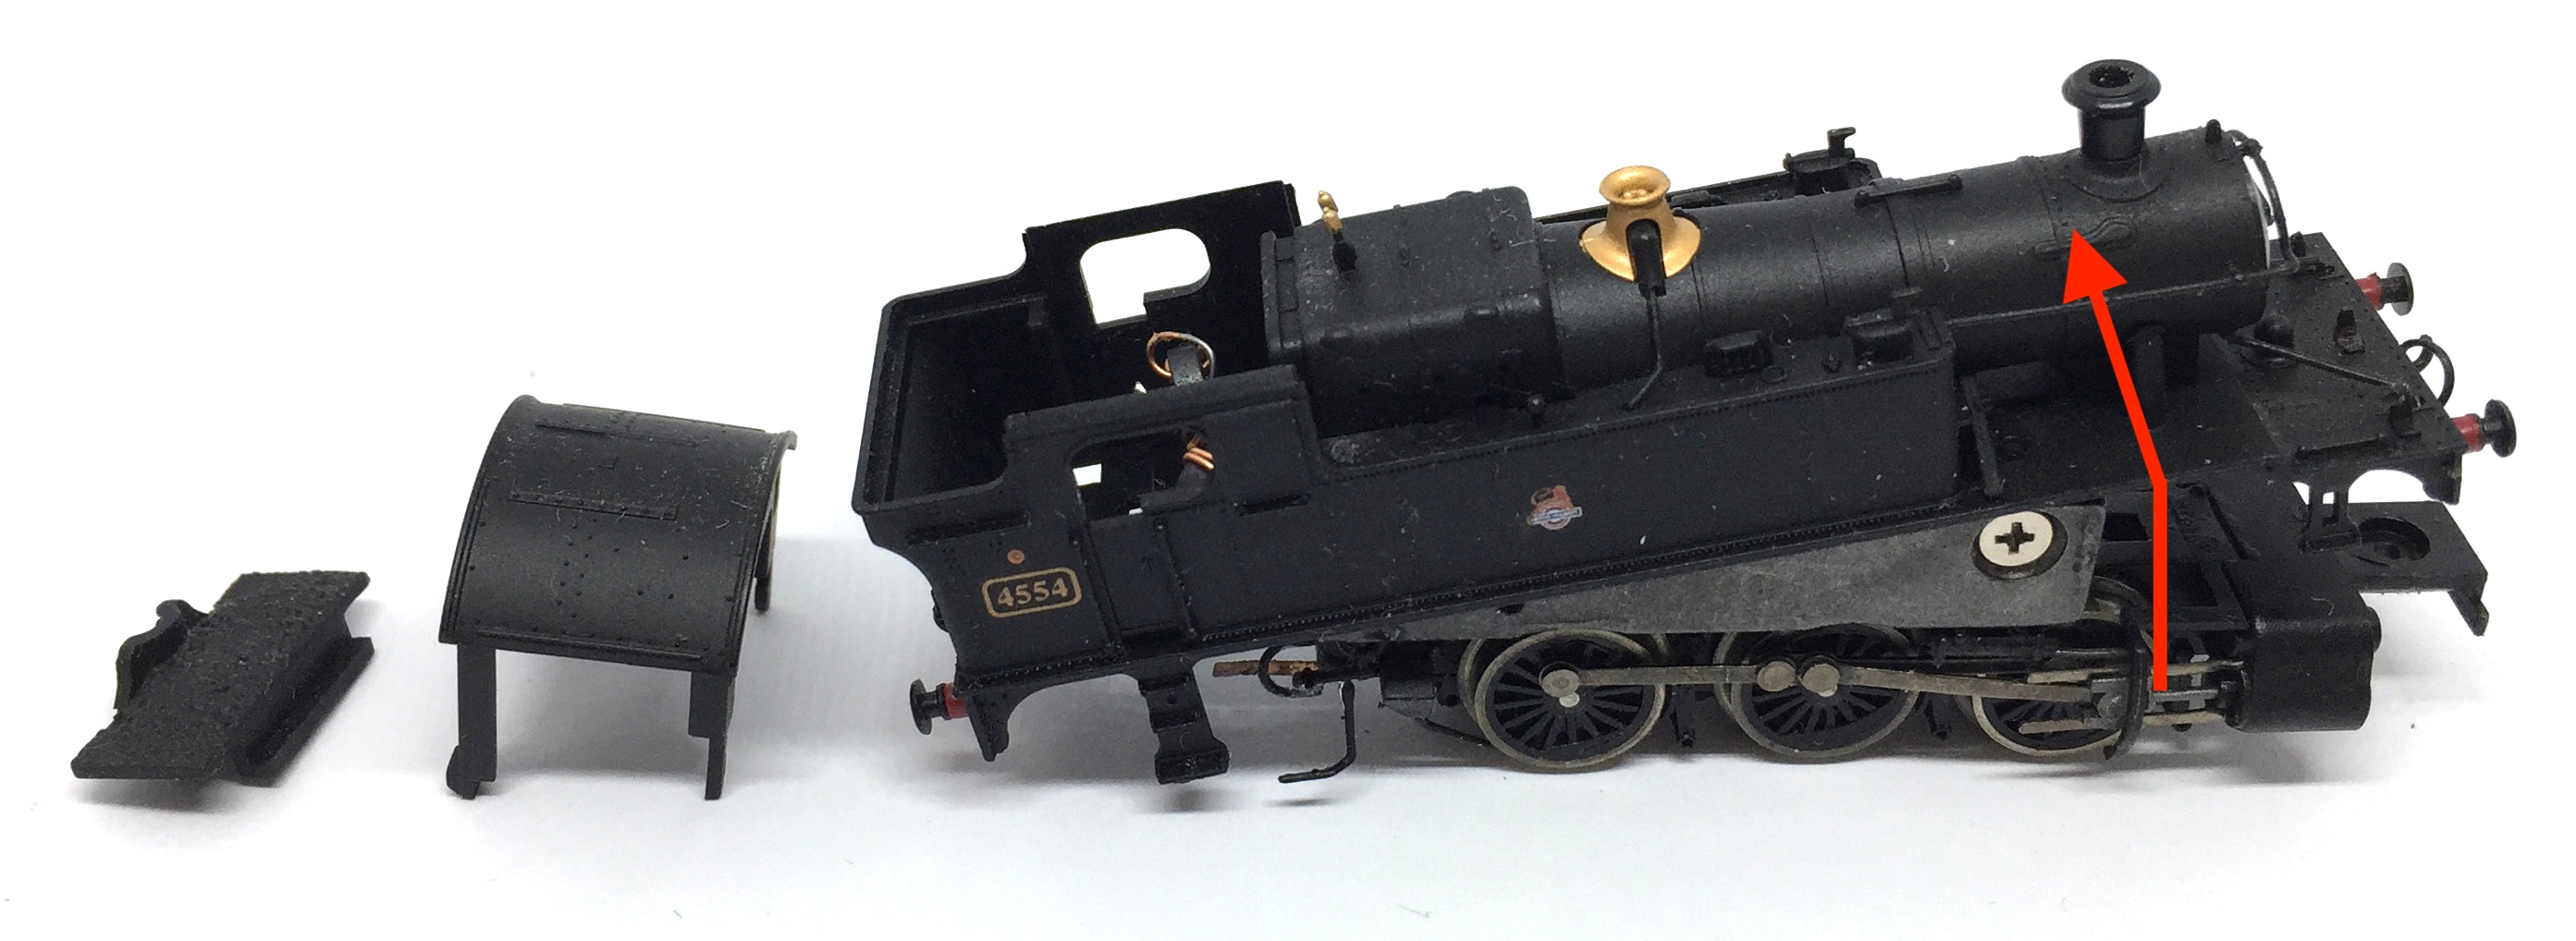
Dapol 45XX Small Prairie
Conversion to 12V coreless motor

*Please note that jerky behaviour at low speeds, before a motor upgrade, indicates most likely to be a problem with the tuning of the coupling rods. Replacing the motor will not solve that.
Question? Just reach out!
Smoother running at low speeds*, lower maximum speed and quieter.
What you need for conversion set
- The model and upgrade kit
- Small Phillips screwdriver (size 000)
- Soldering iron 15W/25W
- General model making tools
Installation time: Around 60 minutes
Take apart
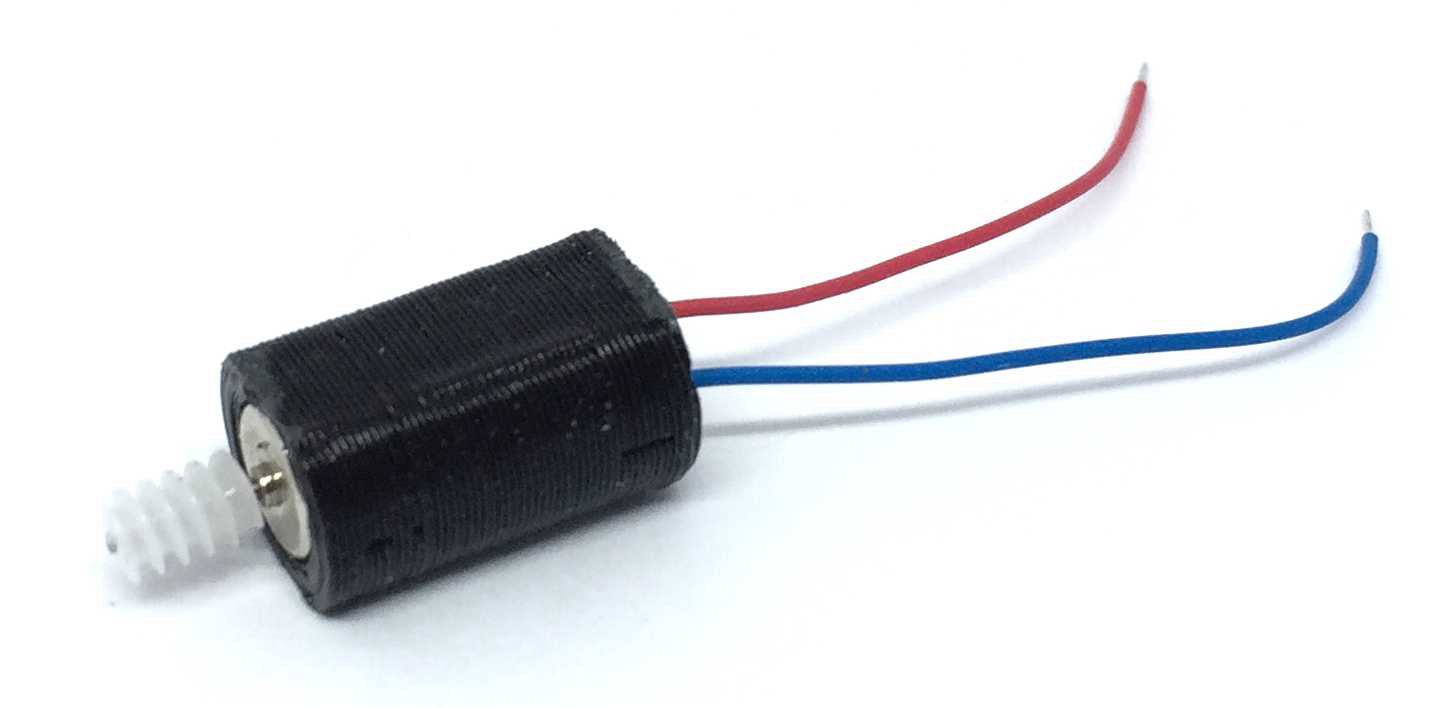
Contents of the kit:
1x 12V coreless motor
1x motor casing
1x worm
Check if you have the same model, when in doubt (see below)..

1
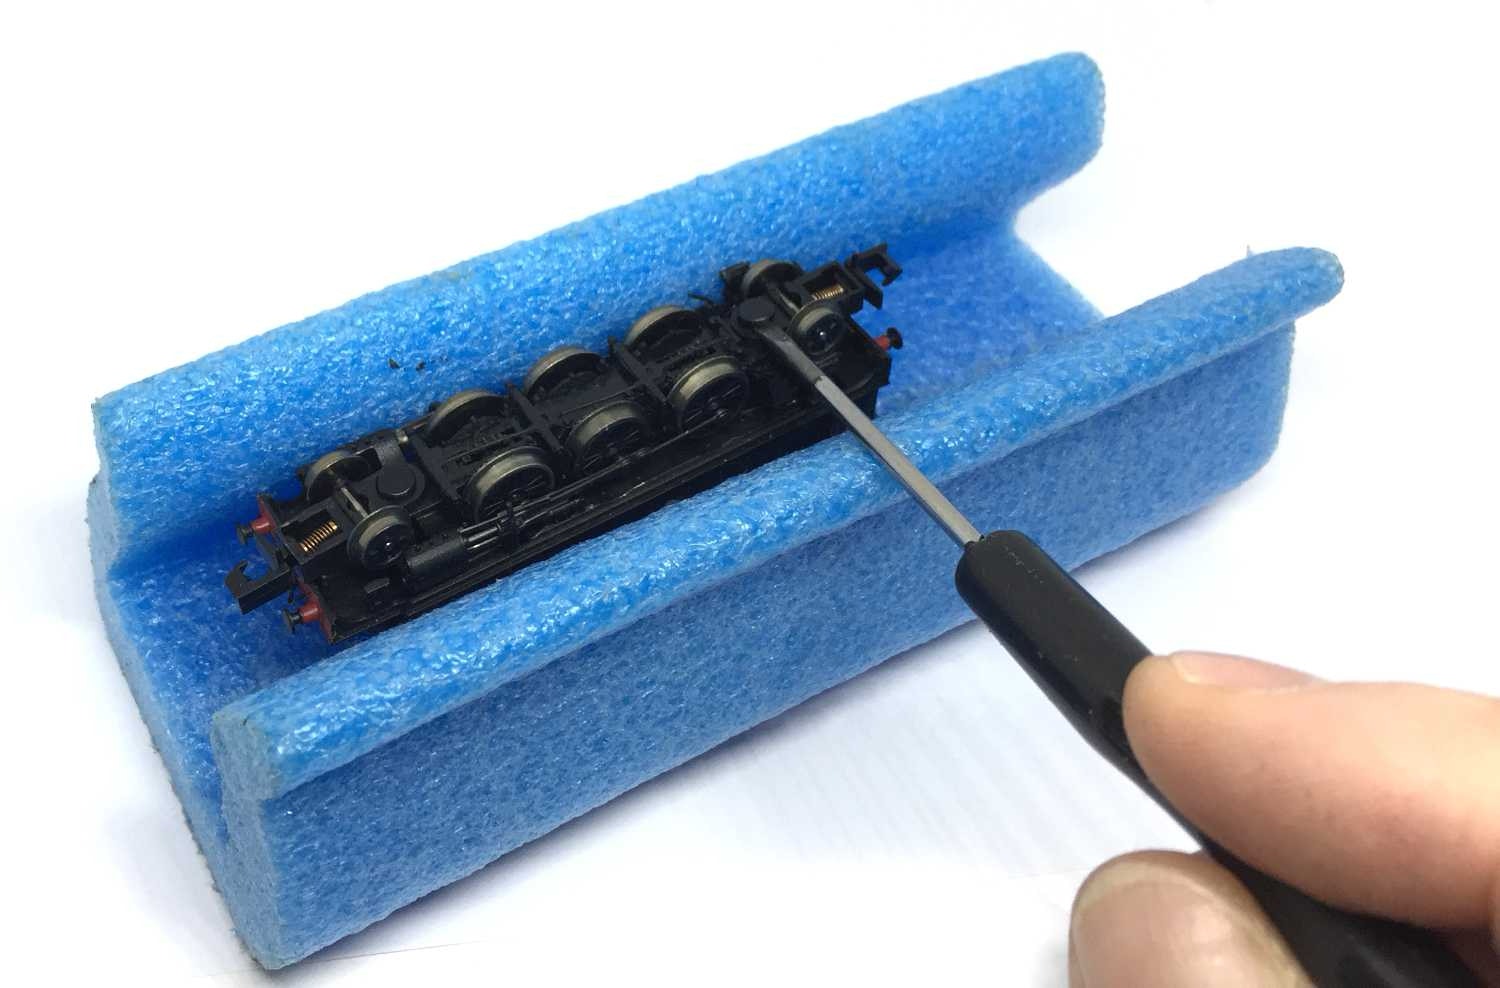
Remove both pins that hold the front and rear wheels in place. Lift them straight up. It helps to use to flat screw drivers on both sides of the pin.
2
Remove the two small screws that are exposed after removing the wheels in step 1, using a small Phillips screwdriver, for example size 000.

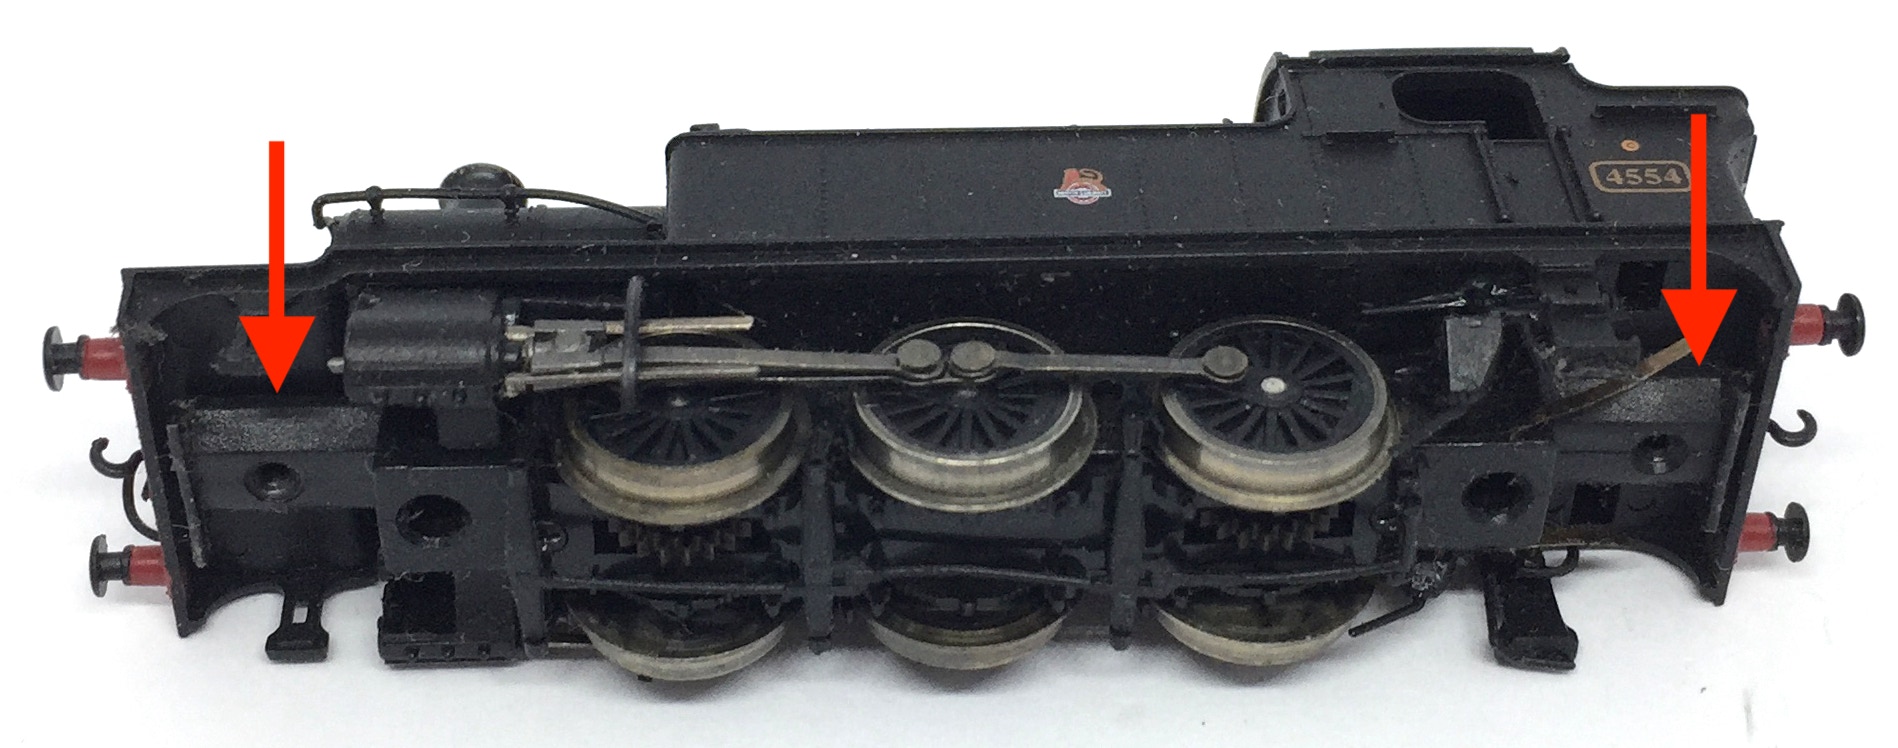
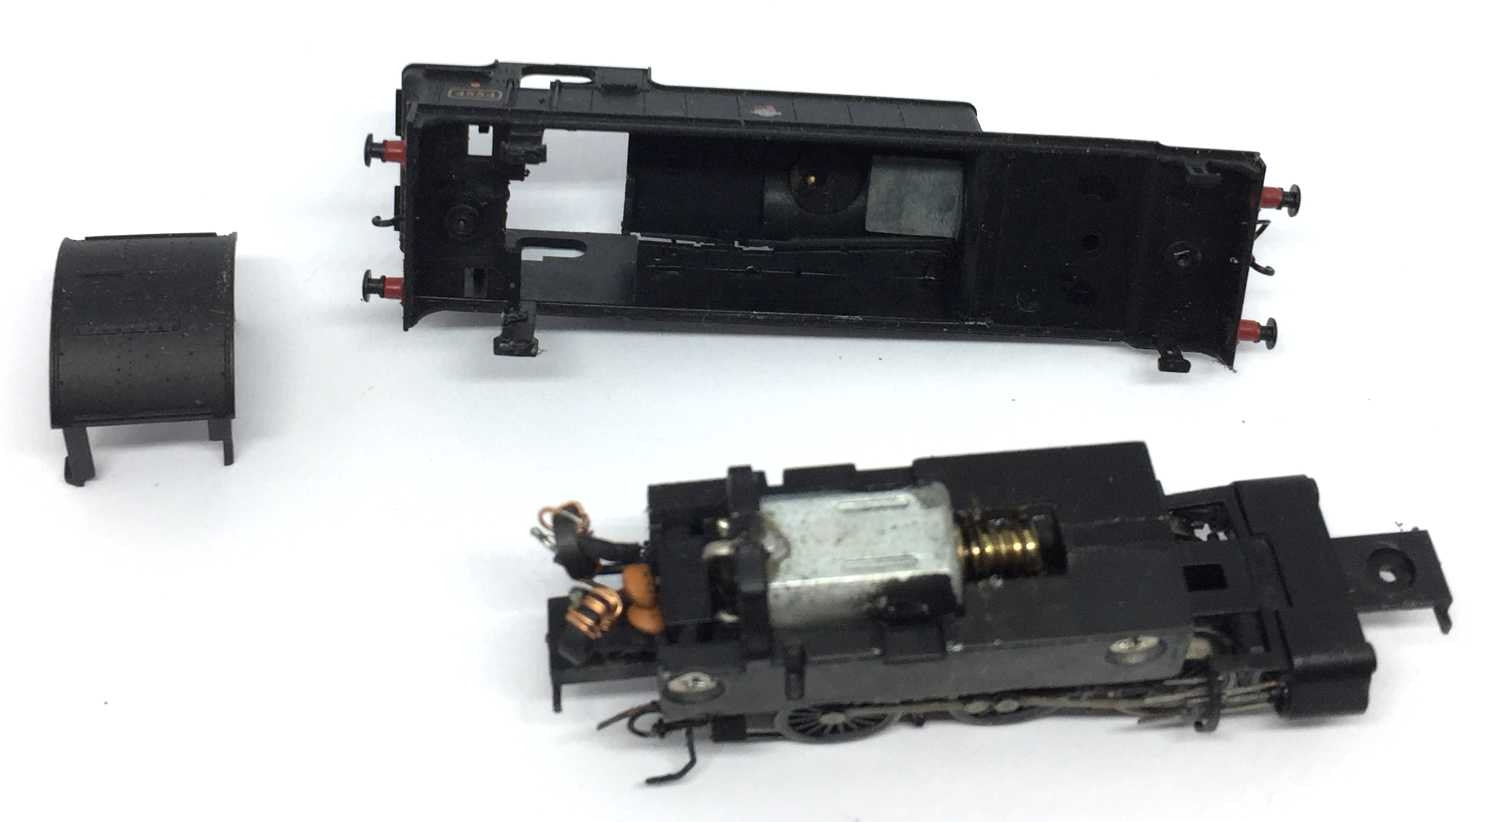
3
Remove the housing from the body. The housing sits very tight on the frame. You’ll need to wiggle a flat screw driver between the indicated points and go back and forth to release the frame. First the housing has to go straight up, then angled, as the condensators in the back have to come out. Before or during this process you can take the roof and coal off, so you can see what you are doing.
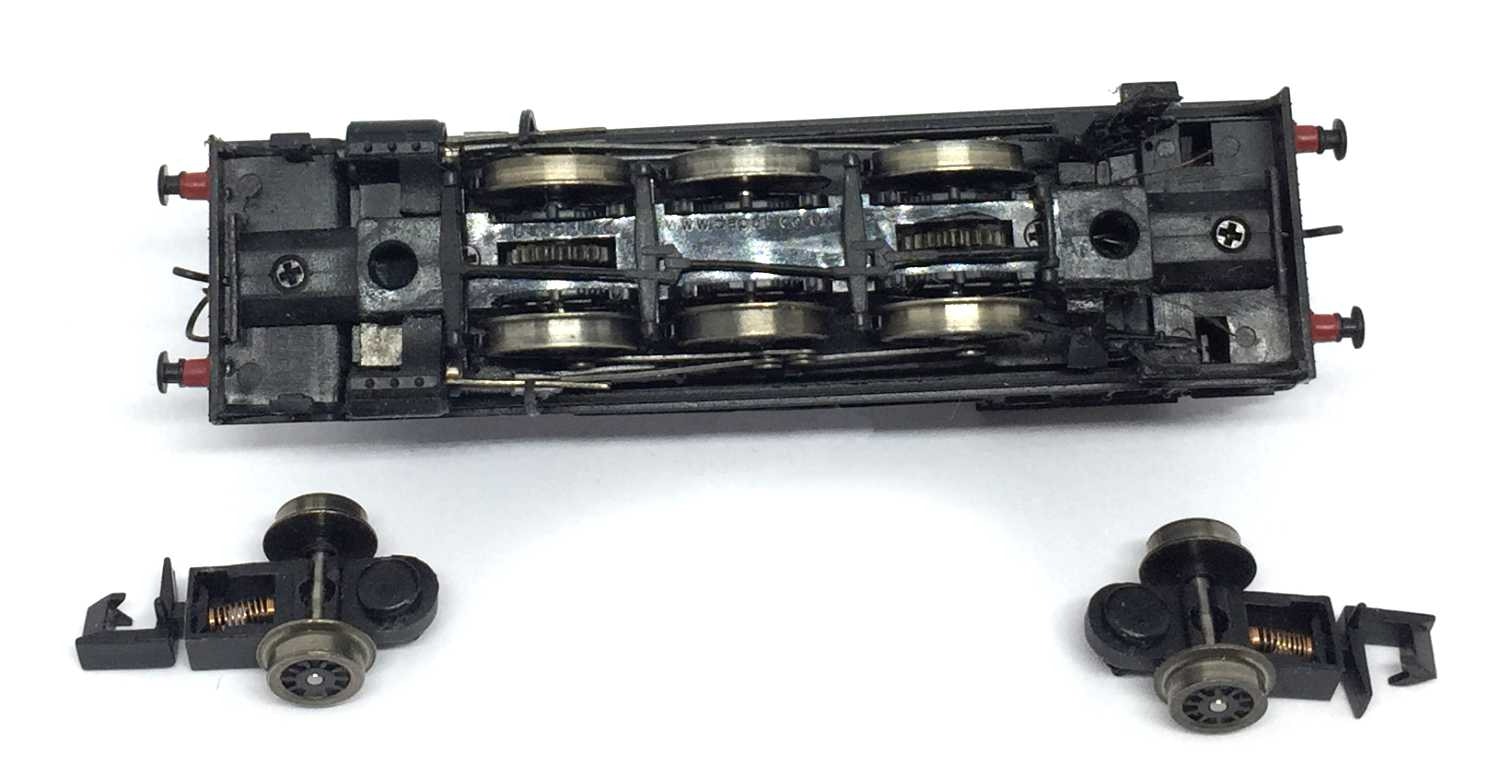
4
Result
5
Remove the four screws, two on each side.

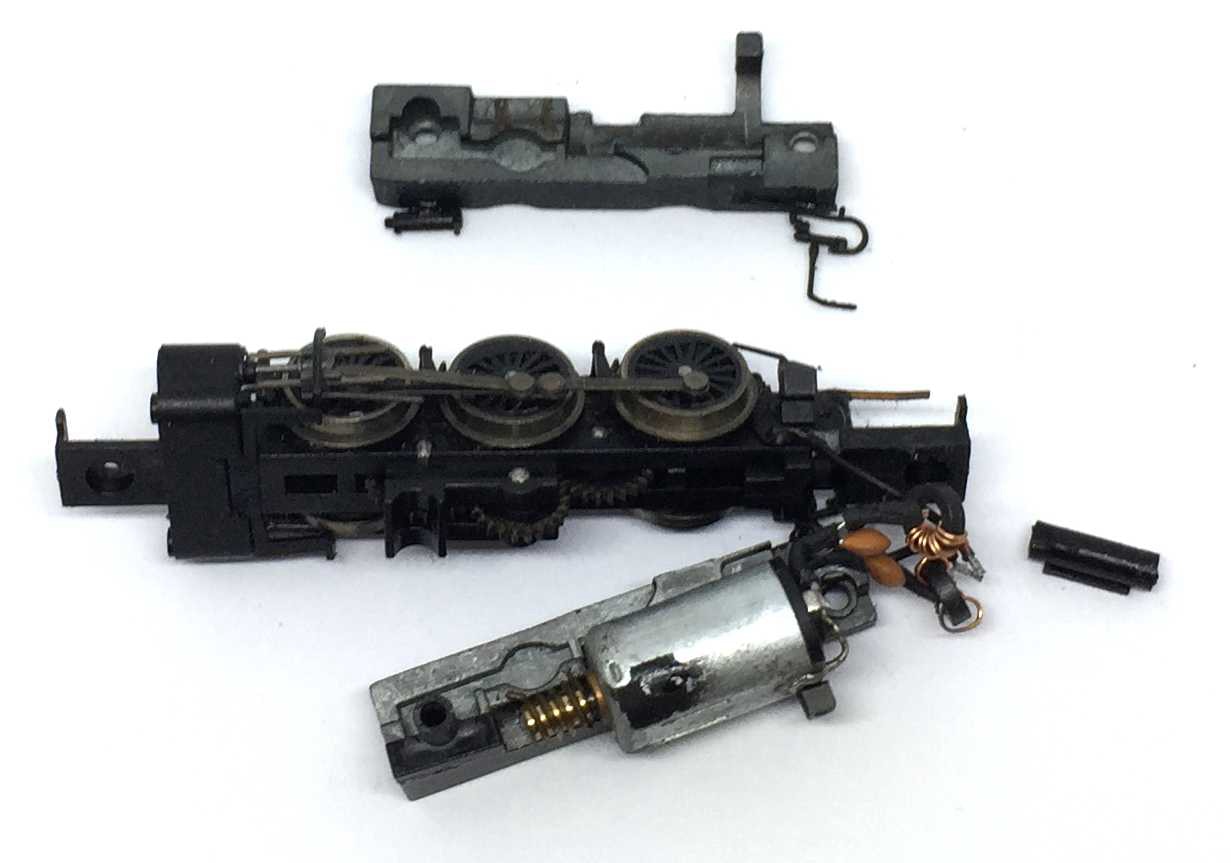
6
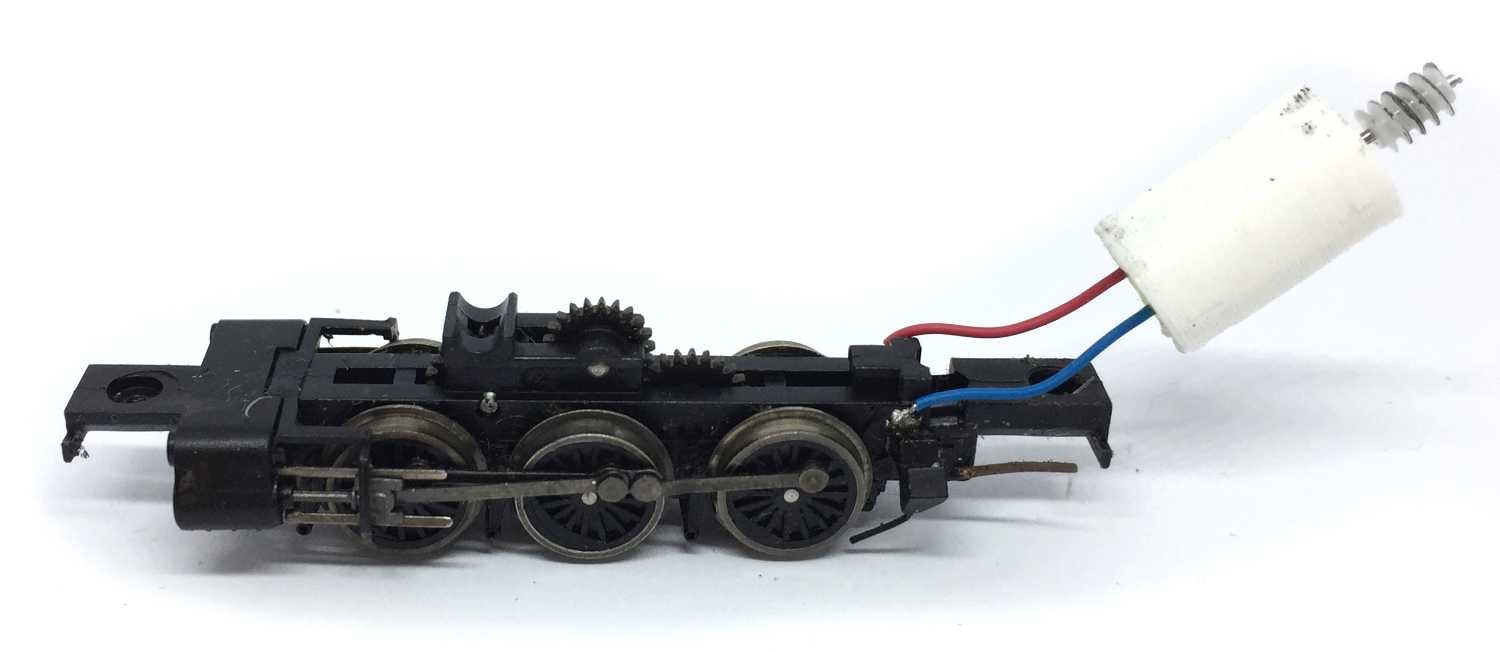
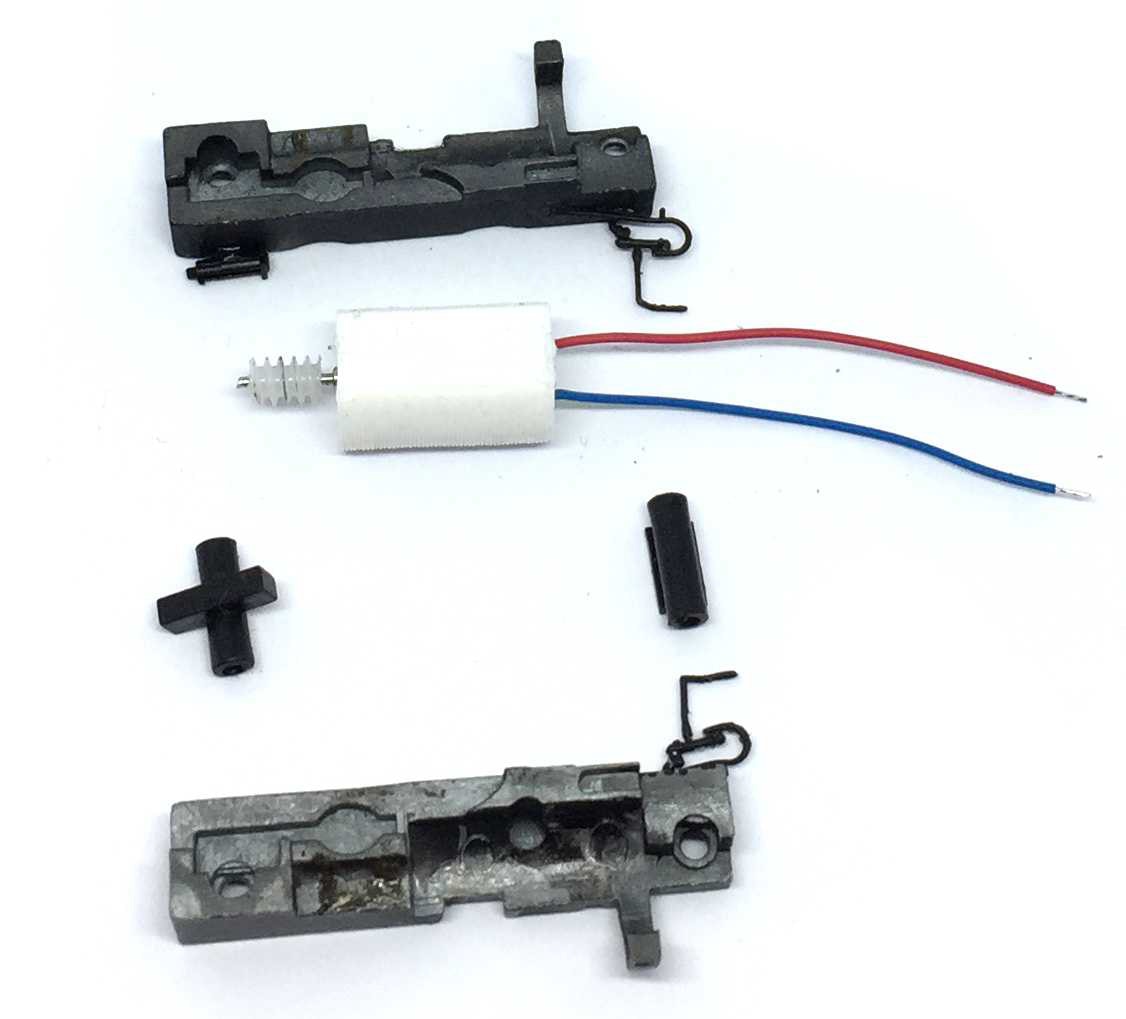
You end up with this. Mind the two black pieces of plastic that fall out, that keep the two metal blocks seperated.
7
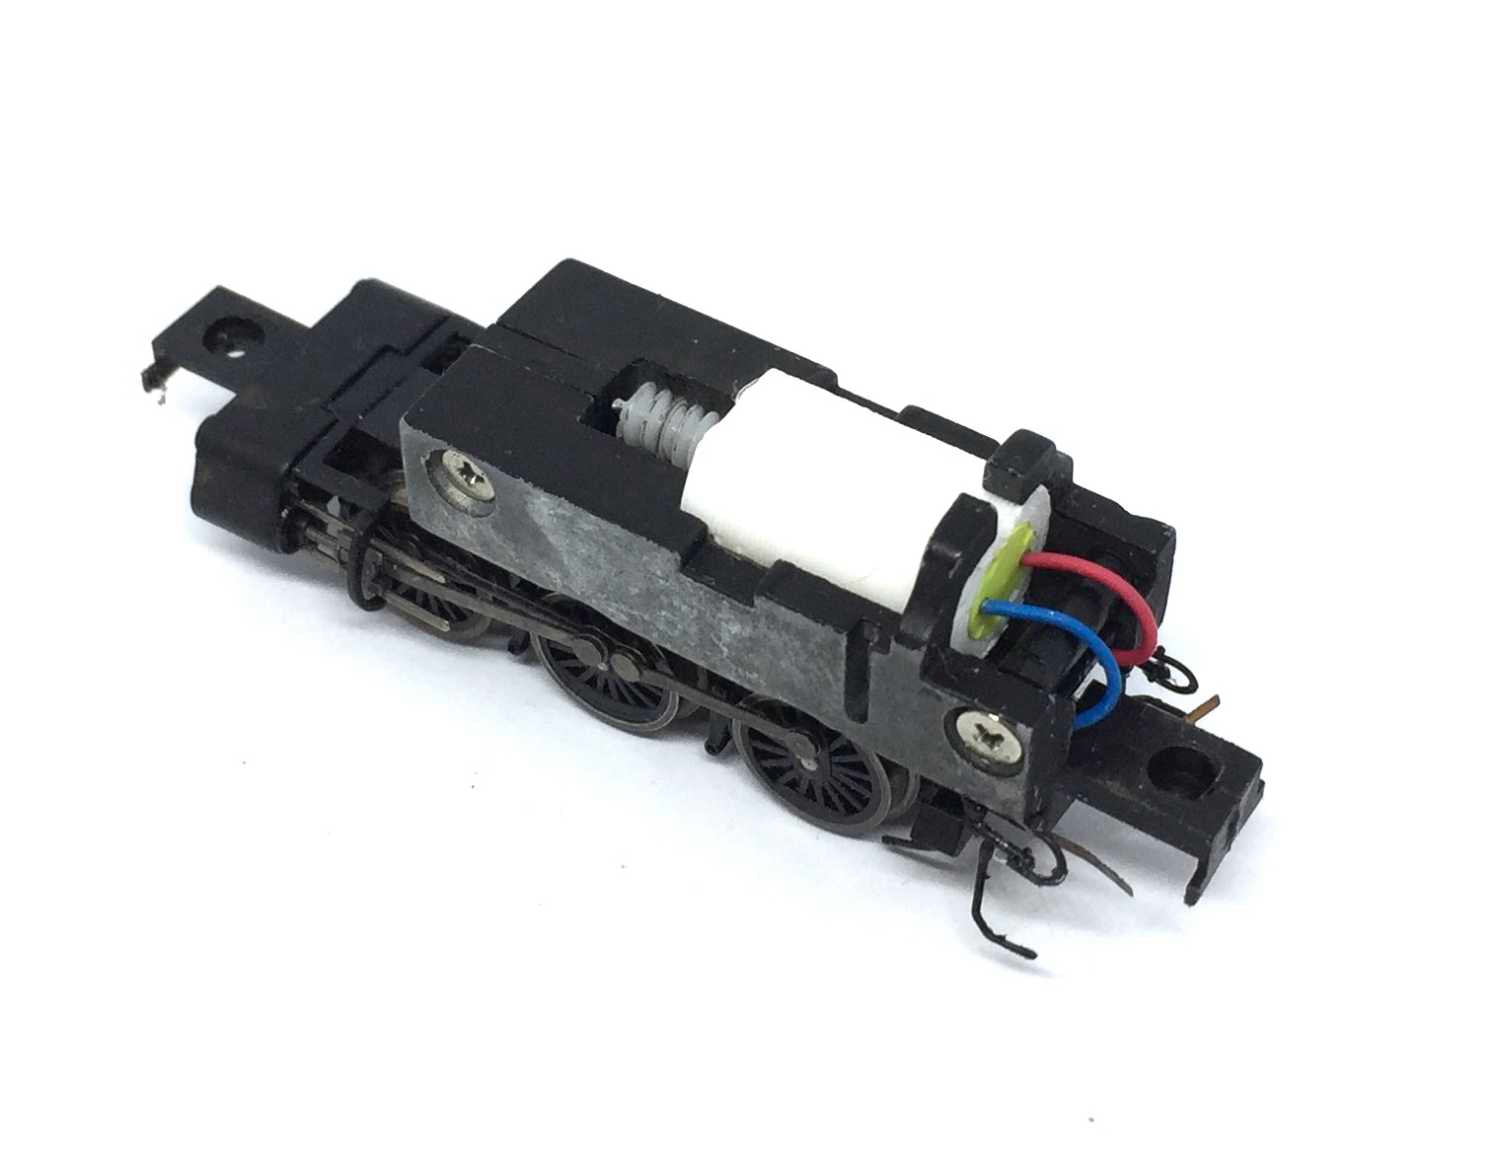
Desolder the wires from the driving mechanism.
8
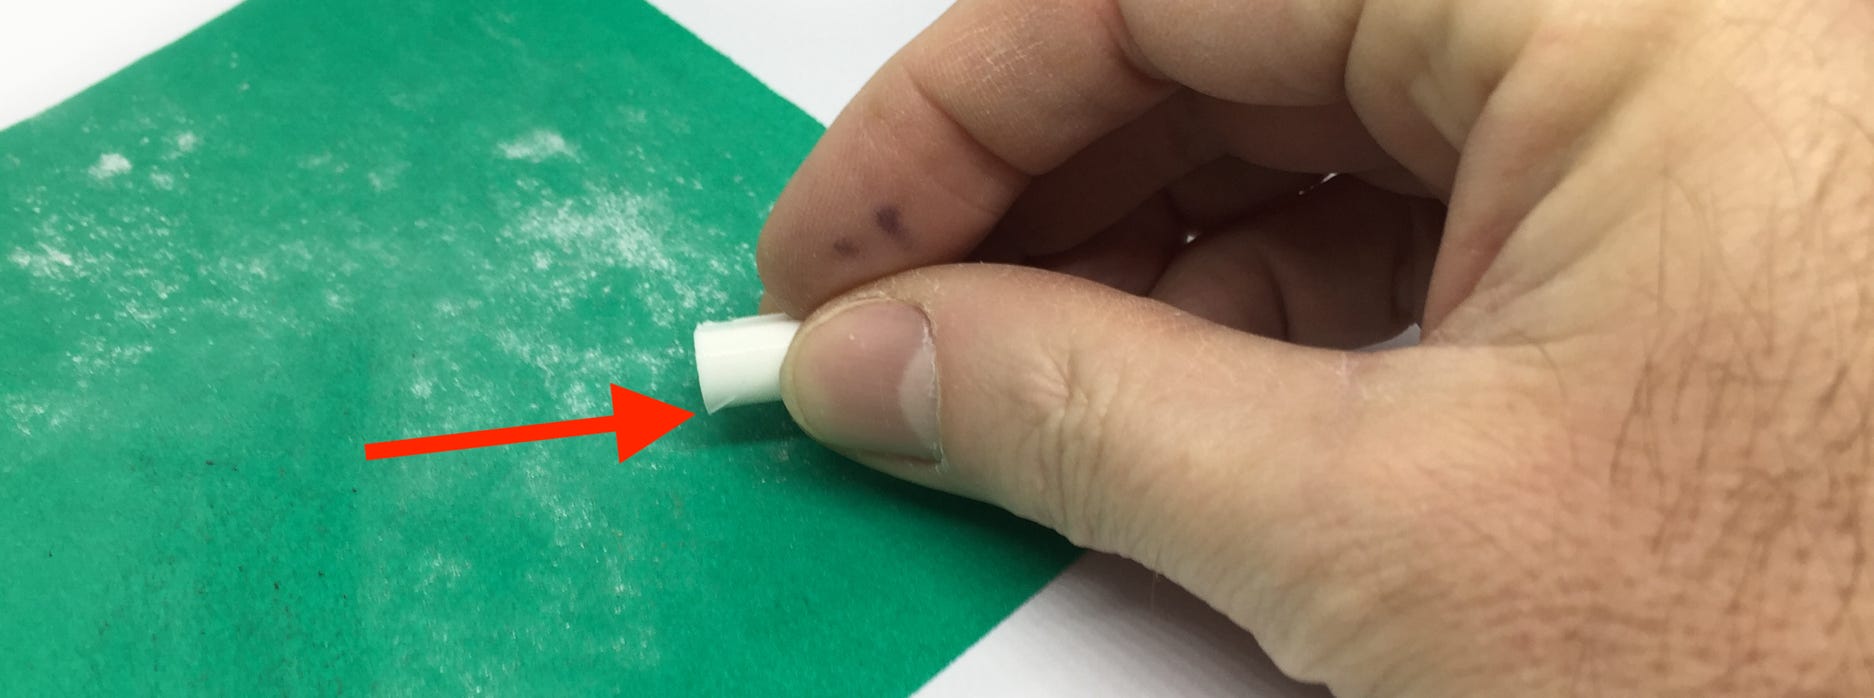
On the picture you see there is a slight edge on the flat side of the motor casing (colour of casing can vary, but usually is black) from the printing proces. Note where the edges are sticking out (if any) and rub it slightly on sandpaper. The flat sides need to be flat, of course.
9
Cut the motor wires to size and solder to the driving mechanism.
10
This is how it all comes together.
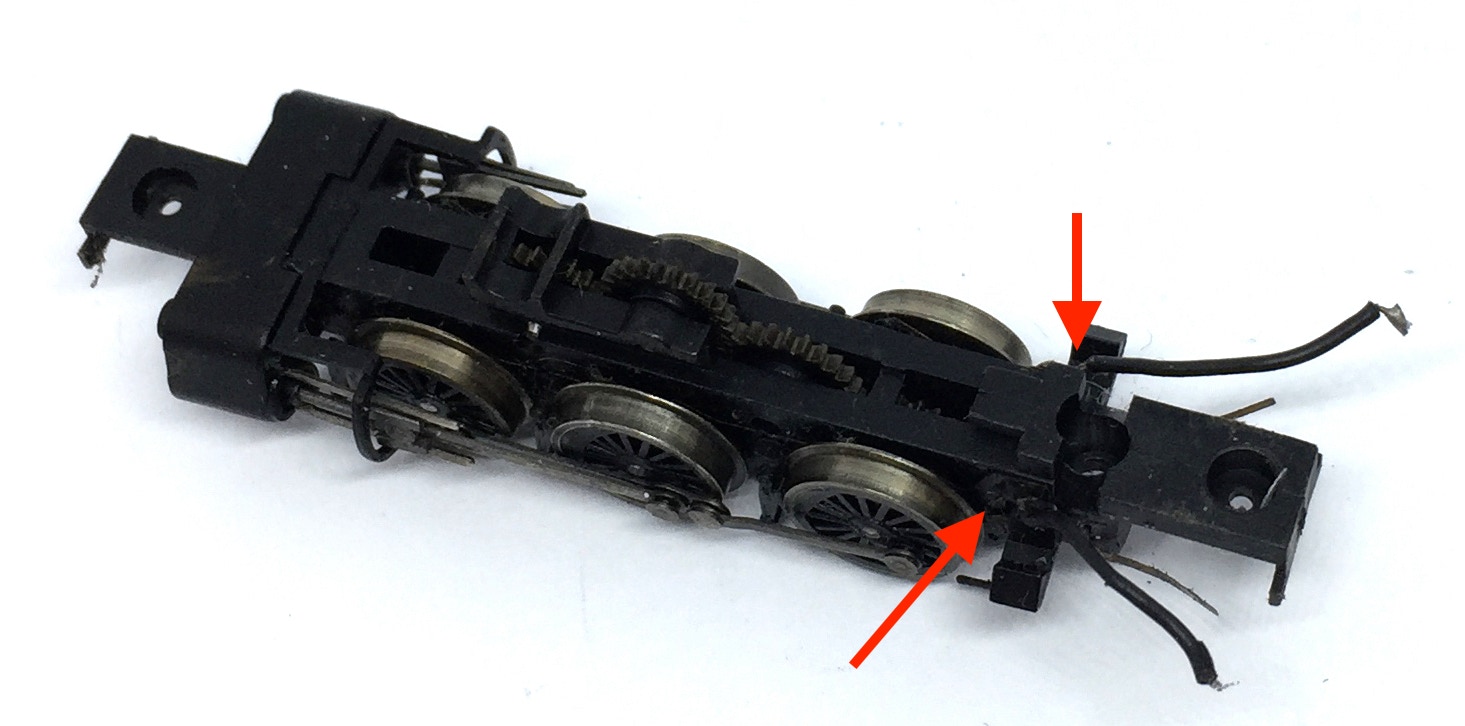
11
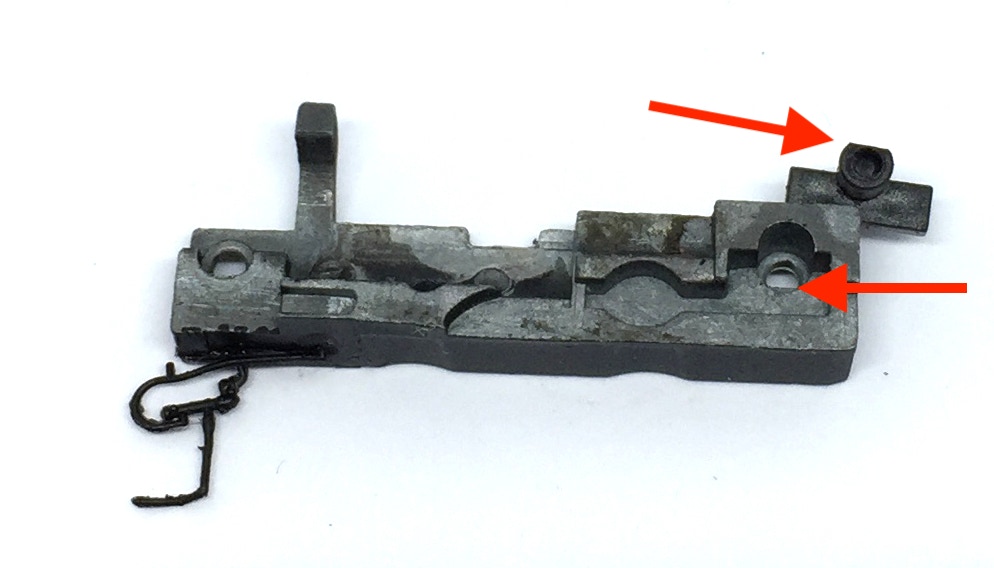
Note that the cross like piece of plastic has two different ends. One has a flat side. This fits only in one side of the frame.

12
Now put the two metal side frames, the two plastic dividers and the motor assembly together. It is not shown on the picture, but you should have the motor wires connected to the driving mechanism by now. Before you close this, check if the worm is centred above the gear below. We might have fitted the worm, but haven’t tested it for the perfect centred location.
13
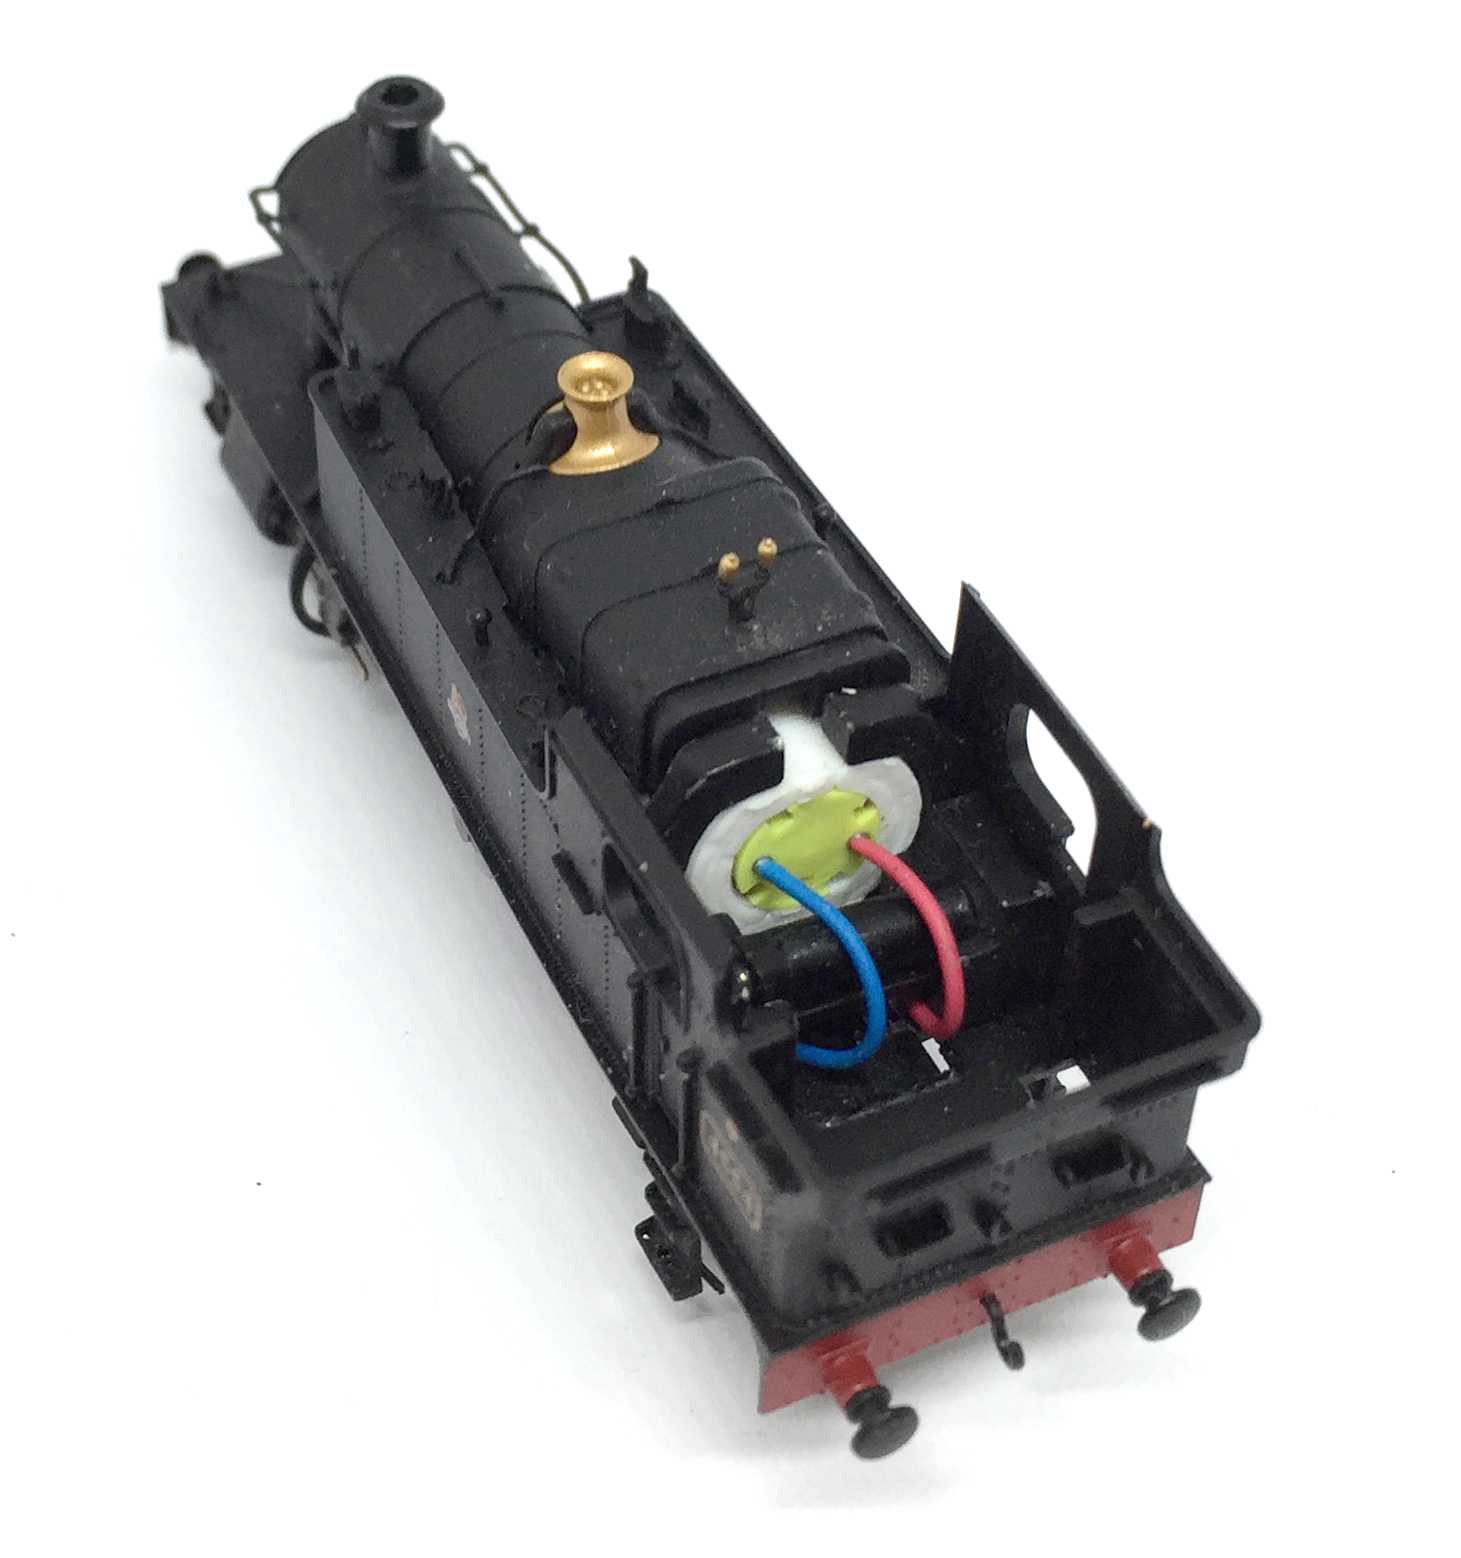
When it all fits together, put the four screws back and make a test run. Grease the gears.
14
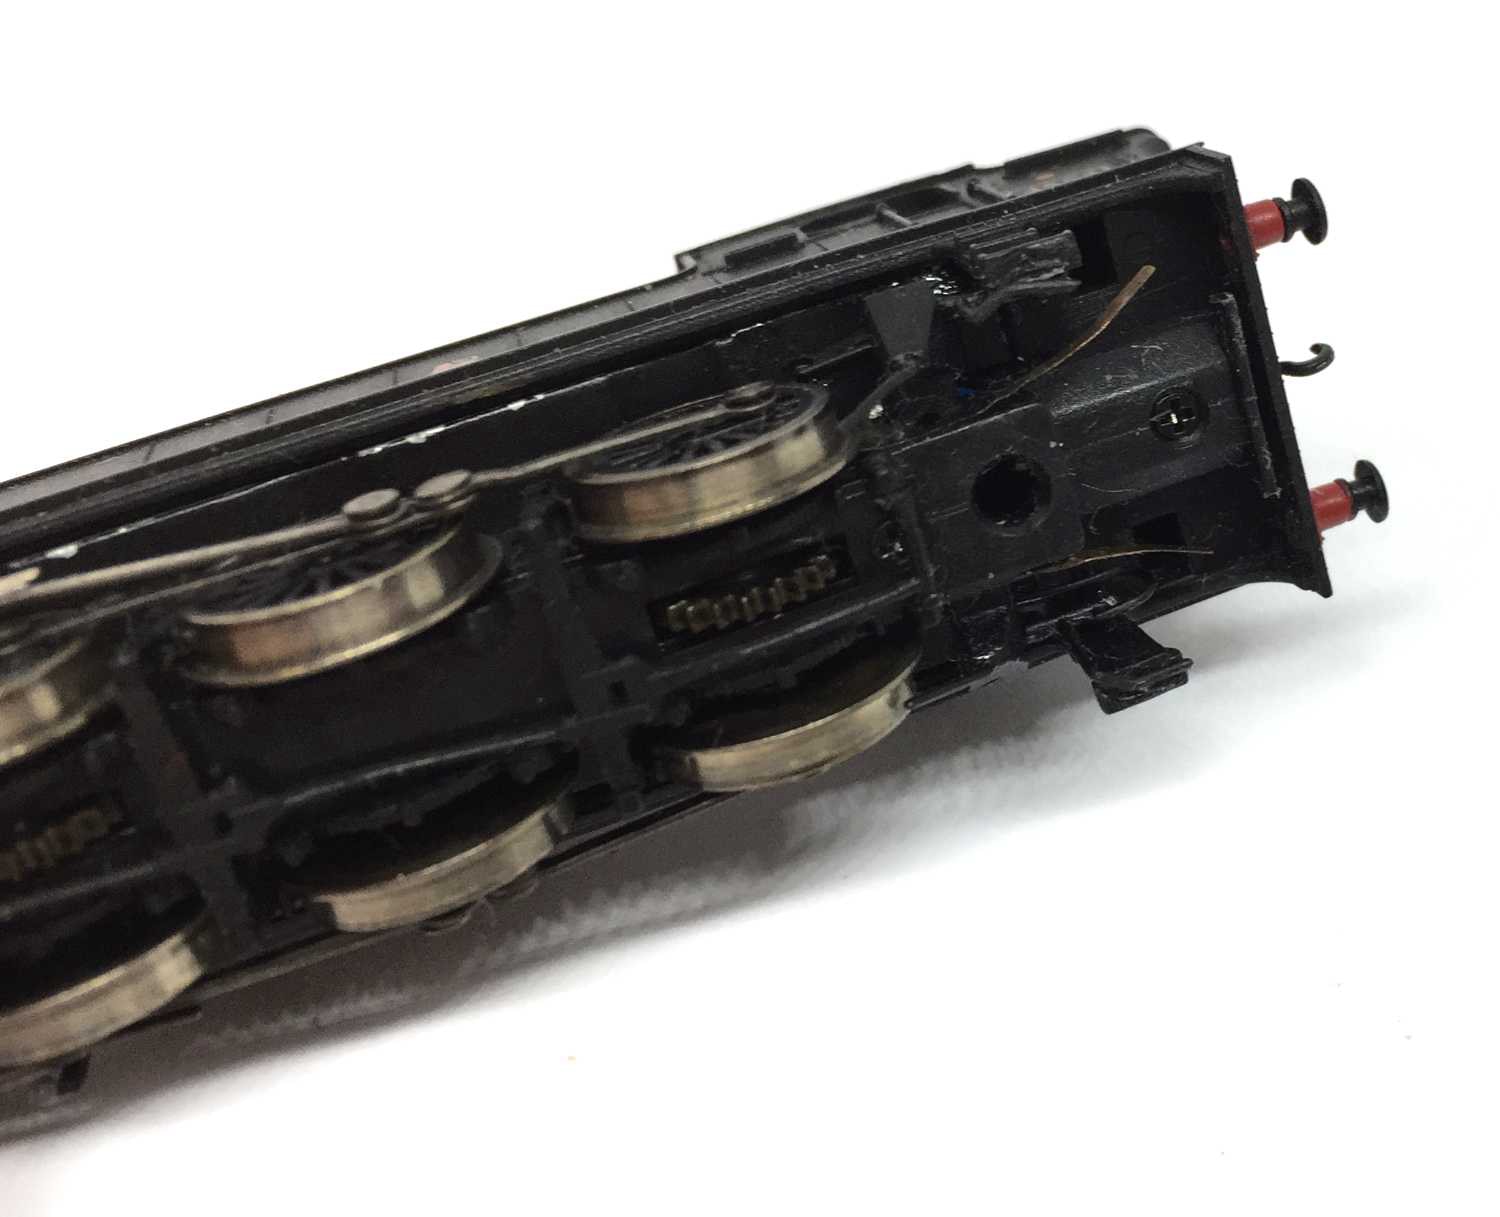
Fit the housing back on. Then the bottom screws and then the front and rear wheels. Pay attention to the two contacts on the back, don’t crush them.
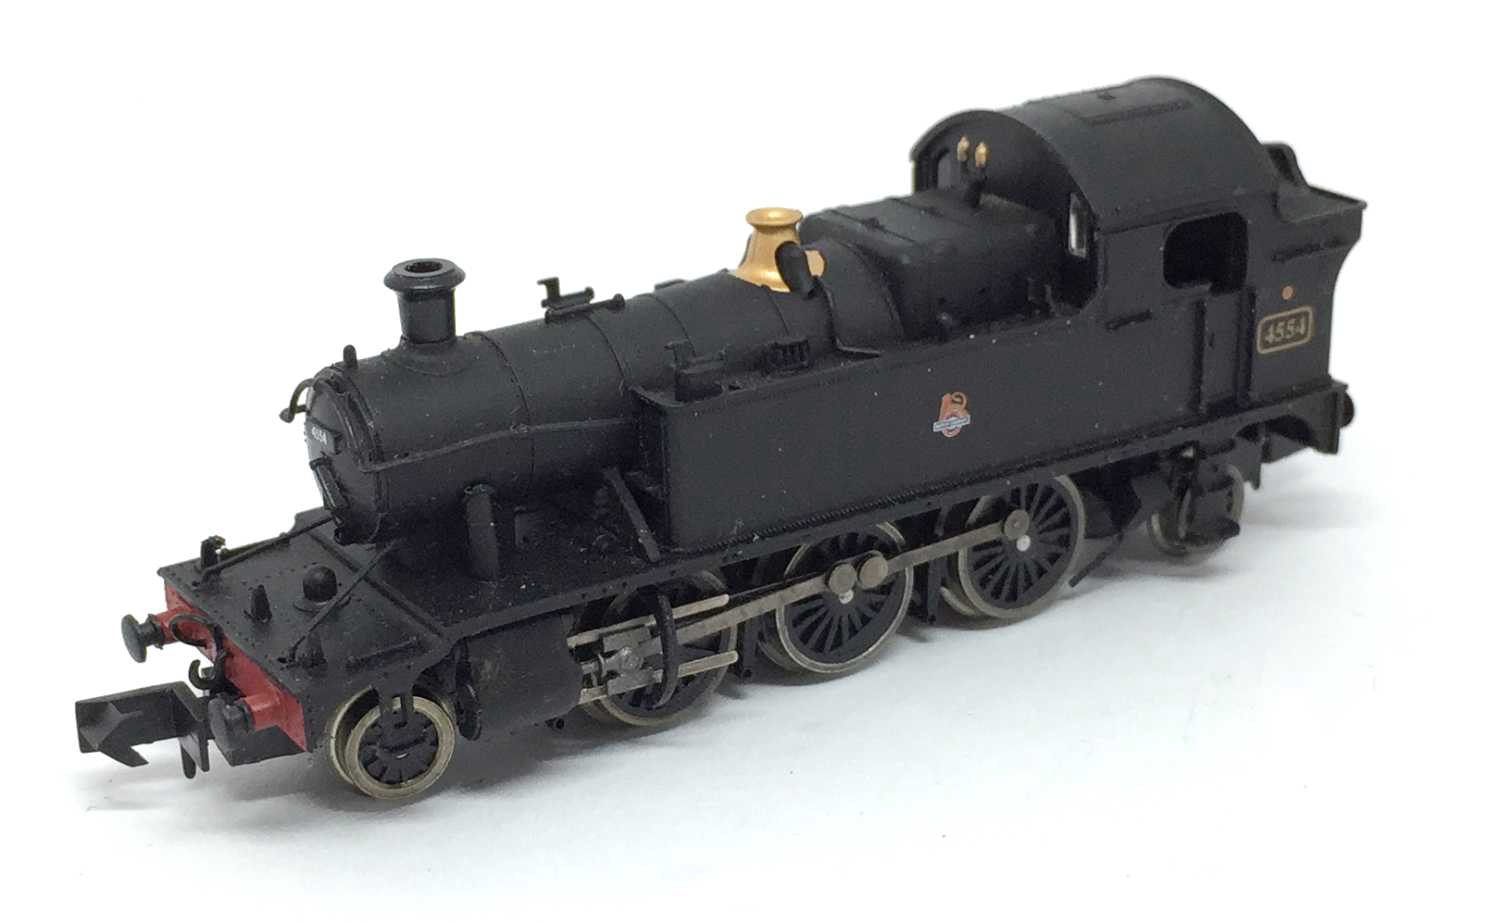
Done! Enjoy a much quieter model, which doesn’t derail when you go through the curves at 12V.
Digital
You have space in the cabine to fit a small decoder. You can fit a decoder. Train-O-Matic does an excellent wired micro decoder, available here from the Tramfabriek.
For optimal performance, you need to change some CV settings on a decoder. For several decoder brands, the ideal CV settings can be found by clicking here.
END
•