

UK based
Prices for UK customers are shown inc 20% VAT
Other countries, inc EU, prices shown are ex VAT.

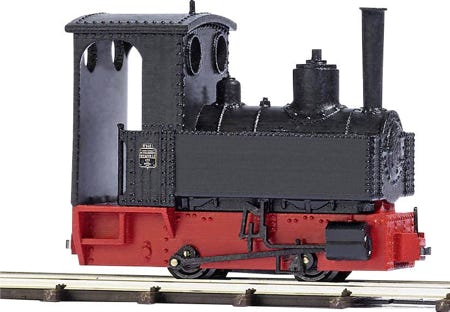
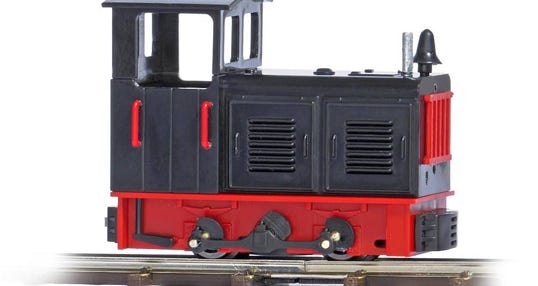
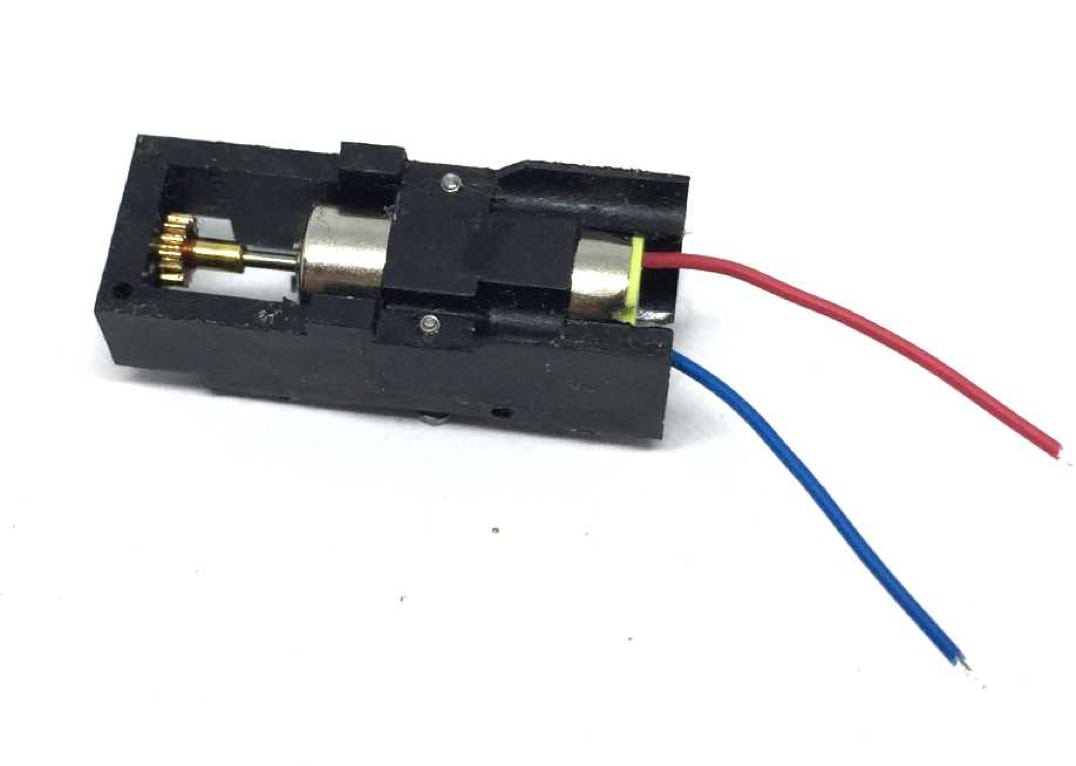
Conversion Busch H0f
from 3V to 12V coreless motor
Photos: Busch
UK based
Prices for UK customers are shown inc 20% VAT
Other countries, inc EU, prices shown are ex VAT.
Conversion Busch H0f
from 3V to 12V coreless motor
Photos: Busch
What you need for conversion set
- The model and upgrade kit
- Small flat screwdriver
- Soldering iron 15W/25W
- Hand vice
- Loctite glue
Good to have:
- General modelling tools
Installation time: Around 1 hour
1
2
3
Fits all Busch H0f 3V models
Art. code: BUSCH
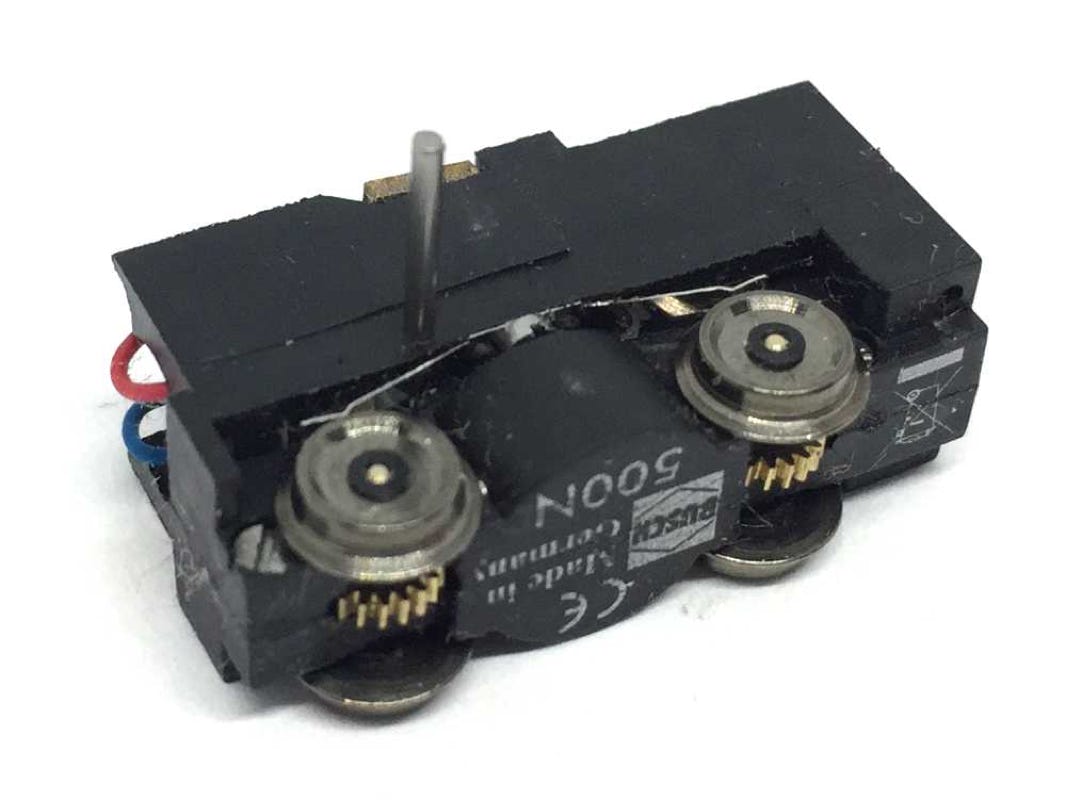
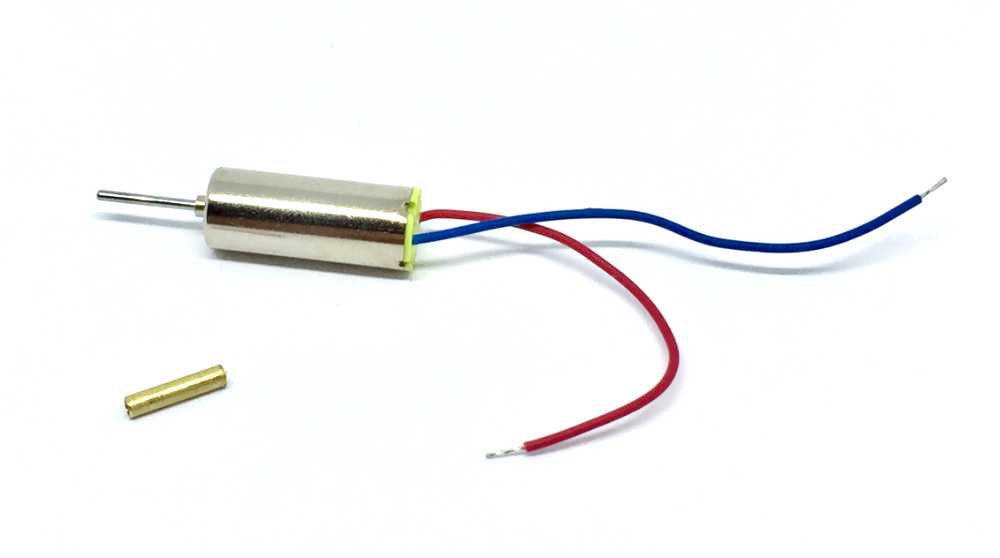
Contents of the kit
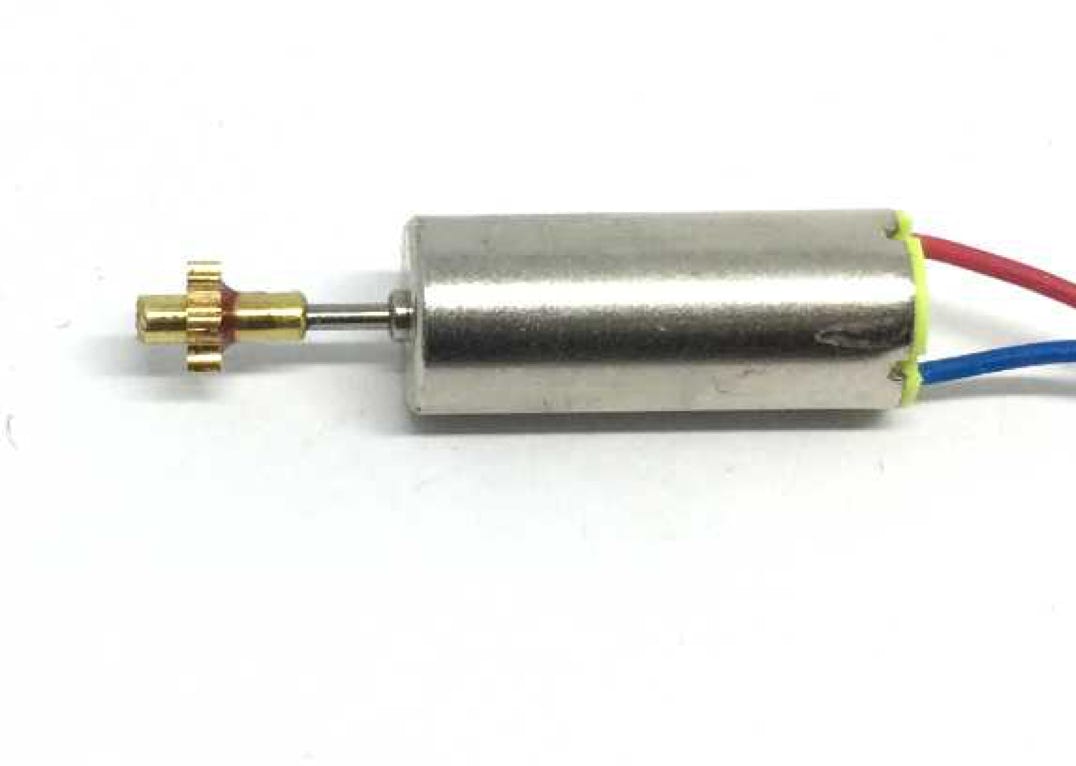
1x 6x15 mm motor
1x brass adapter
Remove the housing by removing the screw in the front of the model.
Remove the two screws.
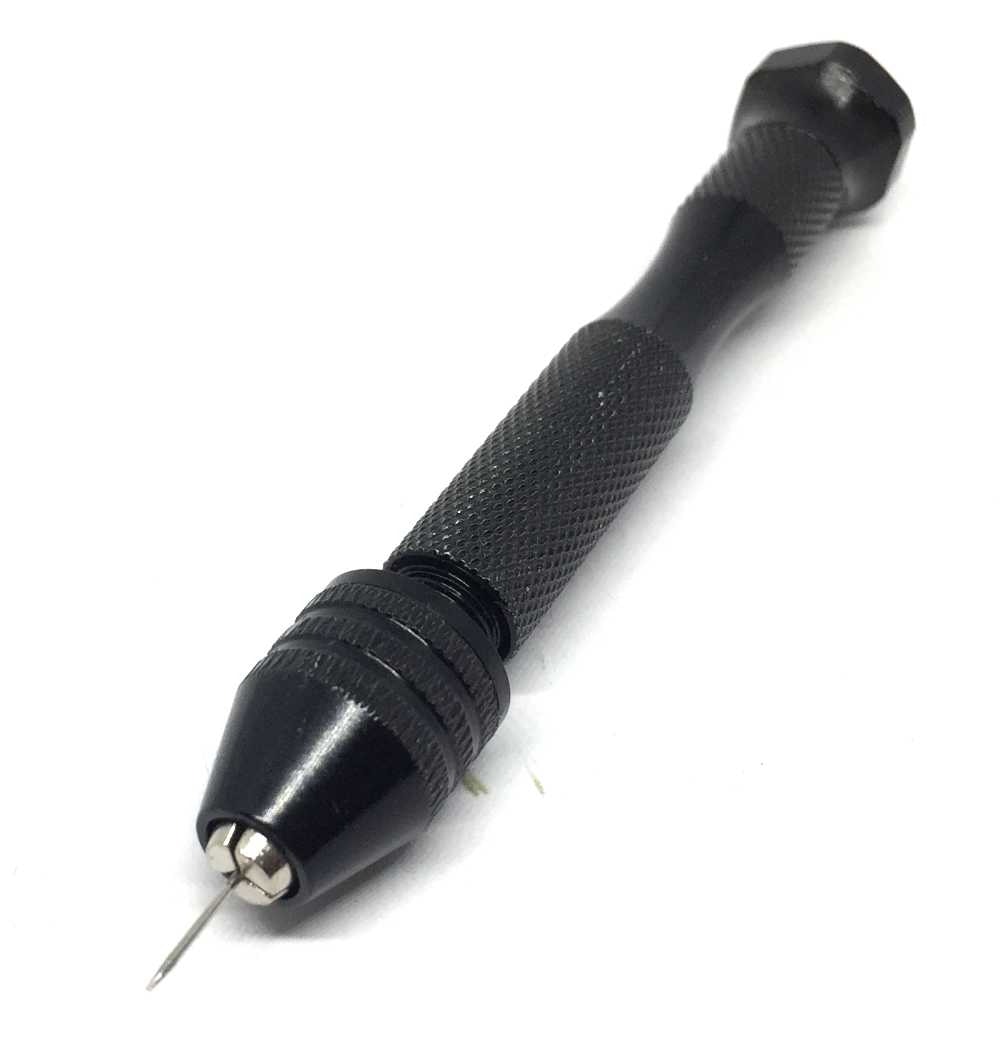
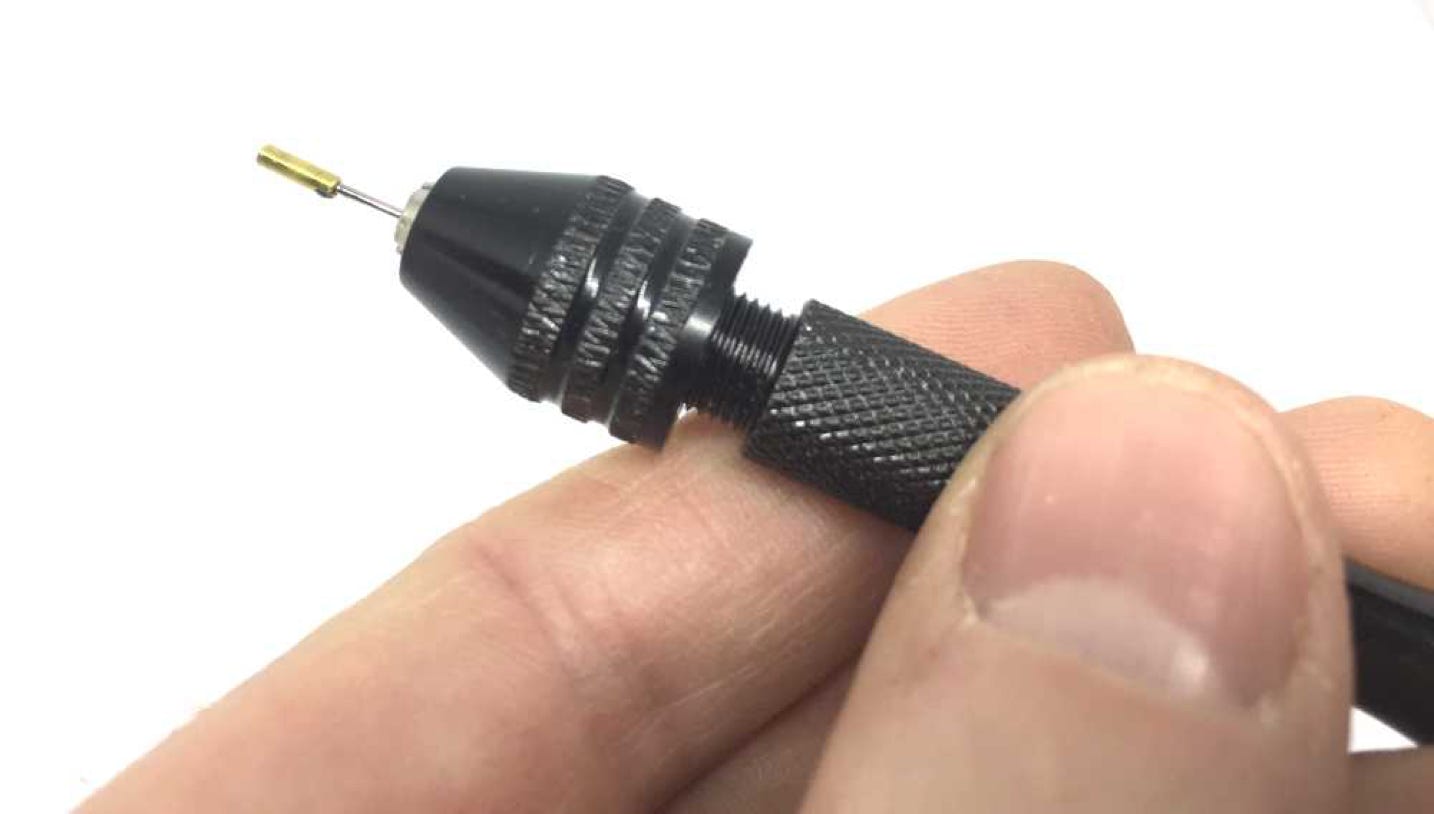
The remove the shaft in the middle of the model, it’s easiest to make a temporary tool. You will need this later again for an other application, so it has multiple uses.
How to make the tool: Cut the head of a lace pin and clamp it in a hand drill bit holder.
Use this to push the shaft out of the model.
Use a flat screw driver to lift the plastic STRAIGHT out. I say straight, as there are four very tiny pins on each corner that hold the lid in place. If one or more breaks, you can later always attach it with thin double side tape or a tiny bit of glue.
4

5
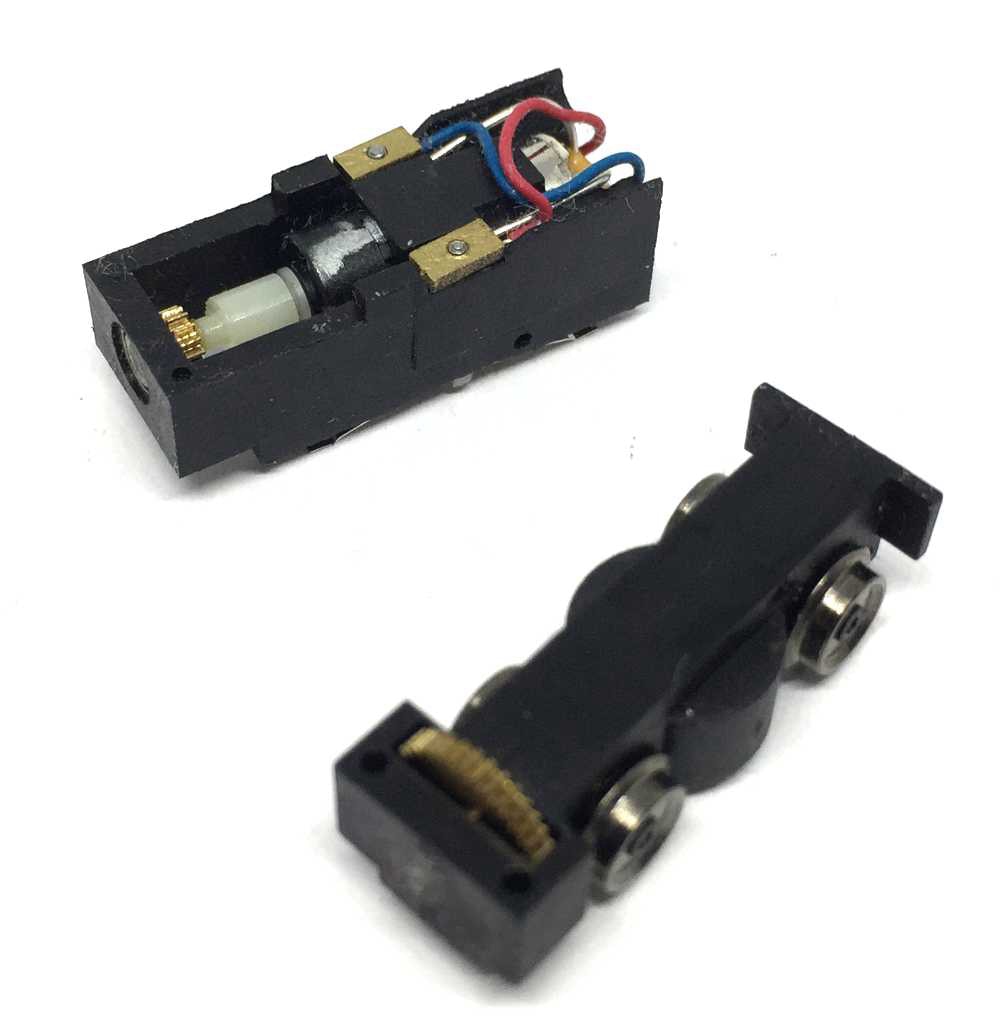
With the shaft removed, you can separate these two pieces.
7
8
6
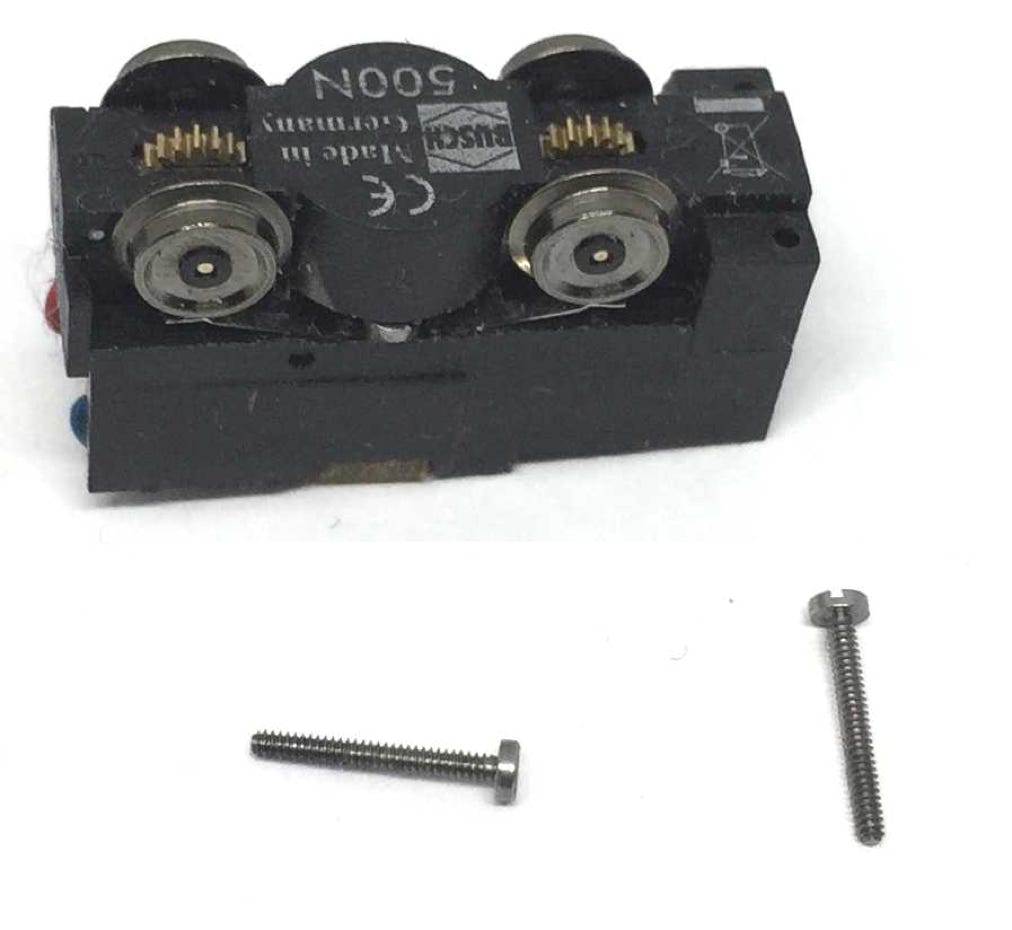
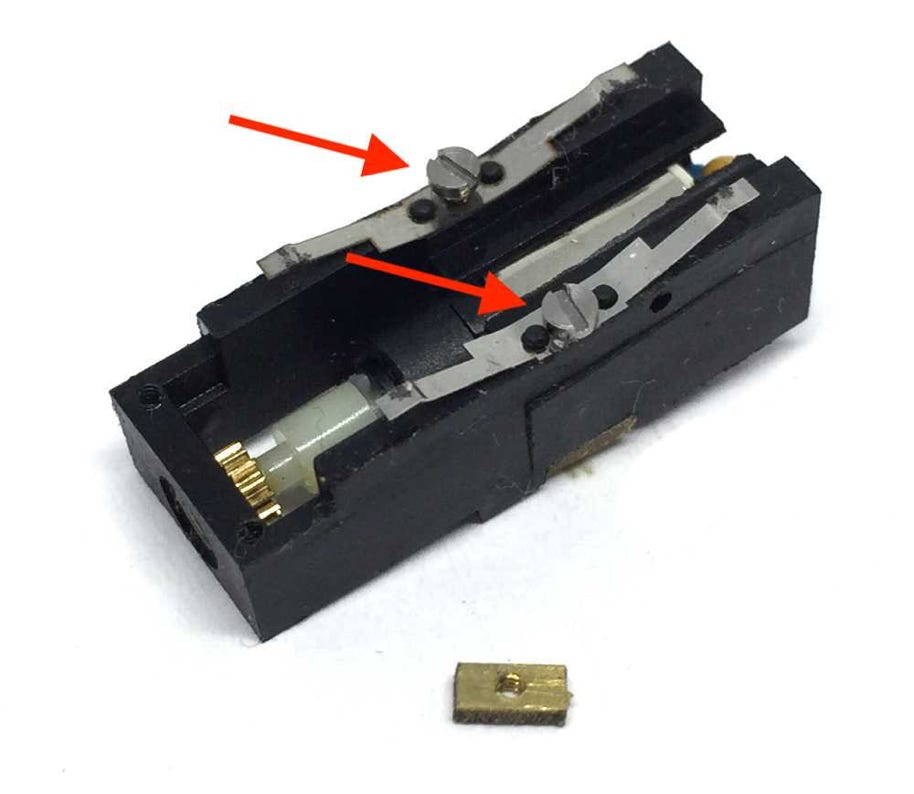
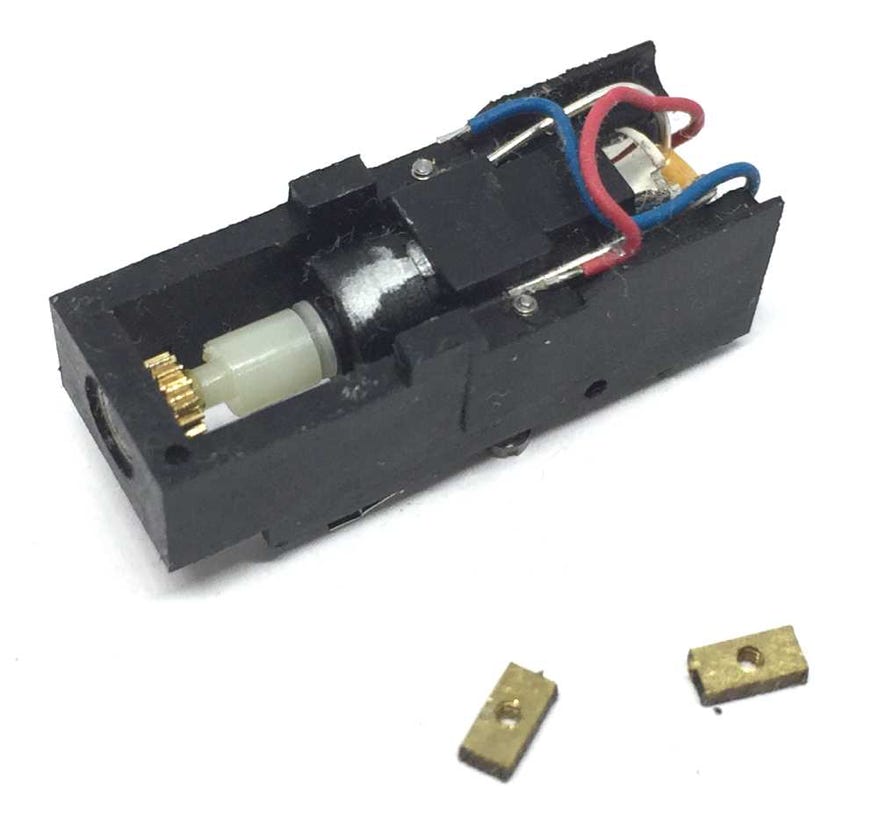
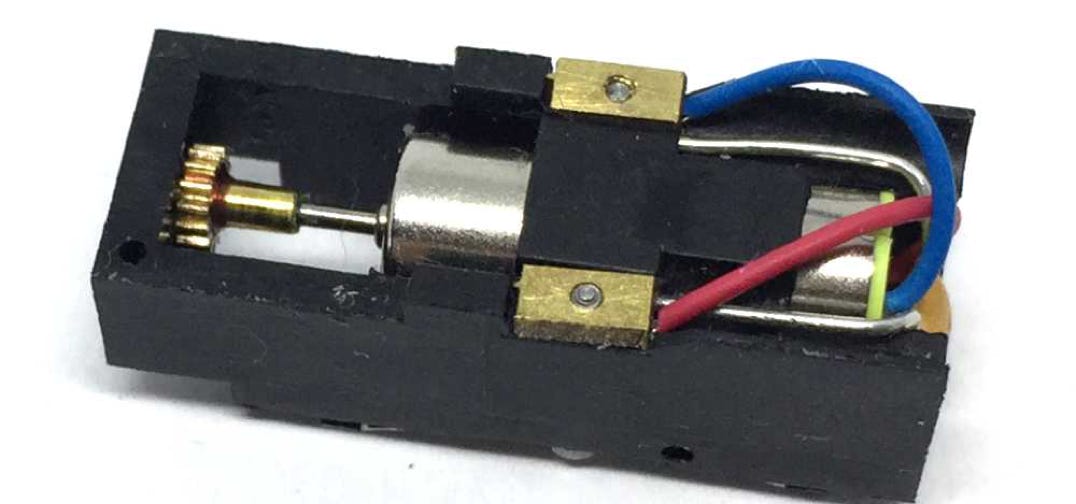
Remove the two screws from the top part. Careful with the small brass rectangles, don’t loose them. They each hold a screw in place.
De-solder the capacitor. Then remove motor, as well as the gear.
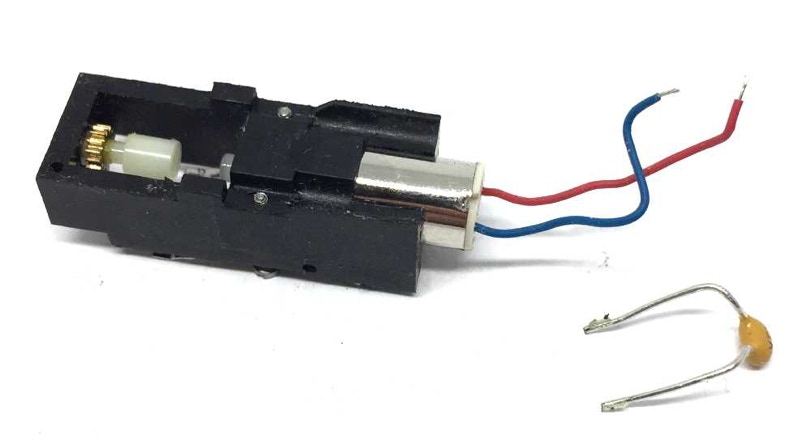
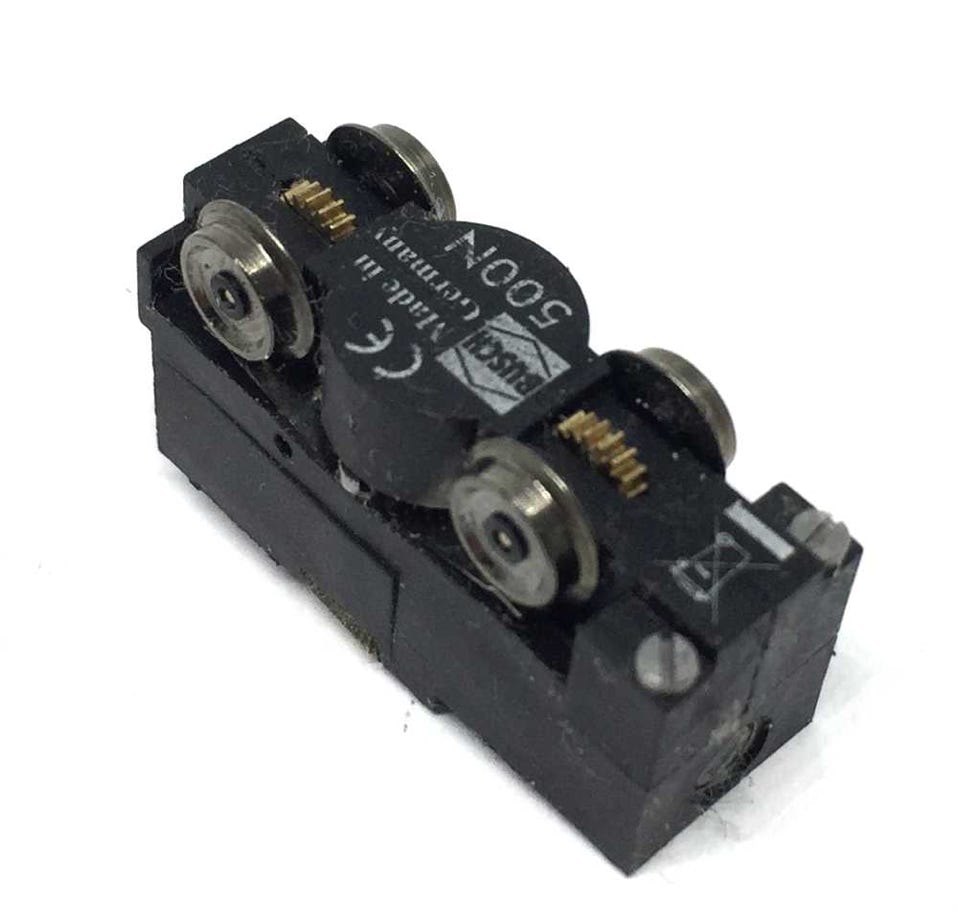
These are the separate parts you should have now.
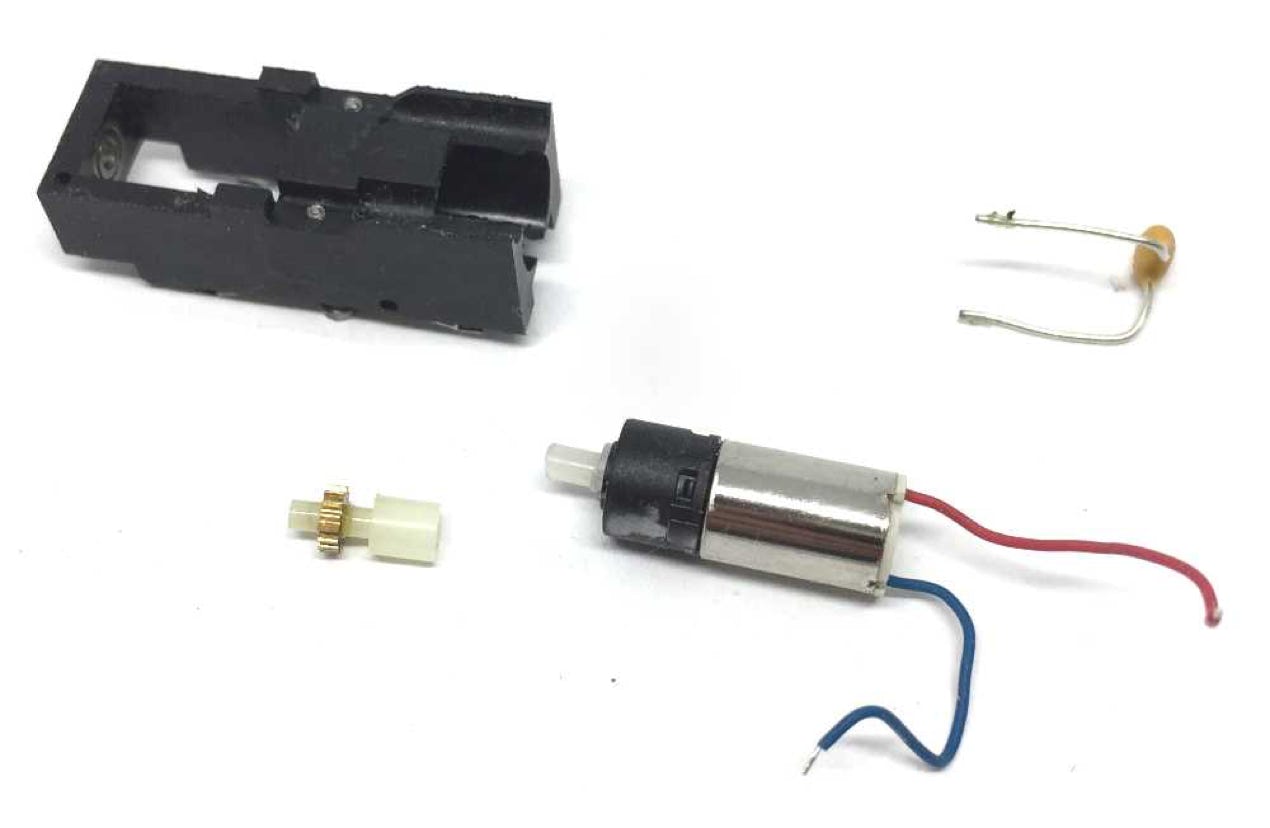
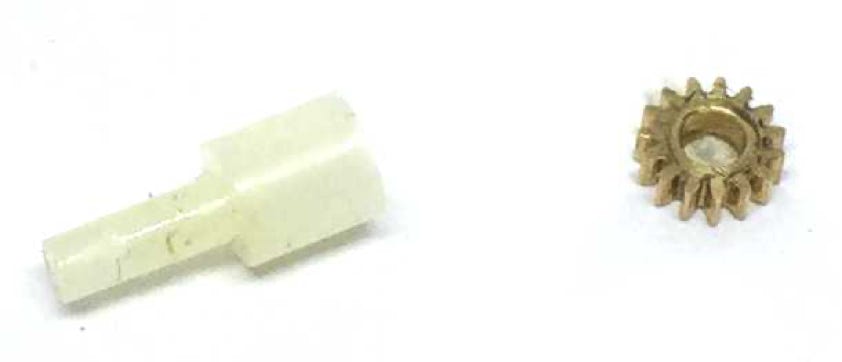
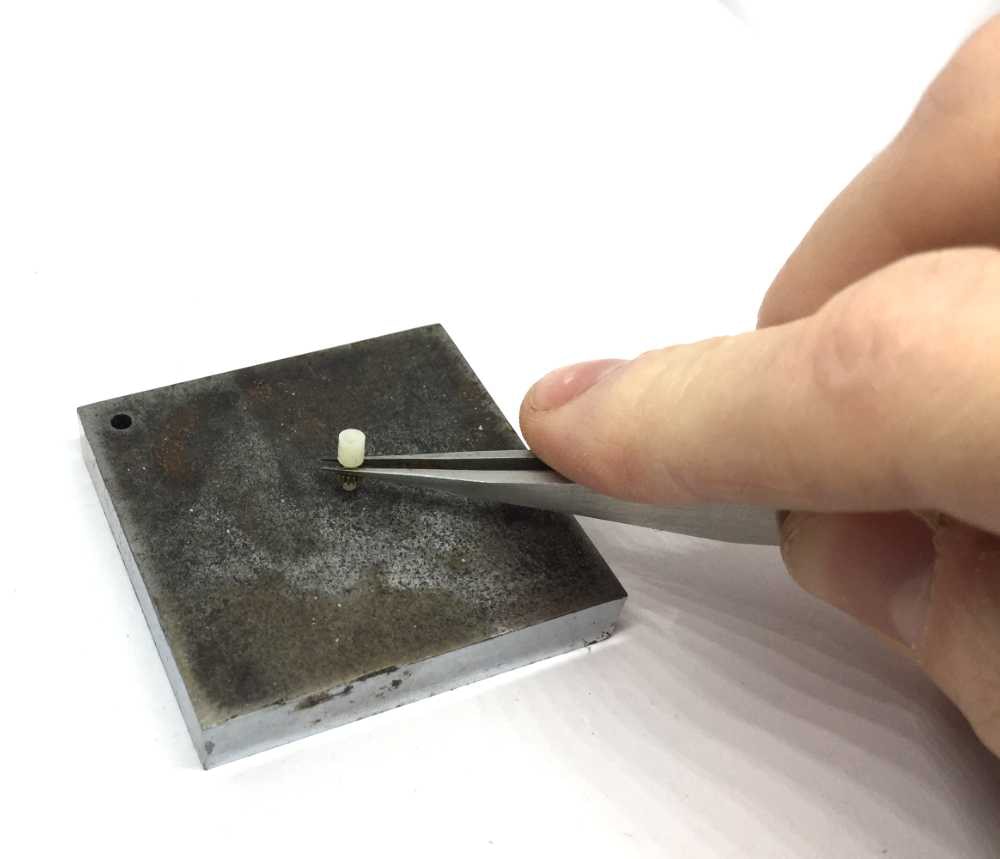
Using tweezers, press the gear from the plastic adapter.
You end up with these fine parts.
9
10
11
12
Using the tool made before, you put some Loctite glue on the needle and spread this inside the supplied brass adapter. Do not use super glue, as you might run out of time when fitting the adapter on the motor shaft,. The adapter might be stuck before you have positioned it at the correct place.
Press the adapter on the motor shaft, so the ends are flush. When that is dry after a few minutes, fit the sprocket. Also with Loctite. Important: make sure the gear has a fraction of a distance from the plastic housing (see step 11), so it doesn’t touch the plastic. Wiggle the motor shaft back and forth to ensure that it doesn’t in extended position.
Fit the assembly into the housing.
Solder the capacitor back in place, if you prefer.
Fit the two brass rectangles and the screws. Shorten the wires of the motor to go under the brass rectangles. Make sure to only fit the blank wire, not the sleeve. Also mind the right cable colour to the right connection, as when you swap this, your model will run in opposite direction of all your other models. Test if it works.
13
Fit all the parts together and before you fit the housing, test if it runs well on the track. You can now use 12V instead of 3V, but even with the Busch 3V power controller, it will run nicely.
You’re done! Test the model before then you can put all the parts back on.
•


