UK based
Prices for UK customers are shown inc 20% VAT
Other countries, inc EU, prices shown are ex VAT.
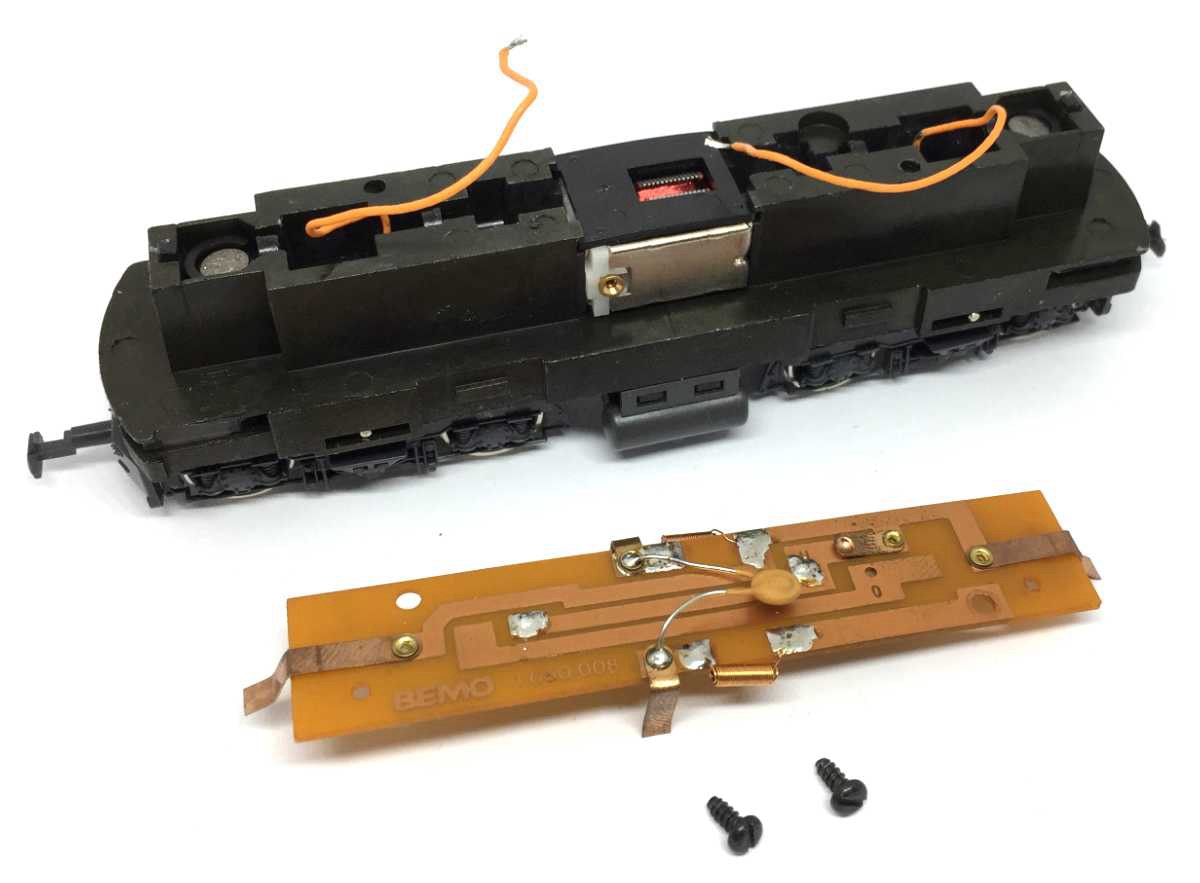
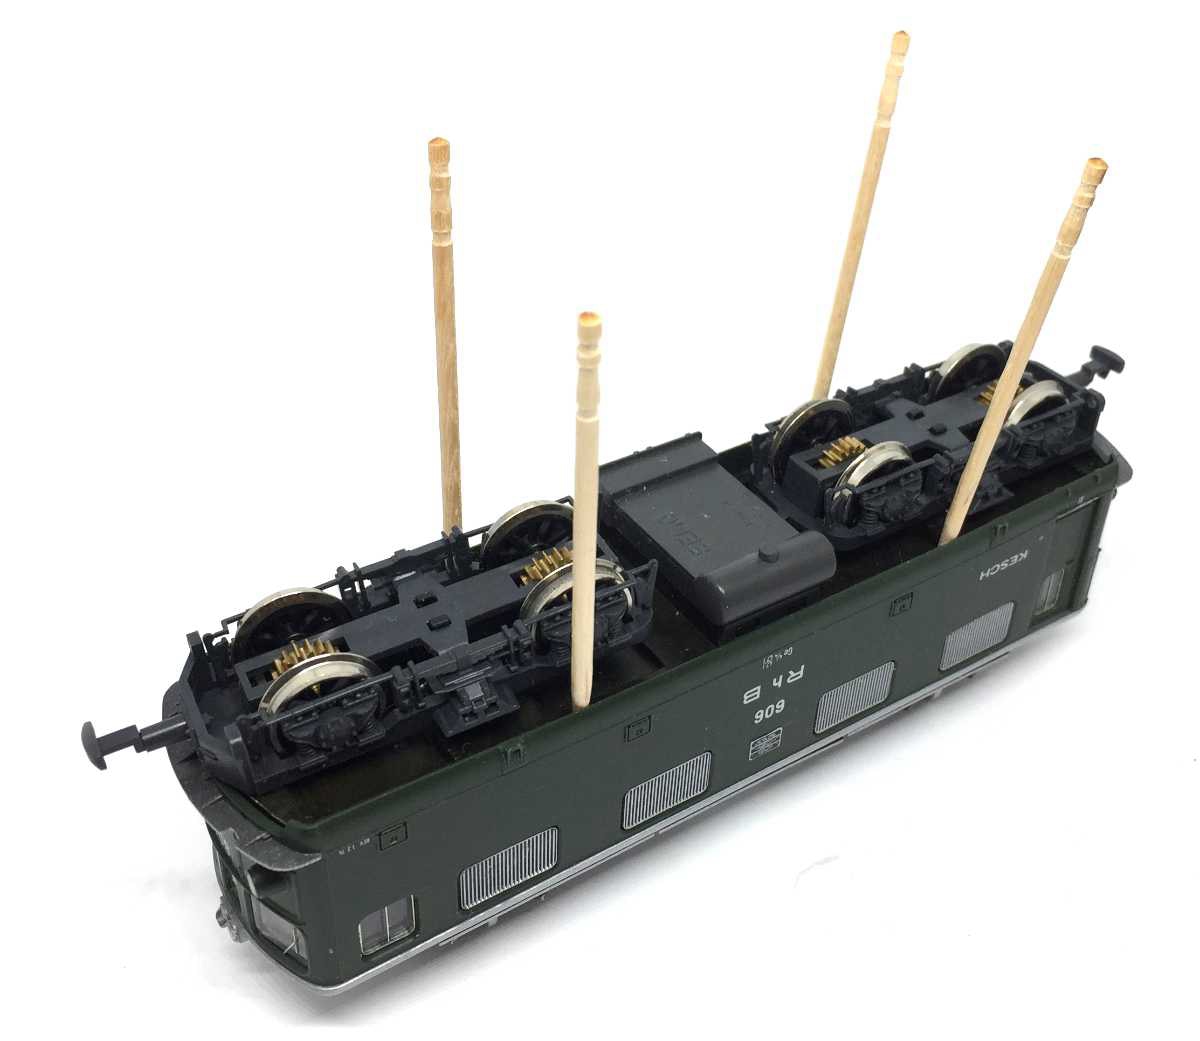
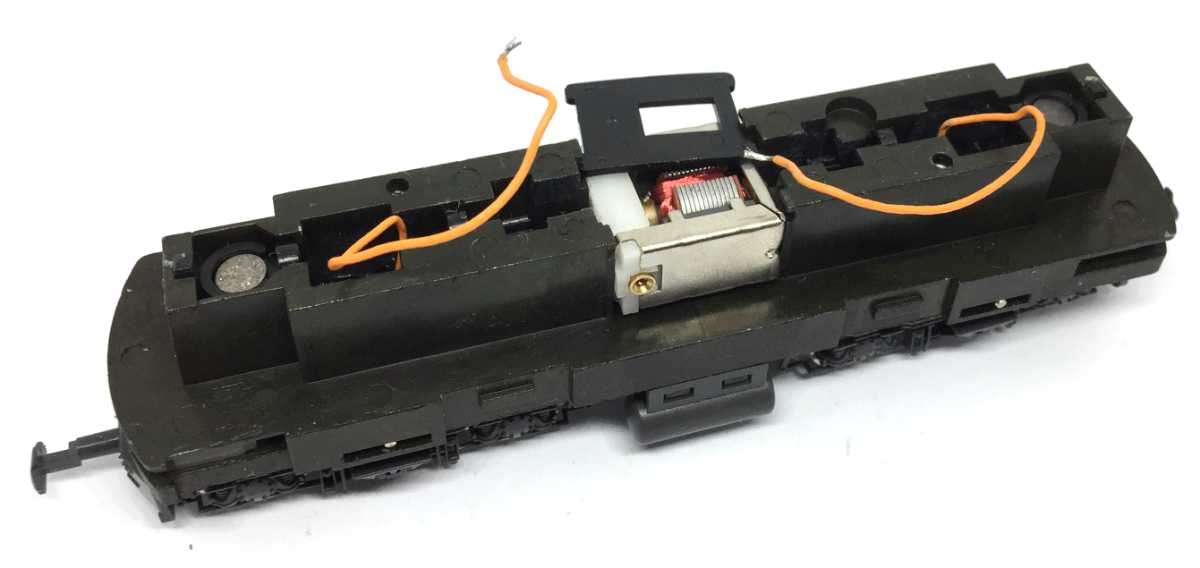
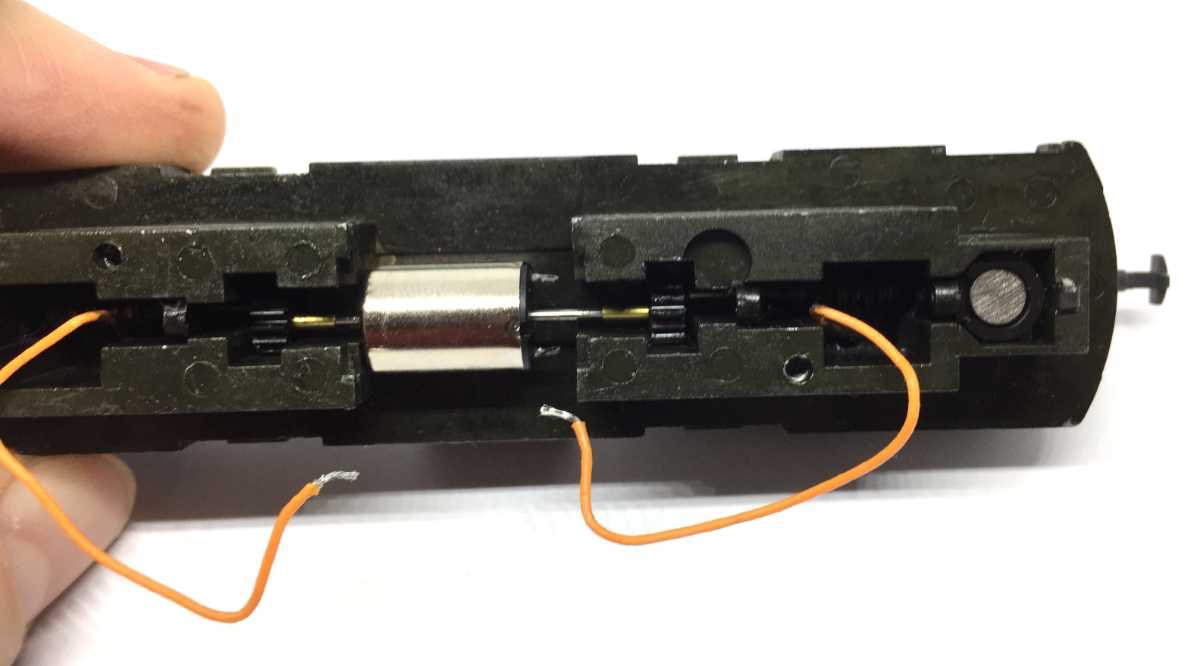
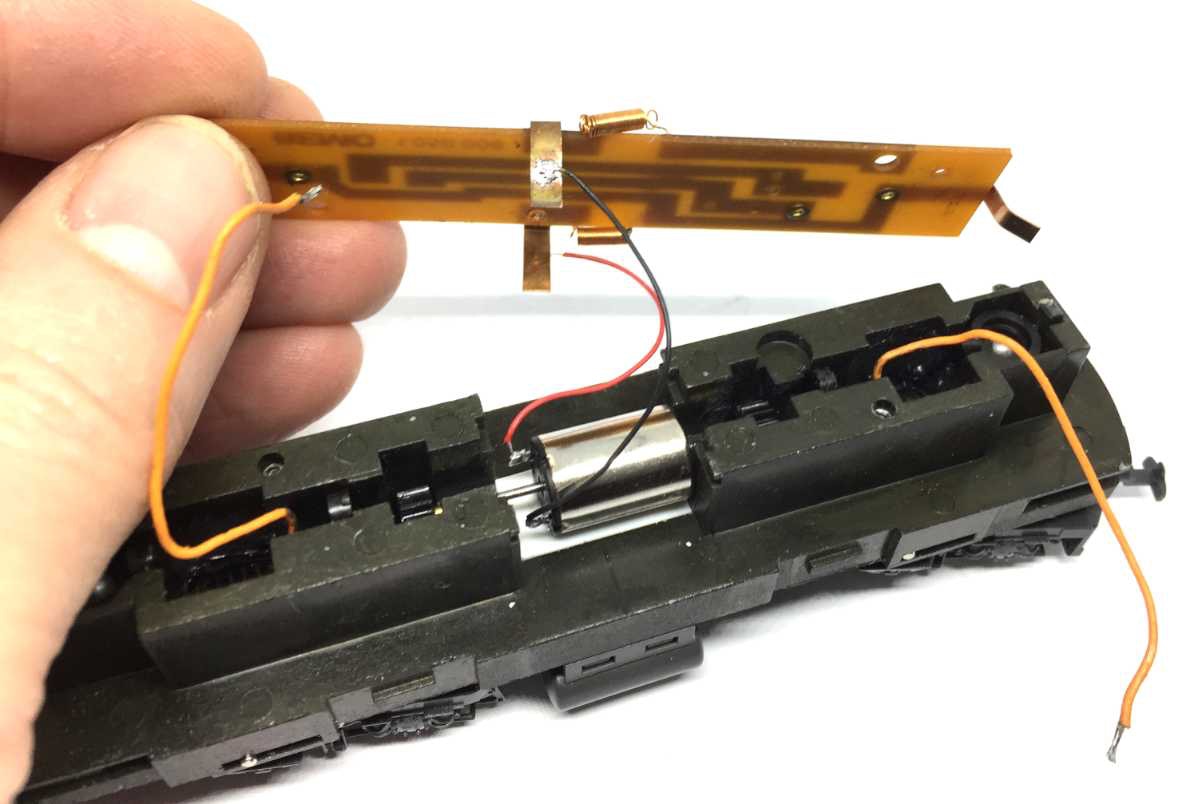
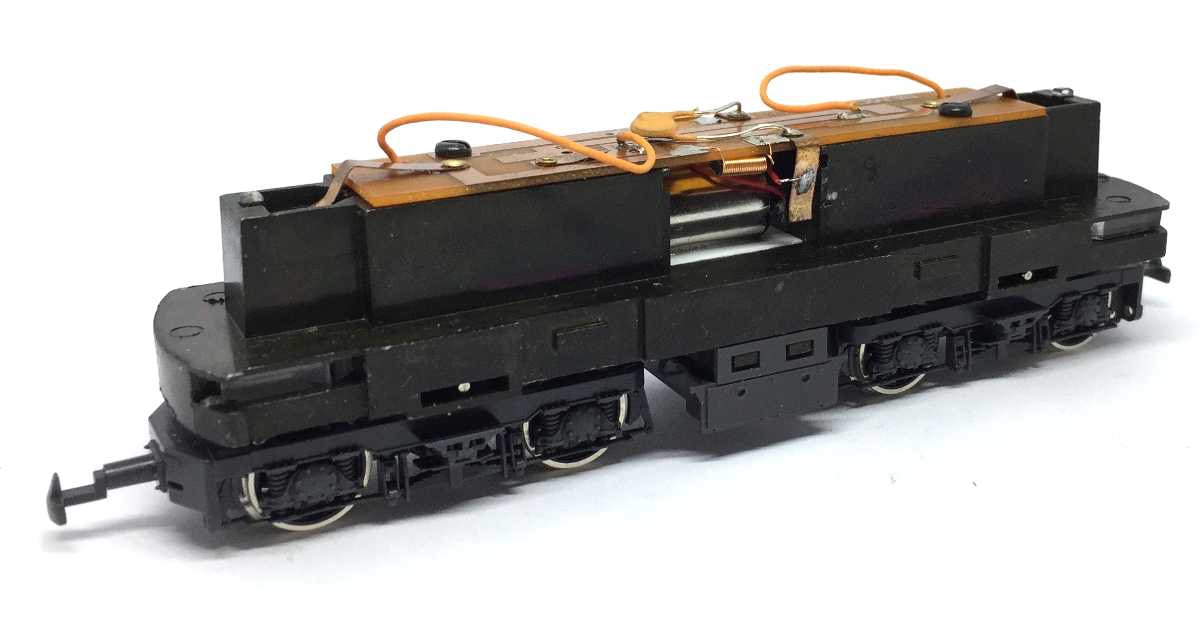
Conversion Bemo Ge 4/4
to 12V coreless motor
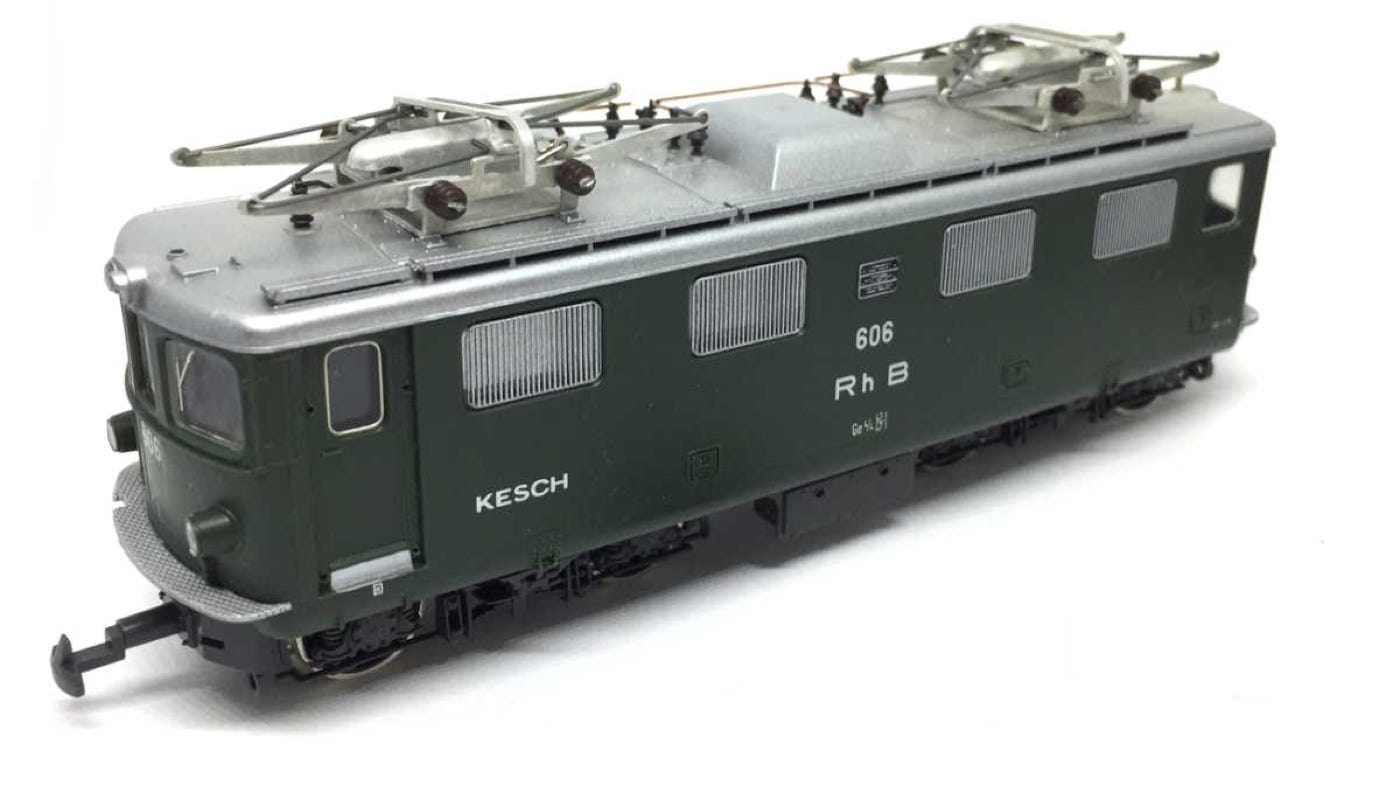
Fits Bemo Art 1050 H0e/H0m.
What you need for conversion set
- The model and upgrade kit
- Small flat screwdriver
- Soldering iron 15W/25W
- Thin wire (get the thinnest wire here)
- Super glue, metal glue and epoxy glue
Good to have:
- General modelling tools
Installation time: Around 45 minutes
Art. code: BEGE44
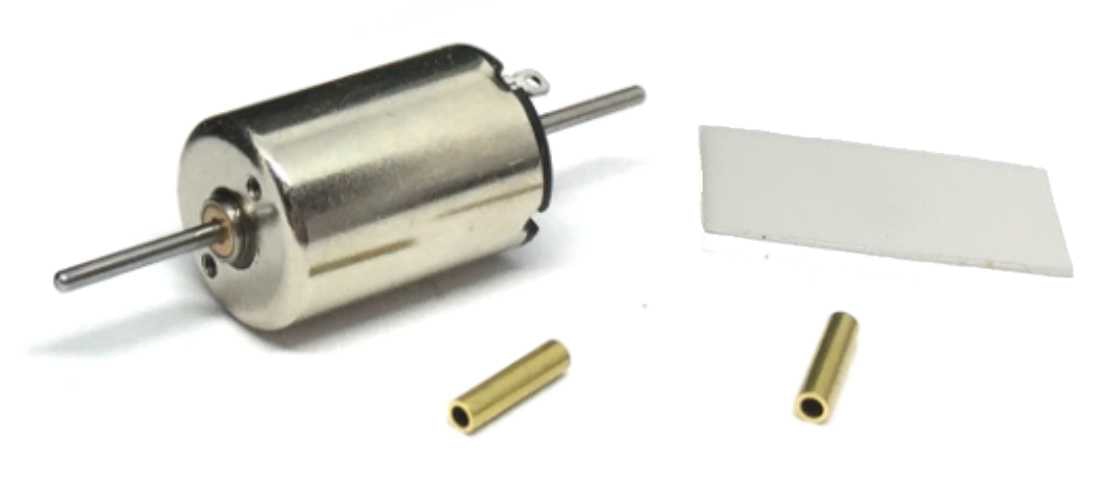
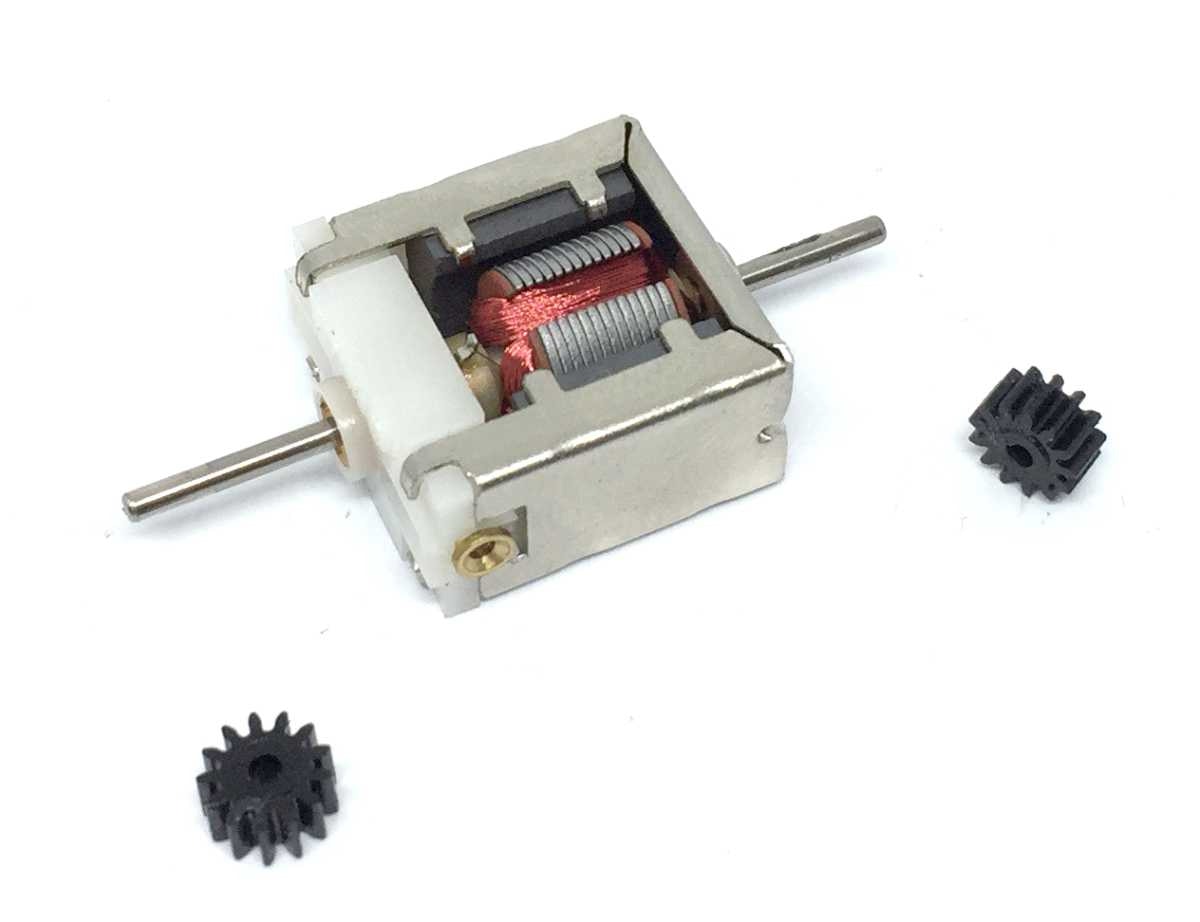
Contents of the kit
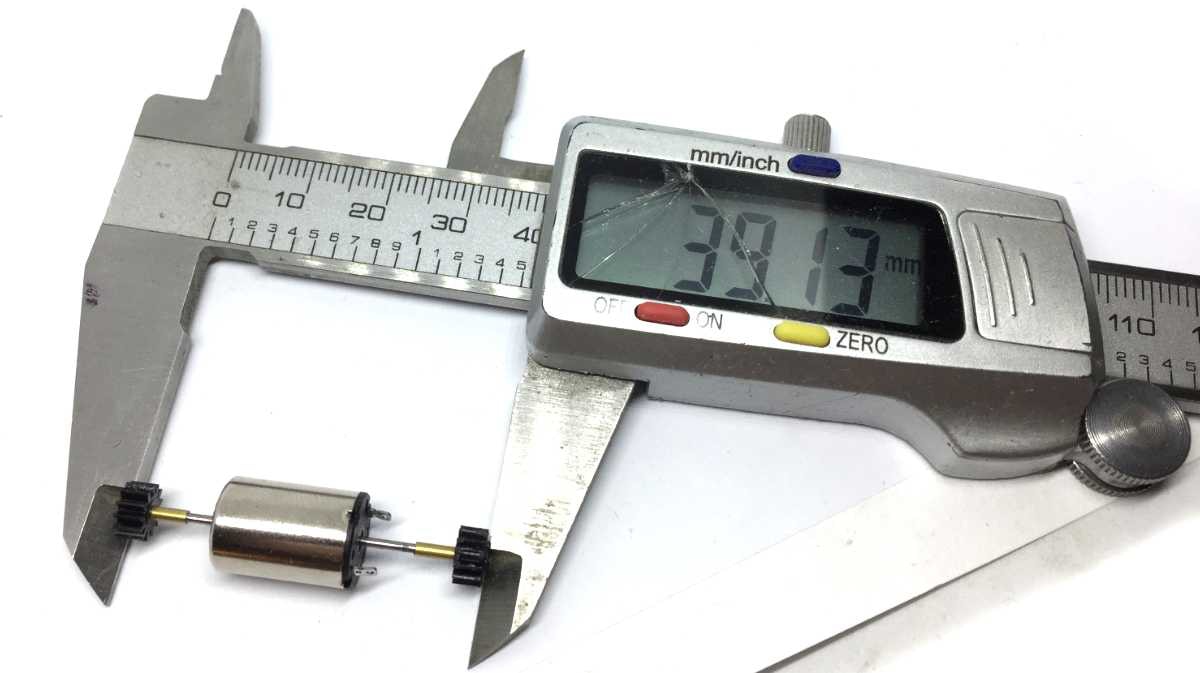
1x 10x15 mm motor double shaft
2x brass adapters
1x styrene insert