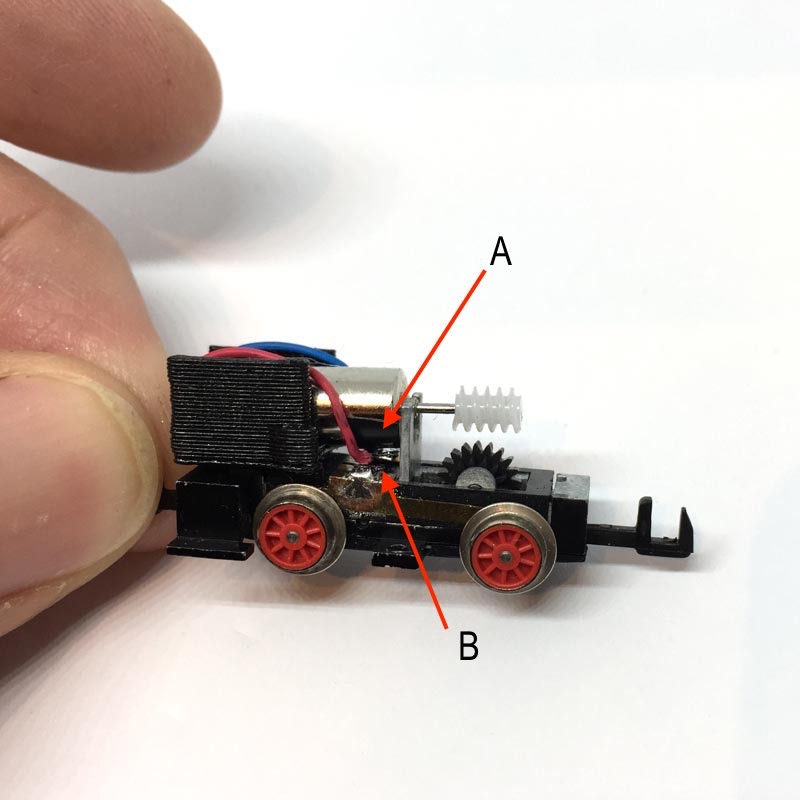
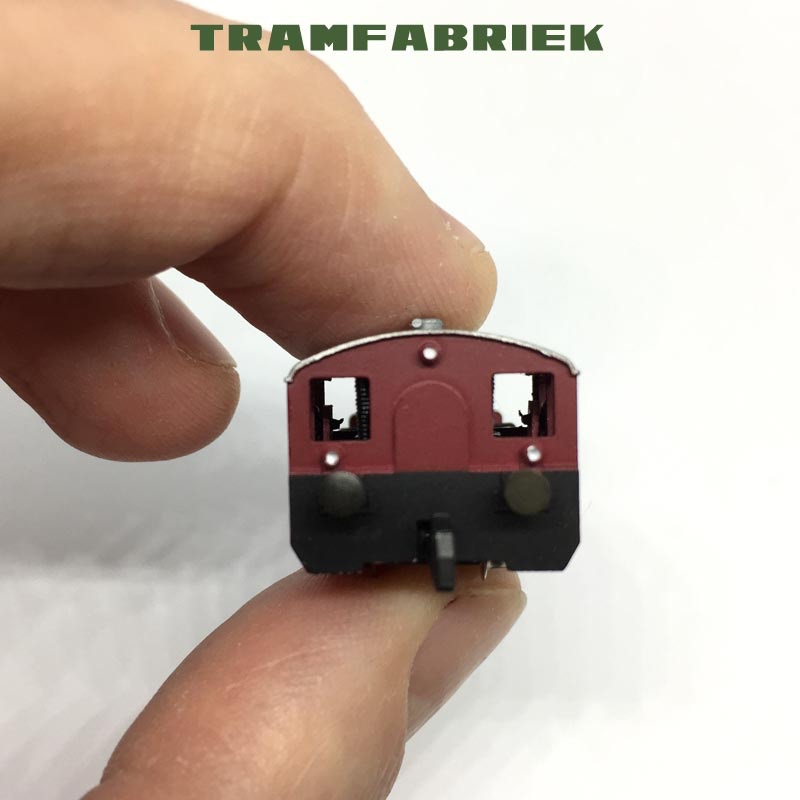
Conversion Arnold Köf

to 12V coreless motor

Fits all Arnold art. 2064, 2065, 2068 and similar Arnold models.

Will also work in the Arnold Köf III (2070 for example), if you glue the casing to the chassis.

What you need for conversion set

- The model and upgrade kit

- Small flat screwdriver

- Soldering iron 15W/25W

-Sharp pair of scissors or knife


Installation time: Around 30 minutes

Difficulty: Bit fiddly, but easy

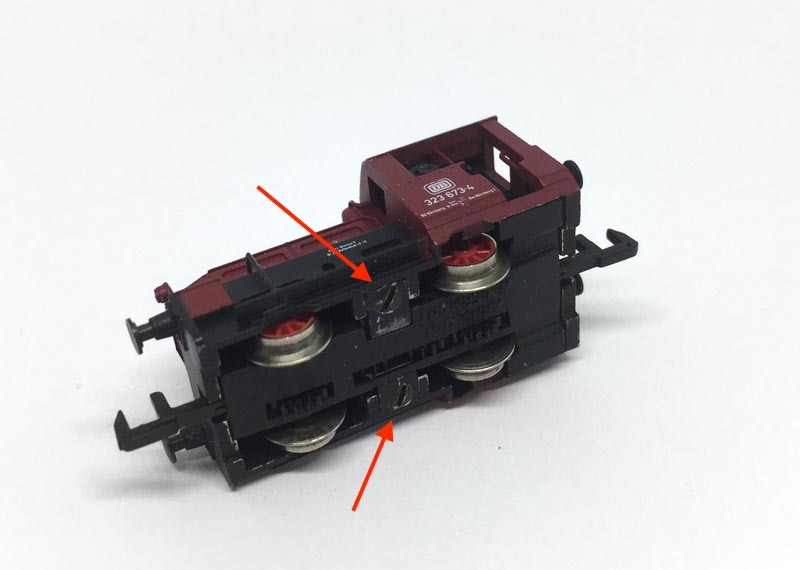
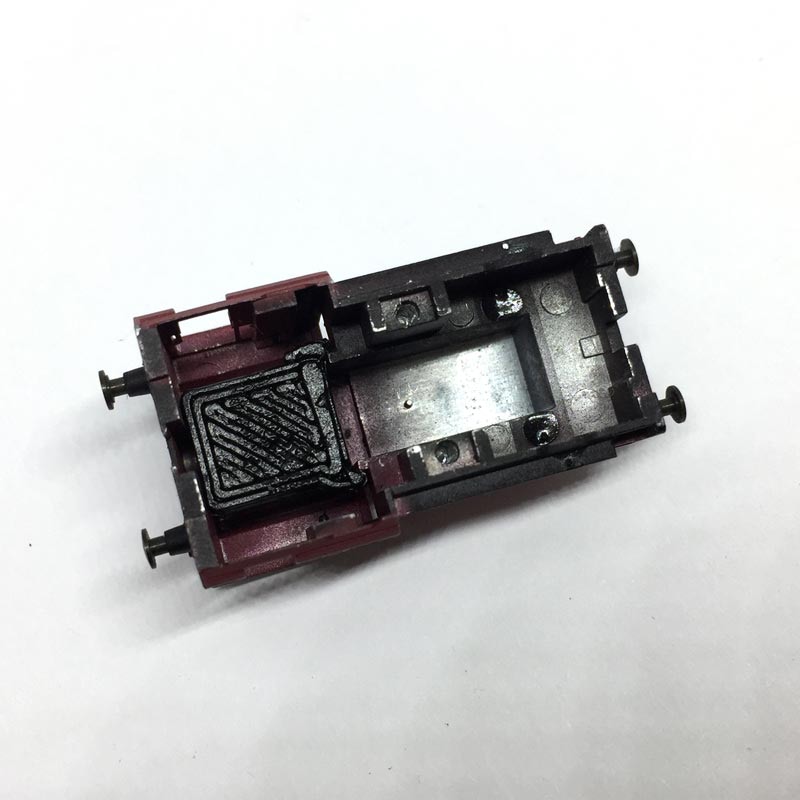
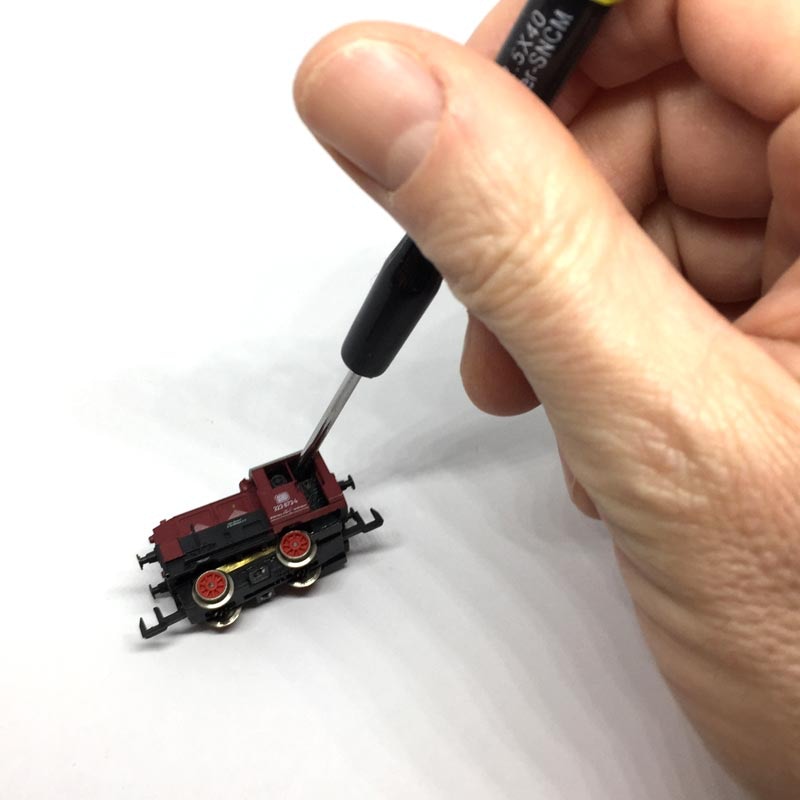
Remove the two screws.
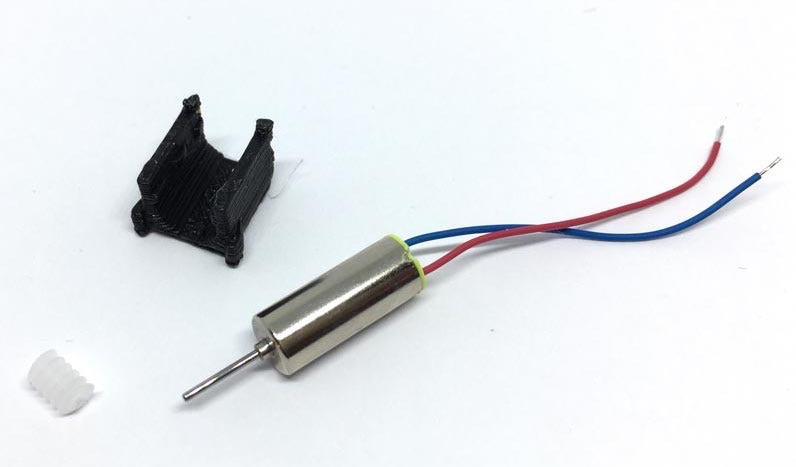
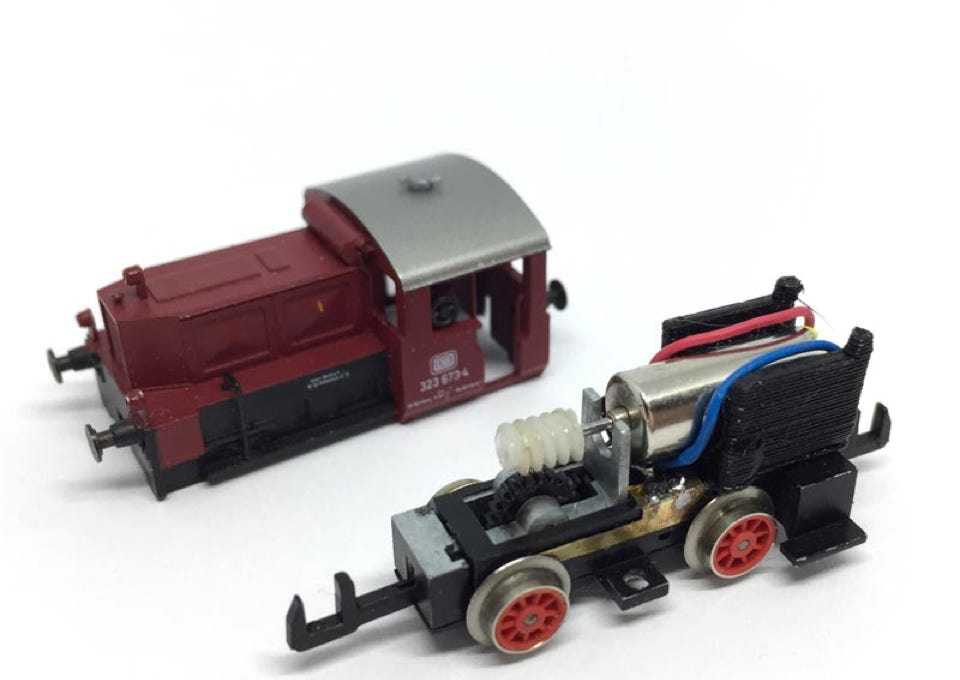
Contents of the kit

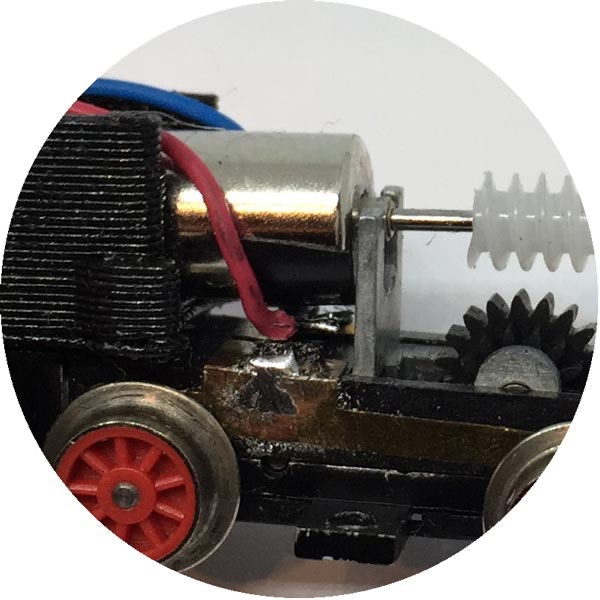
Check the new motor housing for accurate fitting and to get familiar with the fitting.

KASTENLOK INDEX

Question? Just reach out!

Lubricate the gears, then push everything (straight!) in place. If you have to take everything apart again, twist a small screwdriver between the underside of the roof and the top of the motor housing.

B. Cut wires to size. Solder motor wires to contacts below motor, (the contacts that are pointing upwards). If you would solder the wires to the side of the motor it will either not close, or you will create a short.

A. Put some insulating tape only under the front side of the motor, so it is insulated from the contacts below.

Important: to make sure your trains all move in the same direction, connect the red and blue opposite of how I did it!

Now you have see through, or there is enough space to fit a small decoder on one of the sides.

Digital conversion

This motor upgrade kit can very well be converted to DCC. Check the digital setting page, for many decoders, to get the best driving experience.

Deze motor upgrade kit kan ook aangestuurd worden door DCC. Kijk op de digitale instellingen pagina voor de CV instellingen voor de grote decodermerken, om de beste rijervaring te hebben.

And one more model has been brought back to the future!