

UK based
Prices for UK customers are shown inc 20% VAT
Other countries, inc EU, prices shown are ex VAT.


UK based
Prices for UK customers are shown inc 20% VAT
Other countries, inc EU, prices shown are ex VAT.
What you need for conversion set
- The model and upgrade kit
- Small Phillips screwdriver
- Soldering iron 15W/25W
- General model making tools
Installation time: Around 45 minutes
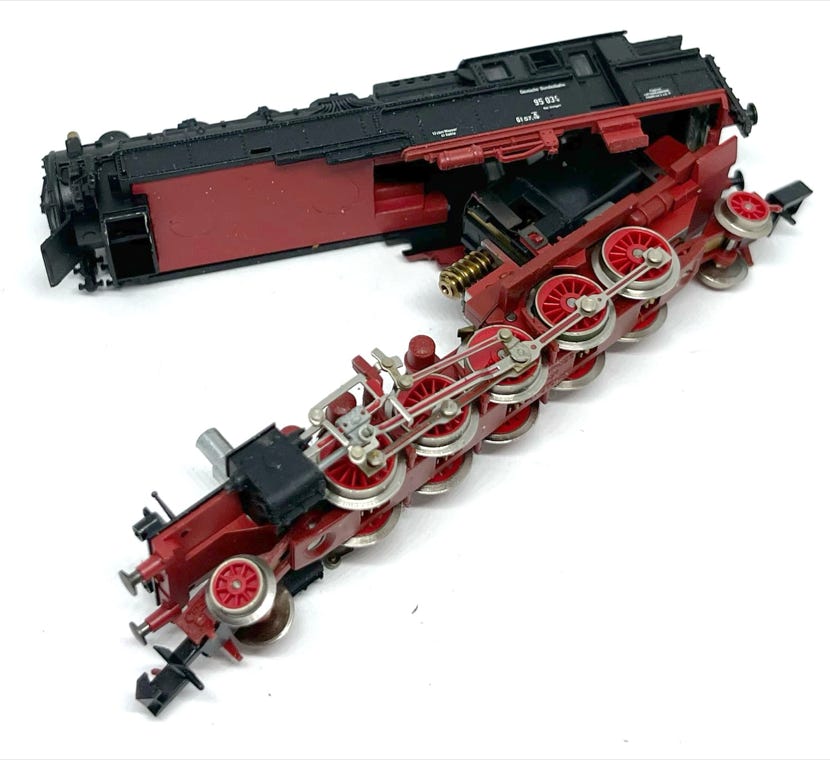
Take apart
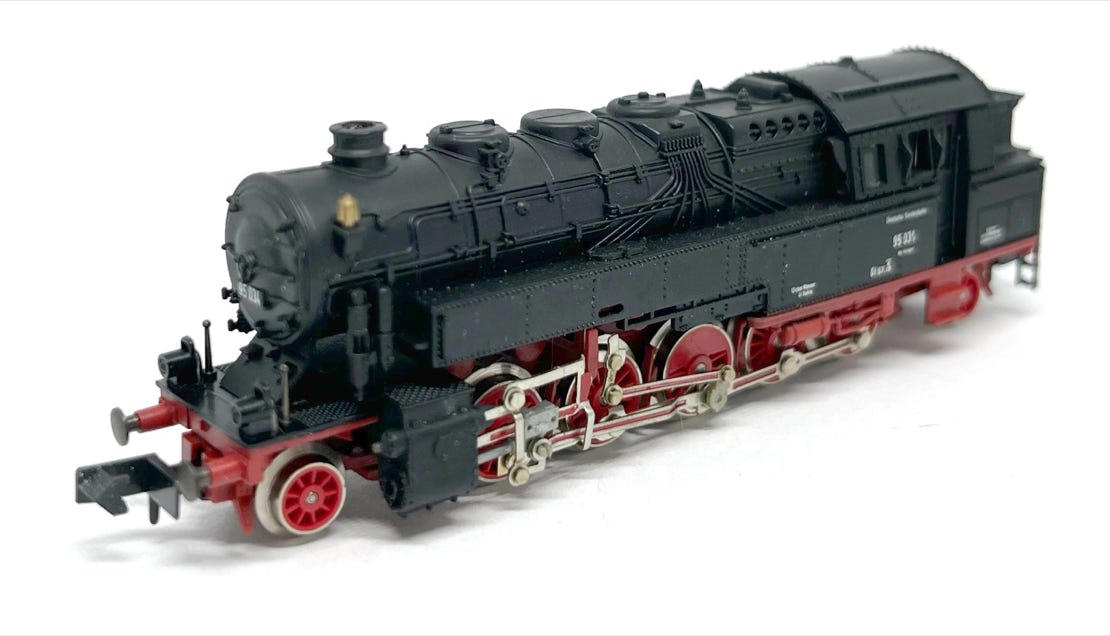
Arnold BR 2095
Upgrade to 12V coreless motor
Fits Arnold art 2280, 2281, 2283, 2421, 0212, 0362, 2296, 2297, 2298, 2708, 82280, 82281, 82283, 82296 und ähnlich
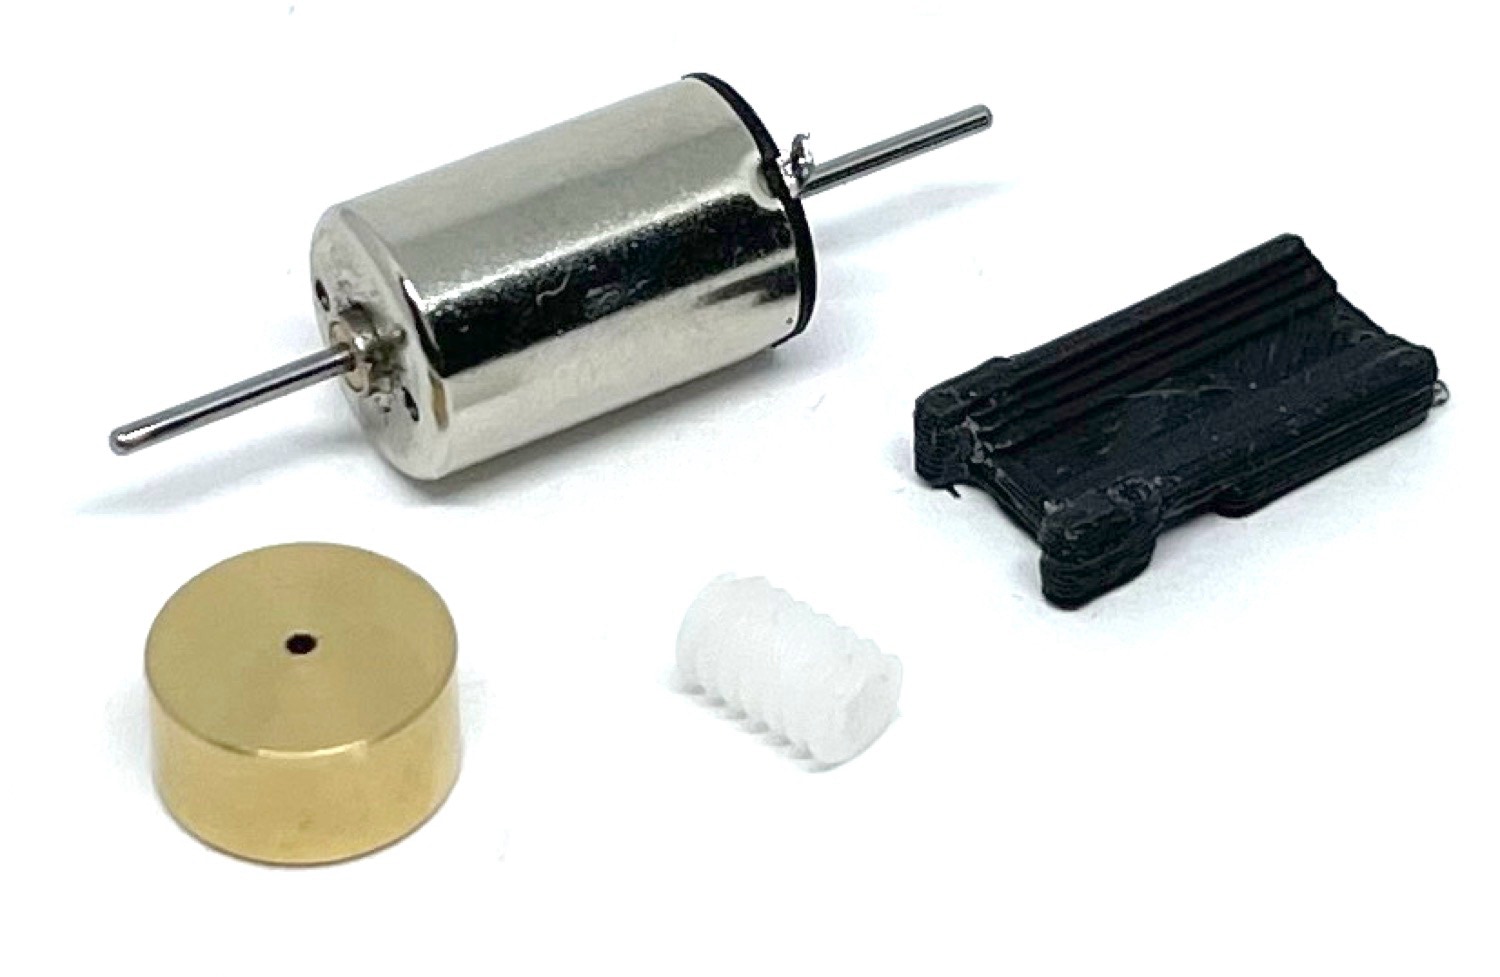
Contents of the kit.
Question? Just reach out!
1
2
3
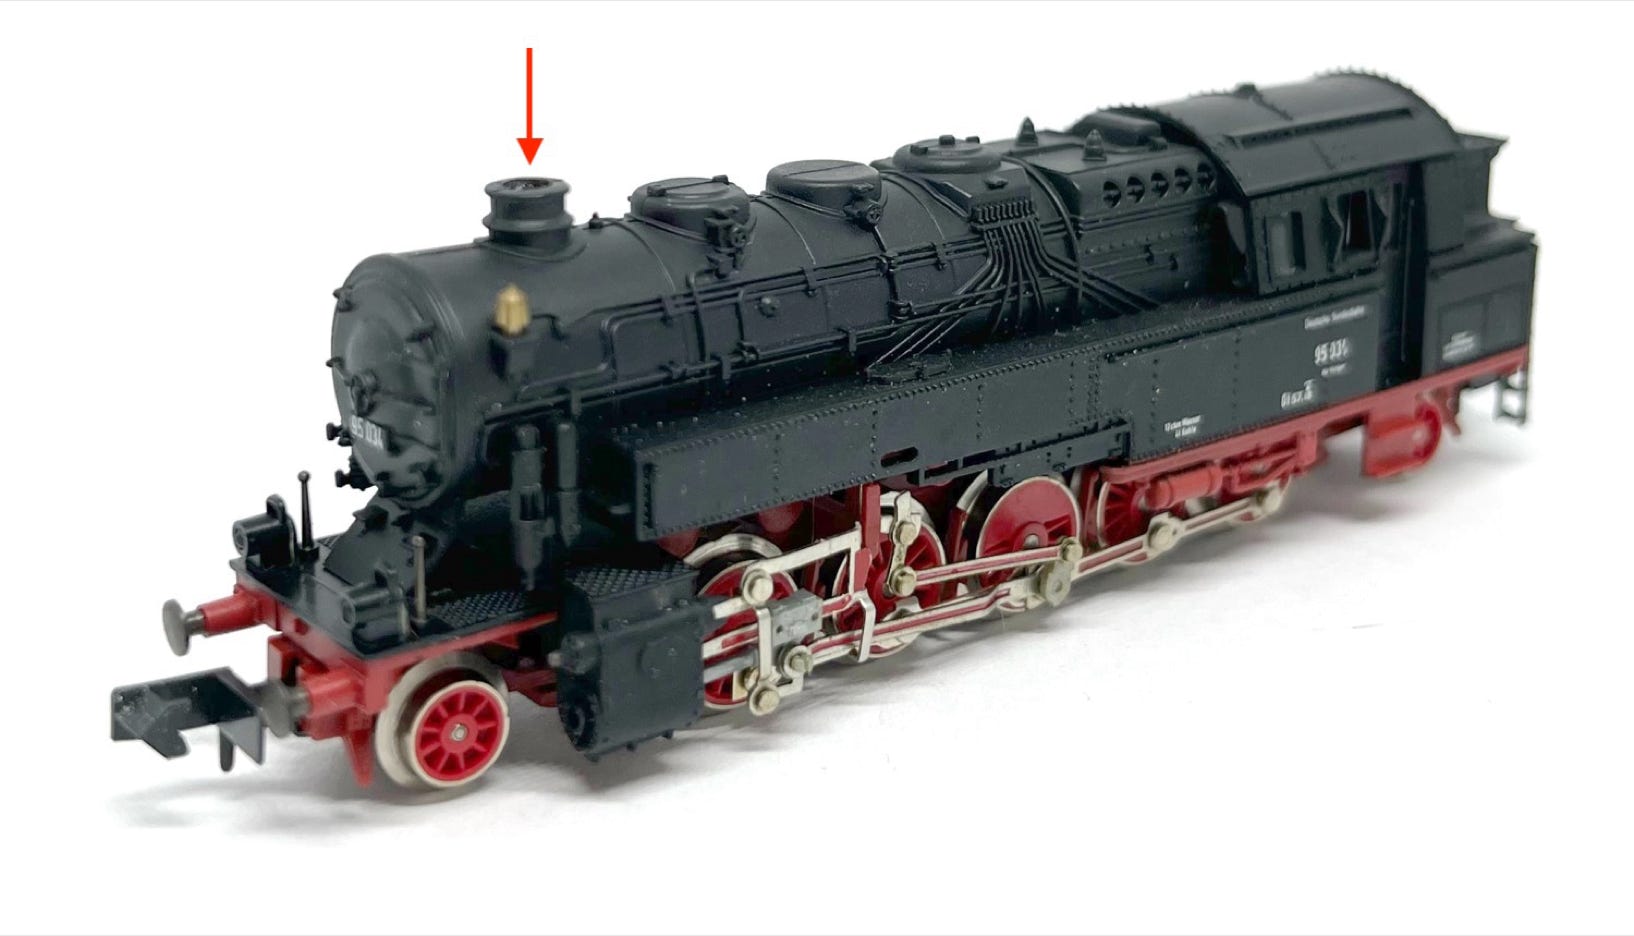
Loosen the screw inside the chimney.
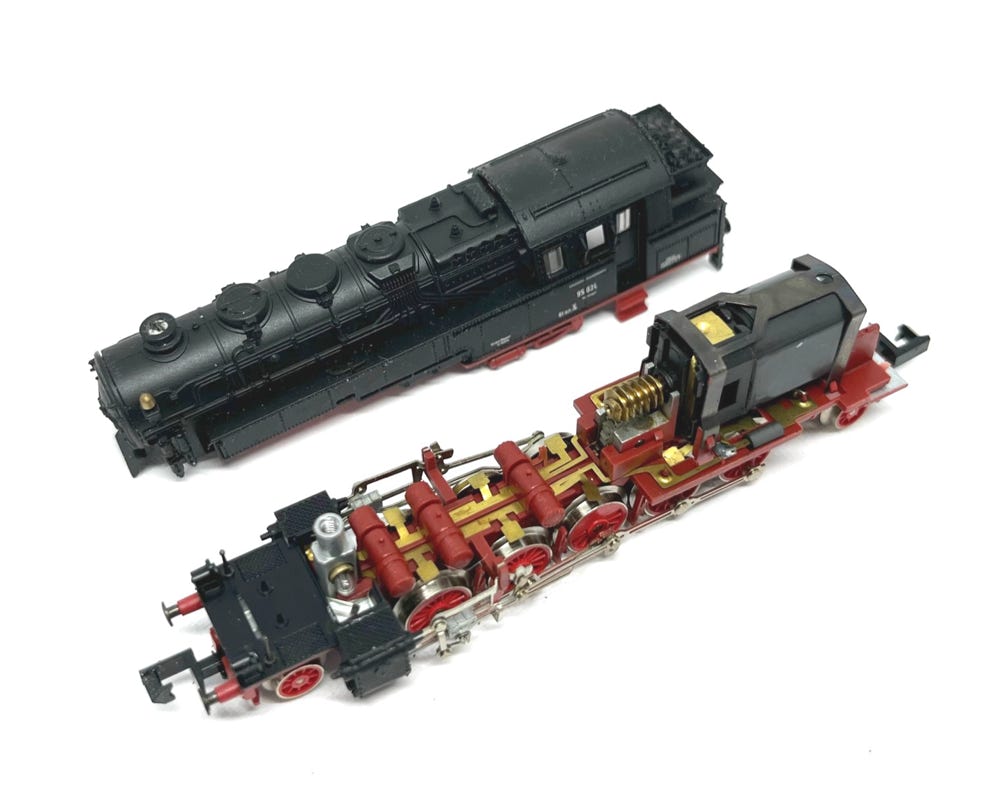
Separate the housing from the bottom frame in an angle. Then pull it apart.
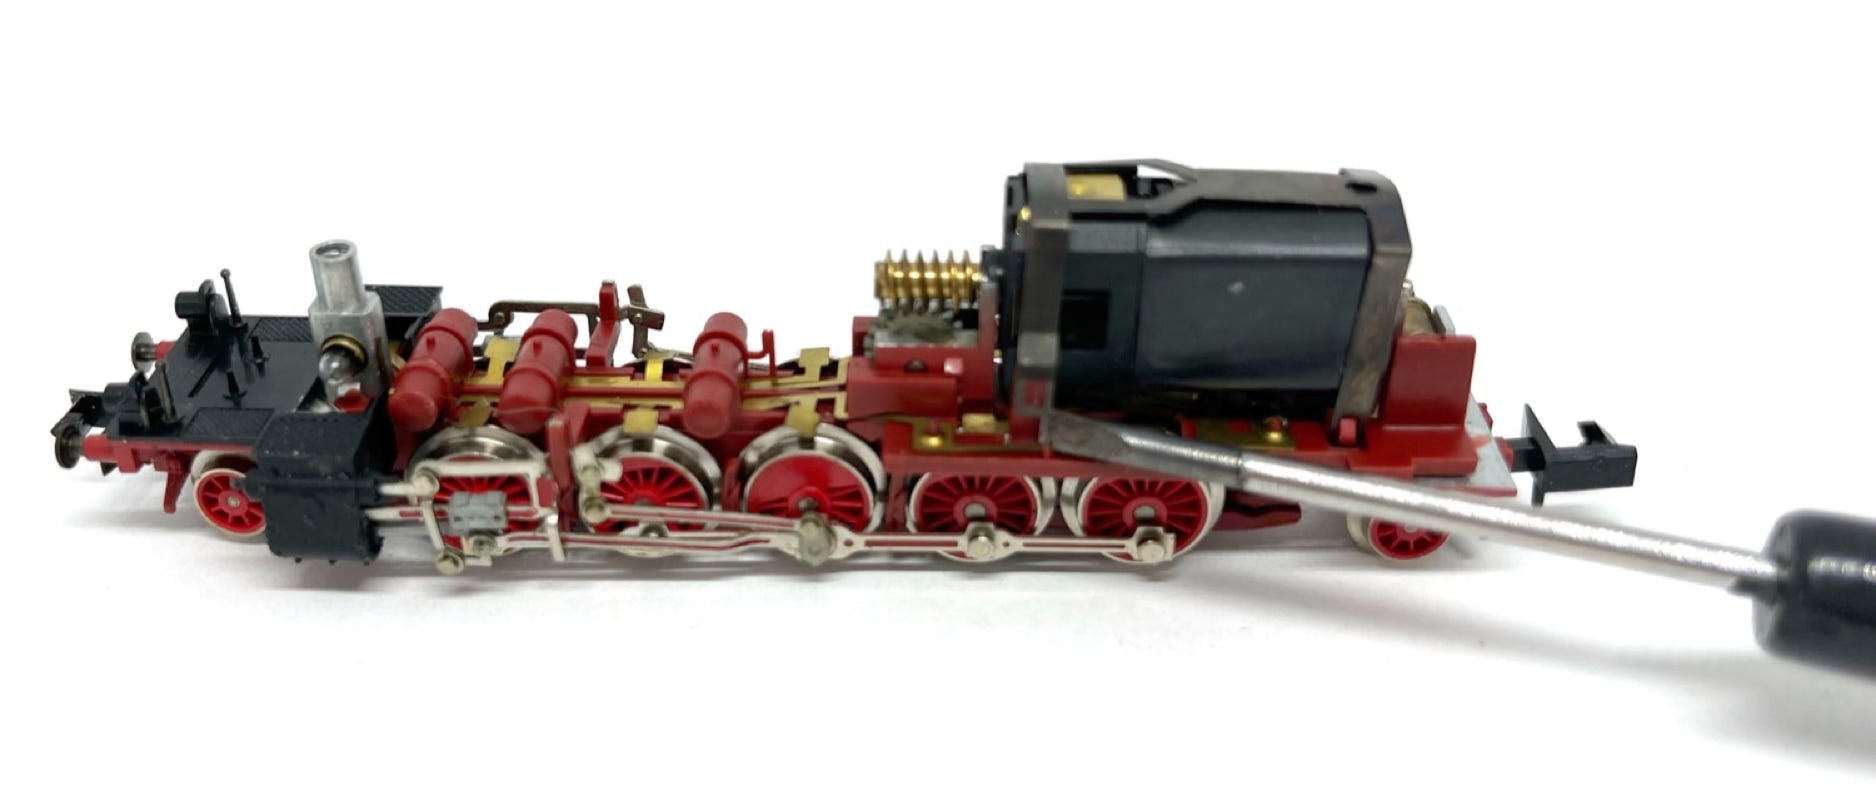
Release the bracket that holds the motor in place. It is clipped with 4 tabs.
4
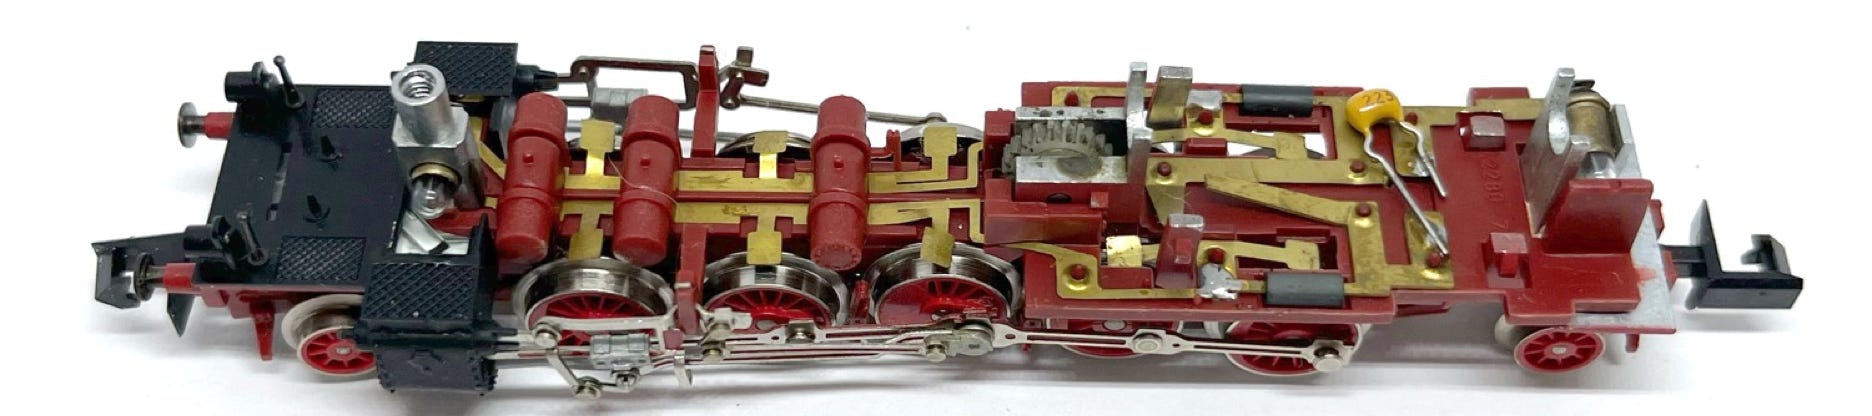
Remove the motor and you’ll be left with the following.
5
Cut the brass, as seen on the images. The motor bedding should be able to lay flat on the model.
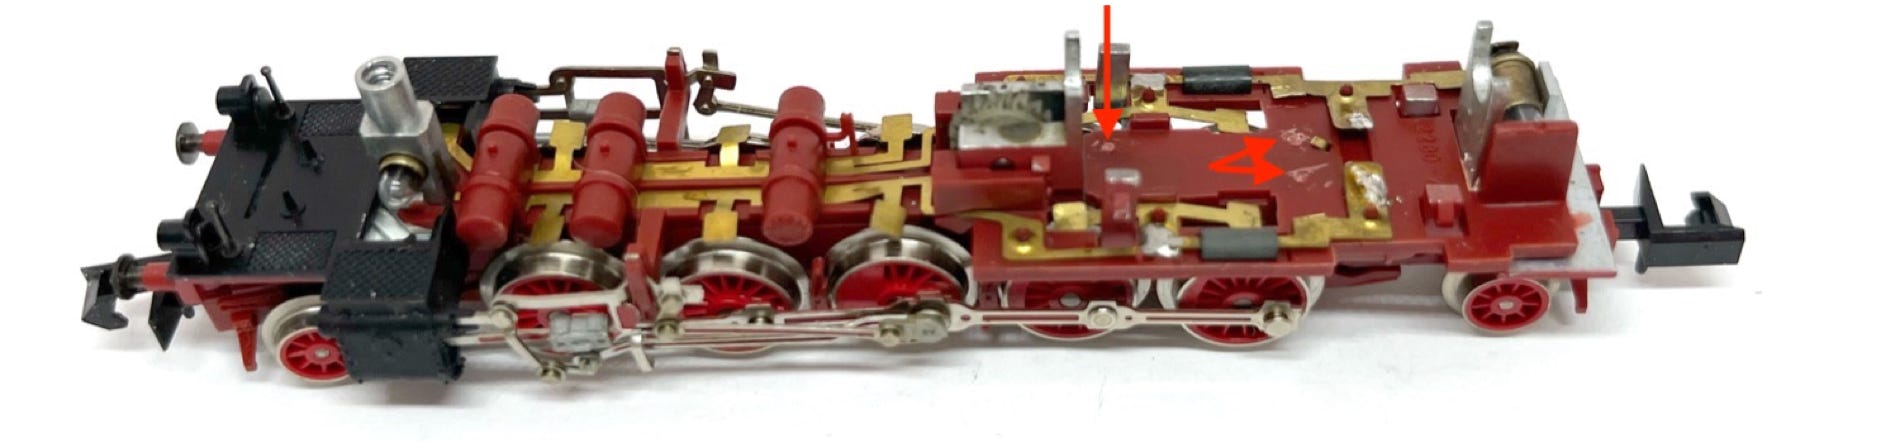

6
Take the motor bedding and a fine file, to clean the inside corners. Just a little bit on the two sides, as seen in the photo below. Test if it fits in the model, flat on the bottom.

7
Angle the contacts 90 degrees outwards, by pushing on it with a flat screw driver. This is to give the flywheel more space.
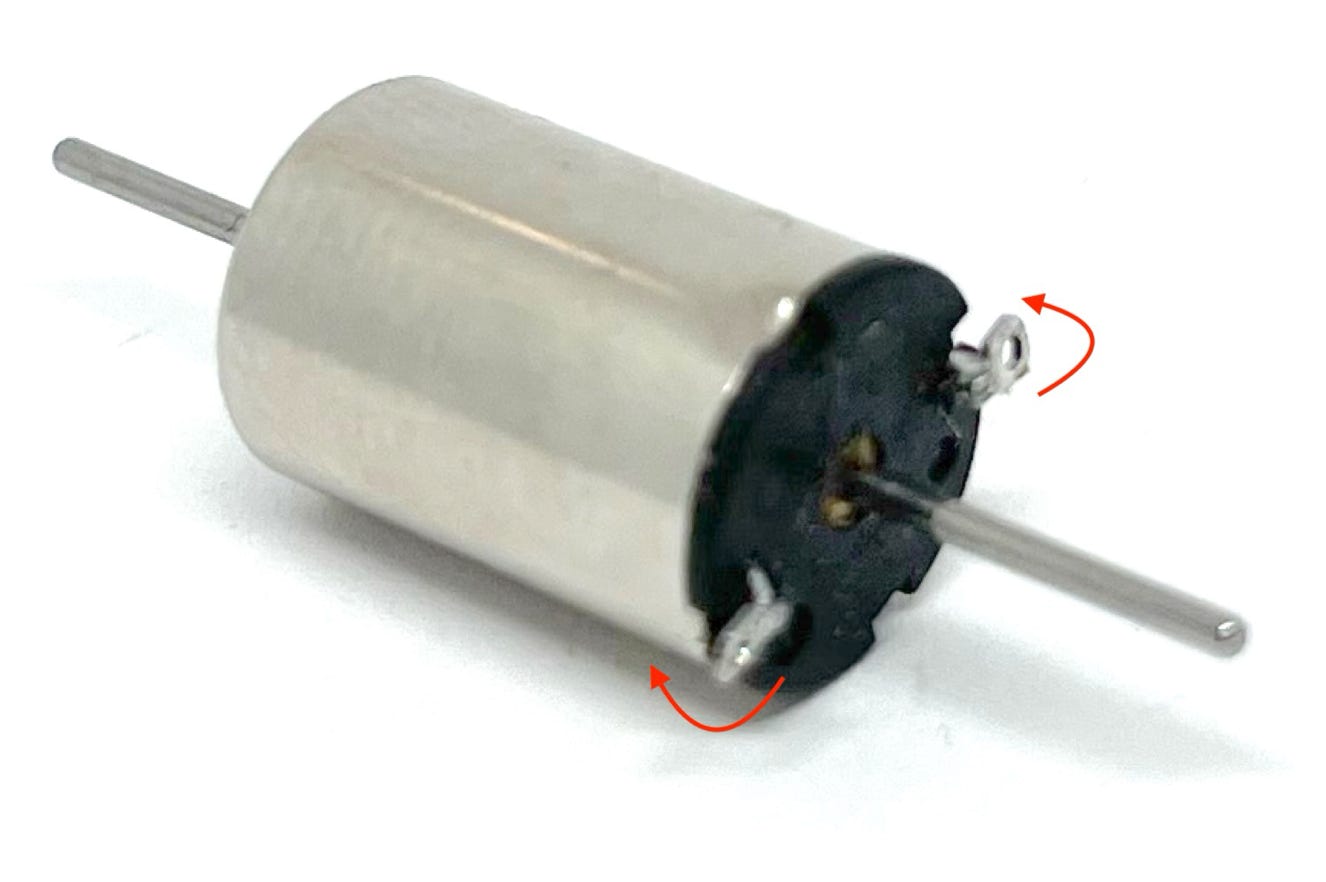
8
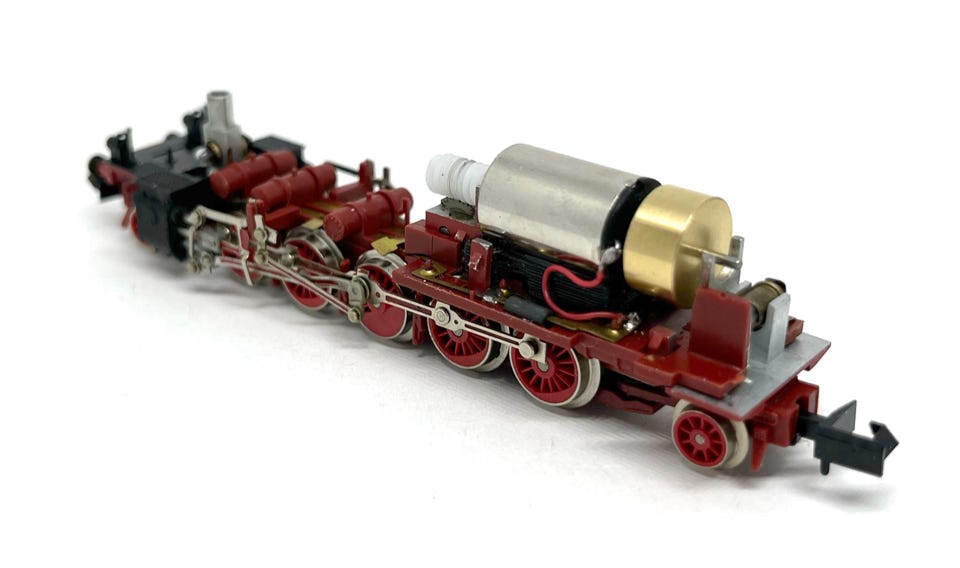
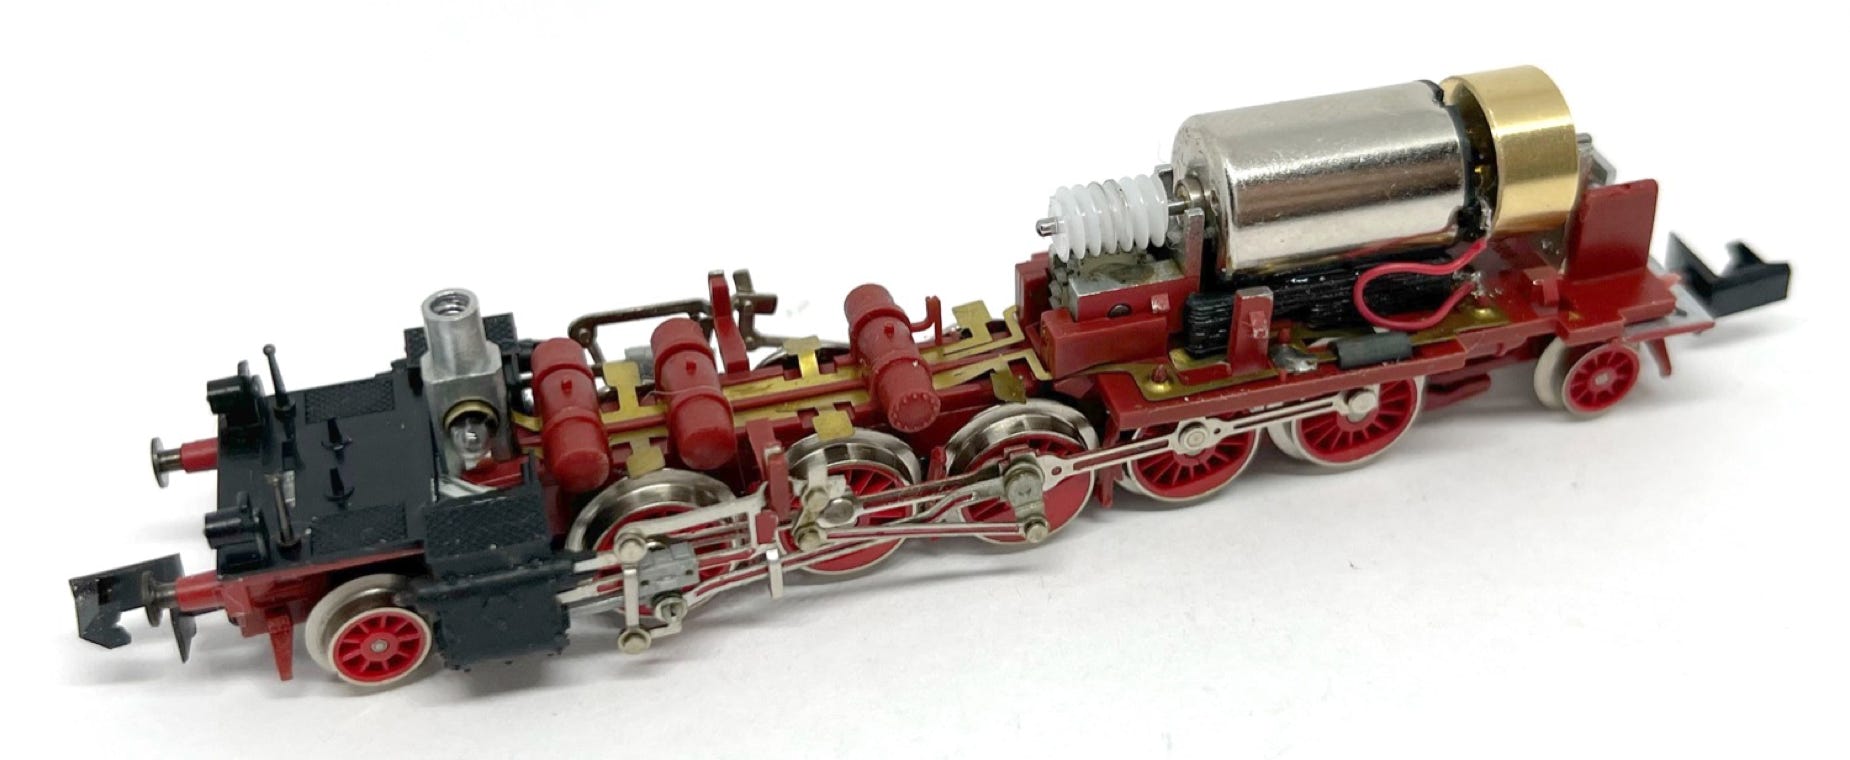
Solder two wires on the motor. You can see a small + symbol. I have soldered a red wire to the + of the motor on the example. Assemble the motor as seen on the picture. Note the position of the flywheel and worm.
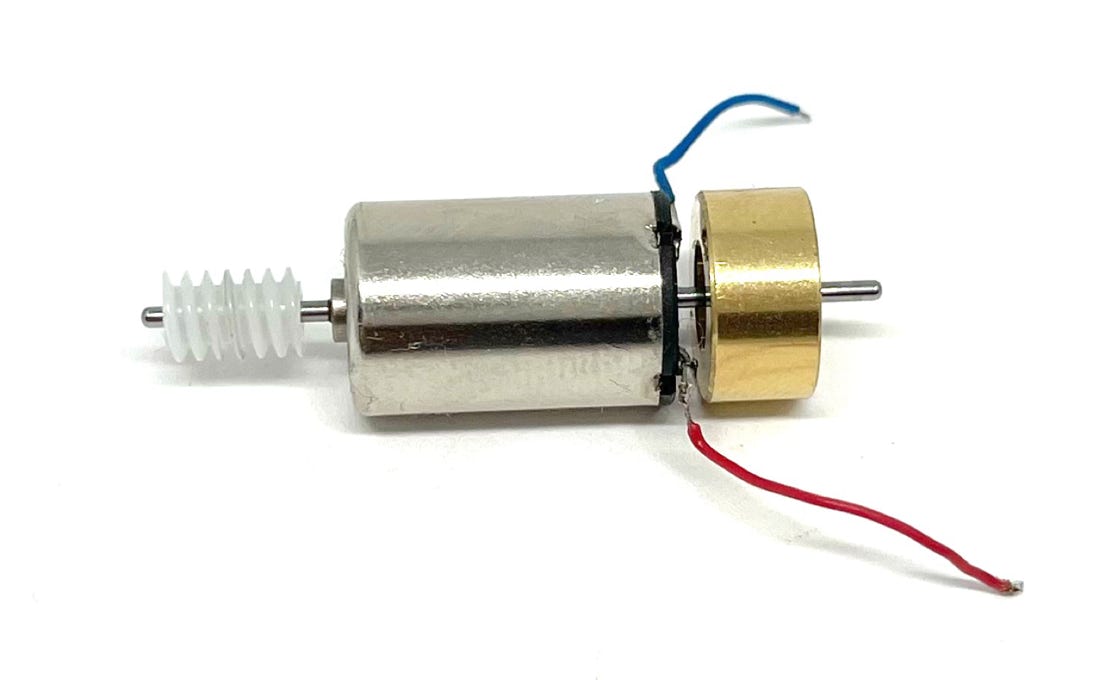
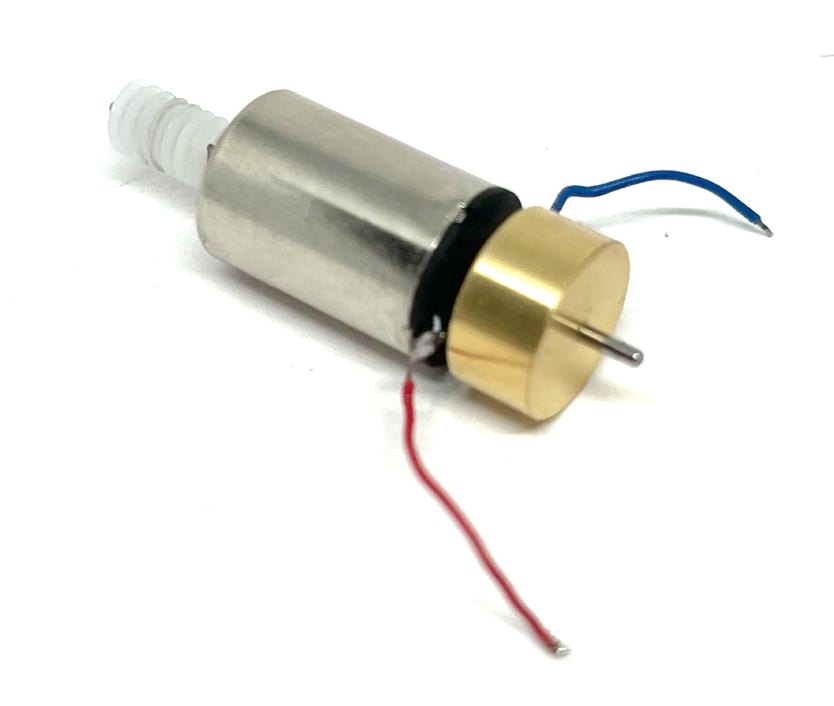
9
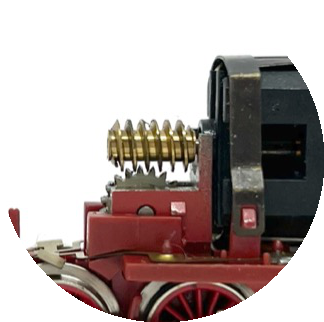
Test fit and check the distance between the worm and the gear below. When you turn the wheels, you should be able to wiggle it slightly before the worm starts moving. Check the image for the expected clearing.
Use epoxy glue to glue the motor on the supplied motor bedding.
10
Solder the wires to the contacts, press the motor assembly in place and test the model. If your train is running in the opposite direction of the rest of your models, you have to swap the wires to the contacts. If you have been paying attention and following my instructions, you will not have this problem.
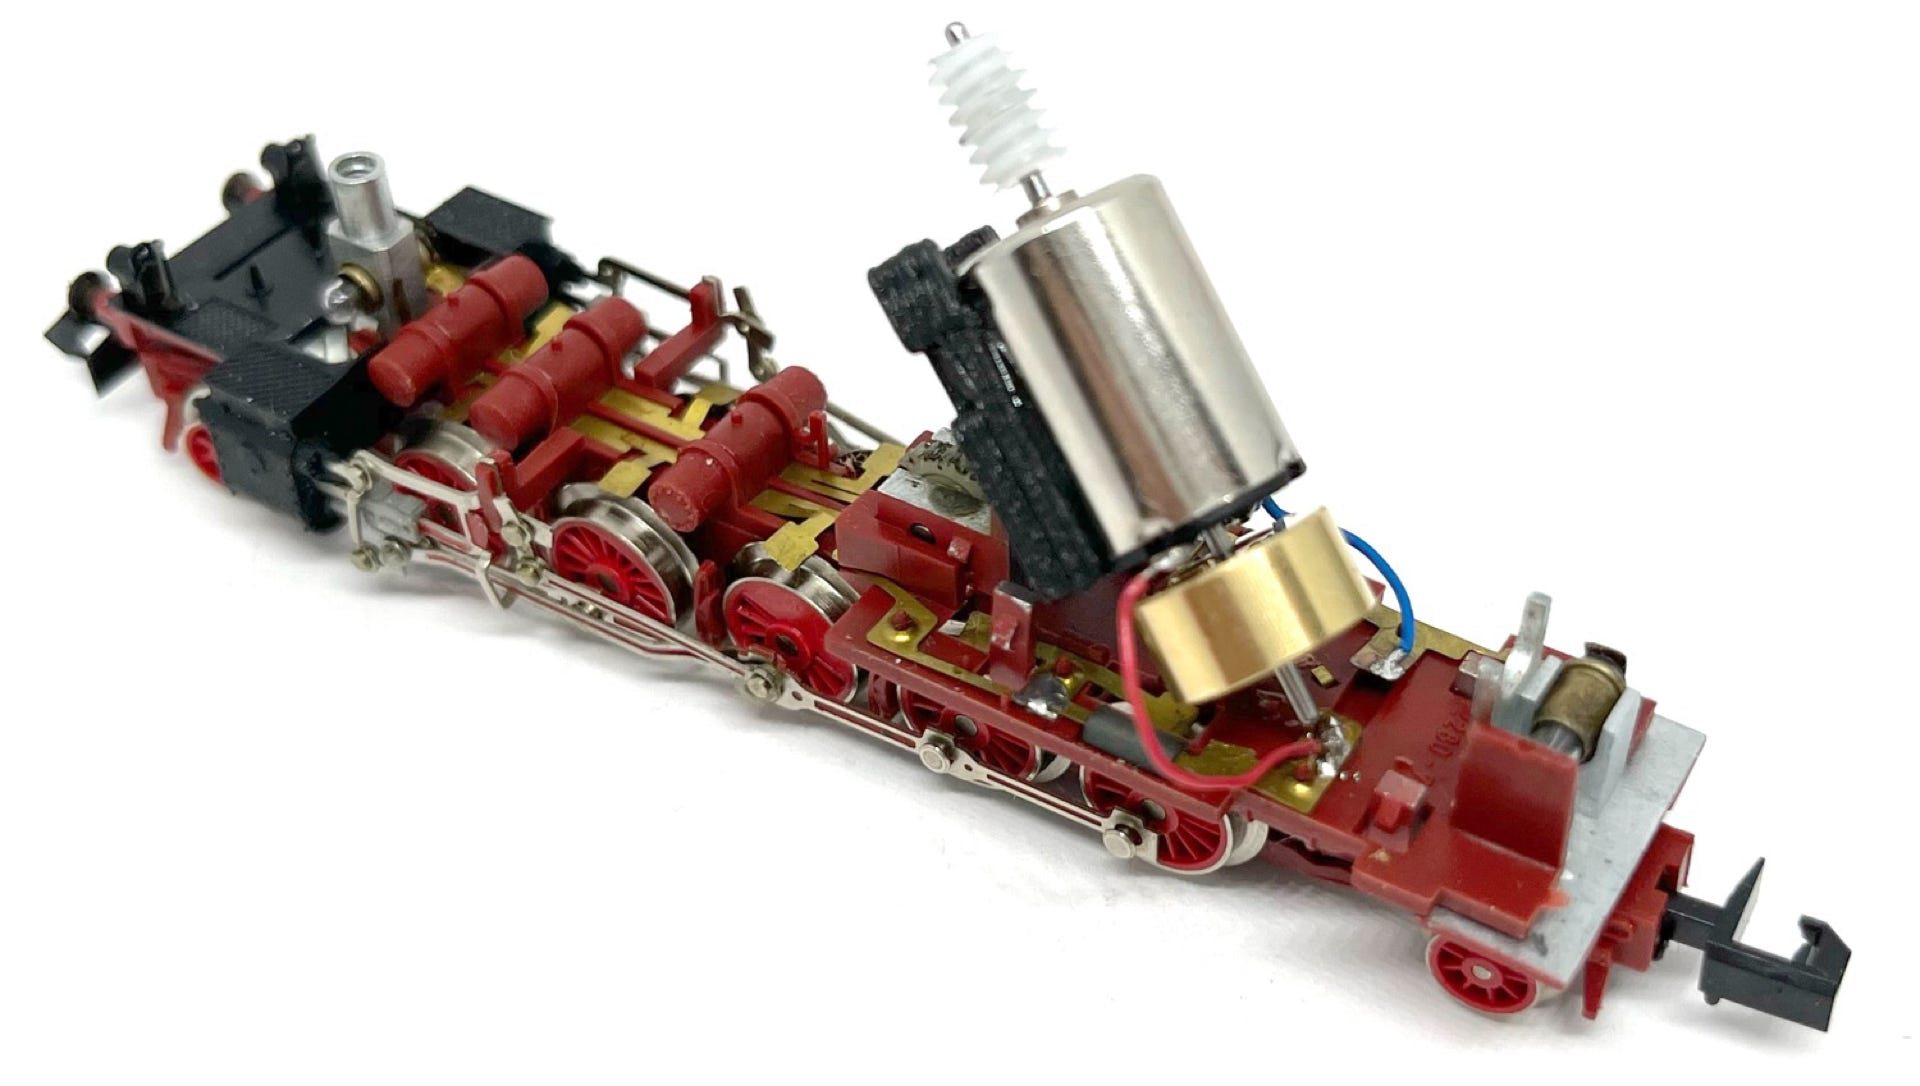
Put a small drop of epoxy glue under the motor bedding, on the chassis, and then press it in place.
11
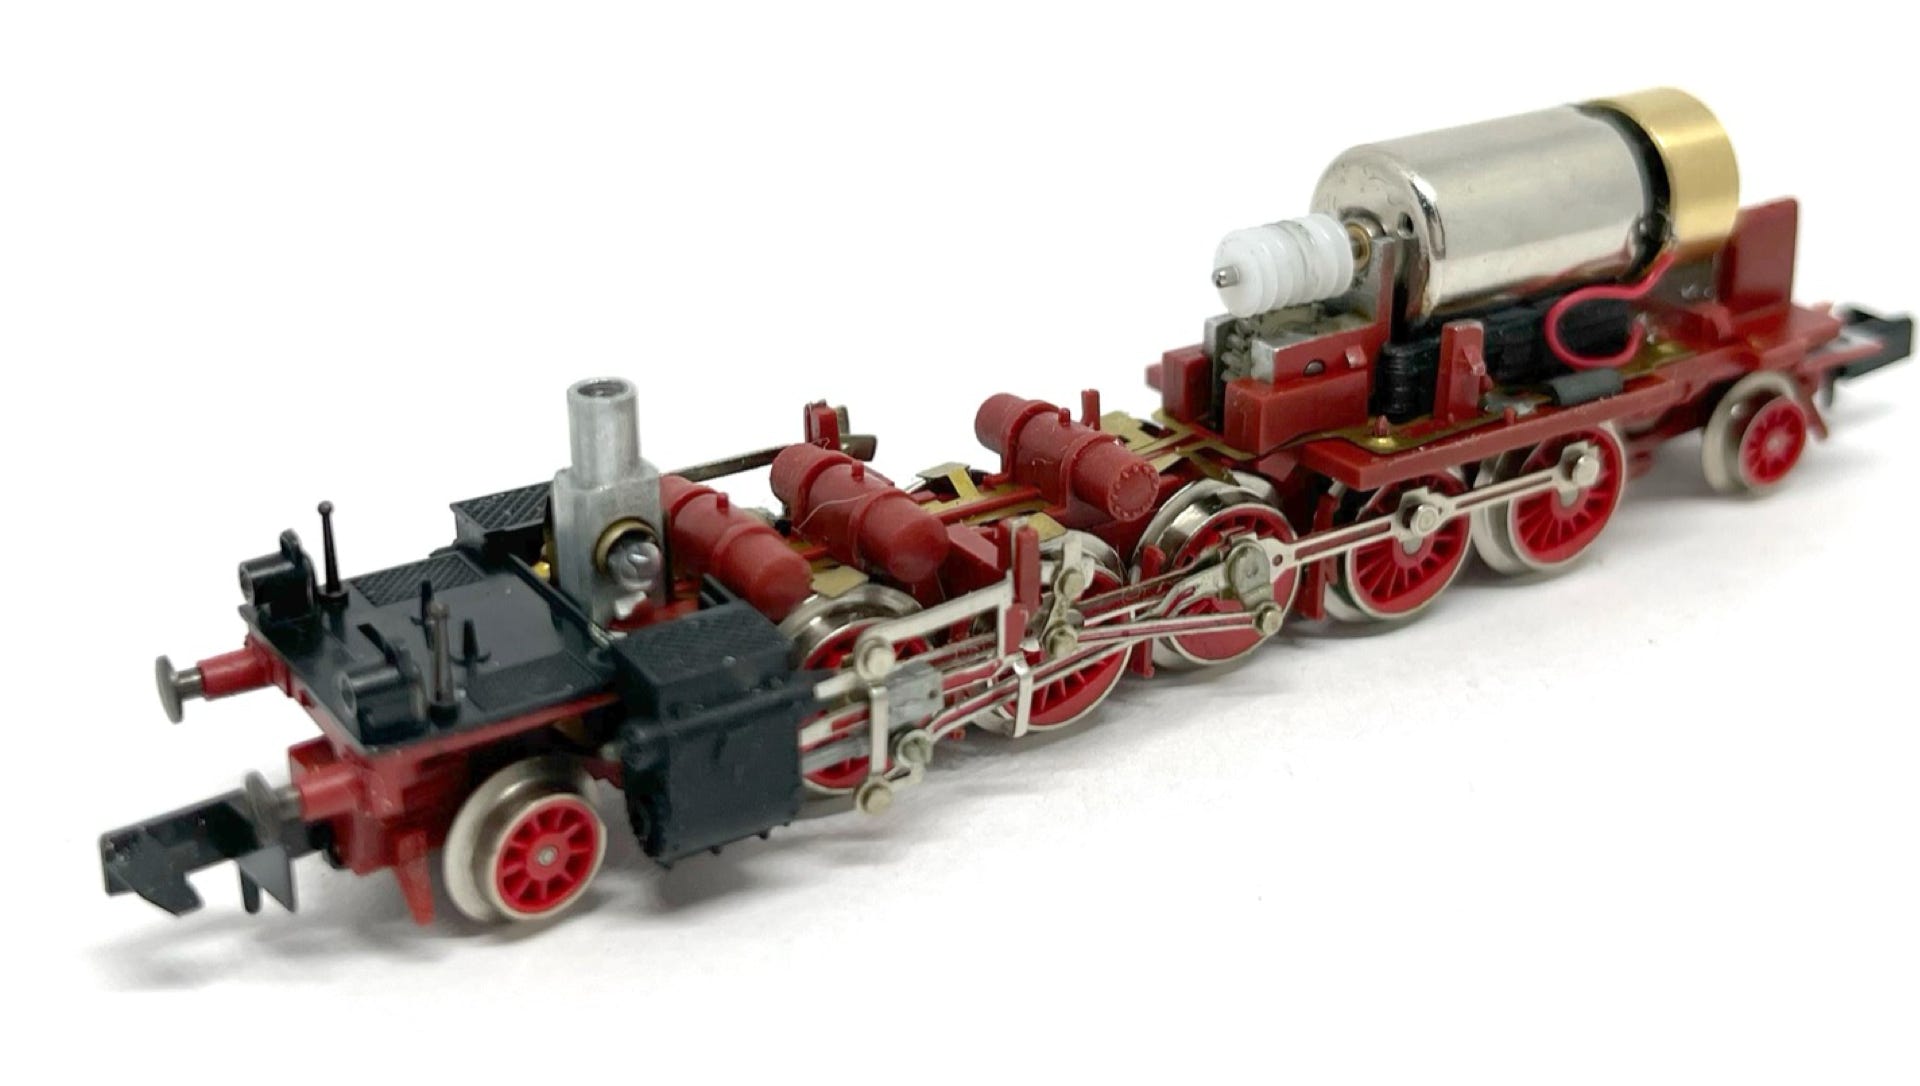
Now the model should be running smoother than ever. And you should be enjoying less noise.
When closing the model, remember to hook the back in first. You can see
a tab on the housing where the chassis has to slide under.
Digital
If it all works well, you can fit a decoder. I haven’t tested it with a decoder, but the Train-O-Matic Lokommander 2 Micro W seems to fit on top of the motor. I haven’t connected it, but the model will close, so that means you’ll have about 4 mm of space between the roof and the motor.
For optimal performance, you need to change some CV settings on a decoder. For several decoder brands, the ideal CV settings can be found by clicking here.
END
•