UK based
Prices for UK customers are shown inc 20% VAT
Other countries, inc EU, prices shown are ex VAT.

KASTENLOK INDEX

Building guide
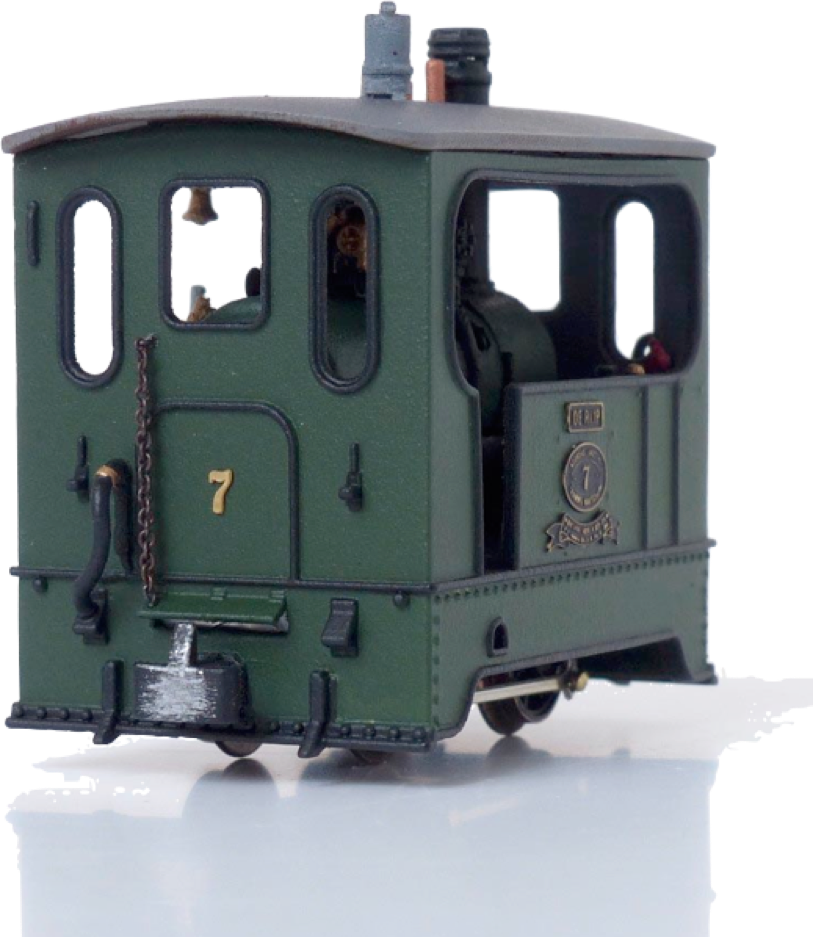
Thank you for your interest in my little tram locomotive. With this building guide, it can become a professional looking model. It's all in your hands now!
Suggested tools and materials:
Skewer
Fine tweezers
Waterproof sandpaper grade 400 (optionally grade 600)
Primer (spray paint)
Brushes size 00 and 000
Optional gold, silver and copper colour paint markers
Brown oil paint
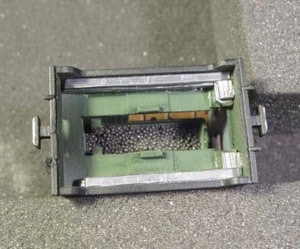
Lead strips of 1mm and 2mm thick
Super glue slow curing (Slo-Zap)
Two component Epoxy glue
Kristal Klear
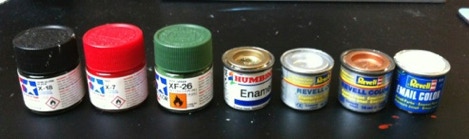
Paint:
Tamiya Black X-1 or XF1 or X-18 or 169 Vallejo Black
Tamiya Red X-7 or Vallejo Flat Red 031
Tamiya Deep Green XF-26 or Vallejo Luftwaffe cam. green 086
Tamiya Grey XF-12 or XF-53 or Vallejo Sky Grey 154
Humbrol Gold 16
Revell Metal 90
Revell Copper 93
Revell White matt 5
Steps to build the model
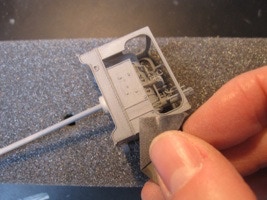
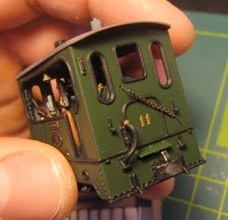
Be careful how you handle the model. It's safer to work on it with the roof on, where possible. The most likely part to accidentally push (and break) is the handle on the side panel. Any part that would break off is easily fixed with slow curing superglue, fx Slo-Zap.
If you received the model directly from me, it should be without grease. If you ordered it directly from Shapeways it is greasy and it should receive a few goes in lukewarm water in an ultra sonic cleaner. Use a skewer to remove big parts.
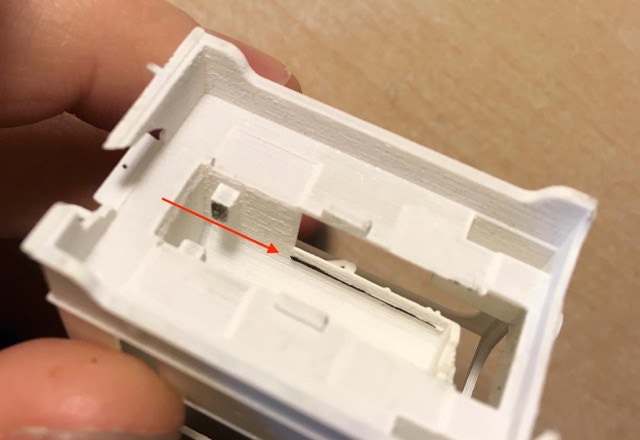
Spray a thin coat of primer. Use sandpaper to smooth every panel (mind the rivets!). Use a small cut off piece to get to the harder parts on the front. Cut of a small triangle of sandpaper, glue it on a stick to reach the parts on the inside. Don't forget the chimney, it will become very obvious if you forget!
Spray another layer of primer. Check if you are happy with the result of the sandpaper. You can still do some more work with the sandpaper. It is so worth the effort if you do your very best here. If you do more work here, spray a final layer of primer afterwards.
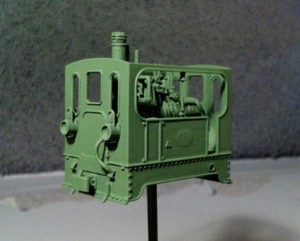
Use the airbrush or spray paint to spray the base colour. You can use a brush if you prefer, but it will be much harder to achieve that professional look. Remember that the final colour with a varnish will change from the chosen base colour. It will much deeper, vivid and darker.
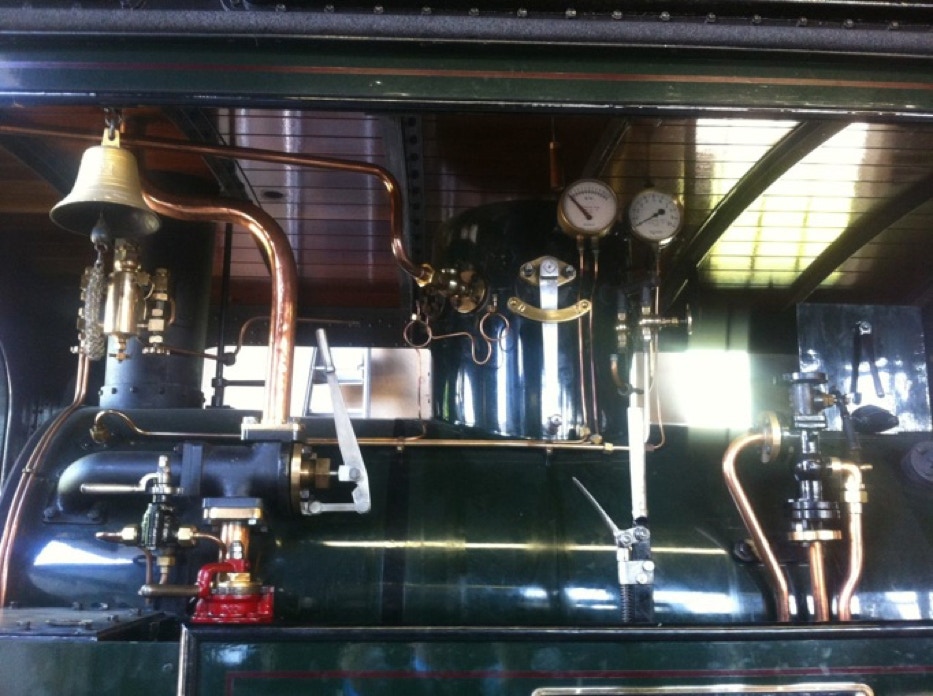
Paint all the details.
Spray a final coating with a satin clear paint.
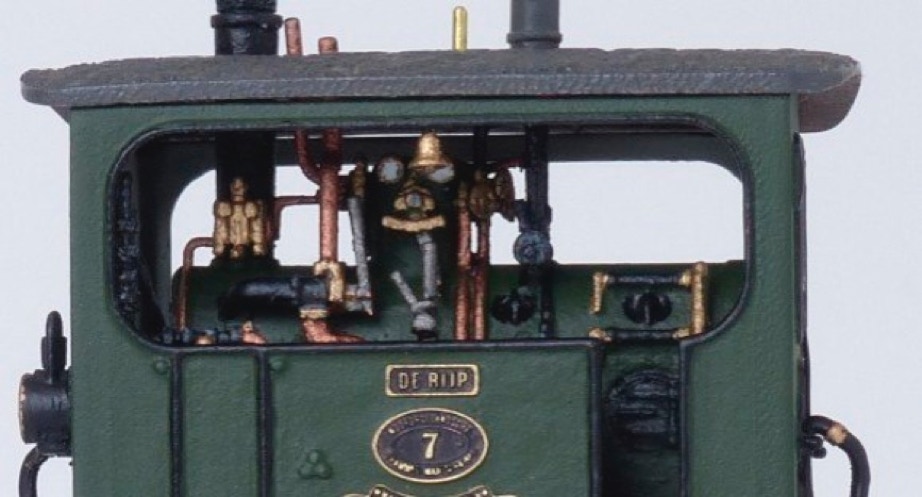
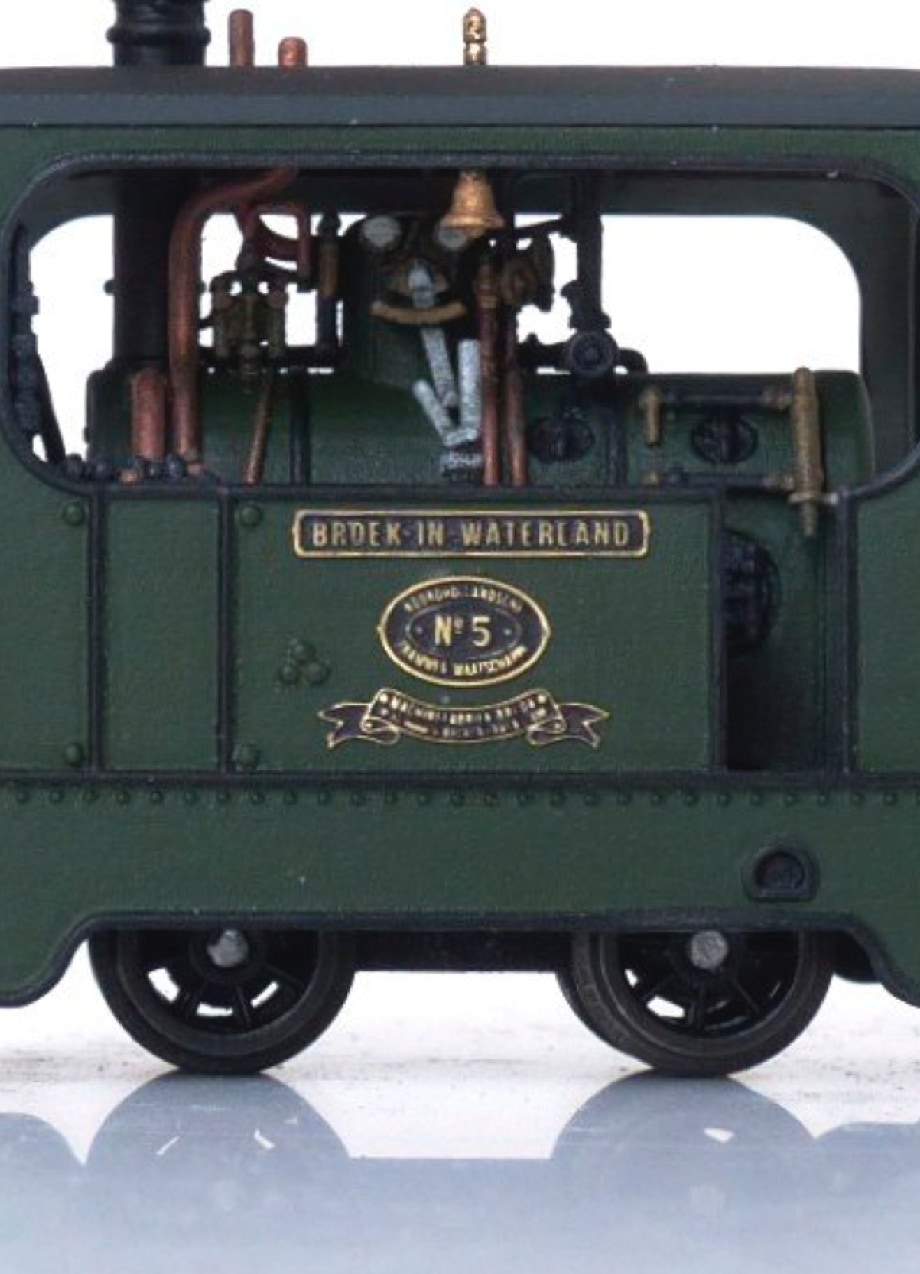
The number and nameplates should be fitted before OR after the use of the clear coating. I do not recommend coloured the plates black with a marker, but if you do, it should be attached to the loco after the coating, as it will run. If you used paint, you can do it before. Fixing them can be done with a tiny, tiny, tiny drop of Kristal Klear. Use the pointy side of a skewer and 1 mm blob of Bluetack on top of it to put the plates in place. You'll find two circles in the middle of the side panels indicating the centre for the number plate. Use that ad a starting point for the other plates. I would suggest to fit the number on the front (one on each side) before the clear coating, so it's extra secured.
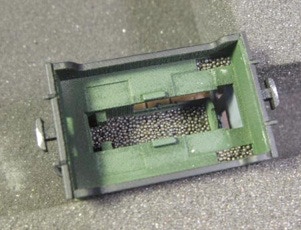
Spray the top and side of the roof grey (the primer might even do here already, if that was grey) and hand paint the bottom brown. To make it more realistic, you can add a bit of weathering with brown (Vallejo 70.939 ‘Smoke’ fx) or black around the chimney.
Spray matt clear spray on top and side of the roof.