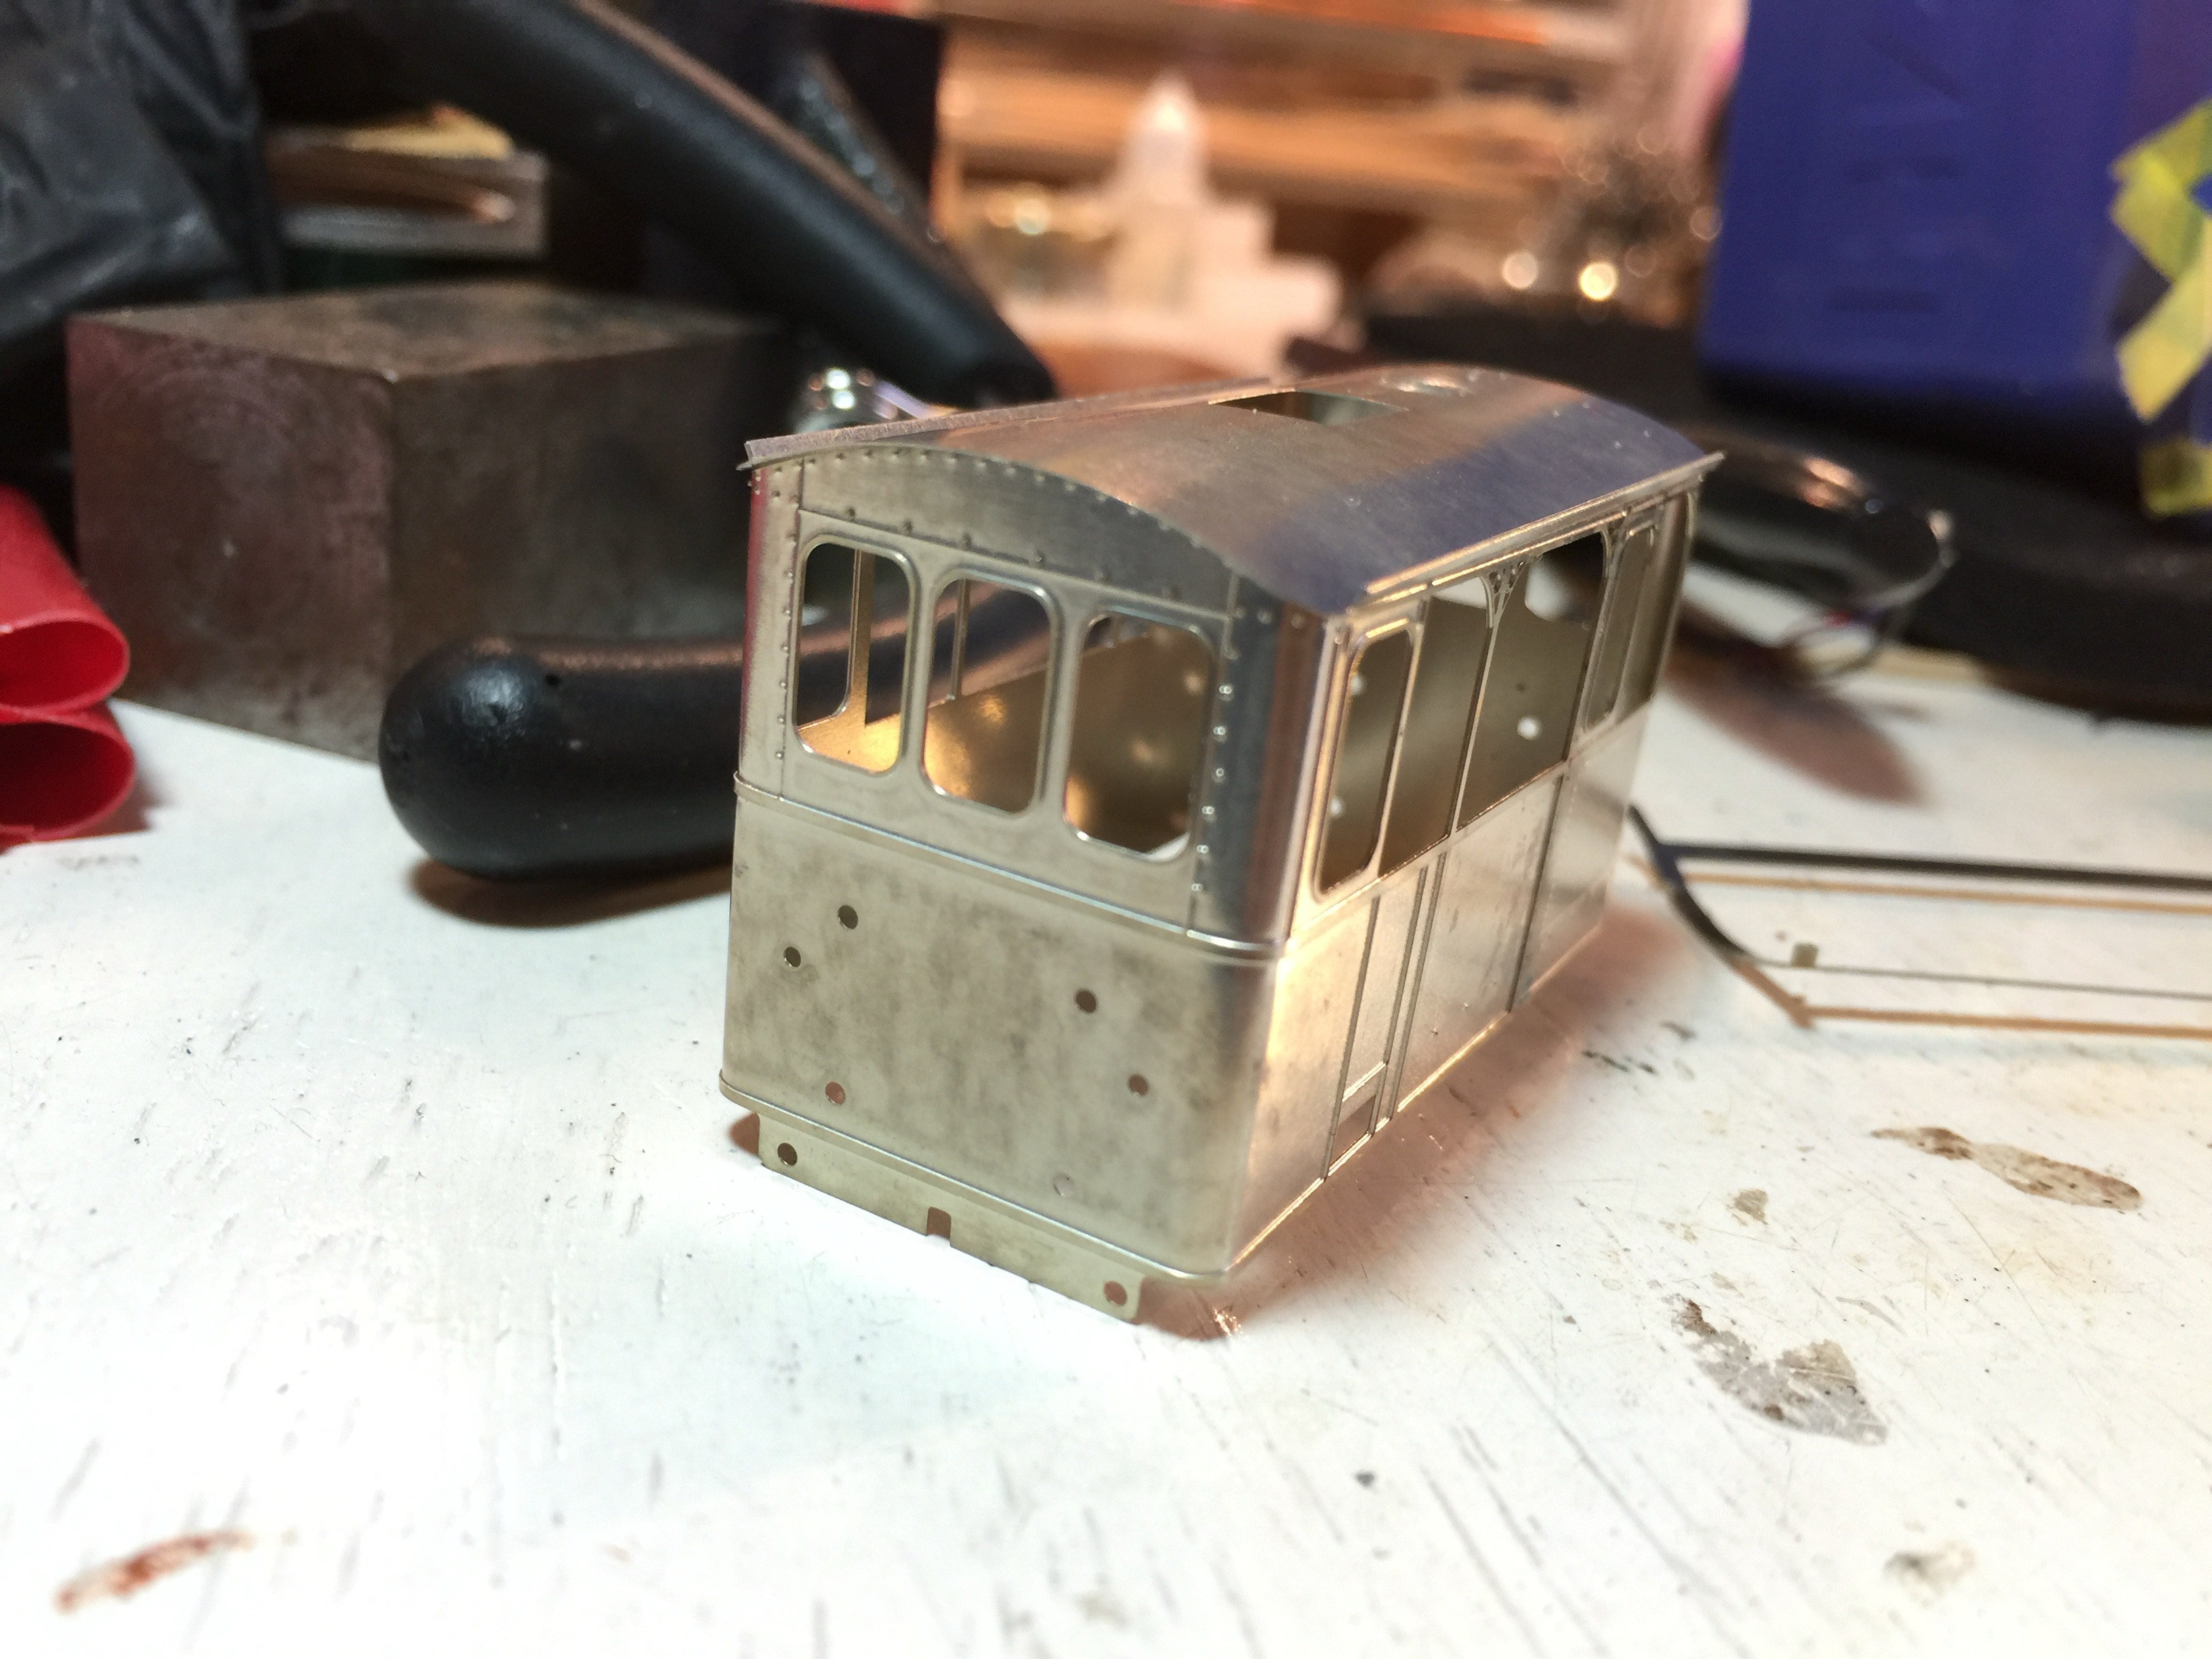
Gooische Stoomtram 18
Bouwhandleiding

Building instructions
Het dak
The roof
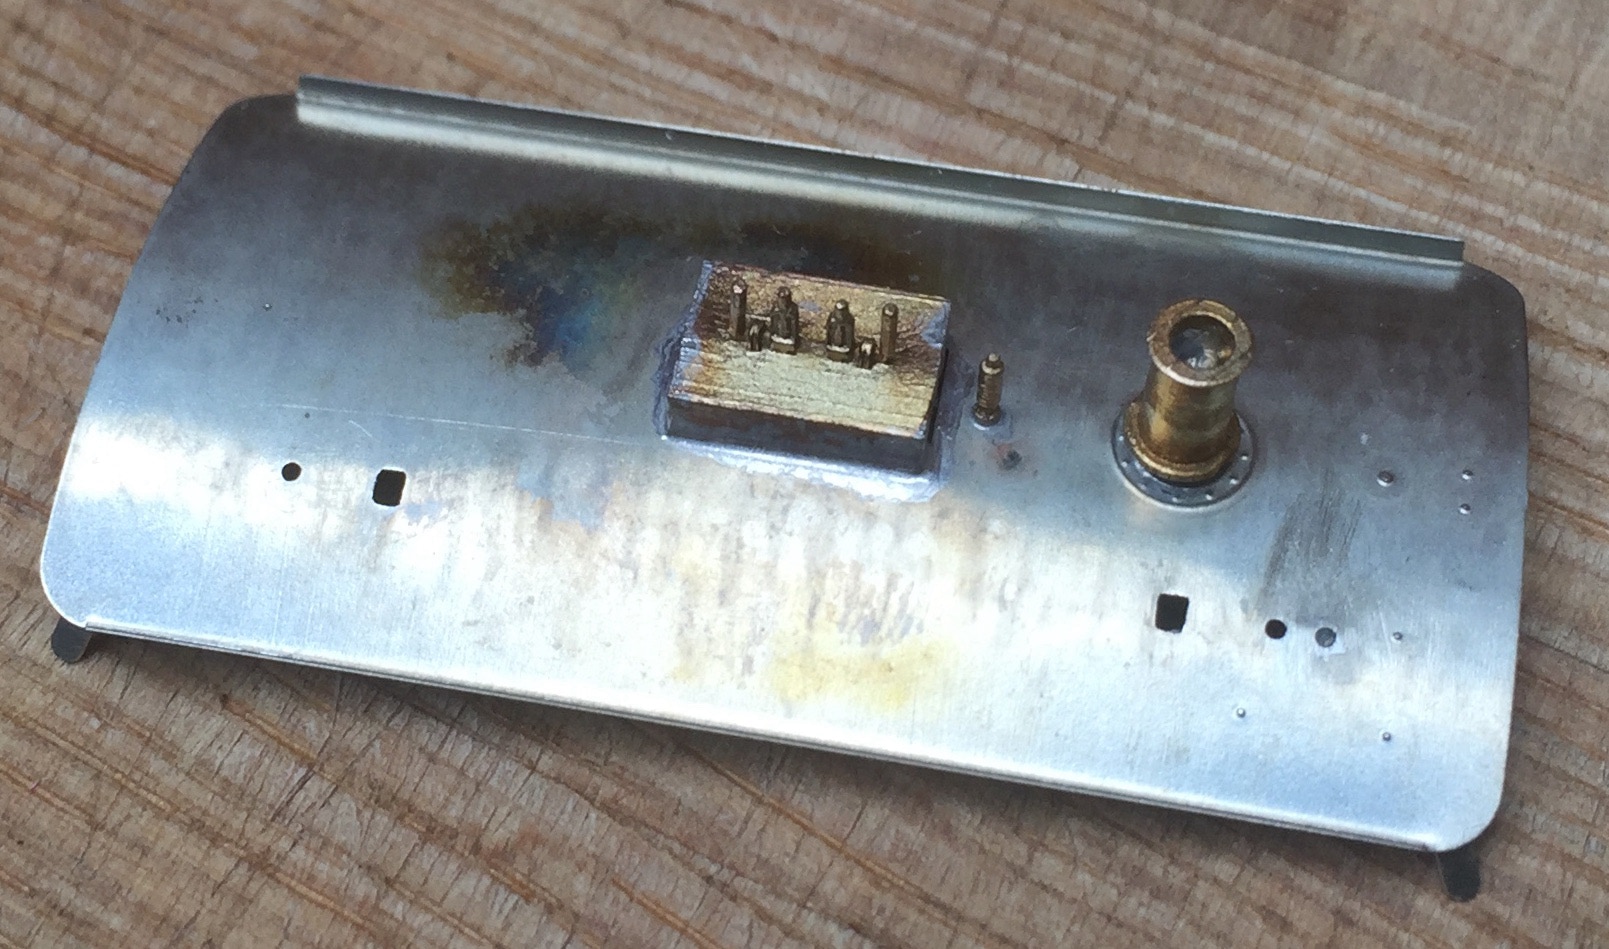
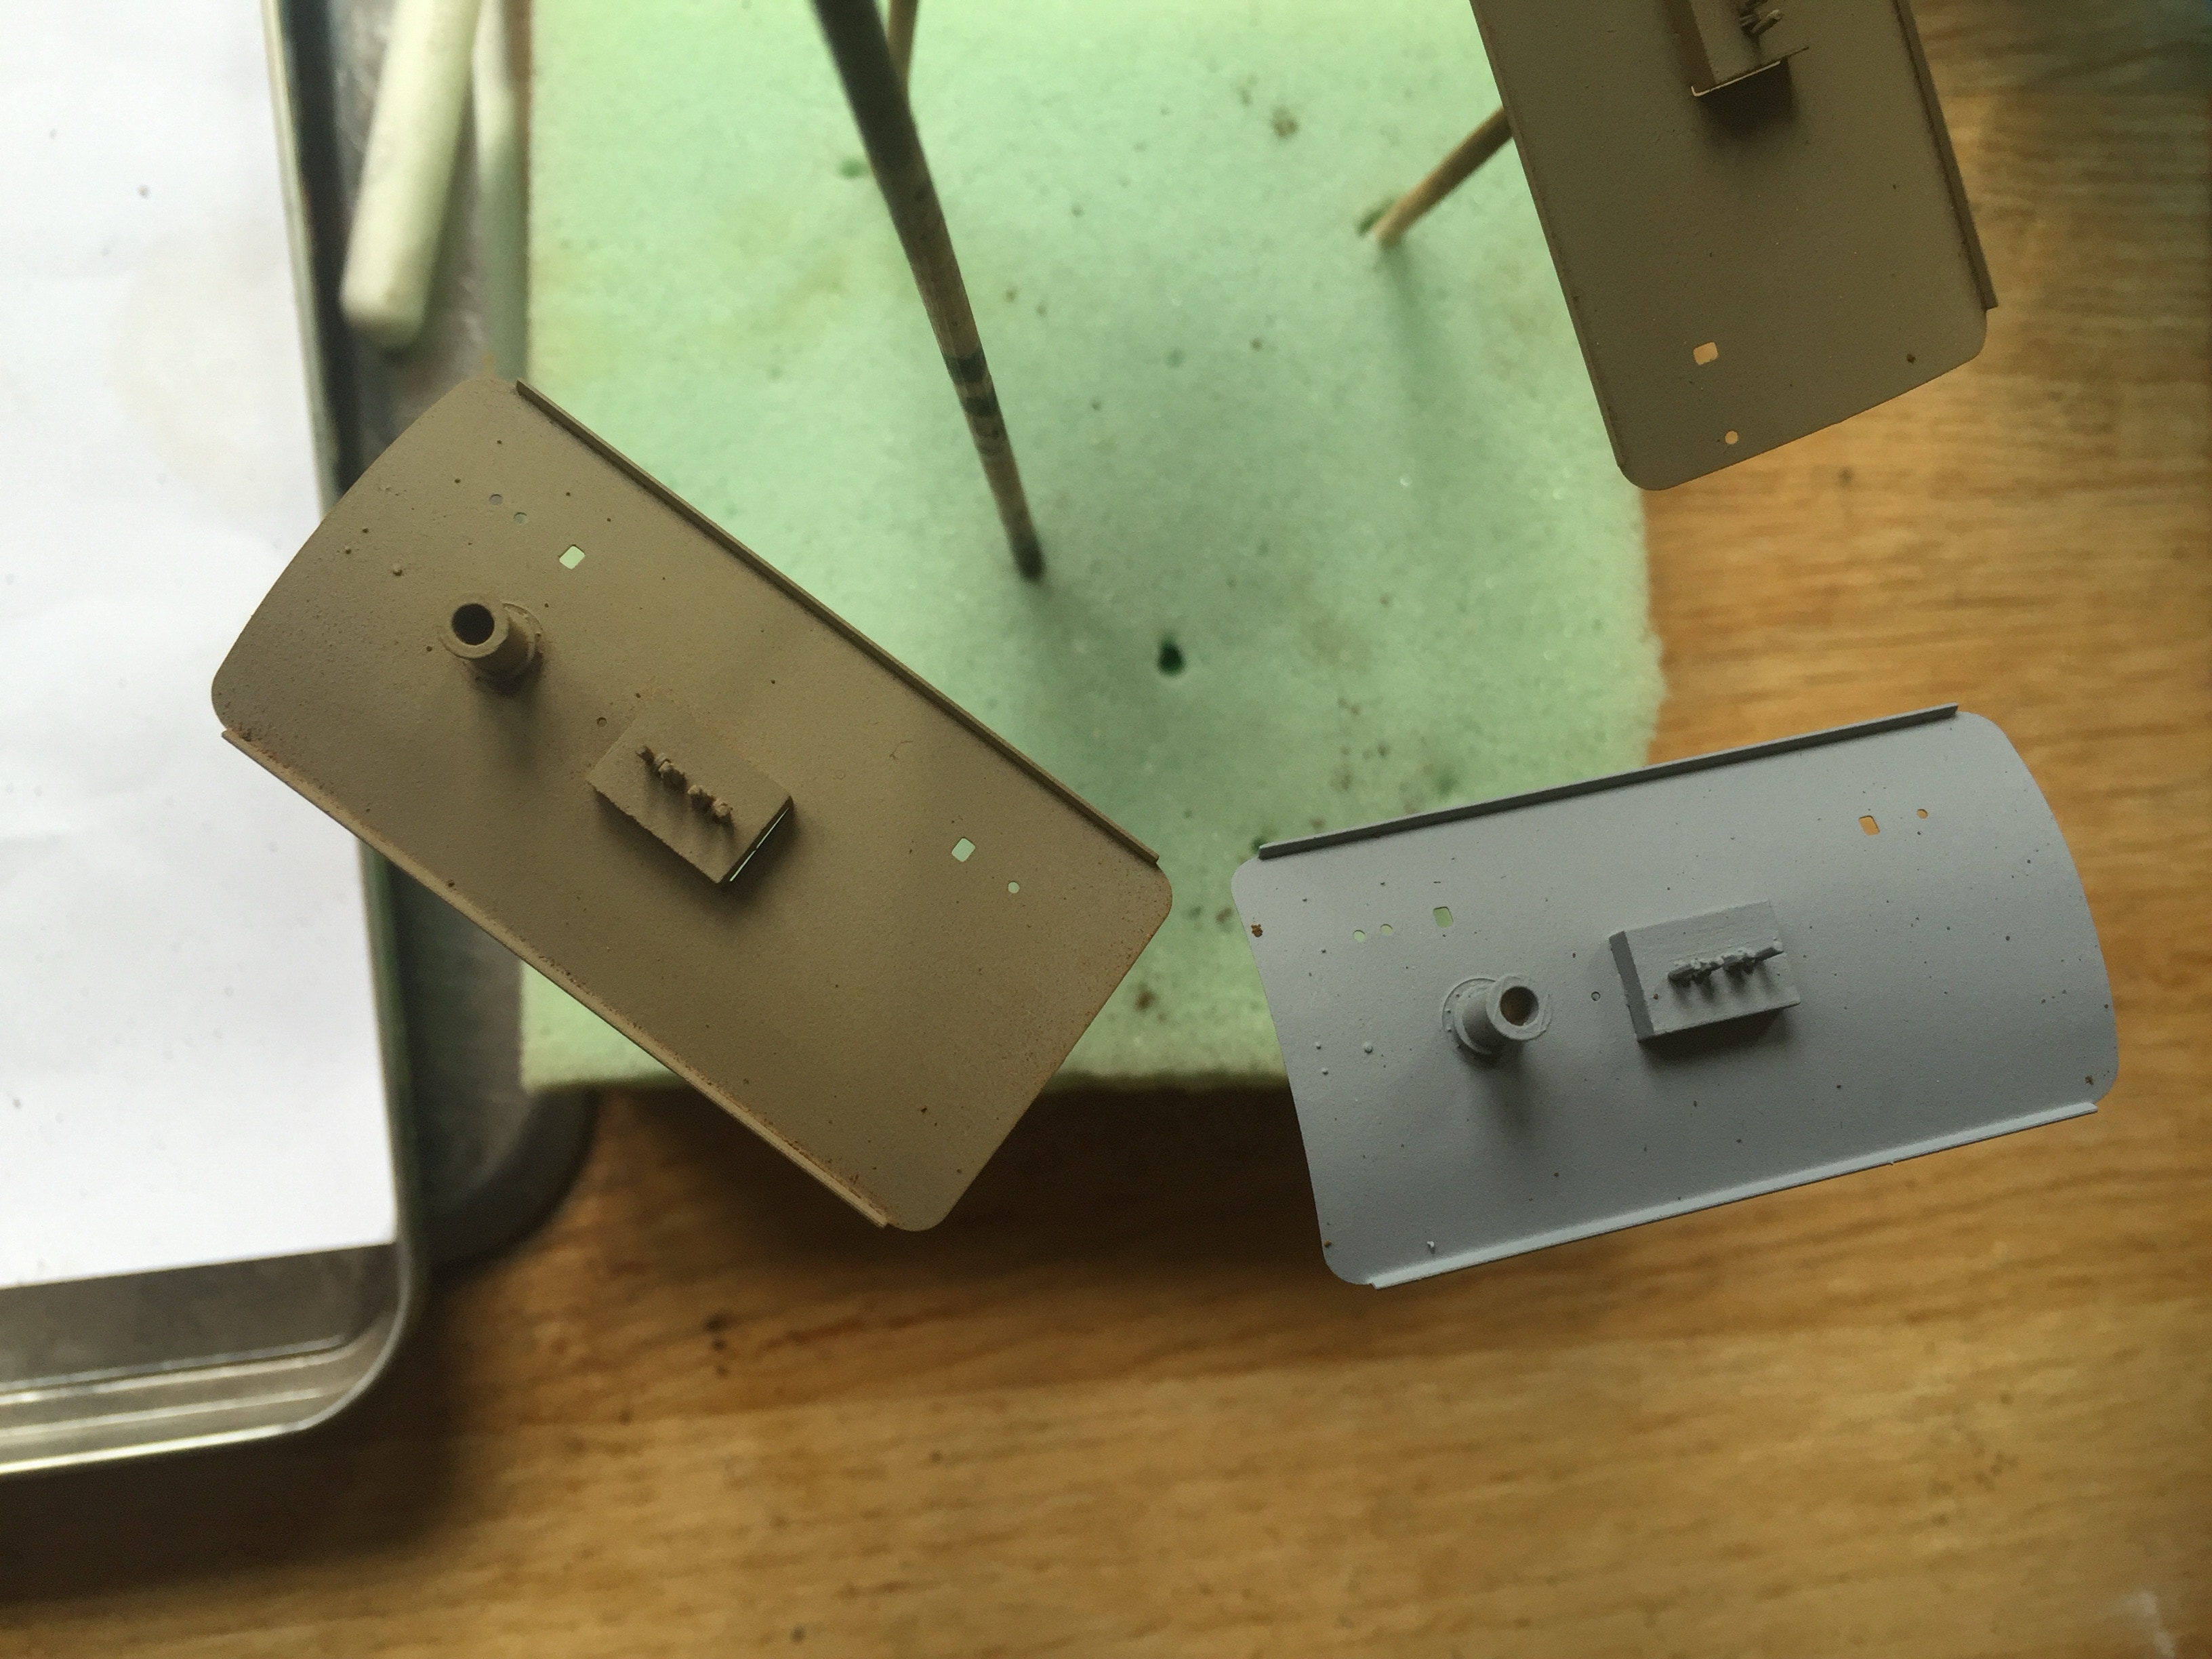
De ketel op het dak is bij het ontwikkelen een beetje een lastig probleem geweest, daar ik op foto’s niet goed kan zien hoe het was. De conclusie van locomotief 18 tot nu toe is:
Vóór 1967: geen ketel
Na 1967: lange ketel aan linkerzijde (bestuurderszijde)
Loc 16: Korte dikke ketel aan rechterzijde
De leidingen naar de ketel bij de oude locomotieven onduidelijk. Ik heb het naar mijn beste kennis en inzicht opgelost.
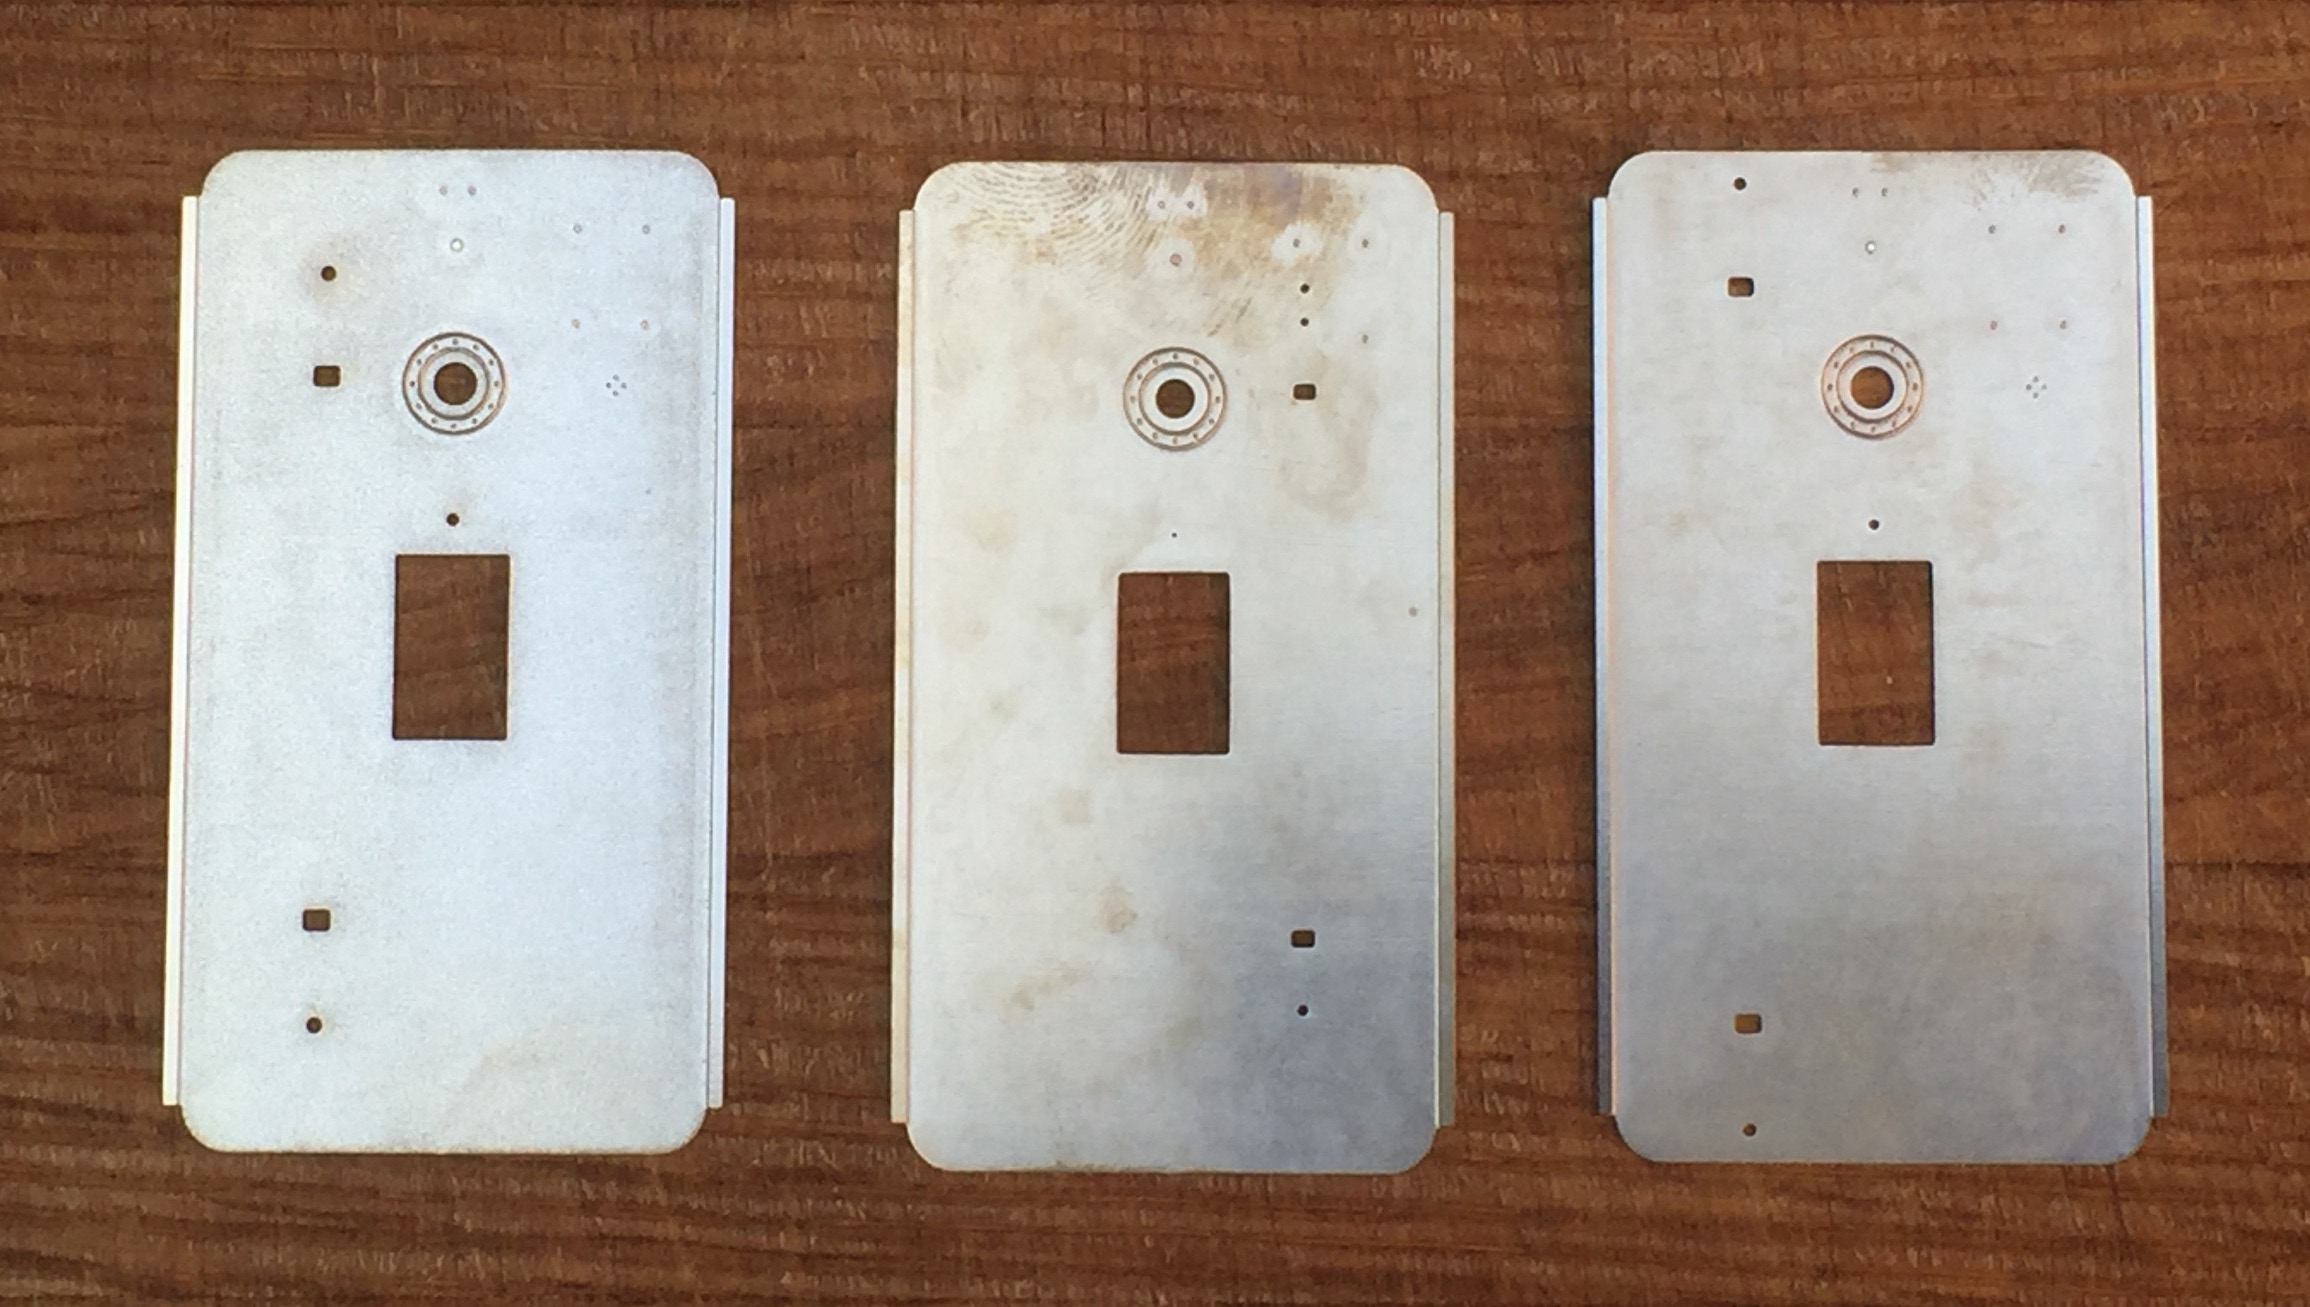
Er zijn nu drie verschillende daken bij de kits uitgebracht. Bij het volgen van de handleiding op deze pagina, volg het nummer van het dak dat je hebt.
The tank on the roof was a bit of a challenge, when developing the model, as I couldn’t see very well on photos how it was. My conclusion of locomotive 18:
Before 1967: no tank
After 1967: long tank on the left side (driver’s side)
Loc 16: Short tank at the right side.
A usual problem with old pictures is where the pipes are and going.
I have released three different roofs with my kits. Follow the numbers on this page that correspond to your roof, below.

1
2
3
1
2
3
1
2
3
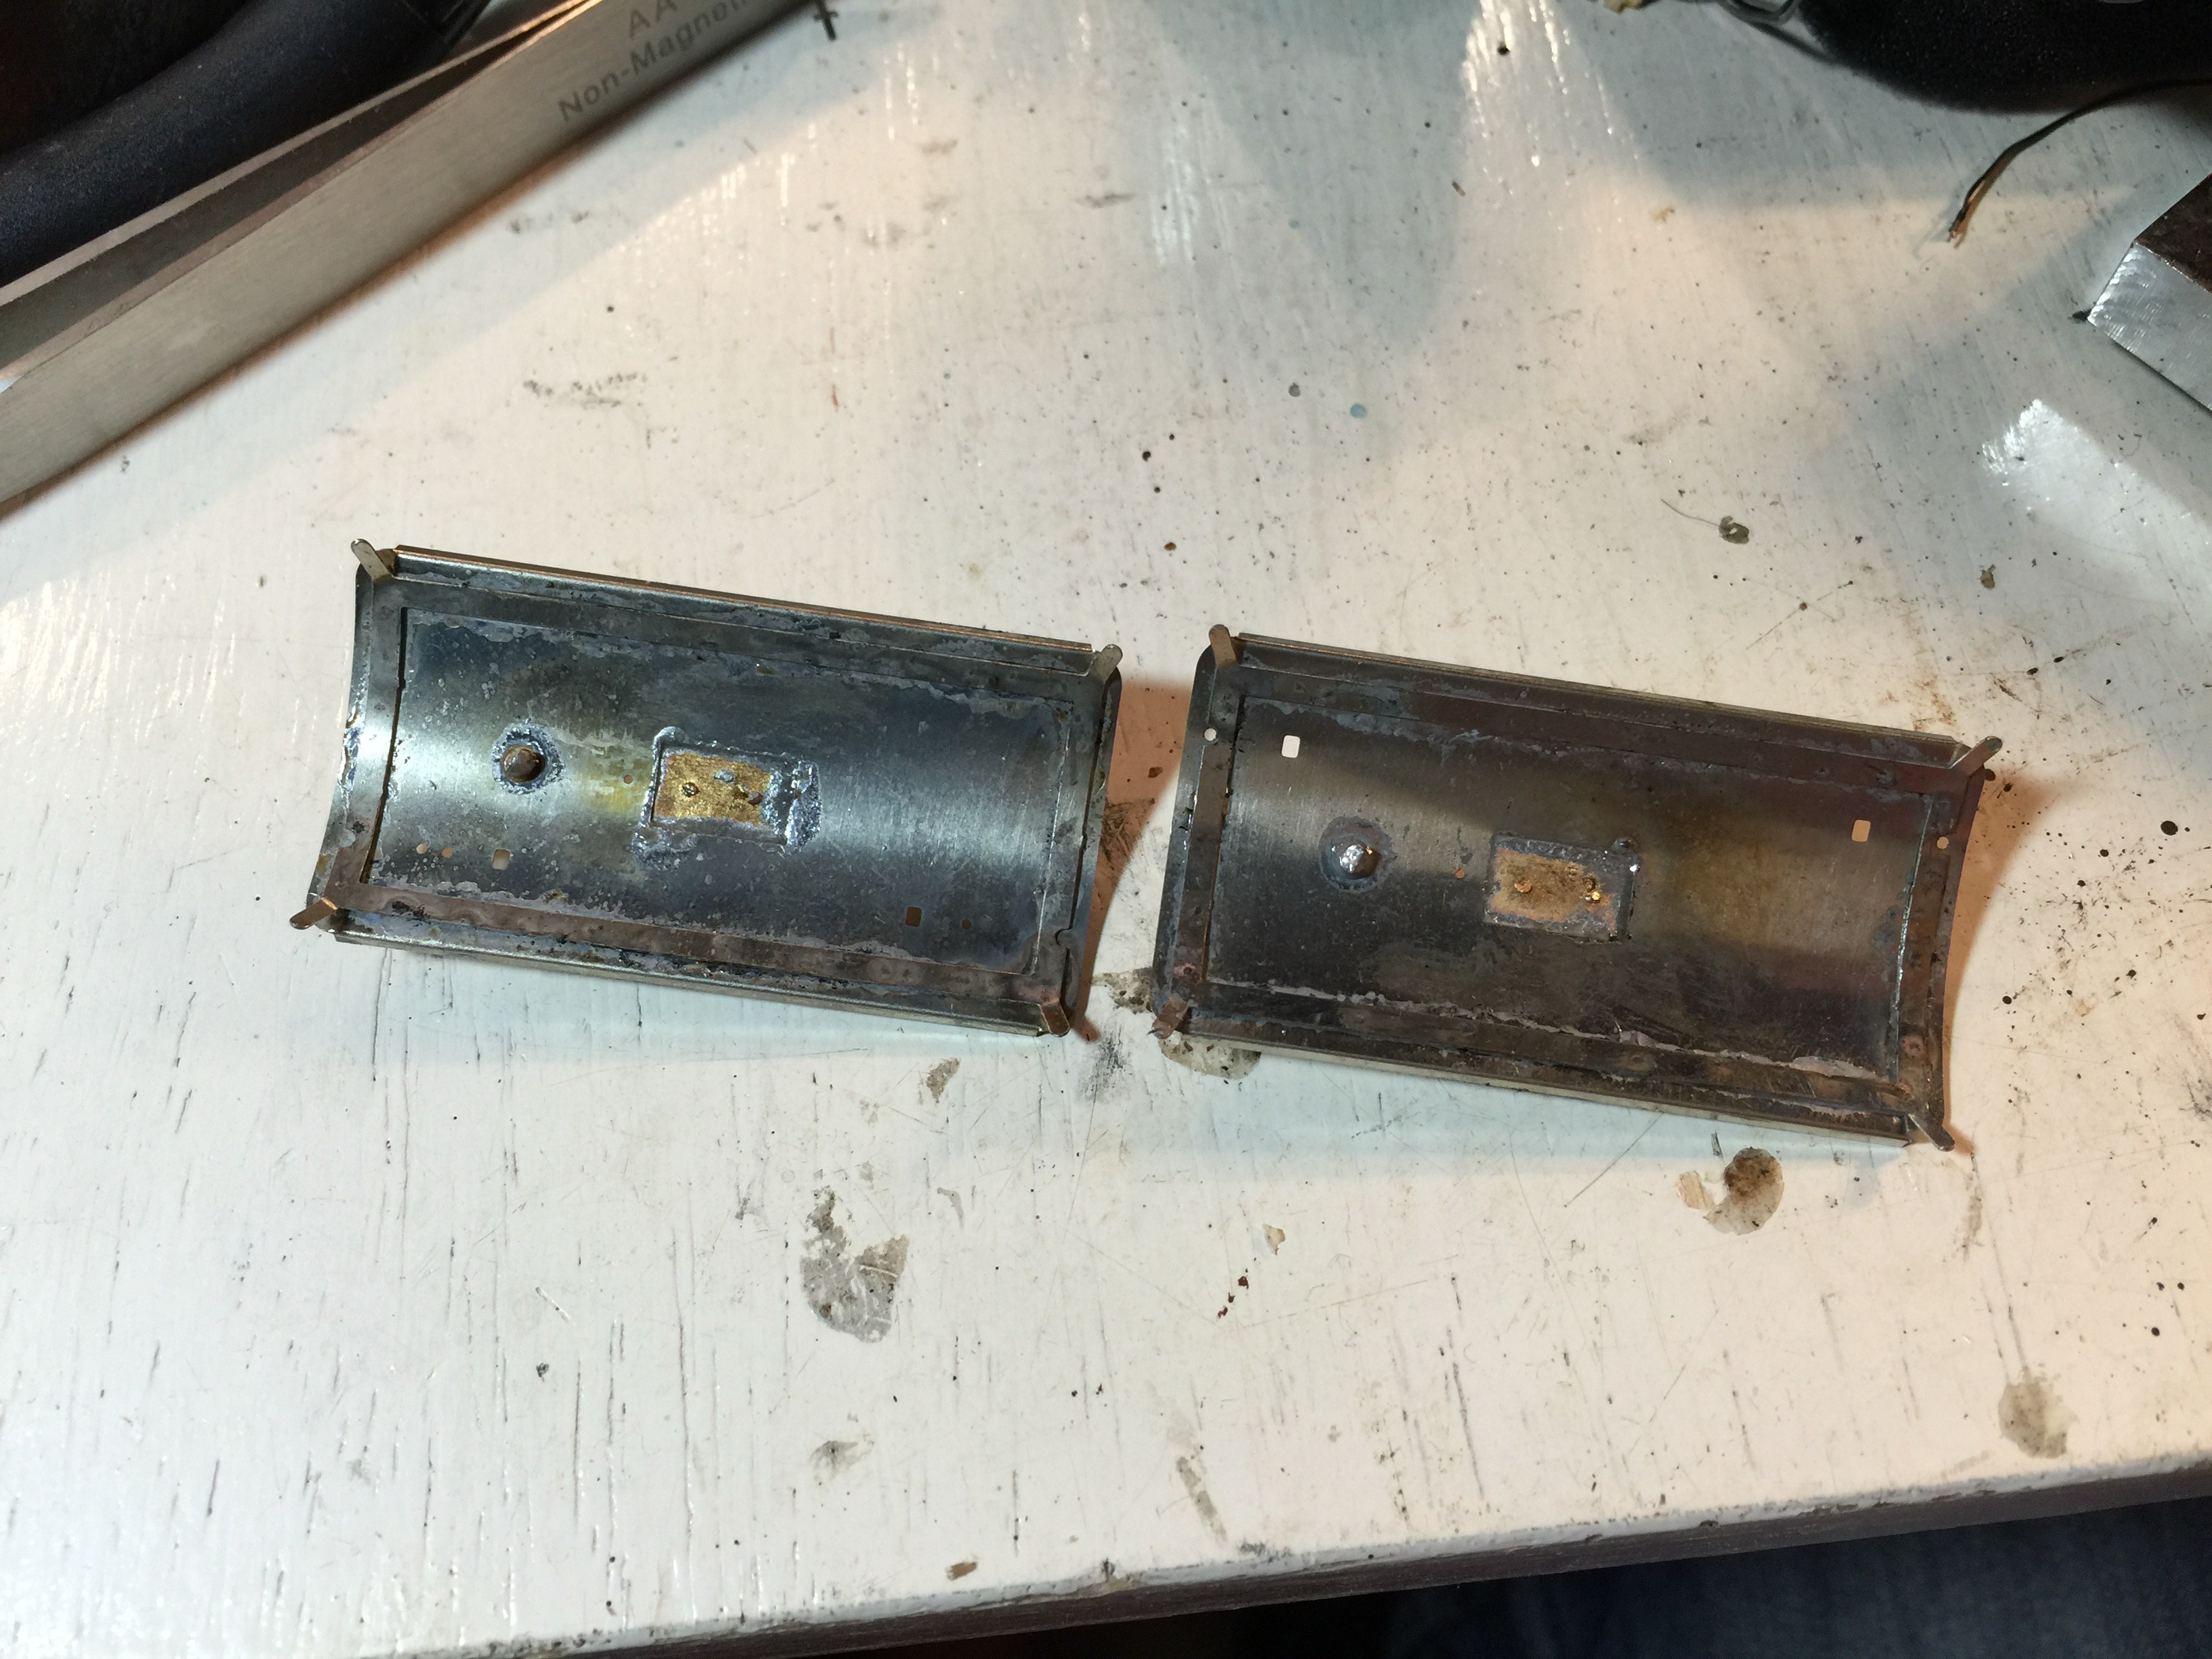
Voor loc 16, maar korte ketel zit aan de verkeerde kant voor deze lok. Bij loc 18 heeft deze er nooit opgezeten, maar doet verder niet af aan het zicht. Mocht je toch een dak voor de ketel aan de rechterzijde willen hebben ipv links, neem dan even contact met mij op.
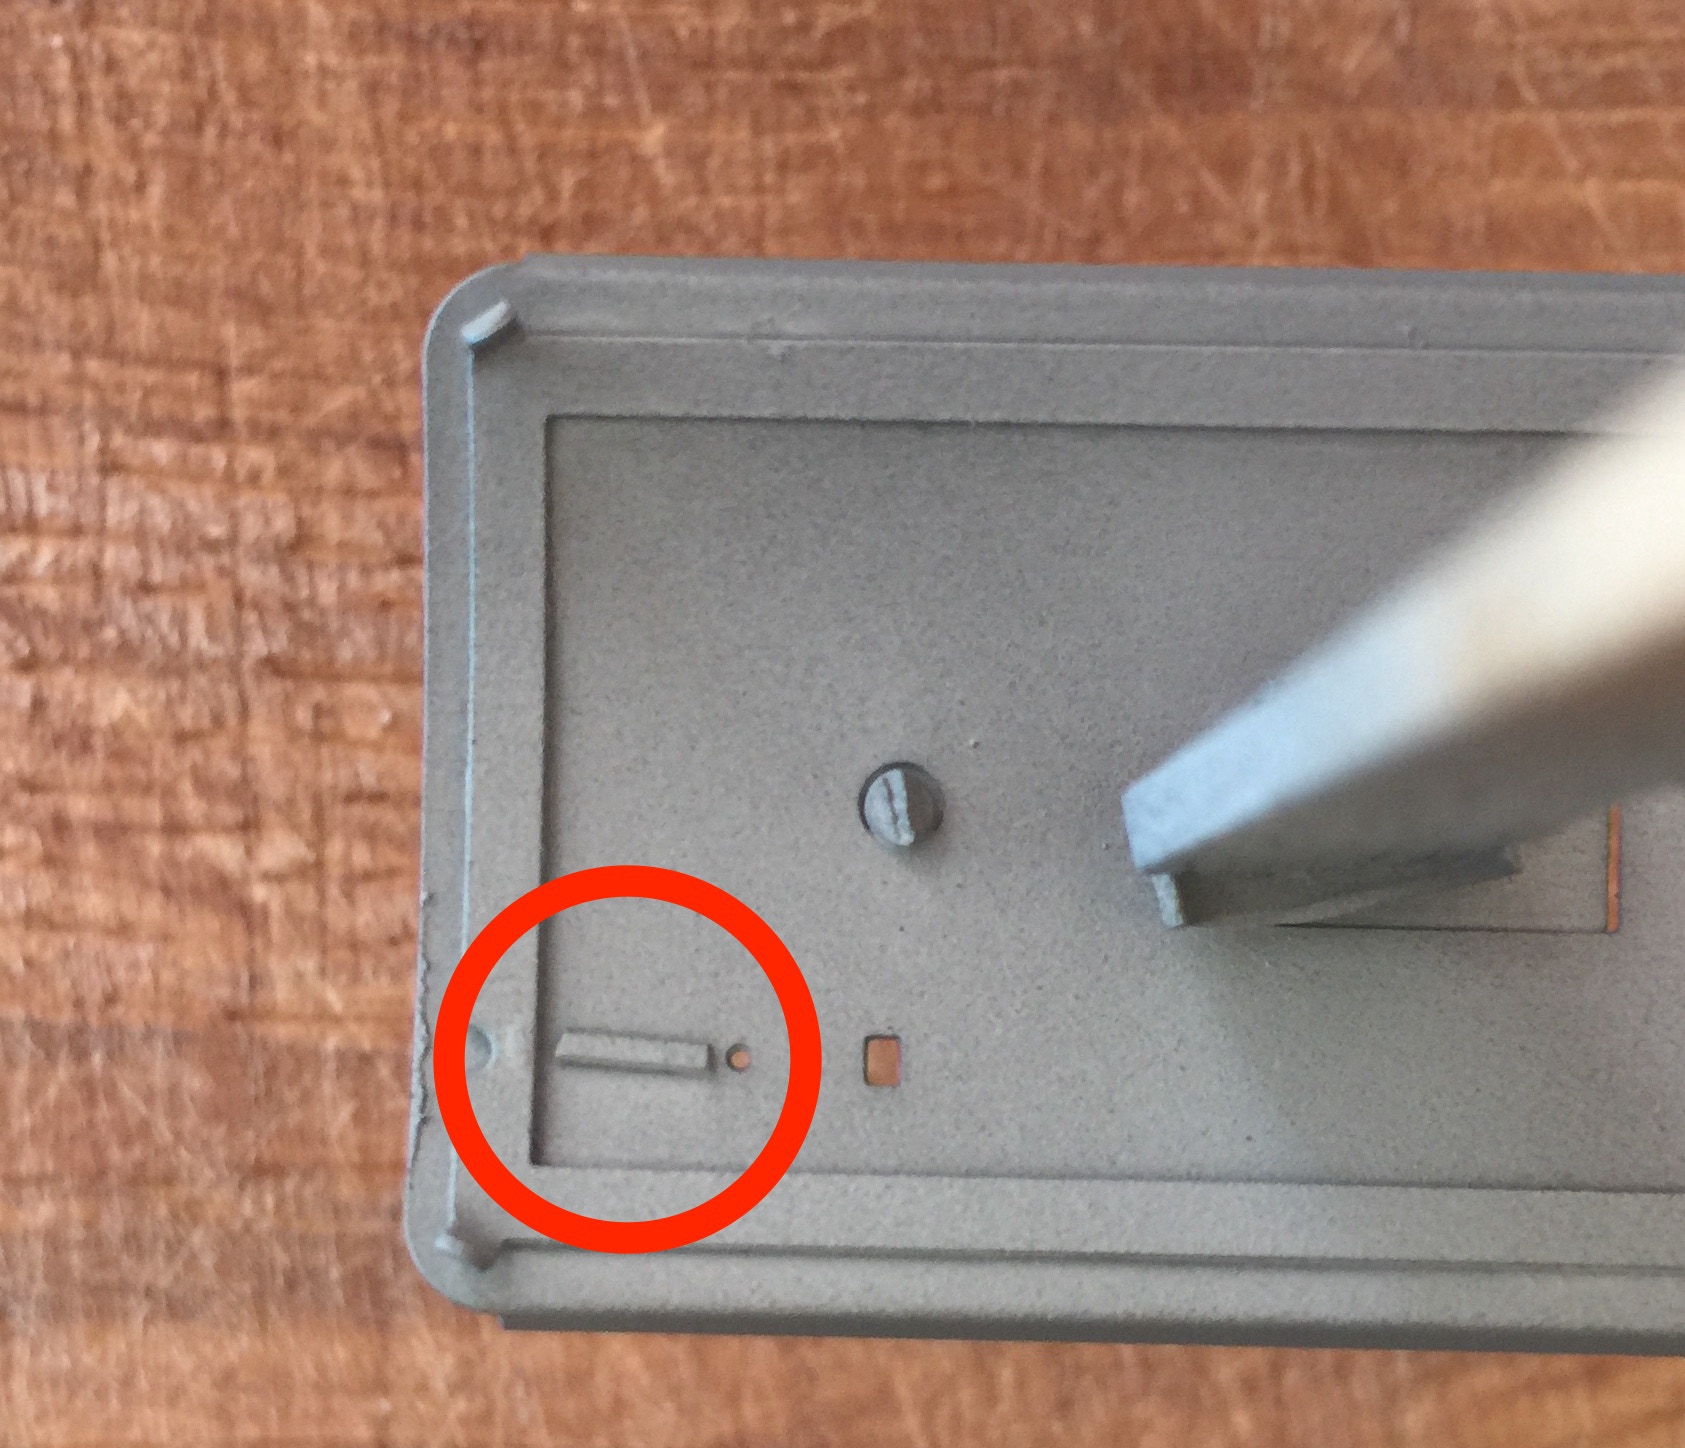
Correcte locatie van de ketel voor loc 16. Er zit echter een gaatje teveel (zie onderstaand plaatje). Deze kun je laten zitten of dichtmaken. Op het voorbeeld is een restje van het nieuwzilver erop gesoldeerd. Bij tramlocomotieven werd door de tijd zoveel aangepast, dat er altijd wel ergens nutteloze schroefjes en gaatjes zaten.
Voor loc 18, correcte lange ketel, na 1967.
1
2
3
For loc 16, but the tank is on the wrong side. This tank has never been on the roof of locomotive 18, but doesn’t spoil the view of it. Would you still prefer a roof with the tank on the right side, just contact me.
Correct location of the tank for loc 16. There is only a hole too many (see image). You can leave this or close it. On the example I’ve soldered a piece of nickel silver. Many things changed on a loco through the years, so it is not unimaginable to find an old hole for fx a bold.
Correct tank position for loco 18, with long tank, after 1967.
2
Dakonderdelen monteren
1
2
3
Het dak komt voorgebogen. Check of de ronding goed is. Buig ‘m met de hand een beetje bij als het nodig is. Check beide kanten.
Fitting roof parts
1
2
3
The roof comes pre-curved. Check if the rounding is correct. Bend a bit by hand when necessary. Check both sides.
Neem nu onderdeel 24 - Dakhouder. Buig deze met de hand in de juiste boog.
Take part 24 - Roof holder. Bend this in the shape of the roof.
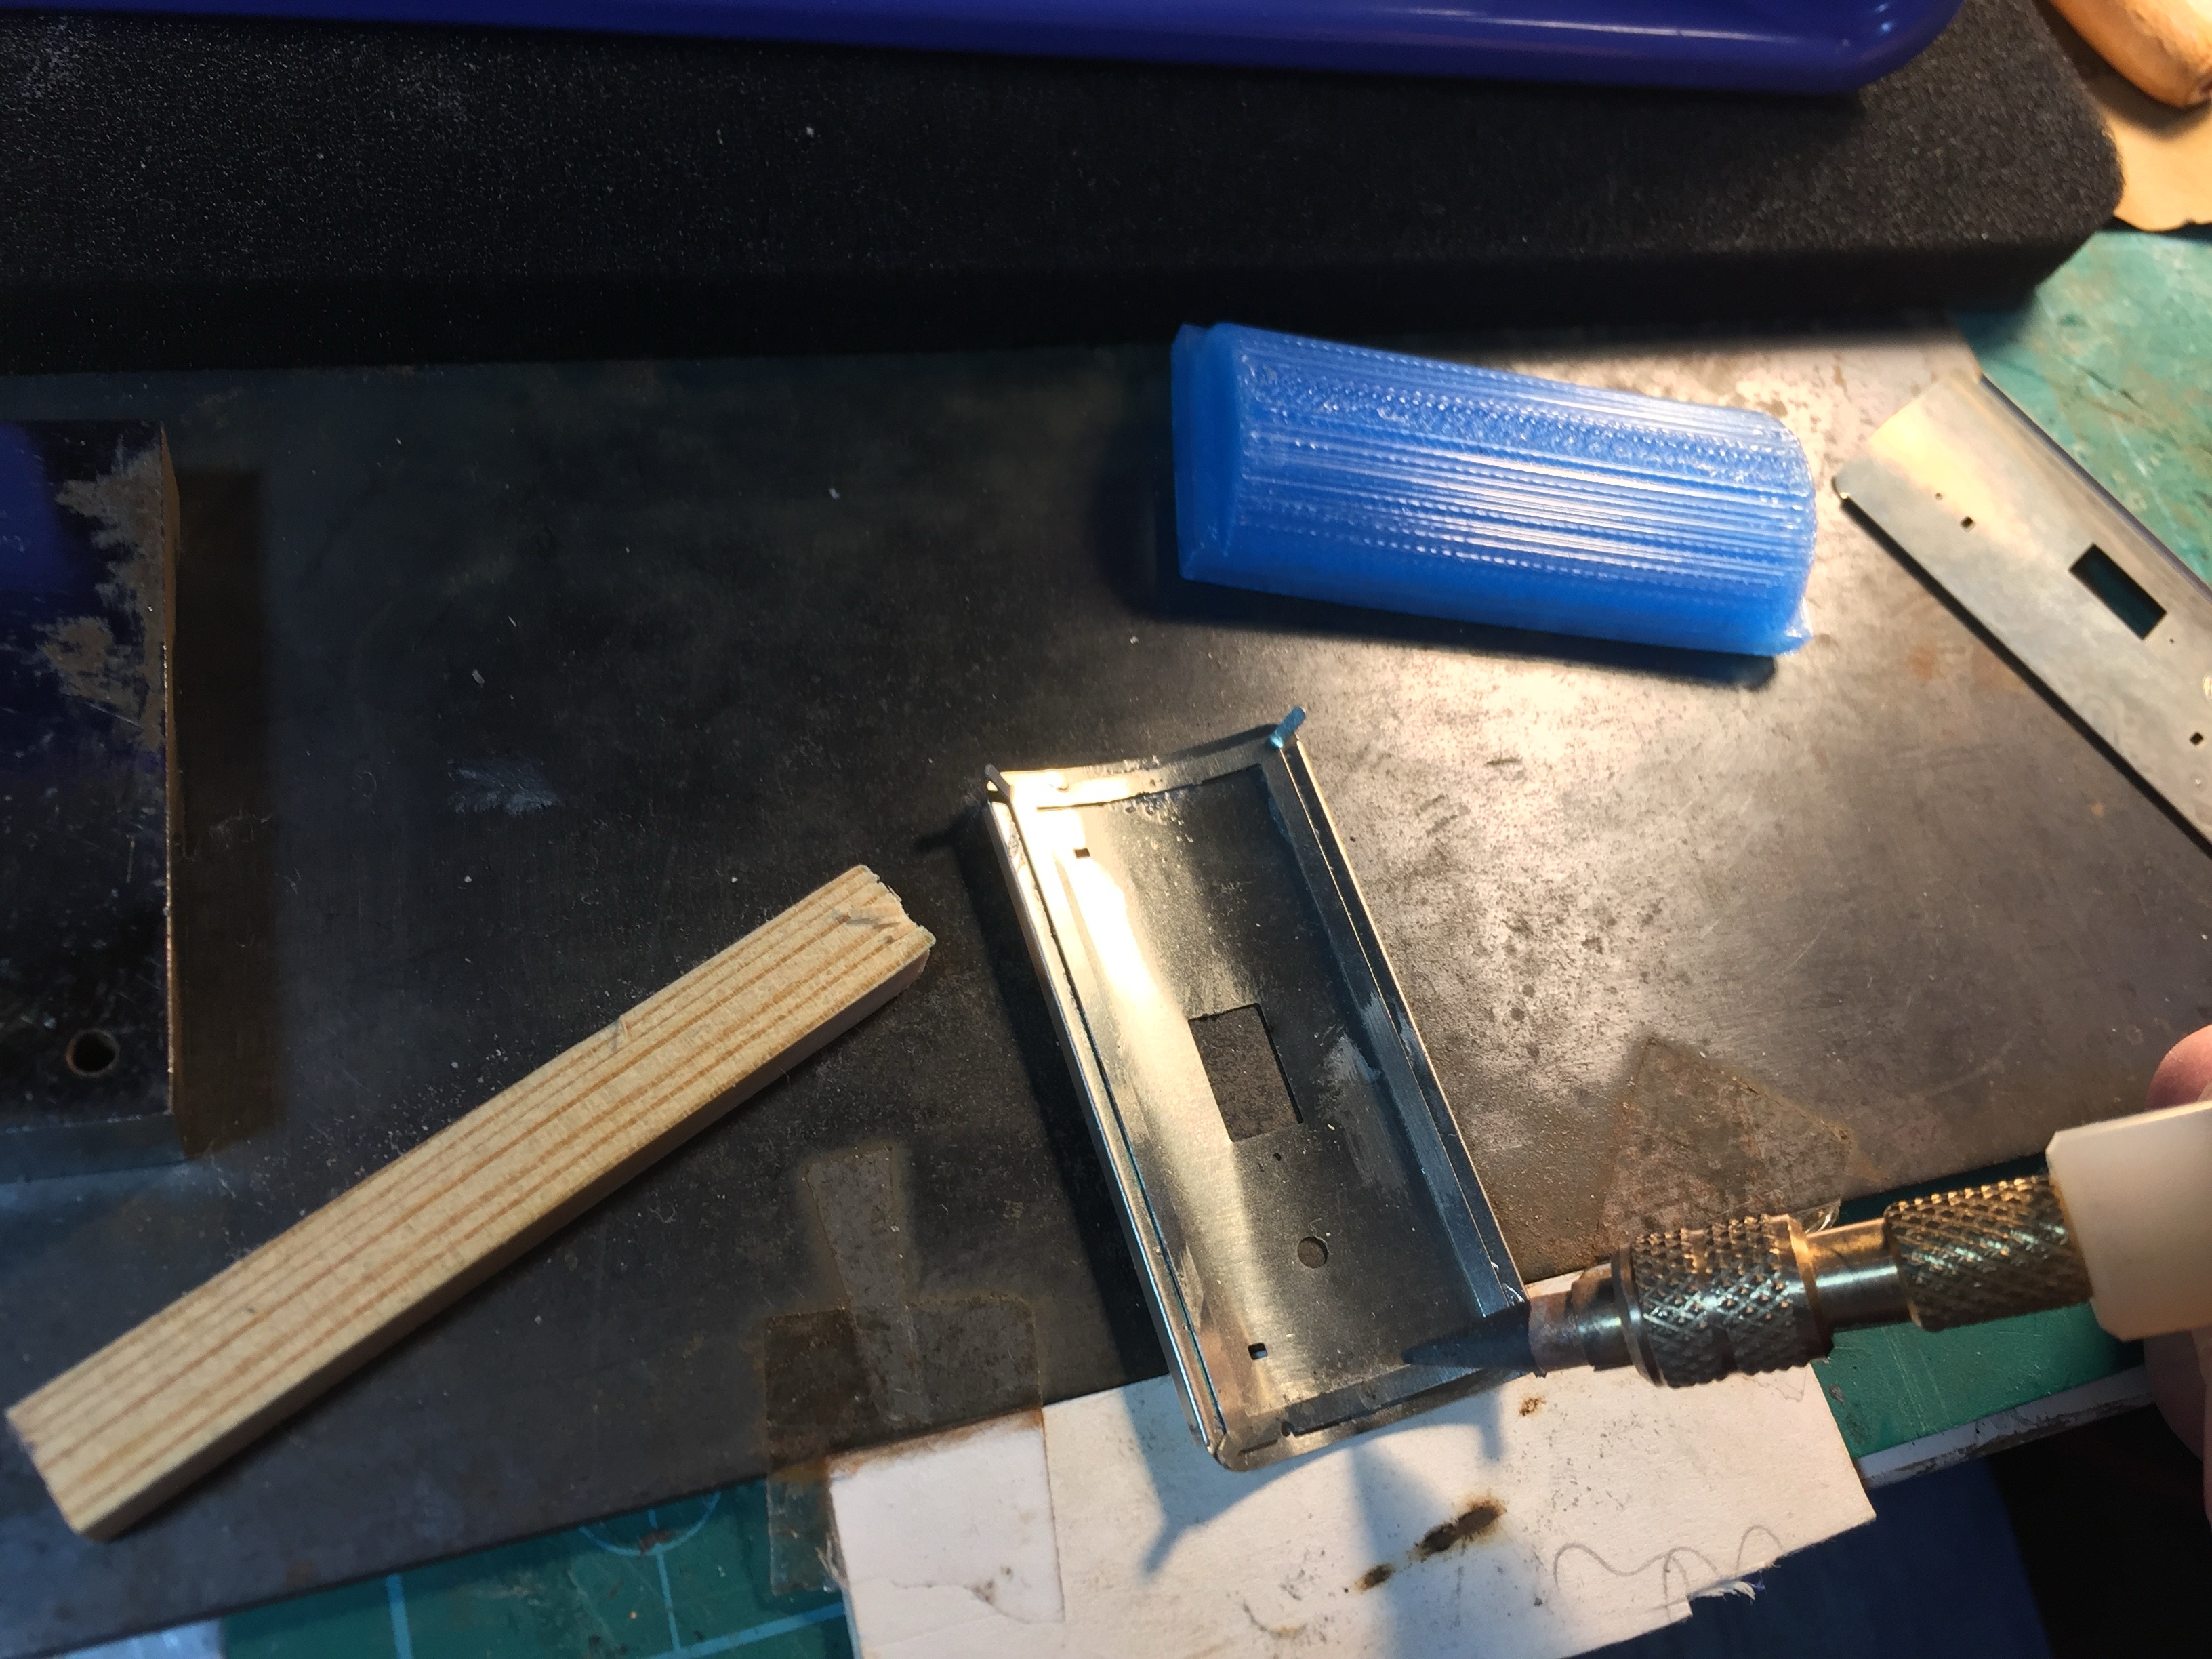
Heb je de lange buis op het dak, zorg dan dat de twee gaatjes in de dakhouder op de juiste plek zitten. Dan solderen of lijmen.
Have you got the long tank on the roof, make sure the holes in the roof holder and roof are aligned.
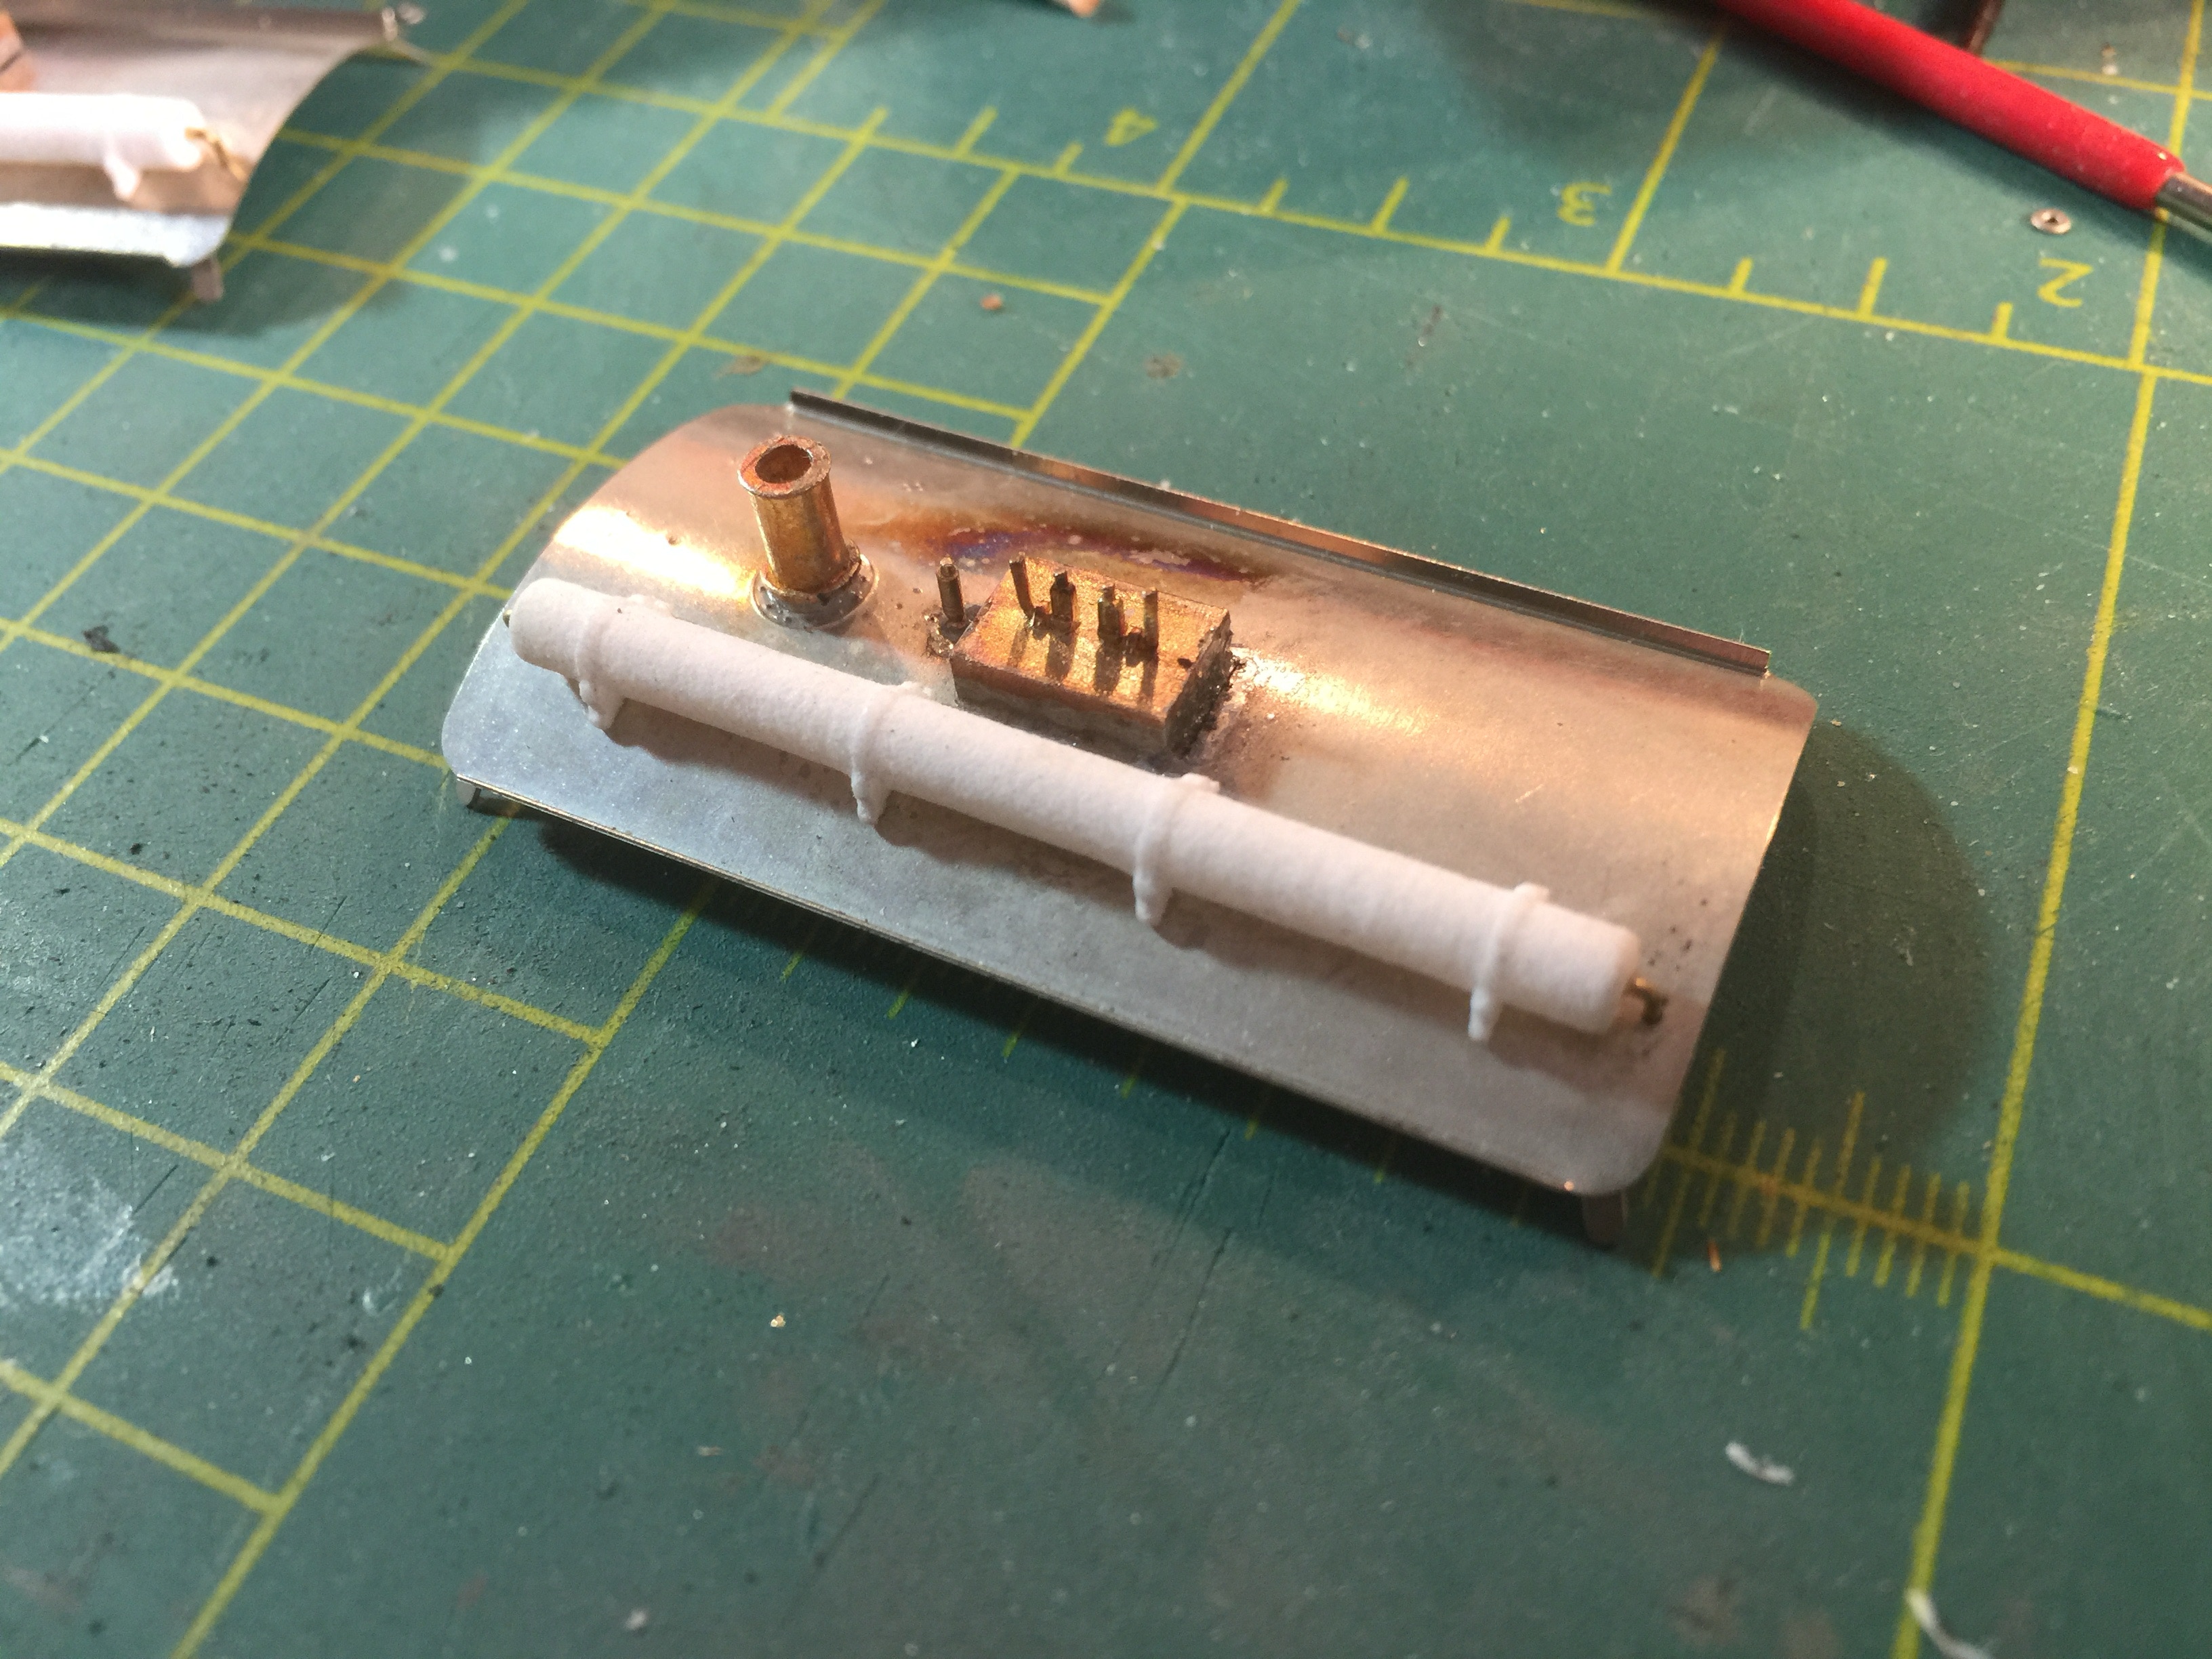
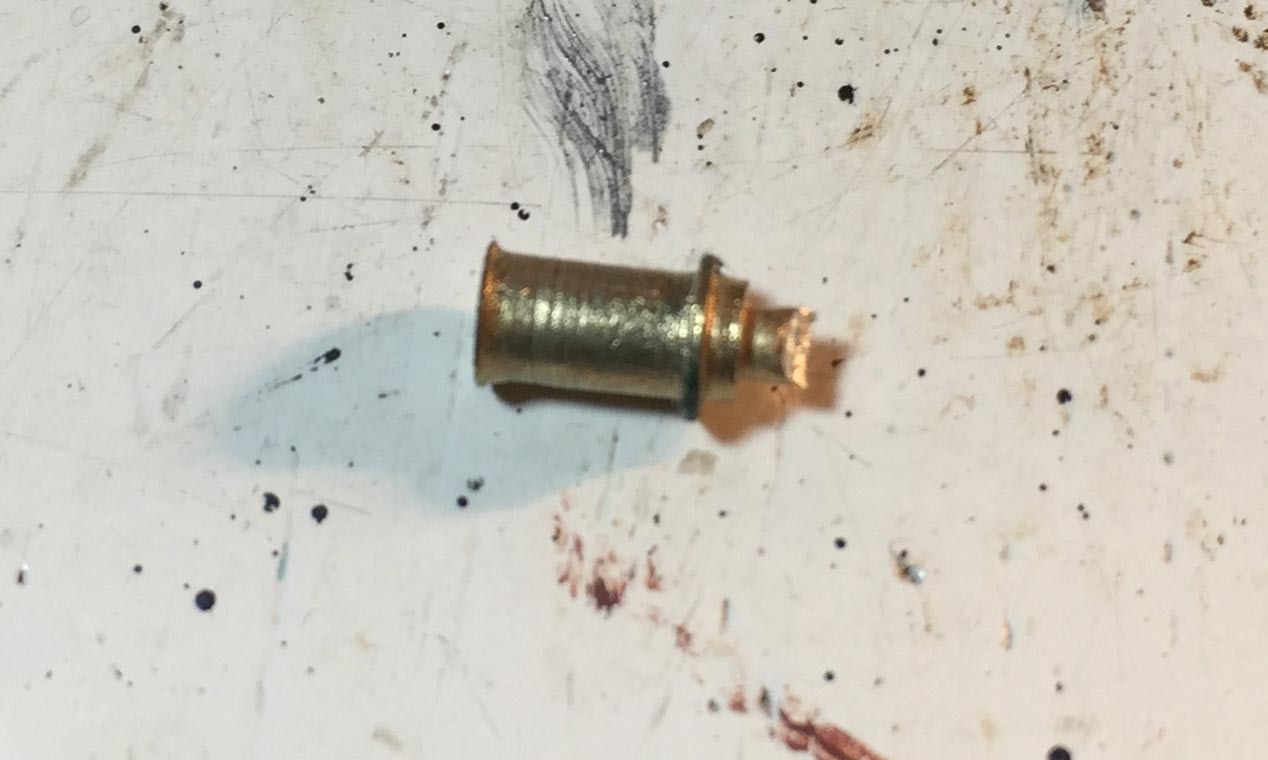
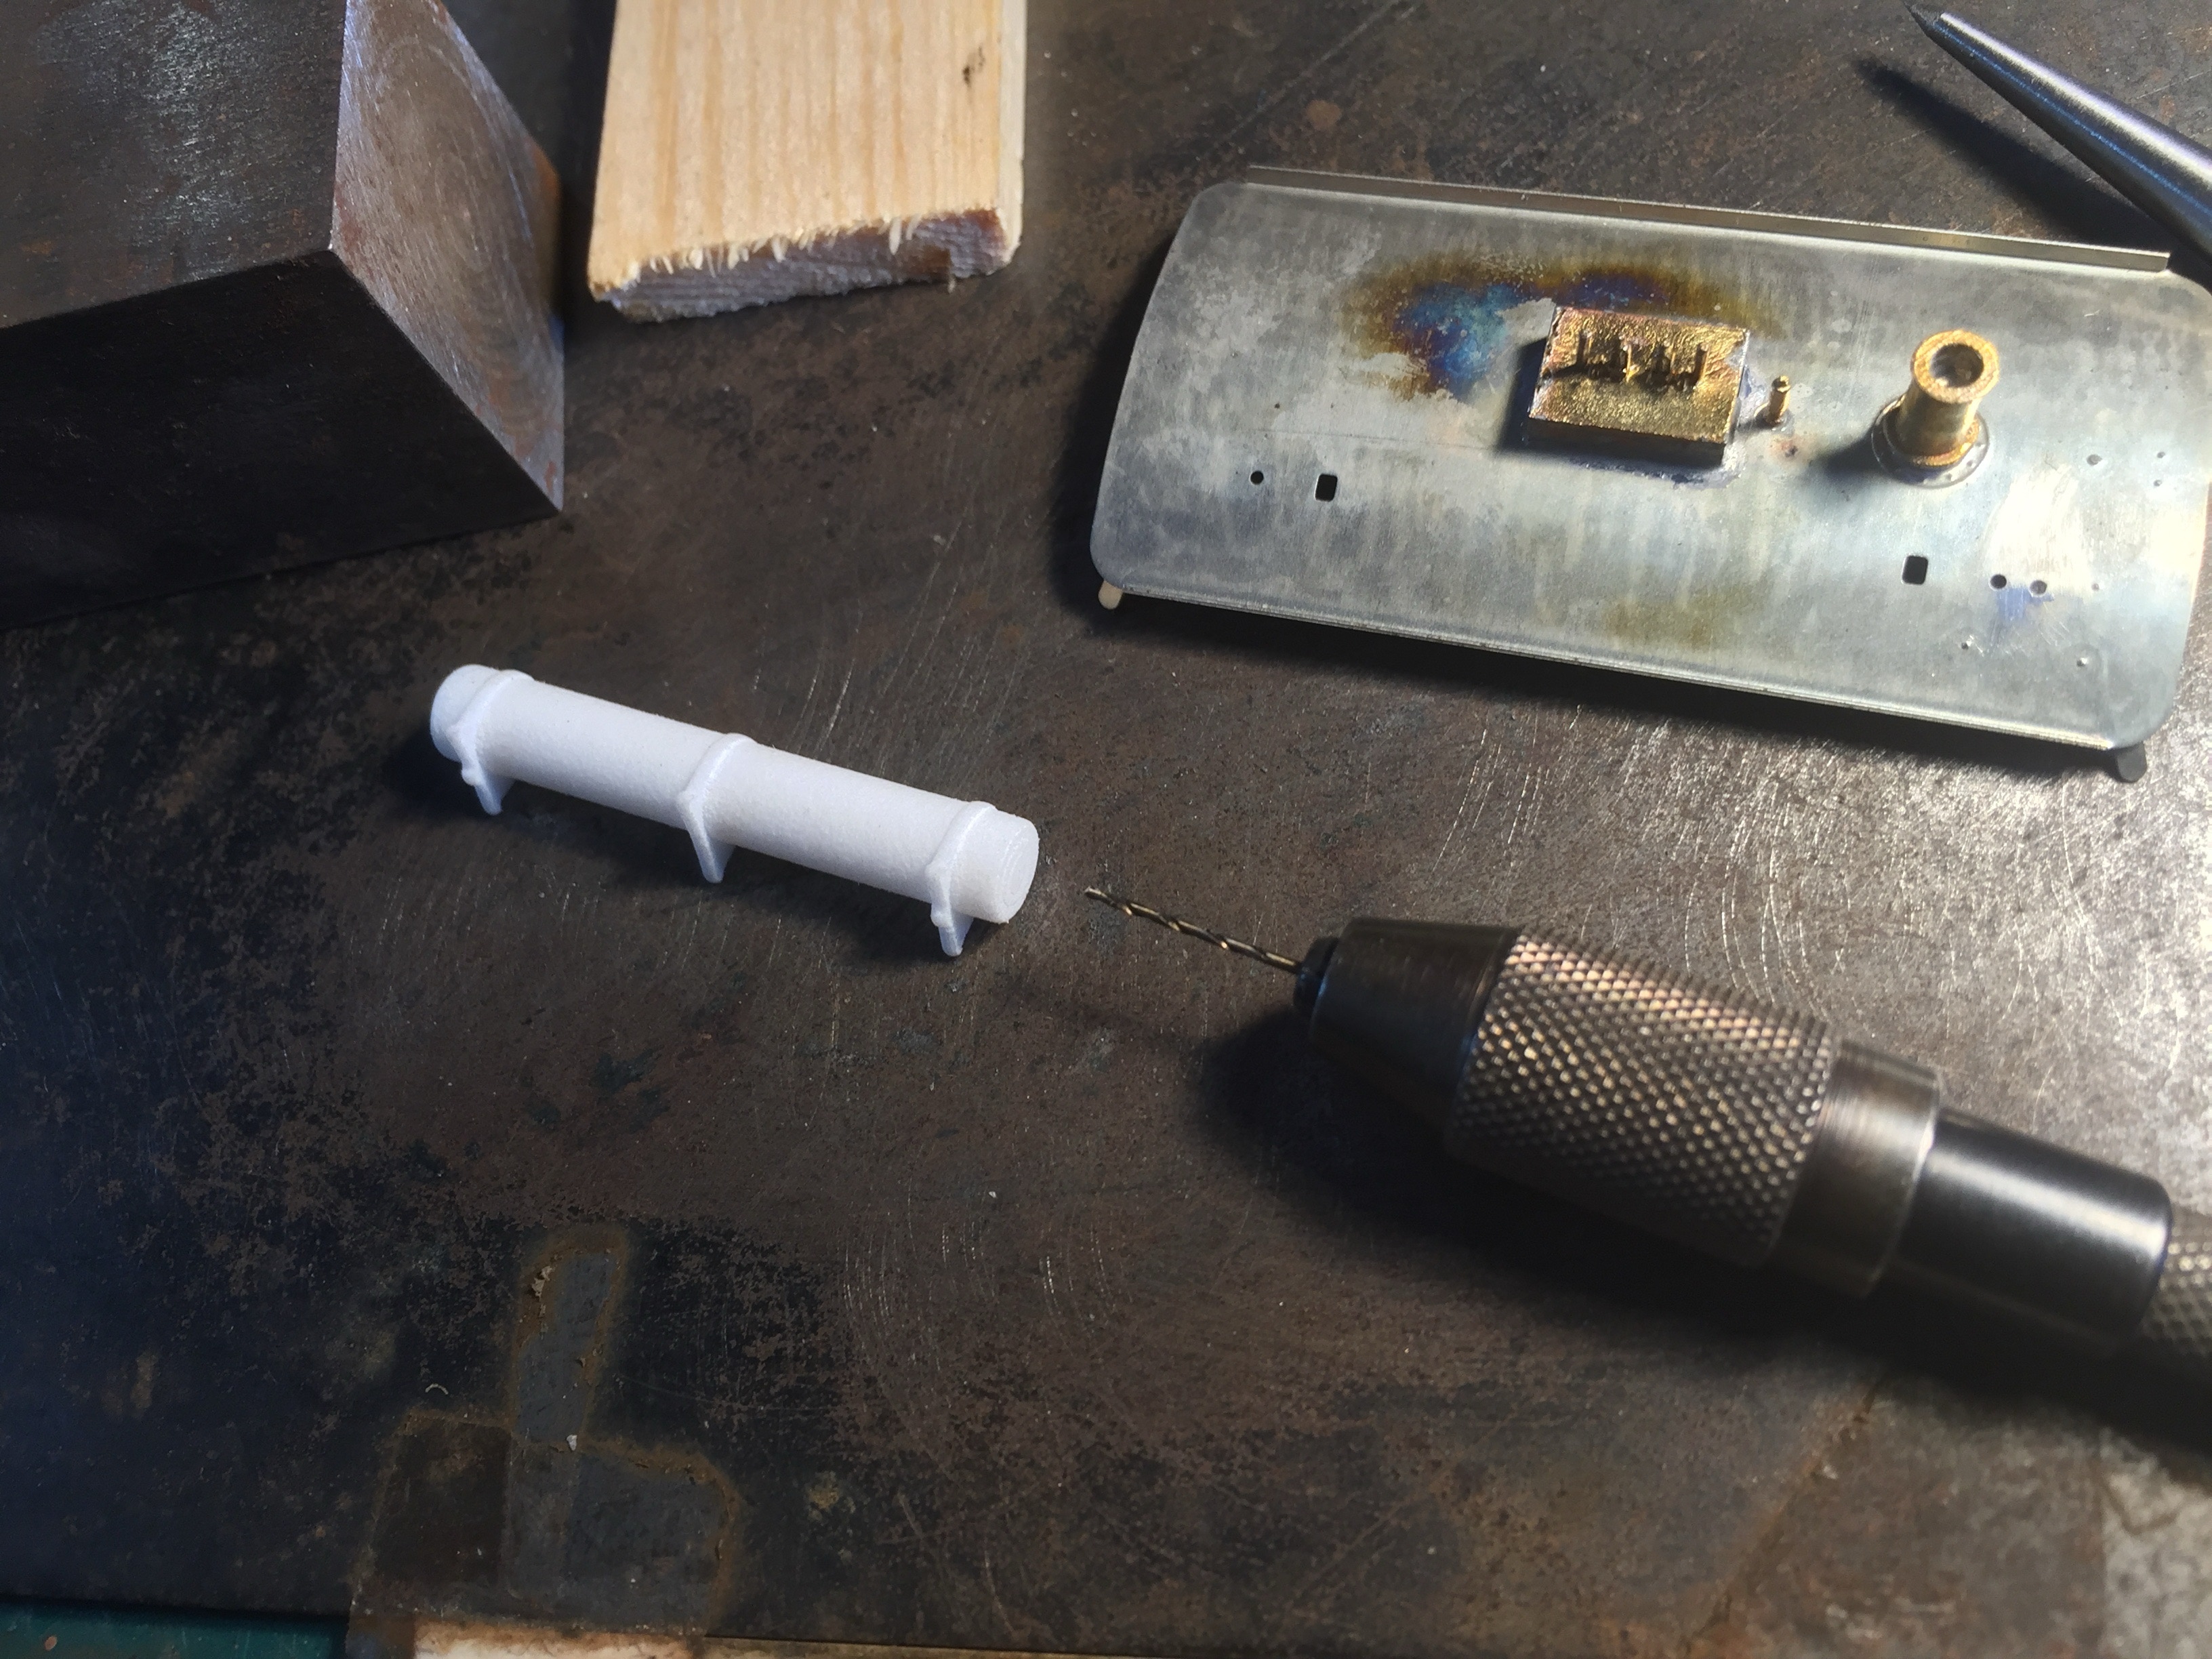
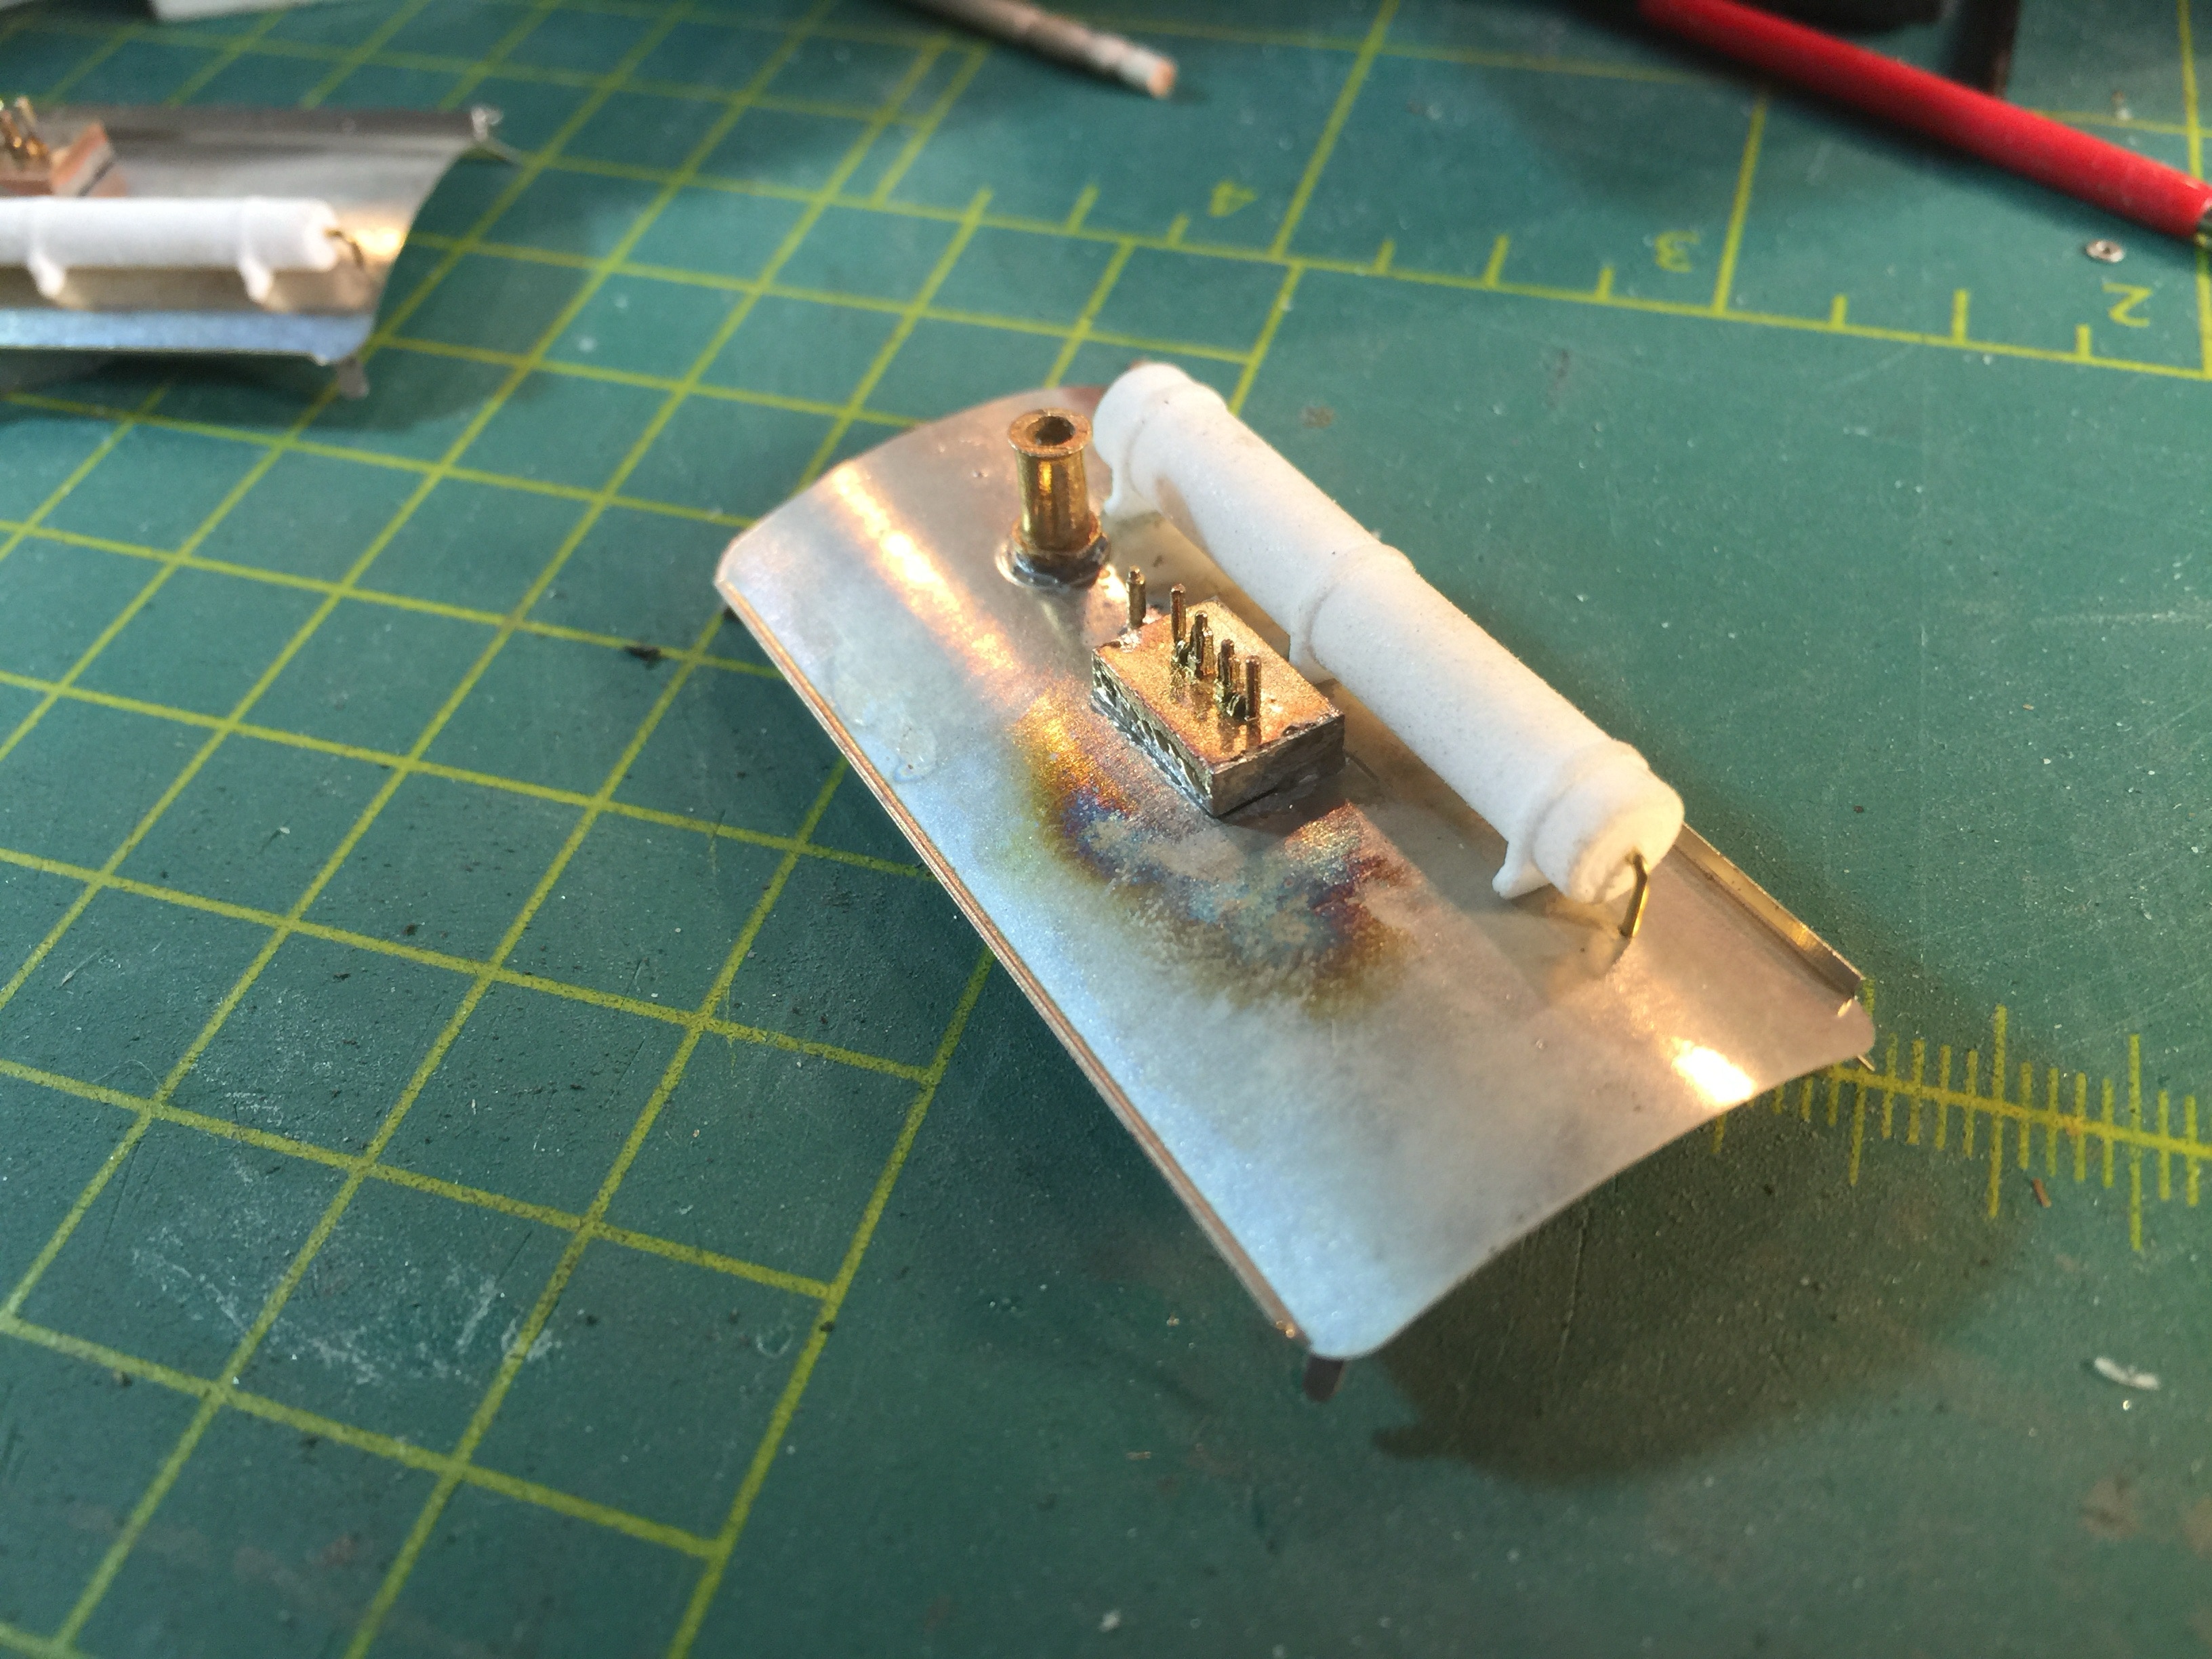
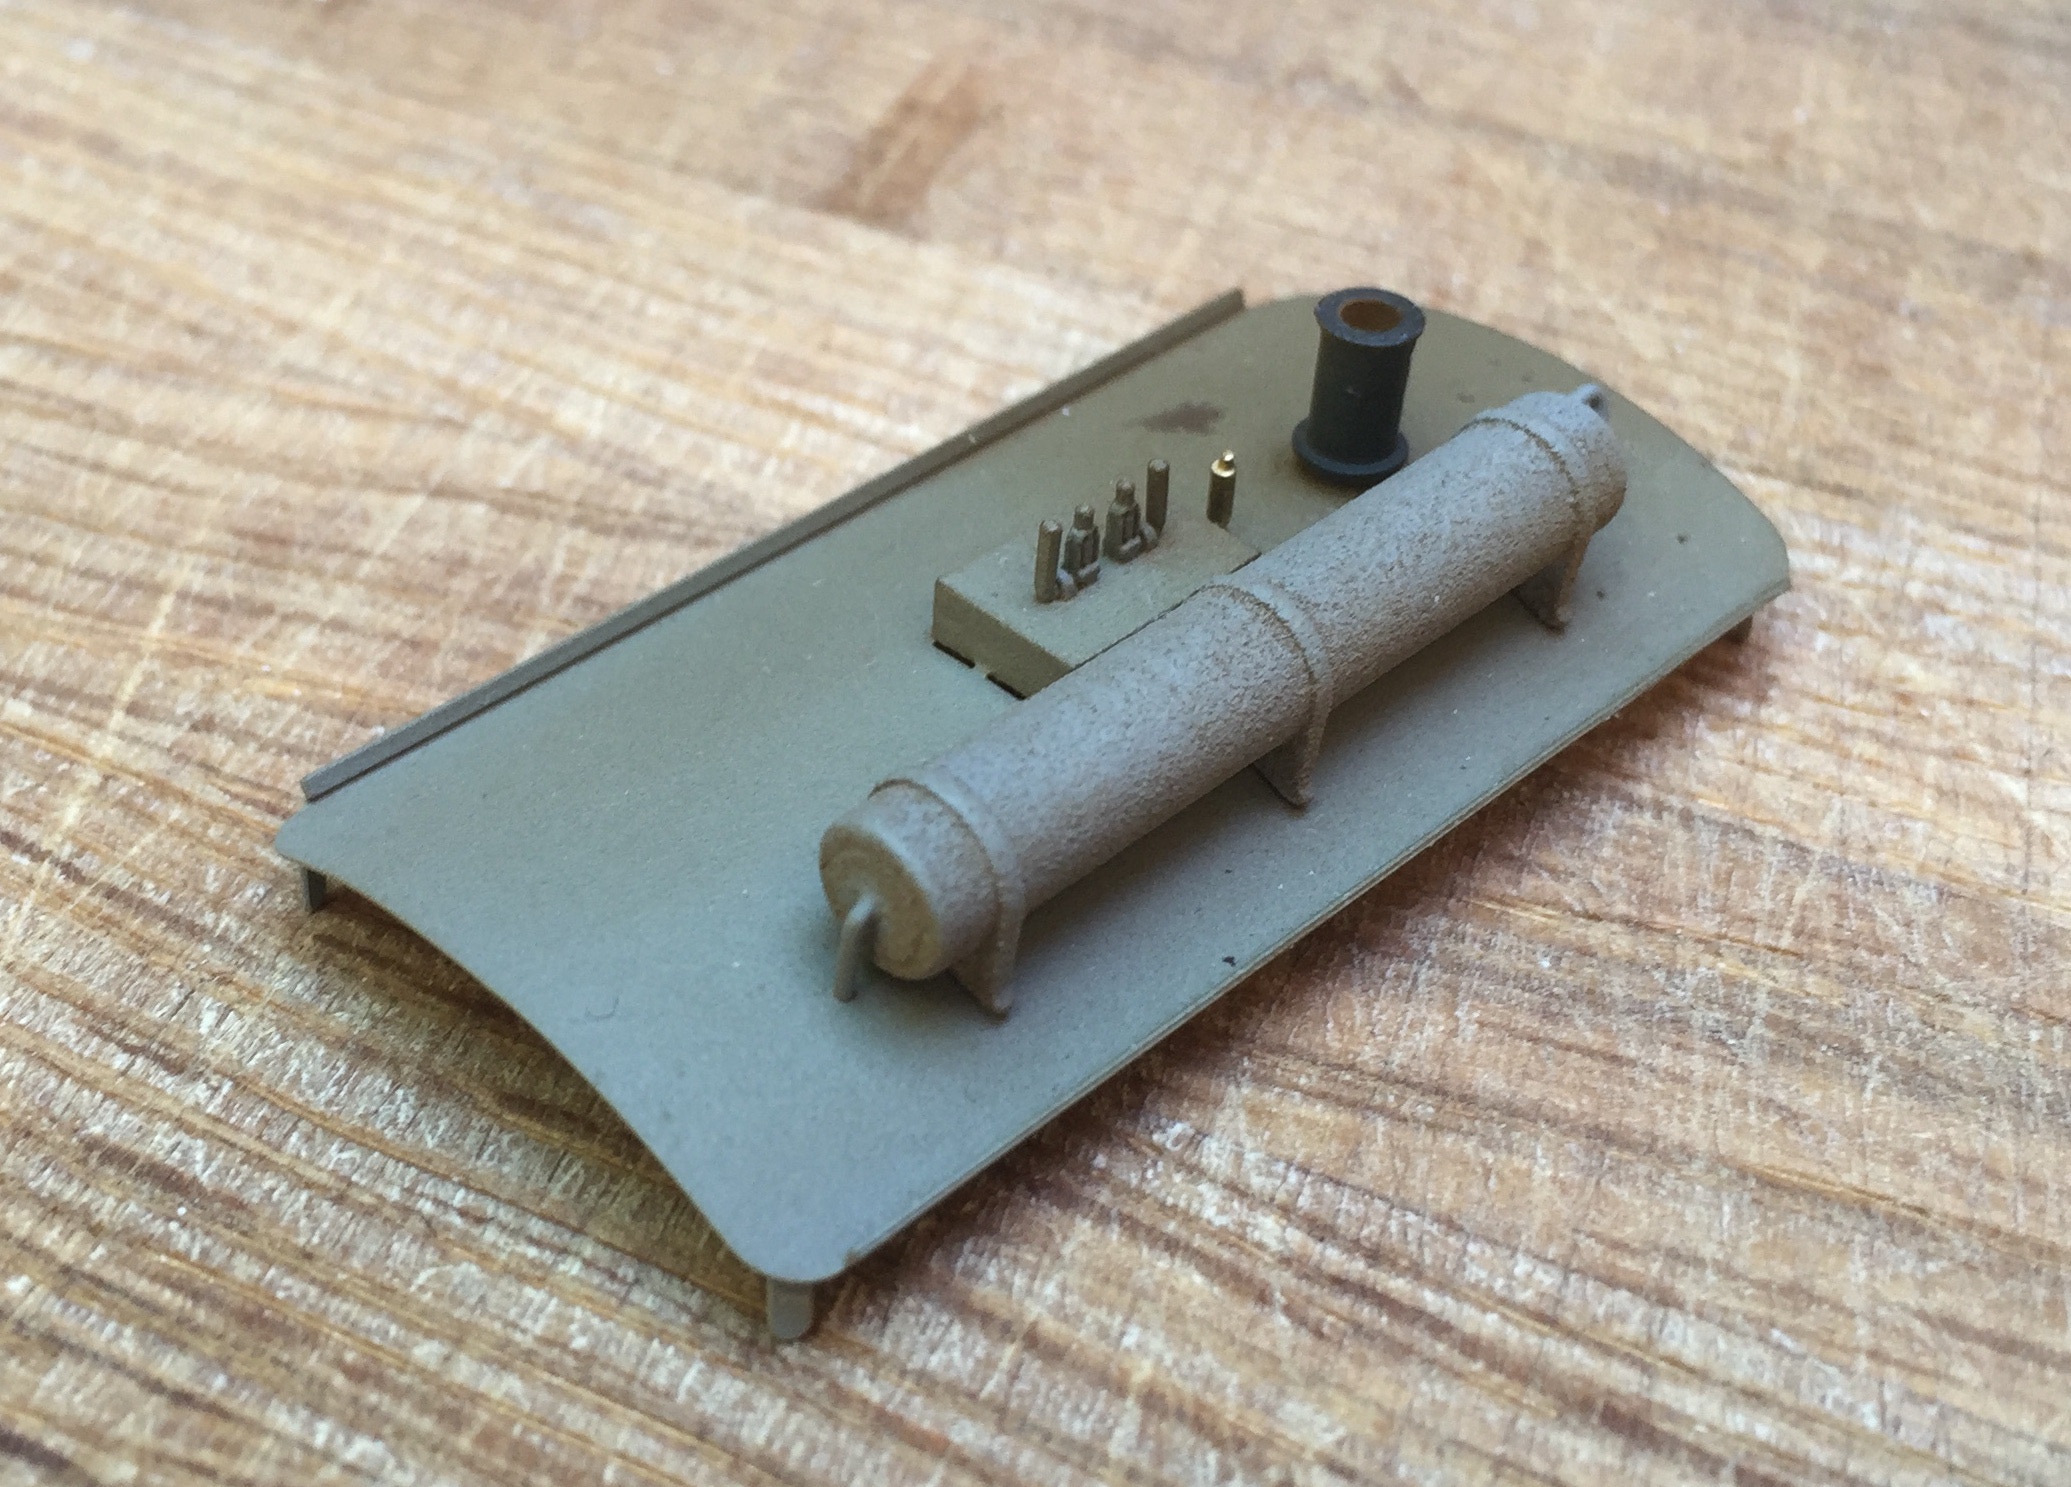
Ond. 18. Pin van de schoorsteen afknippen. Zie plaatje onder.
Part 18 - Cut the pin of the chimney to size. See image.

Schoorsteen vastzetten. Hier is een brander gebruikt.
Fit chimney. A torch has been used here.
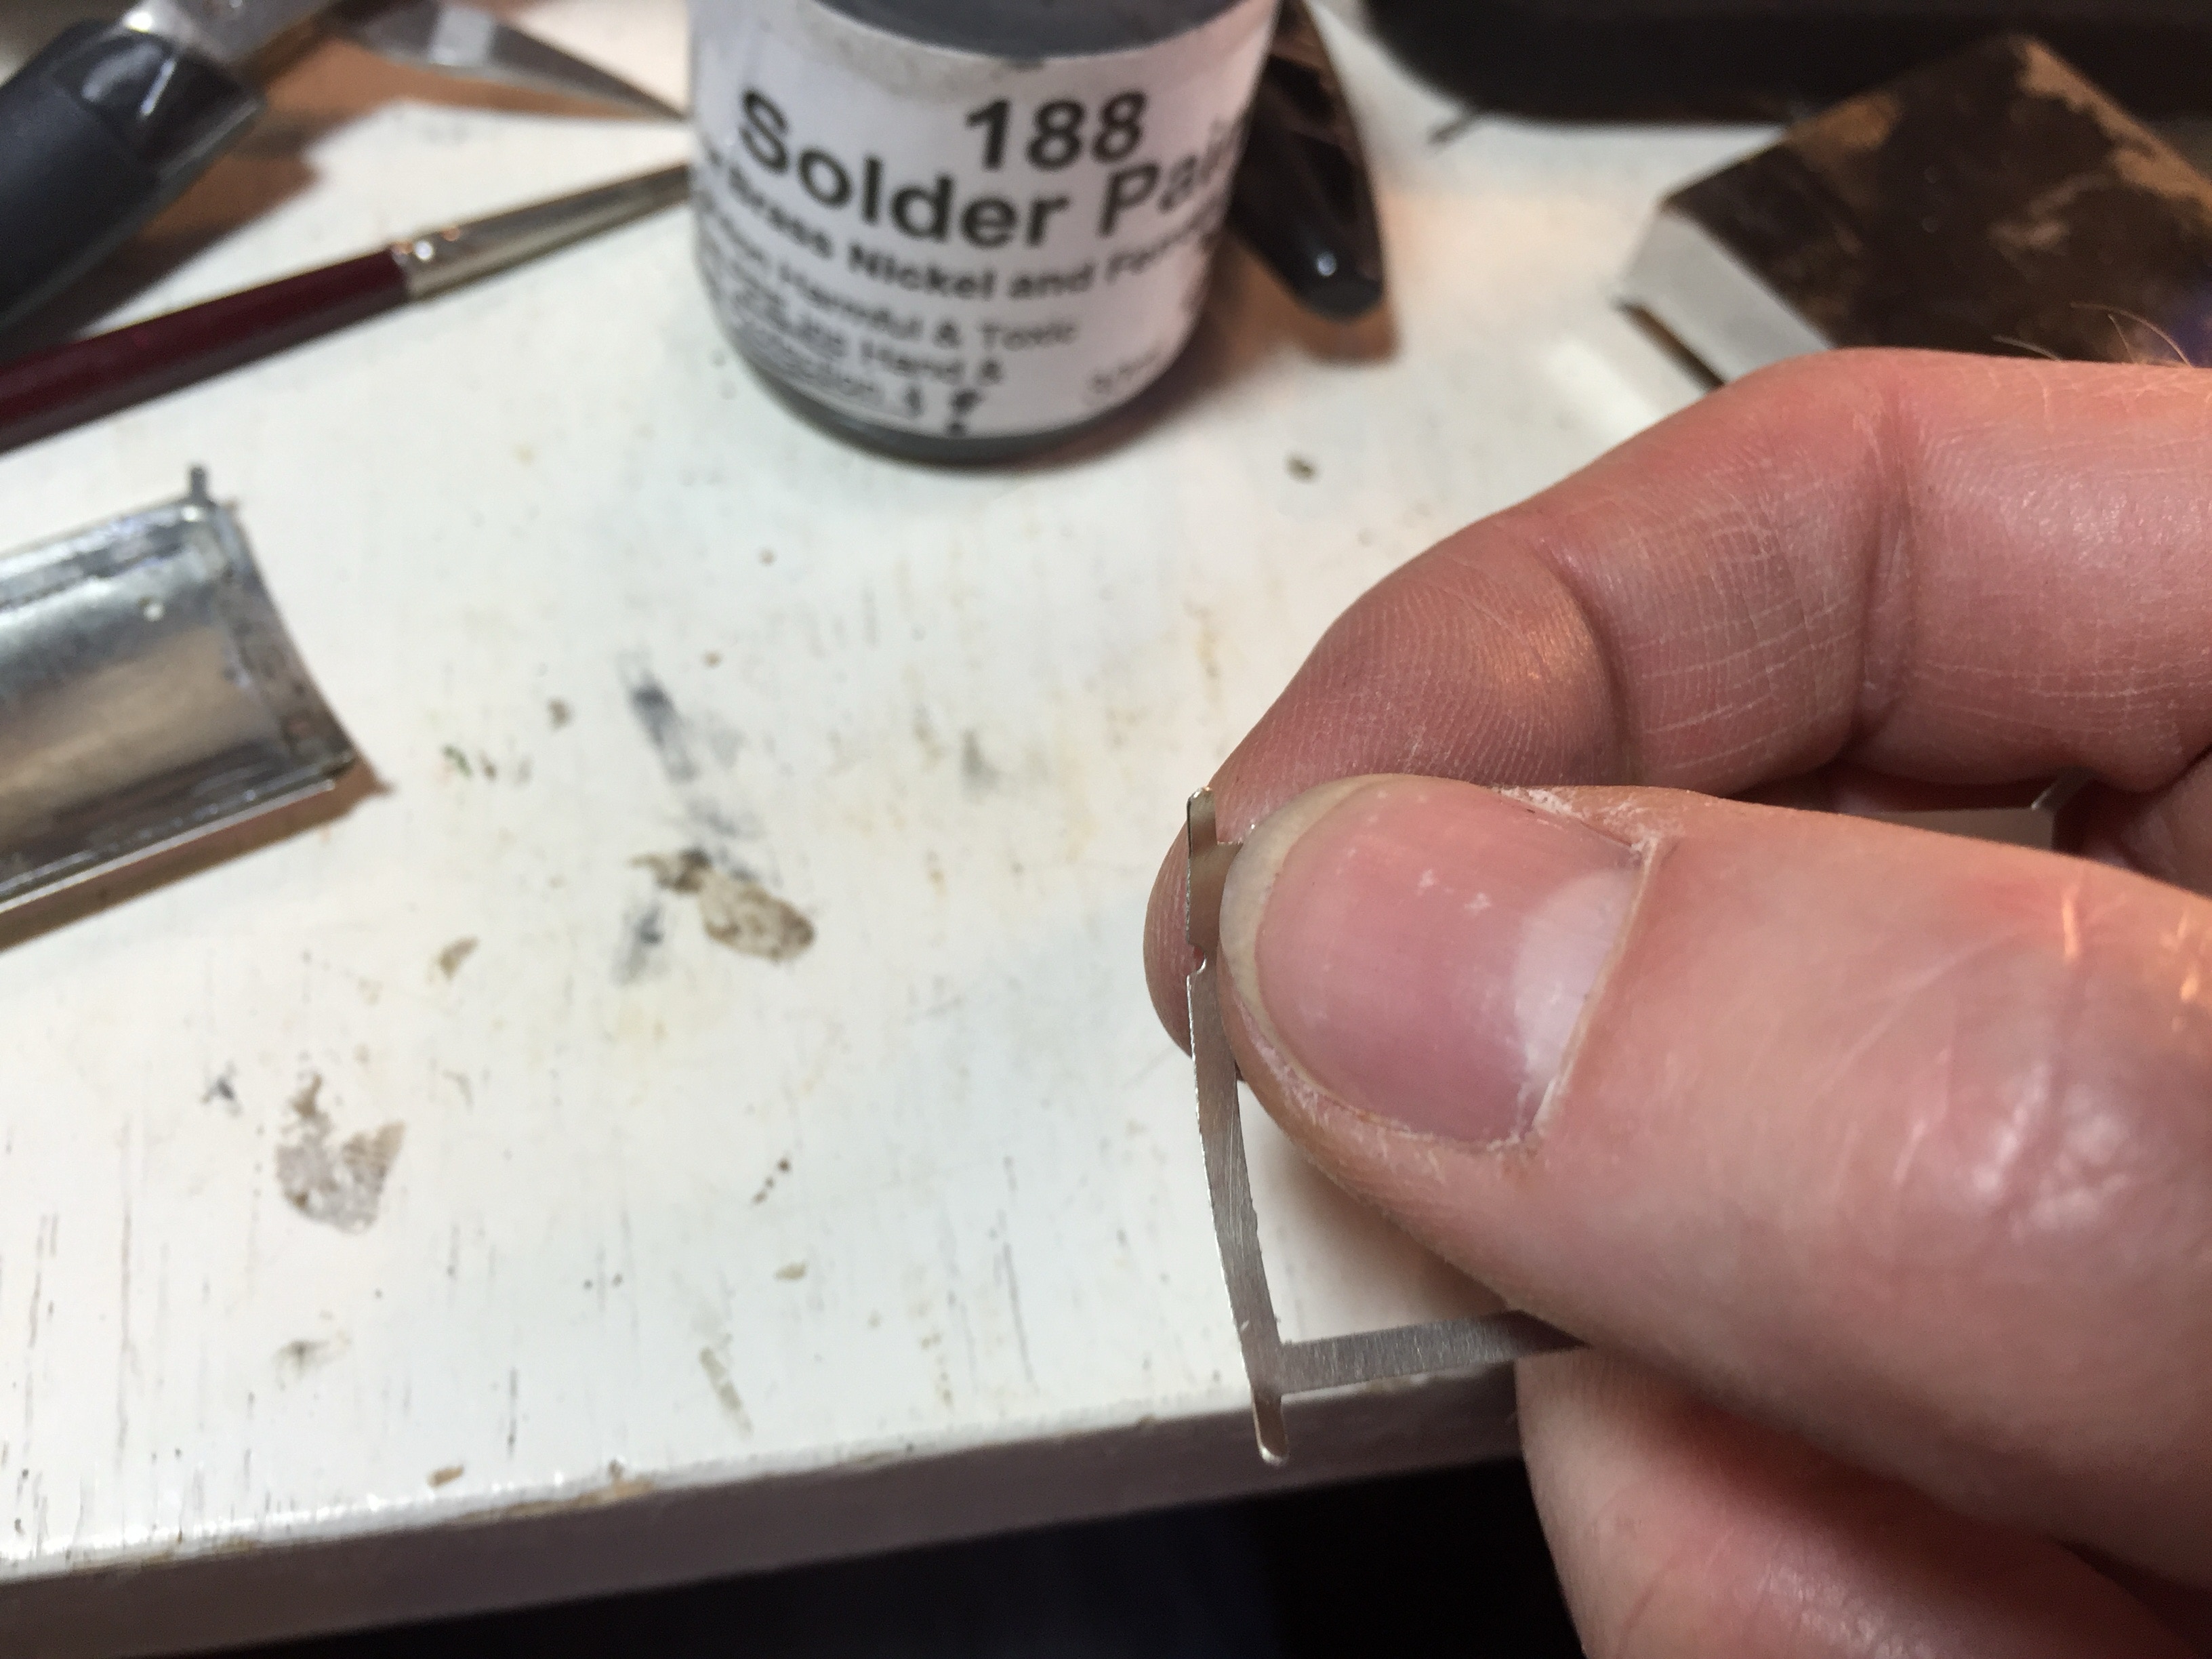
Ond. 19. Veiligheids-kleppen vastzetten. Deze moet zonder te vijlen op de zijkanten steunen.
Part 19. Fit the safety valves. These have to be balanced, without filing, on the long edges of the hole.
3
Als je de fluit blank messing wilt laten, kun je deze voorlopig nog aan de kant leggen. In het echt wordt deze net zo vies als het dak, dus in dat geval soldeer je de fluit nu ook vast.
If you want to keep the whistle blank brass, you can fit this at the end. In daily life these would become just as the roof, so I prefer to fit them at this time.
Ketelleidingen
1
2
Met een boortje van 0,65 of 0,7 mm maak je een gaatje in het midden aan beiden korte zijden. Makkelijk is om het gaatje eerst even voor te prikken met een priem. Daarna passen op het dak, zie of het goed in de gaatjes valt.
3
Tank pipes
1
2
With 0,65 of 0,7 mm drill, make a hole in the middle on both of the ends. Easiest is to pre-press the hole with something pointy and sharp. Fit the tank on the roof to see if it falls in the assigned holes on the roof.
3
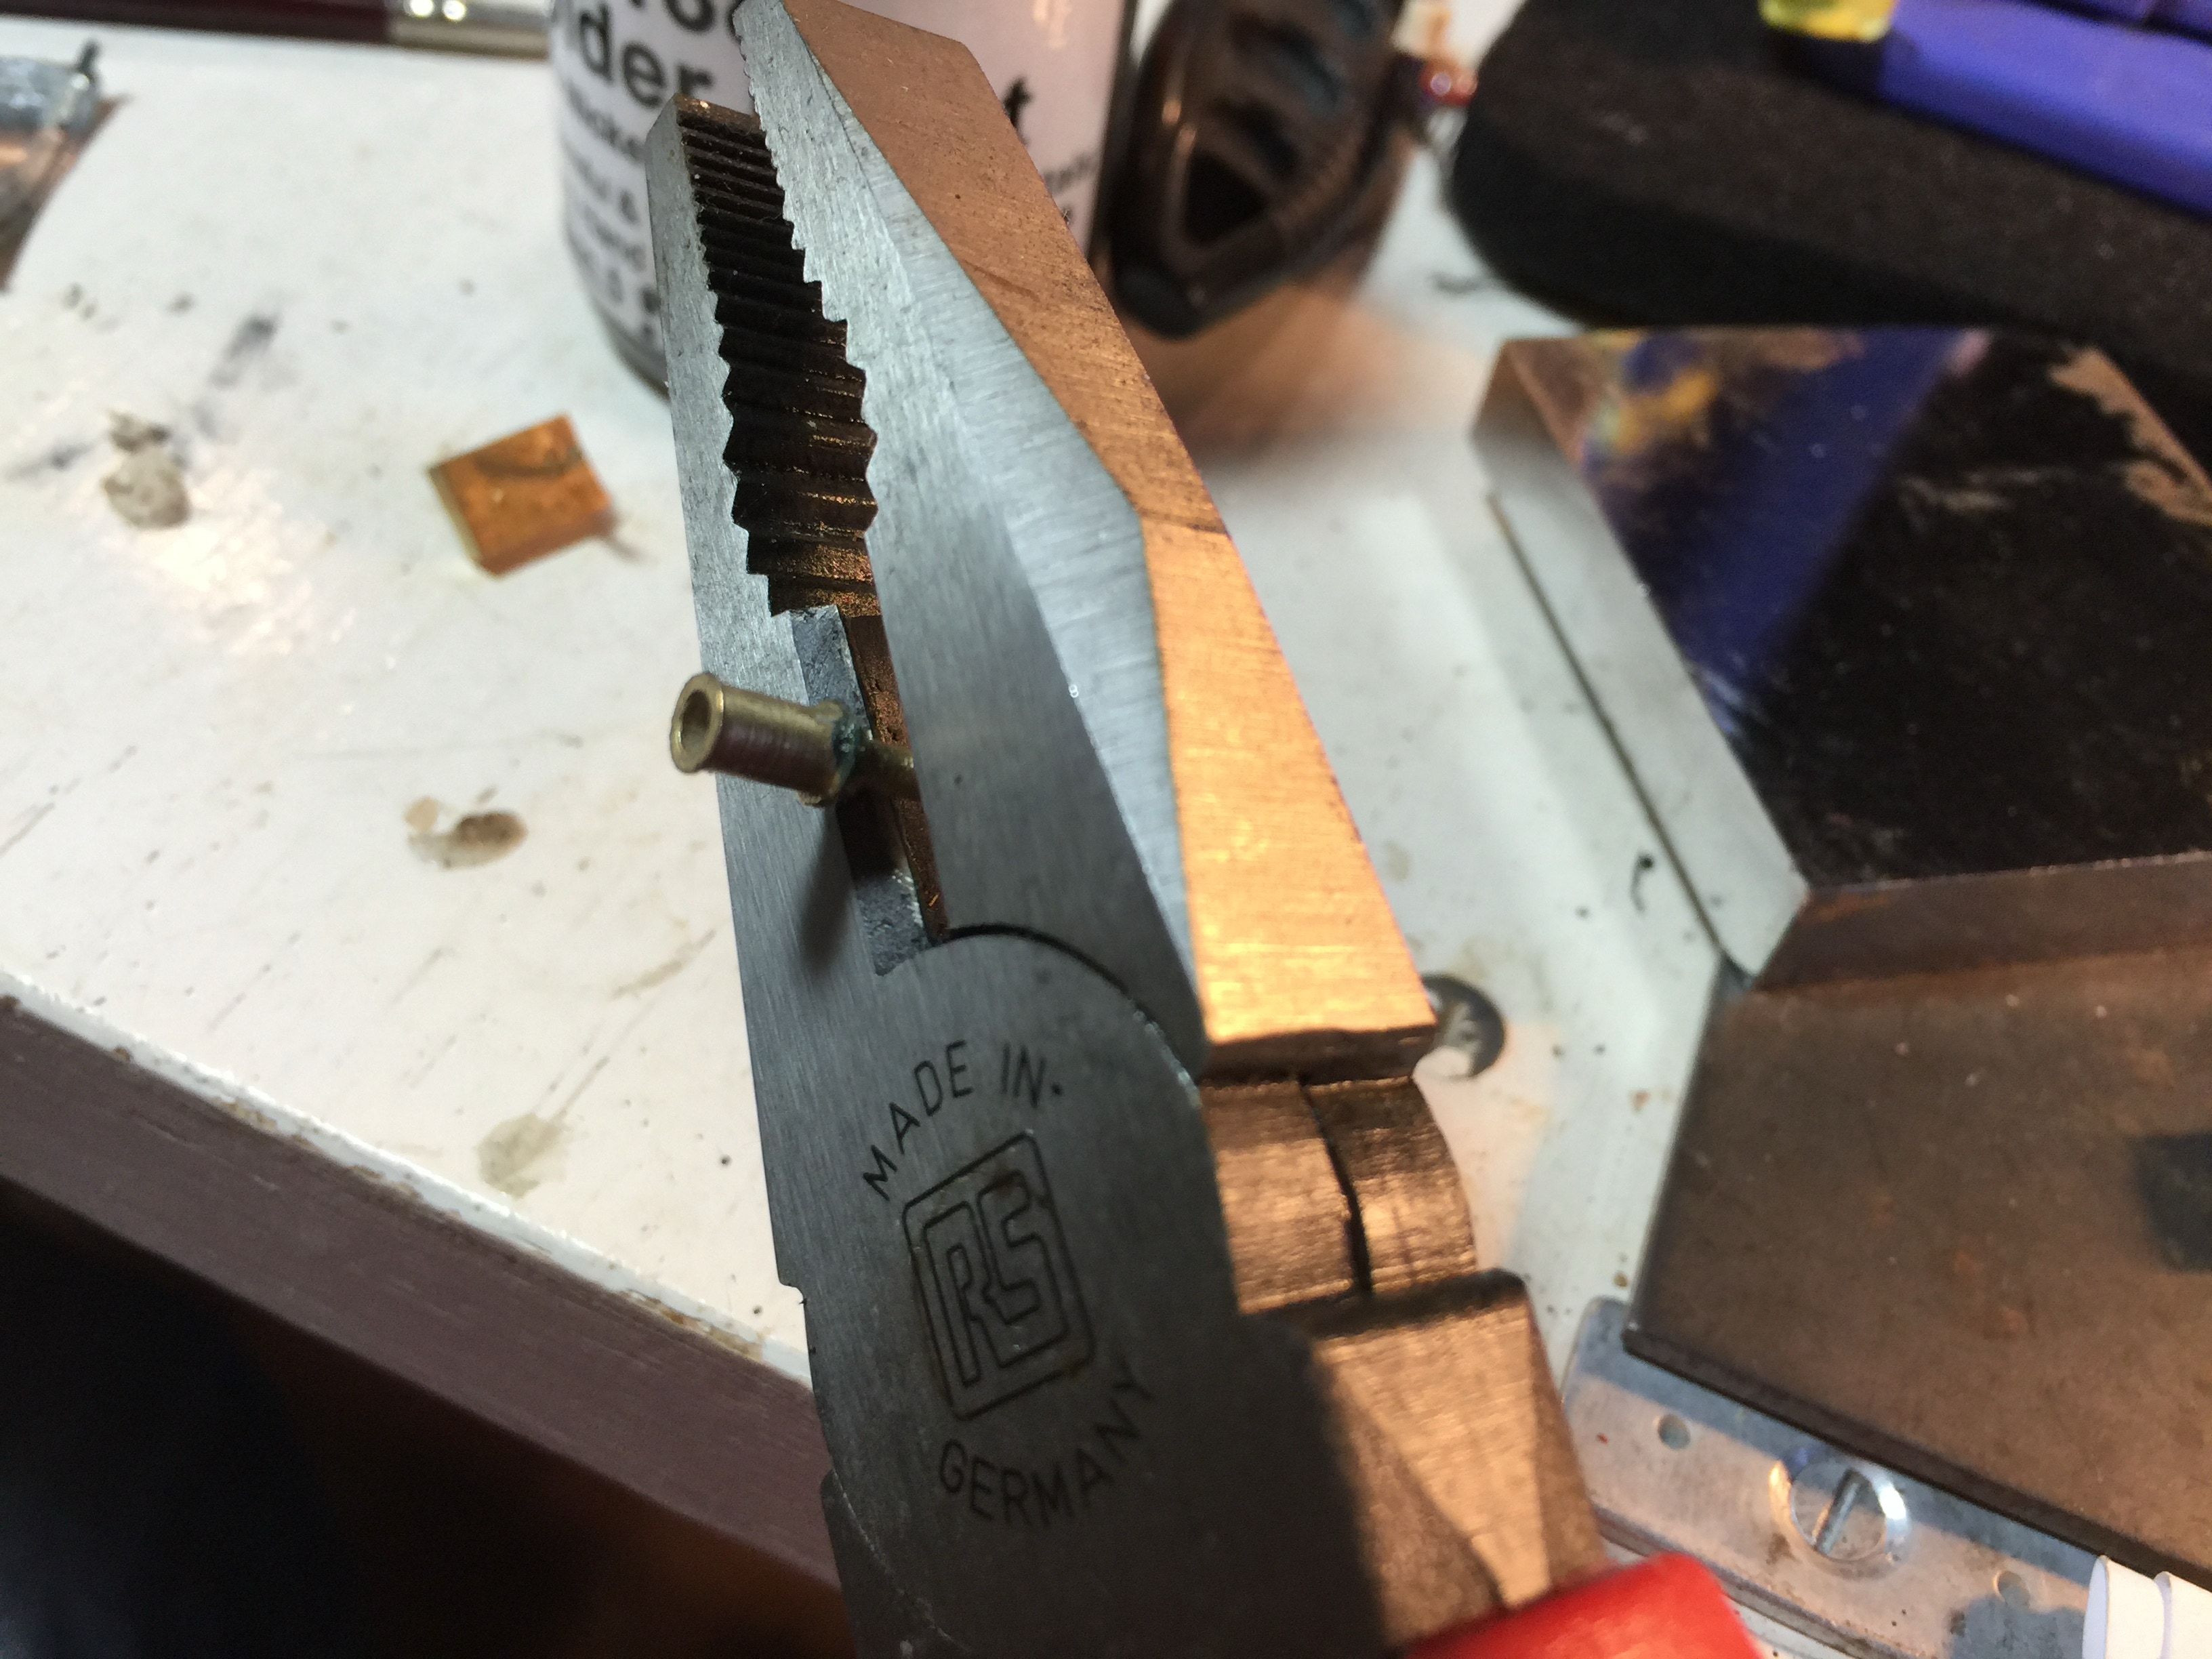
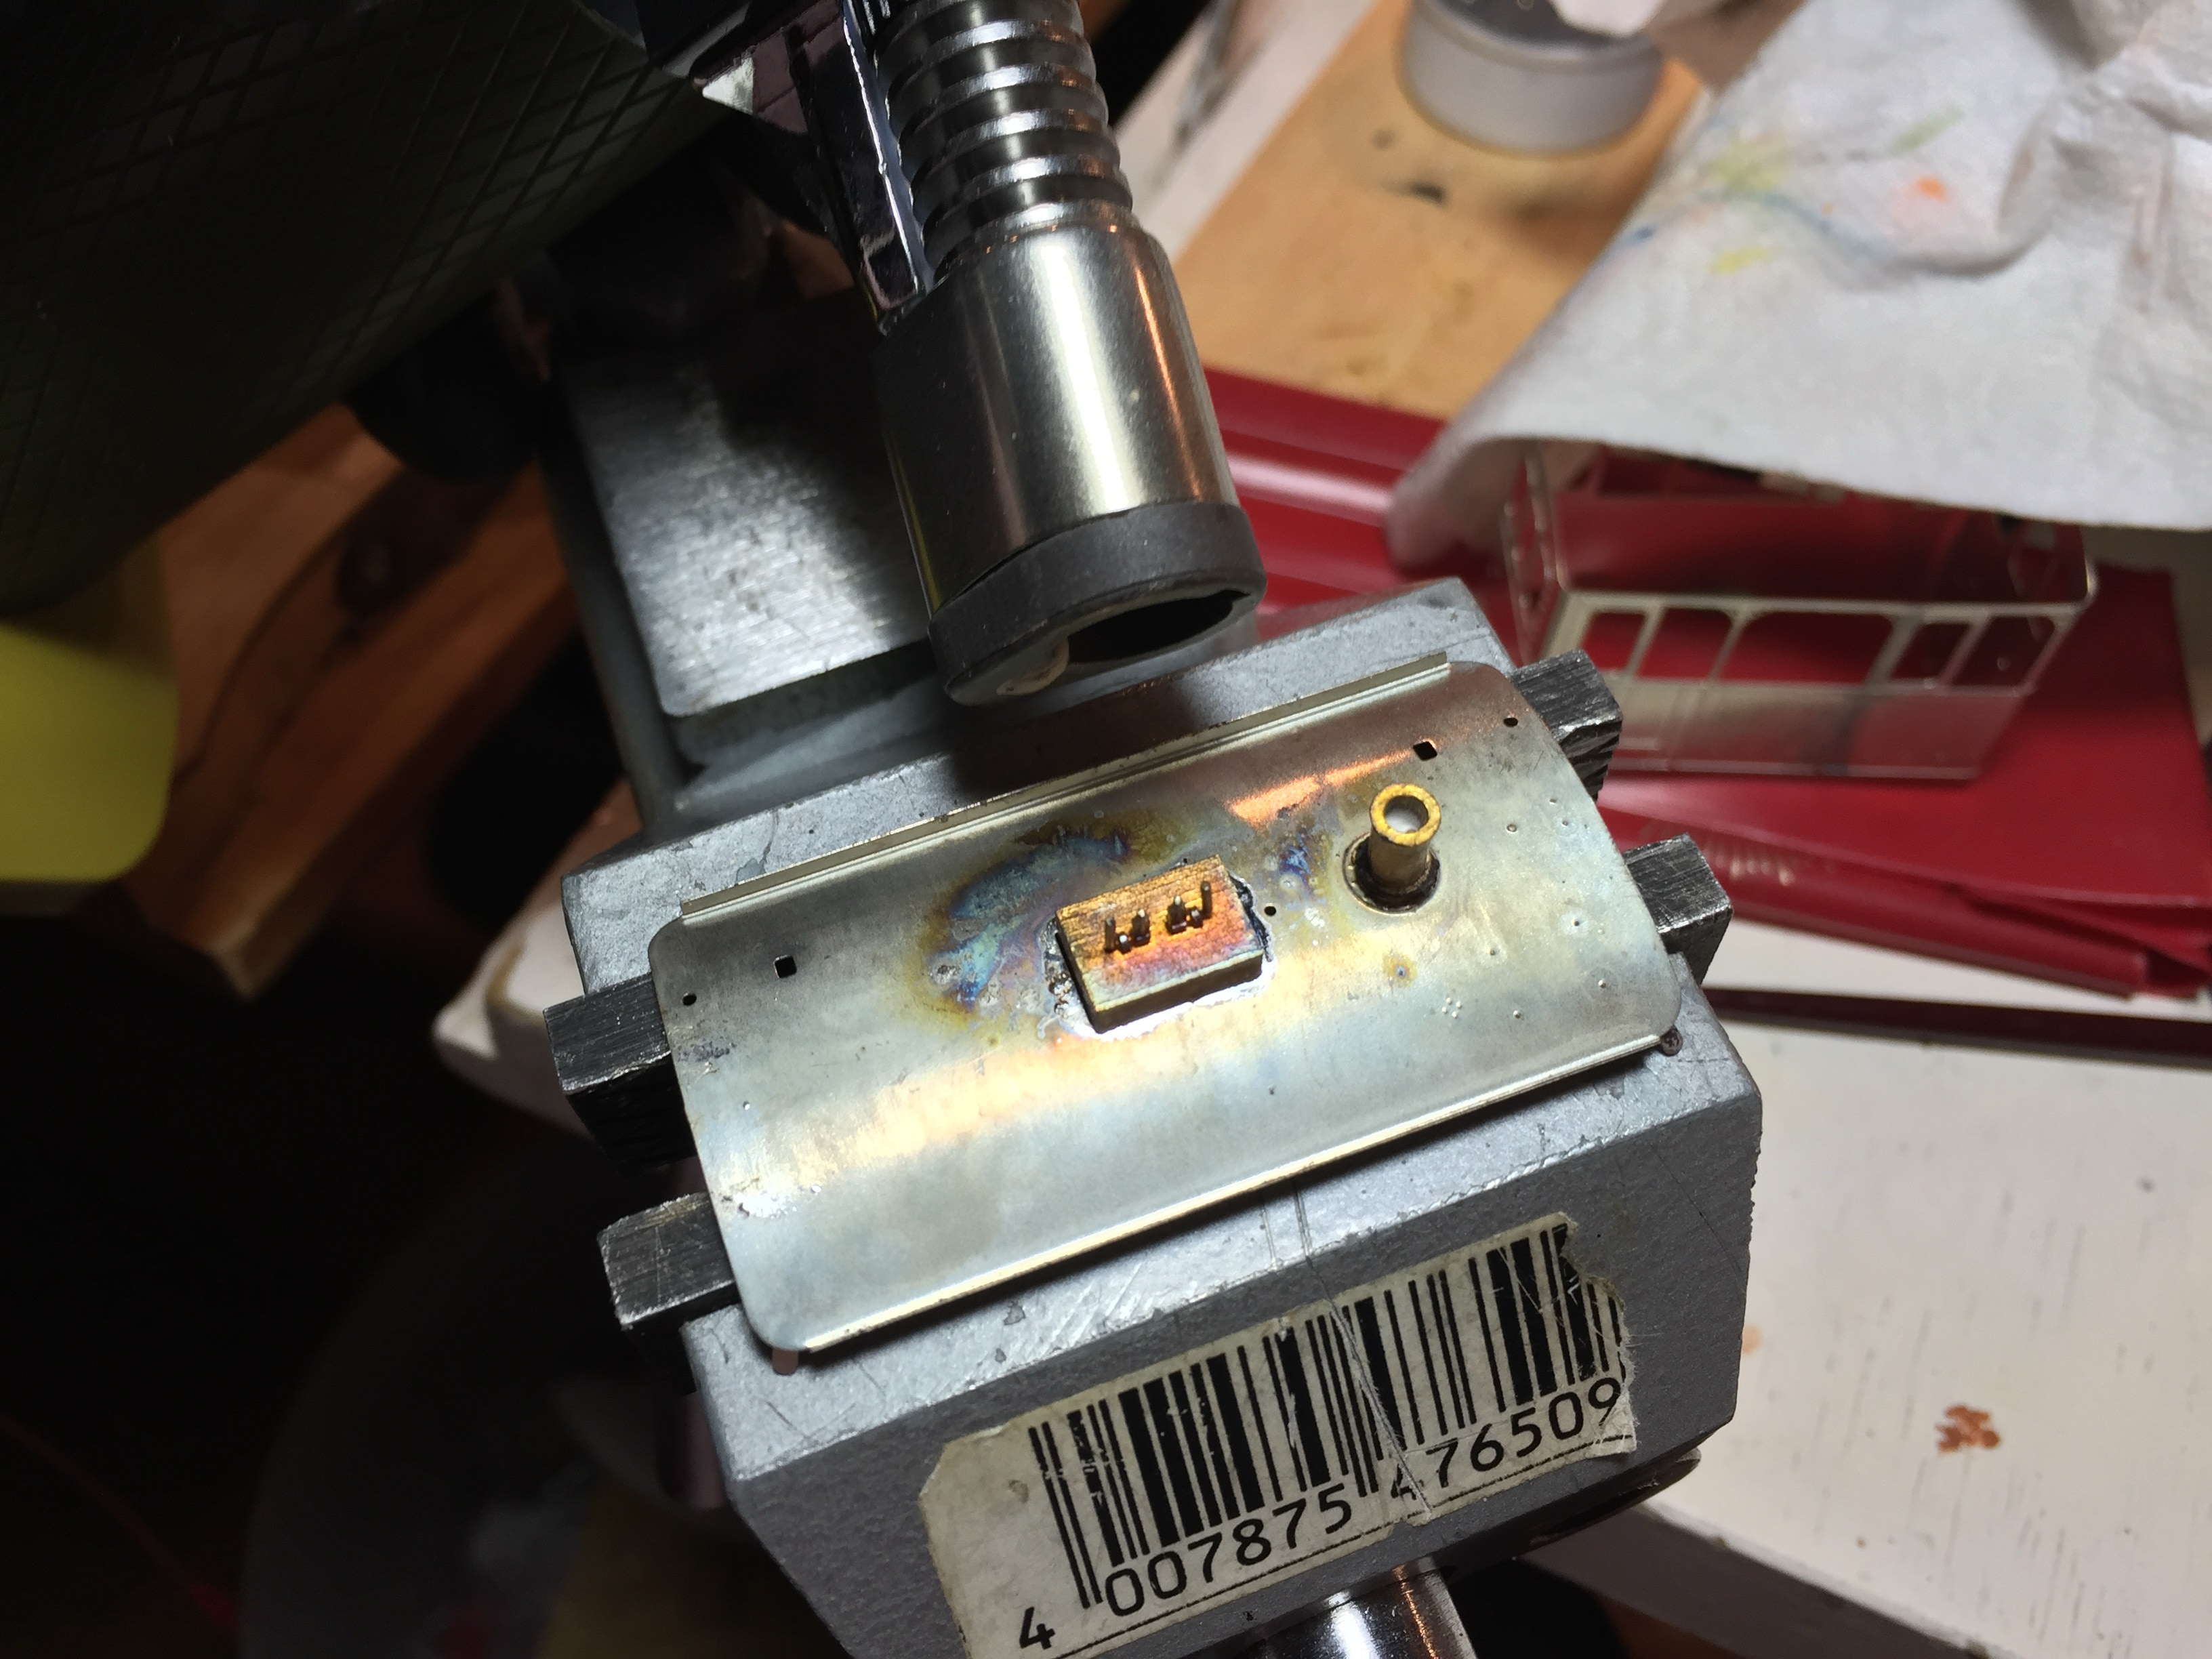
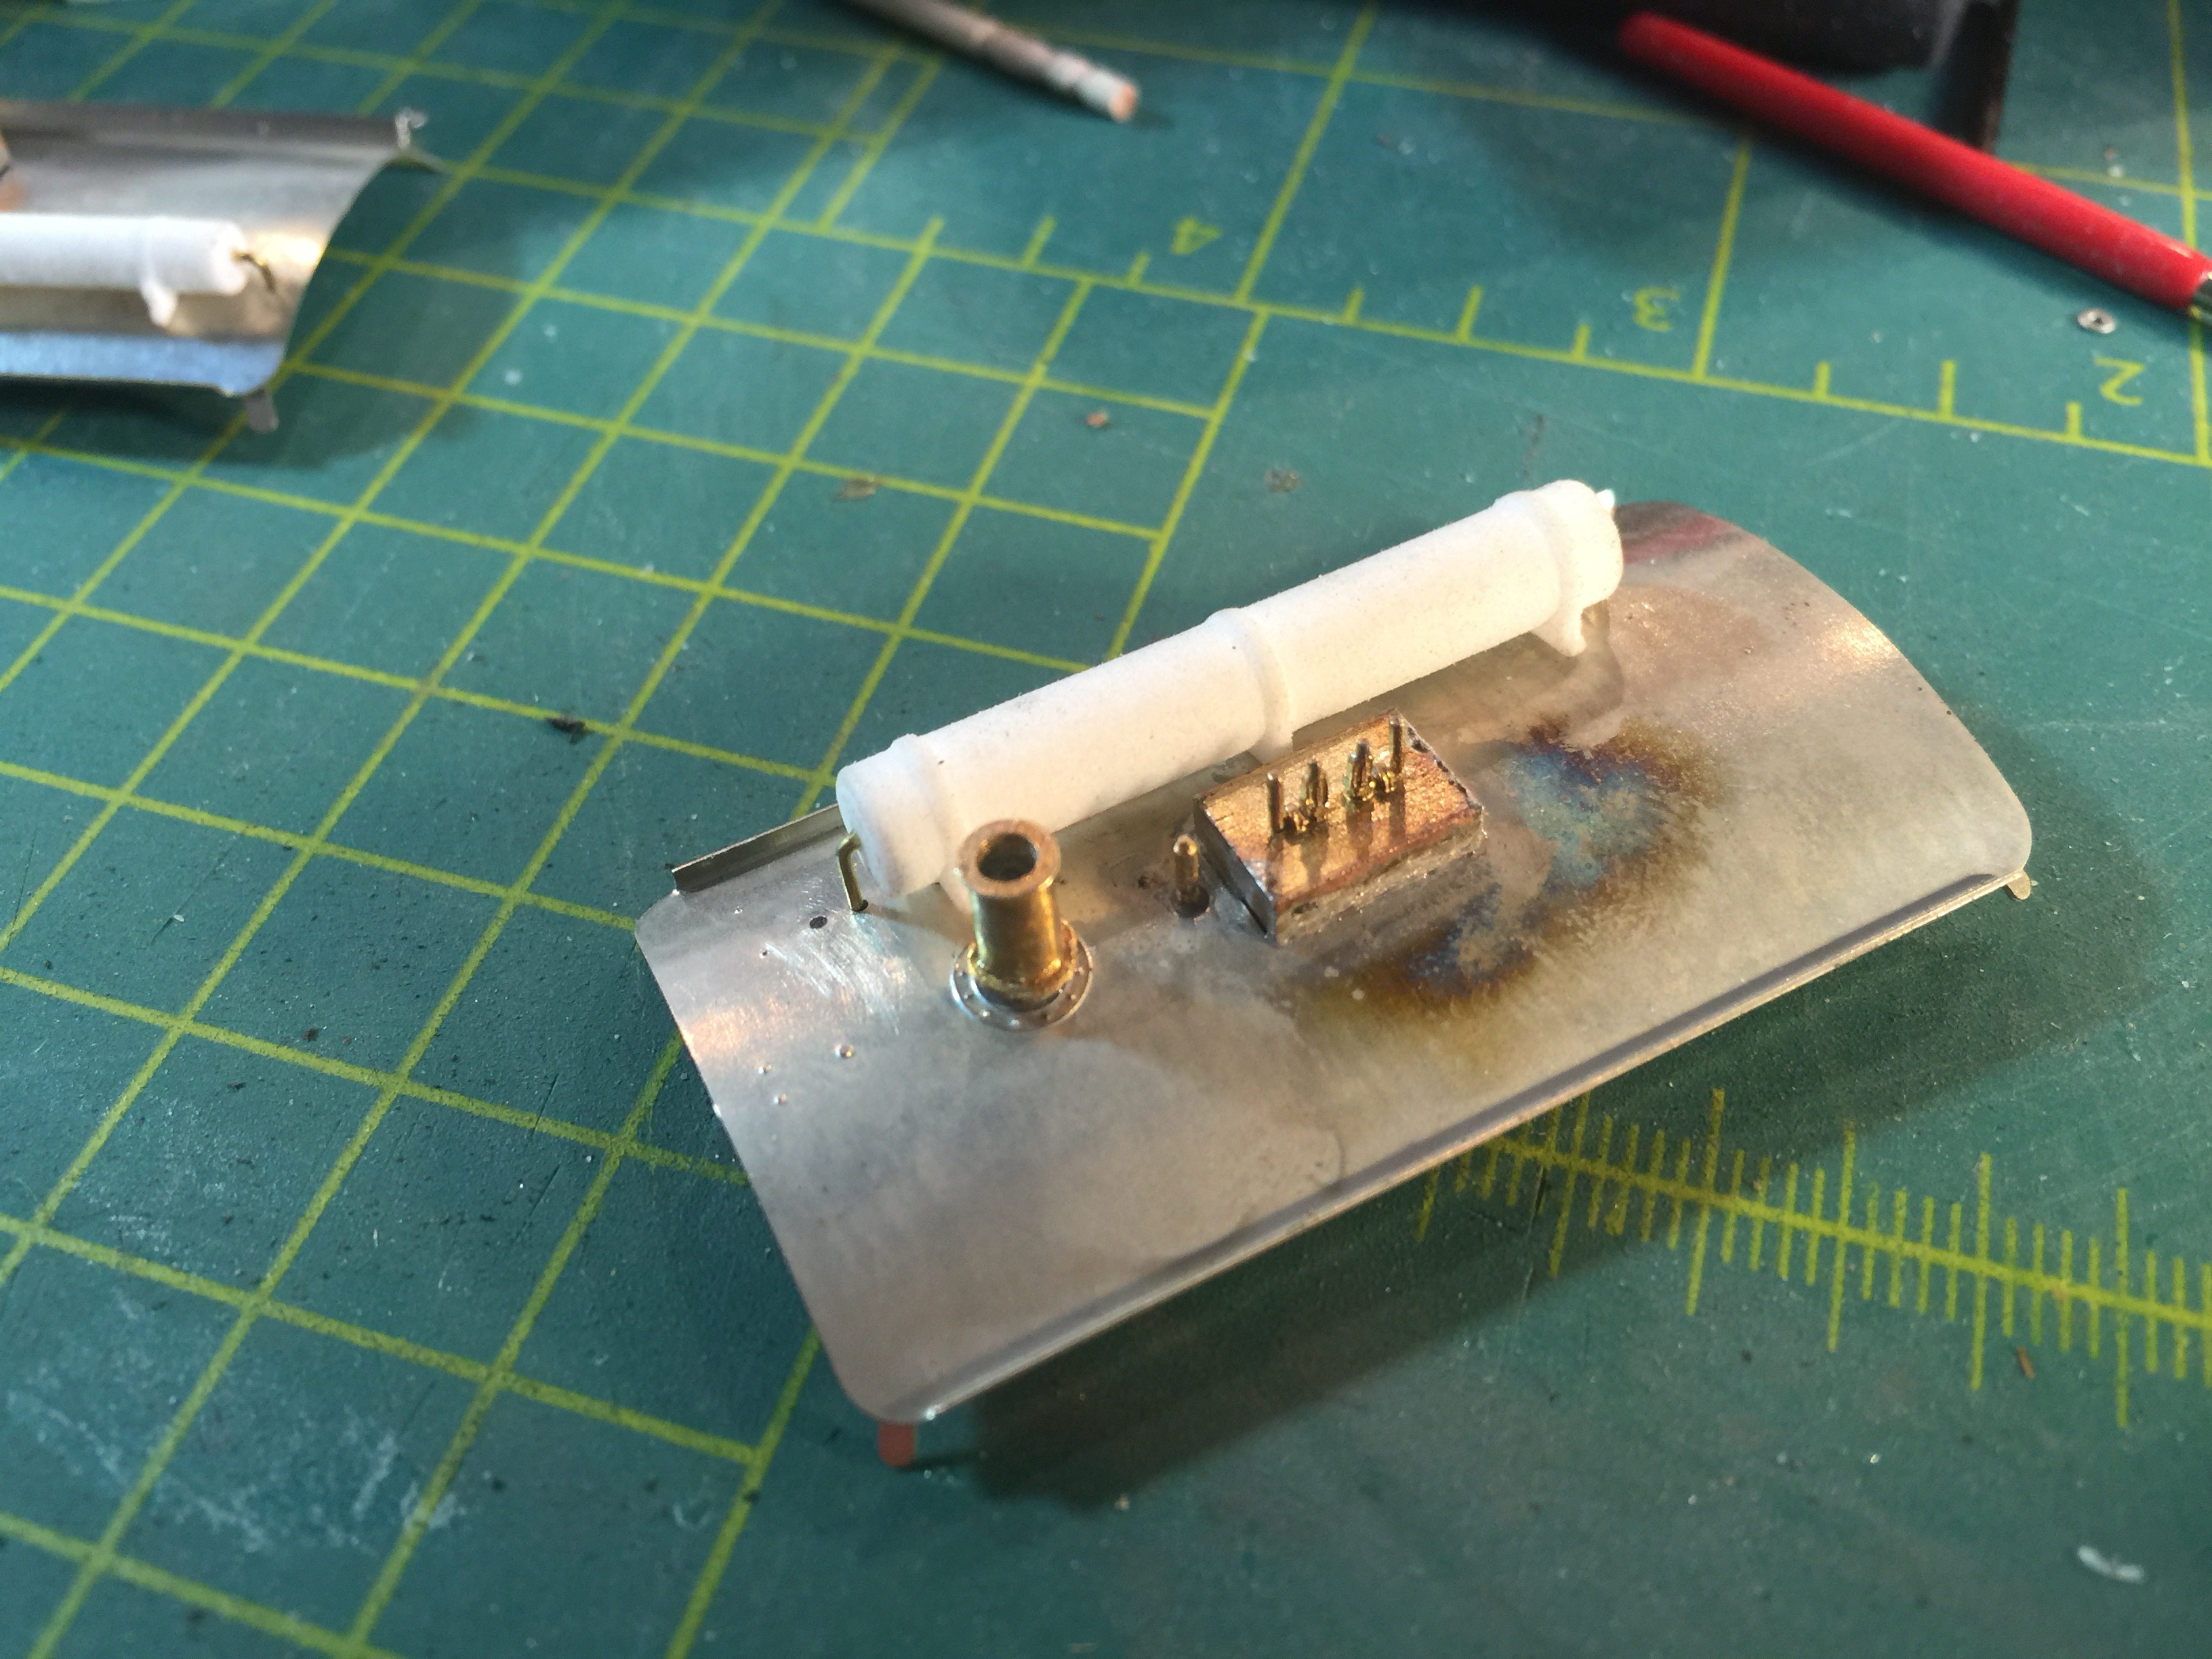
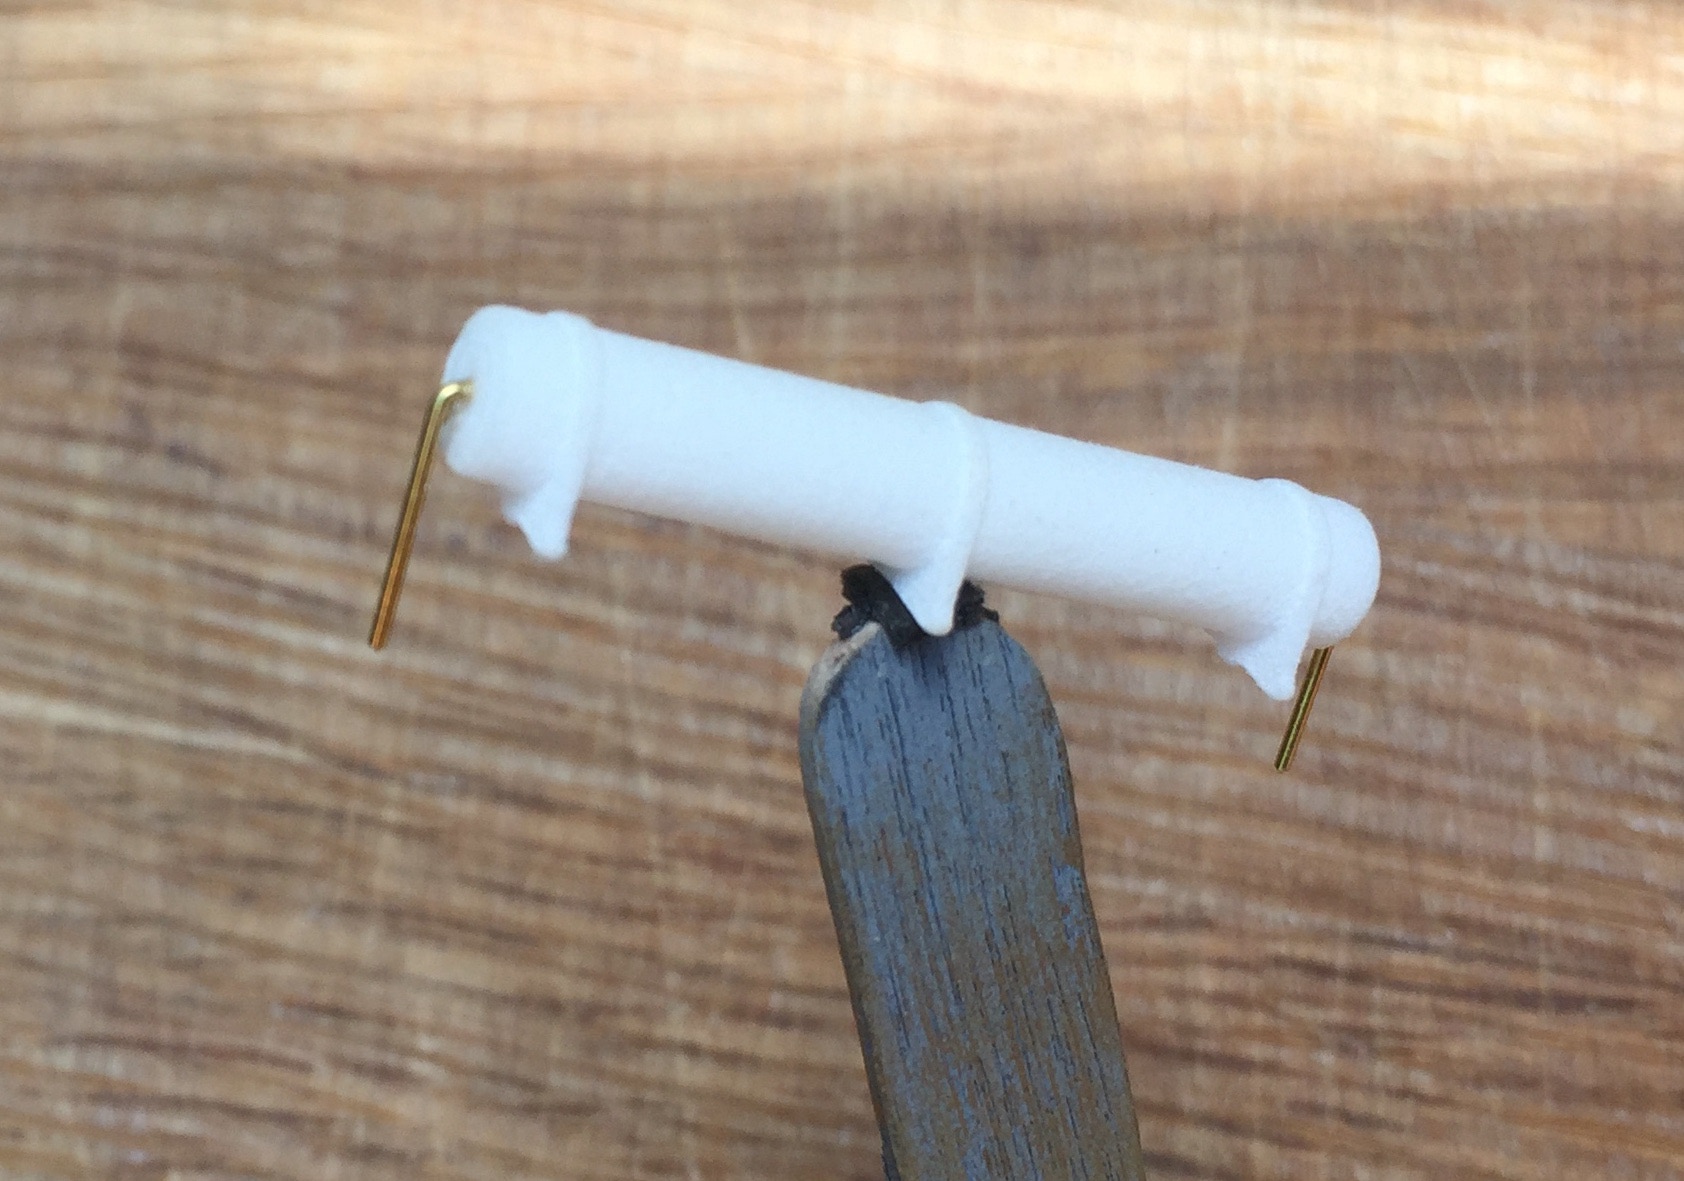
Neem twee klein stukjes van het 0,6 mm messing (onderdeel 22) en buig het 90 graden. Op het voorbeeld zie je de lengte die je moet afknippen.
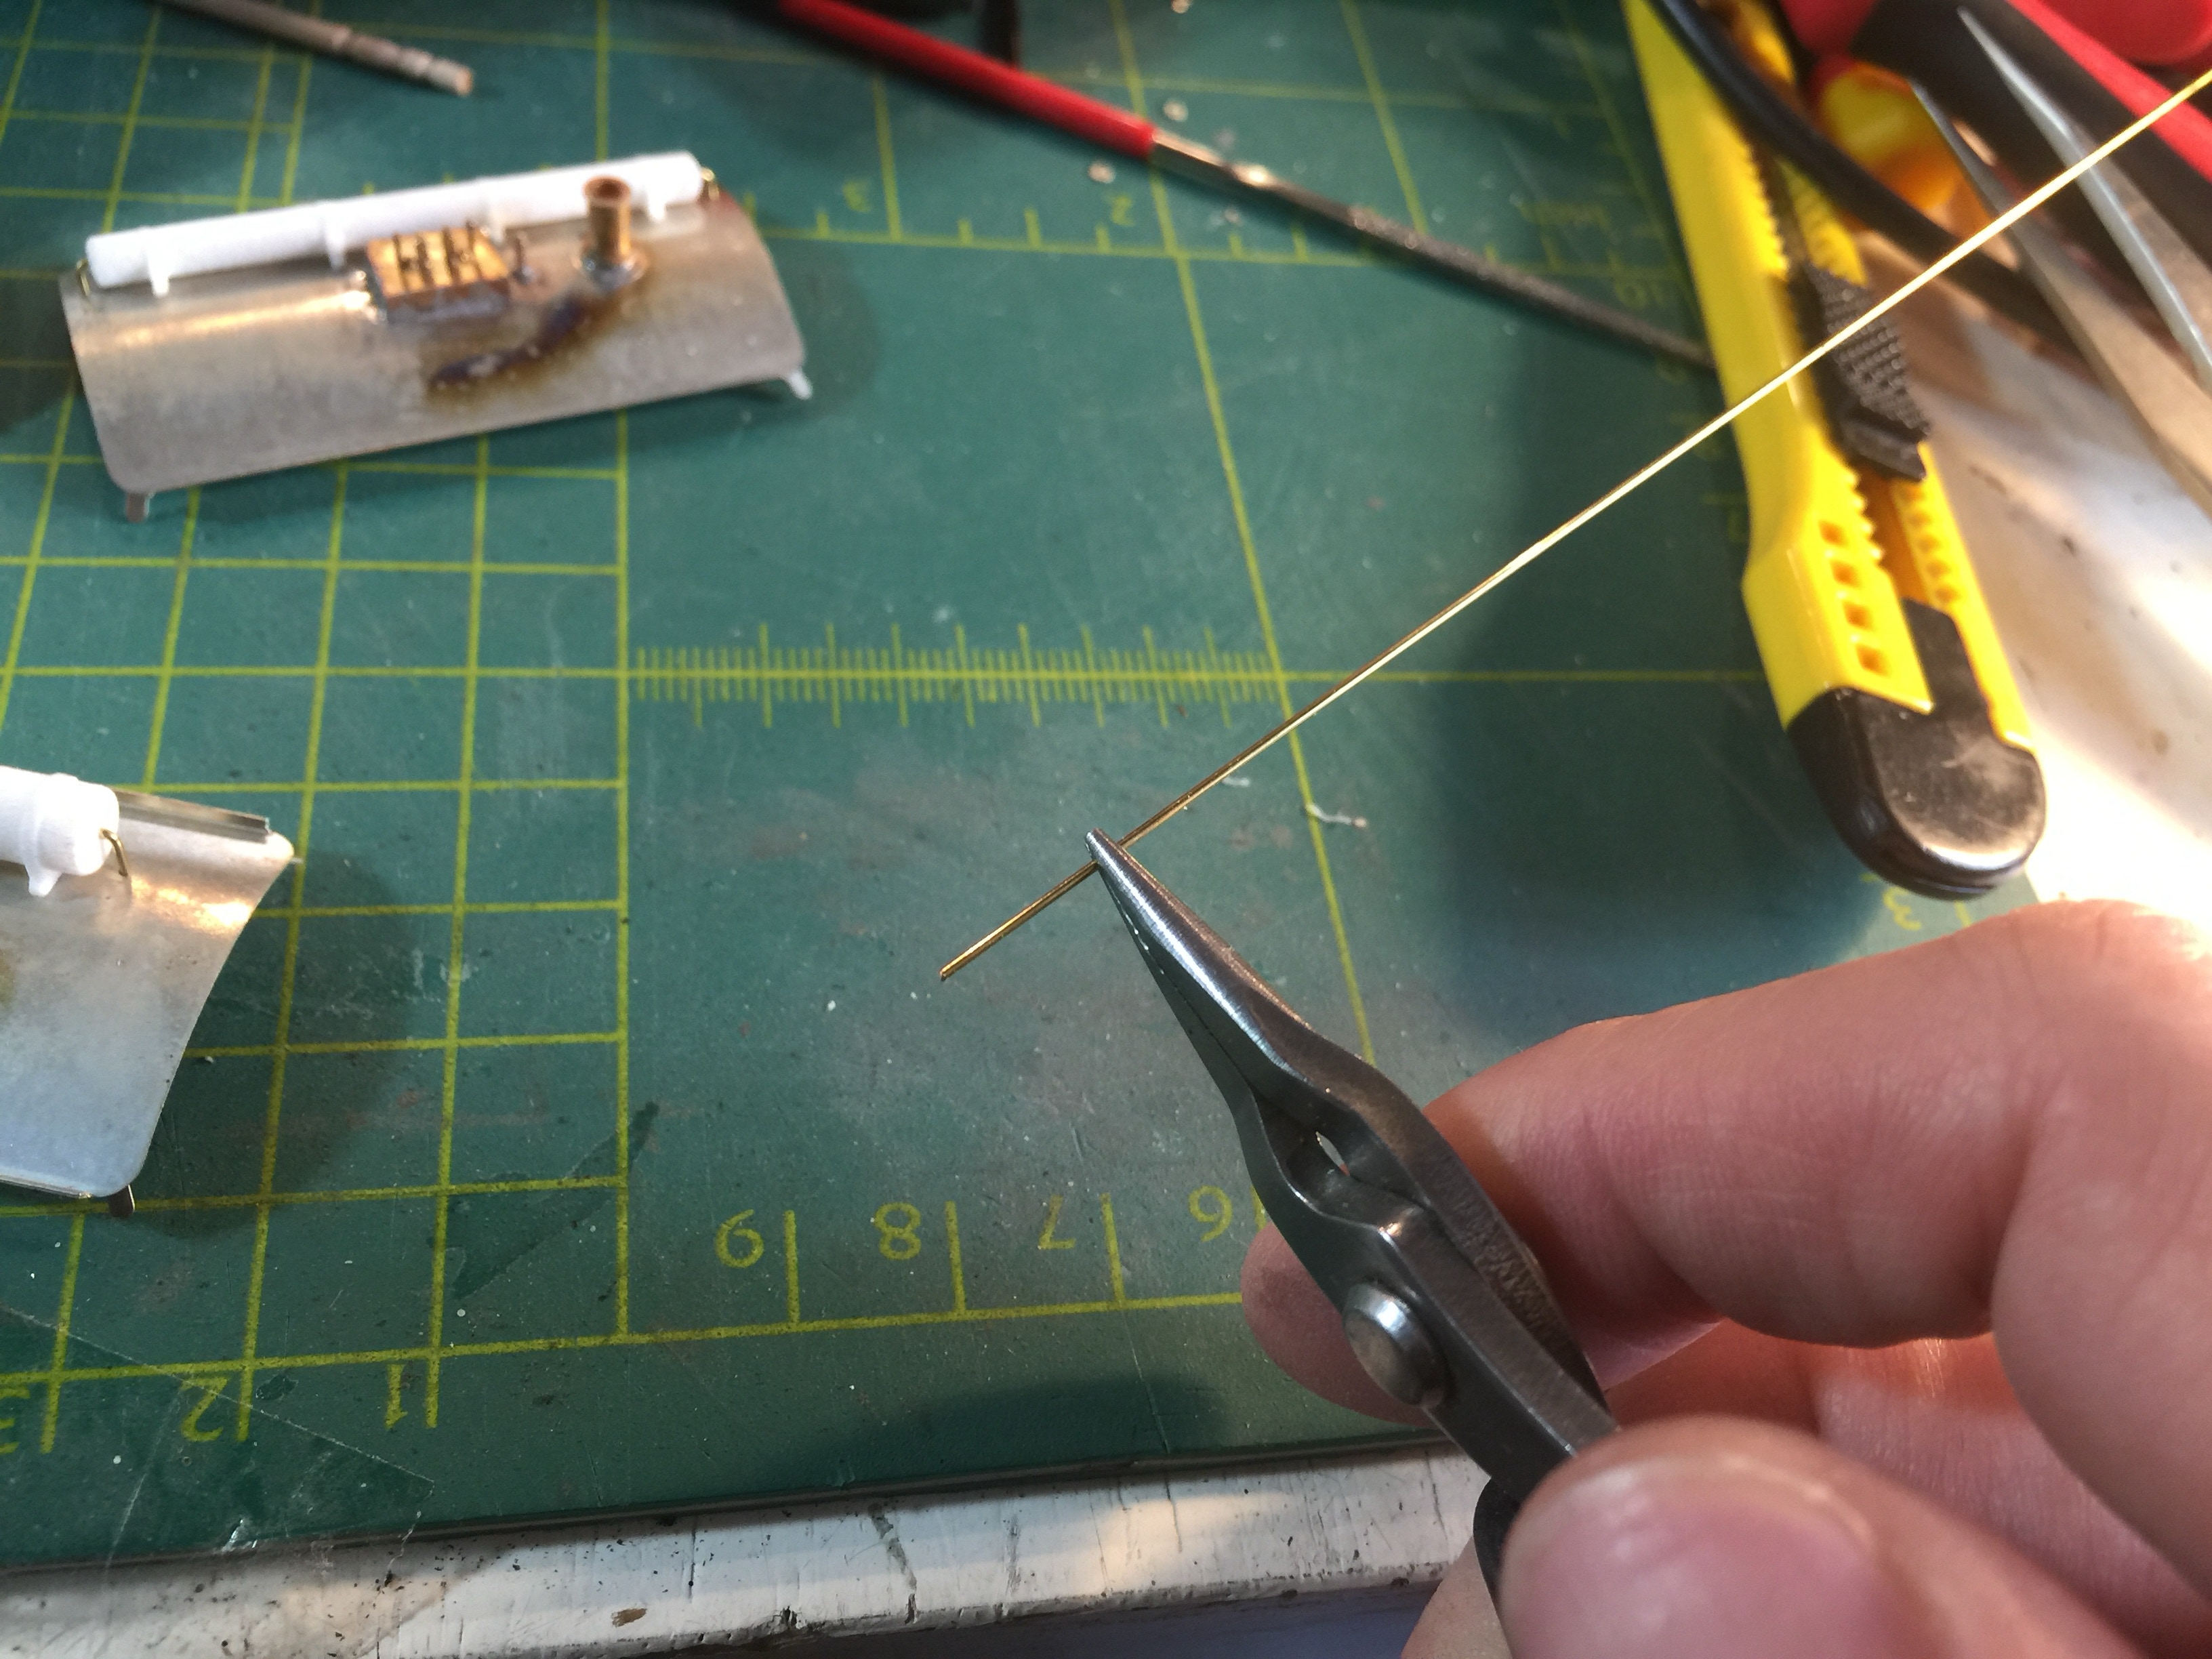
Take two small pieces of the 0,6 mm rod of brass (part 22) and fold it 90 degrees. On the image, you can see how much to cut off.
Doop het korte uiteinde in langzaam drogende secondenlijm, druk het in de ketel.
Let op: de ketel en buisjes worden pas ná het verven vastgelijmd, anders wordt het zeer moeilijk om het dak goed en makkelijk te verven met de airbrush..
1
2
Dip one end in slow curing superglue and push it in the tank.
Be aware: the tank and the rods you’ve just attached to it will not be glued on the roof yet, as it will be not as easy to paint with the primer and airbrush.
1
2
Dak verven
1
2
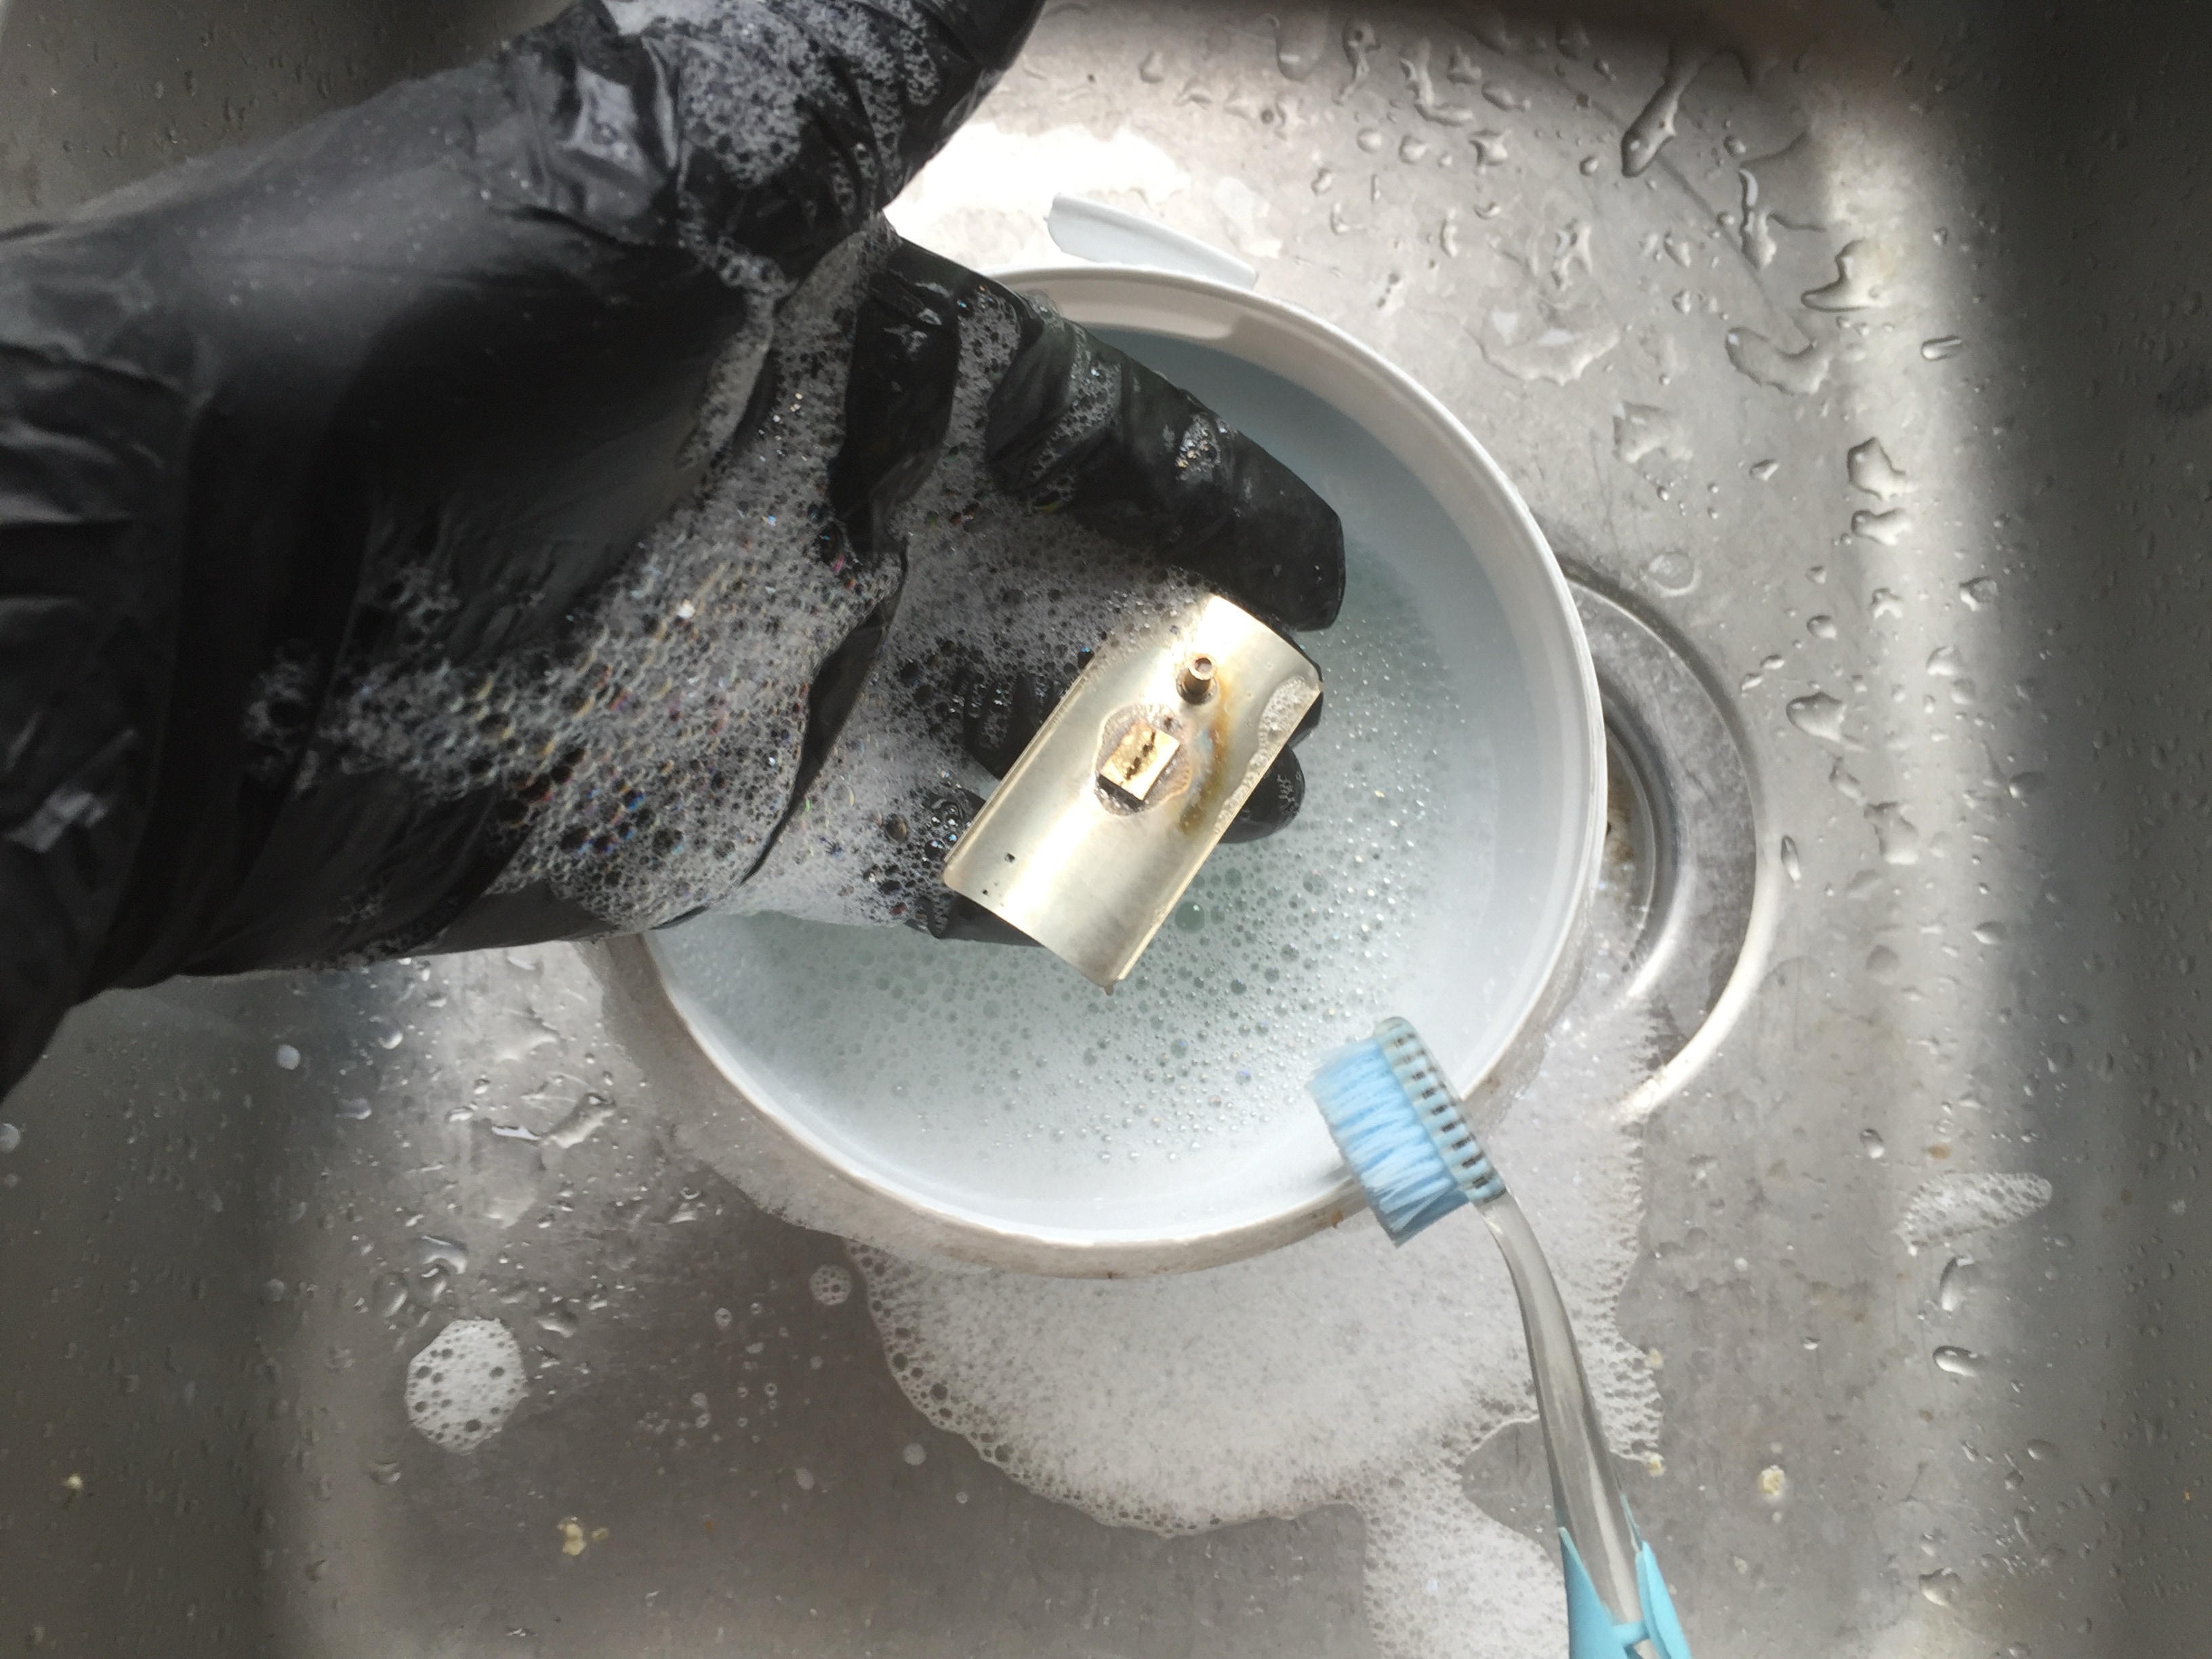
Ontvetten in warm water met een druppeltje afwasmiddel.
3
Painting the roof
1
2
Degrease in warm water with a drop of washing up liquid.
3
Plak een stukje dikke dubbelzijdig tape op een stokje en plak het dak erop. Dan met etsende grondverf spuiten. Dan een grijze verf naar keuze.
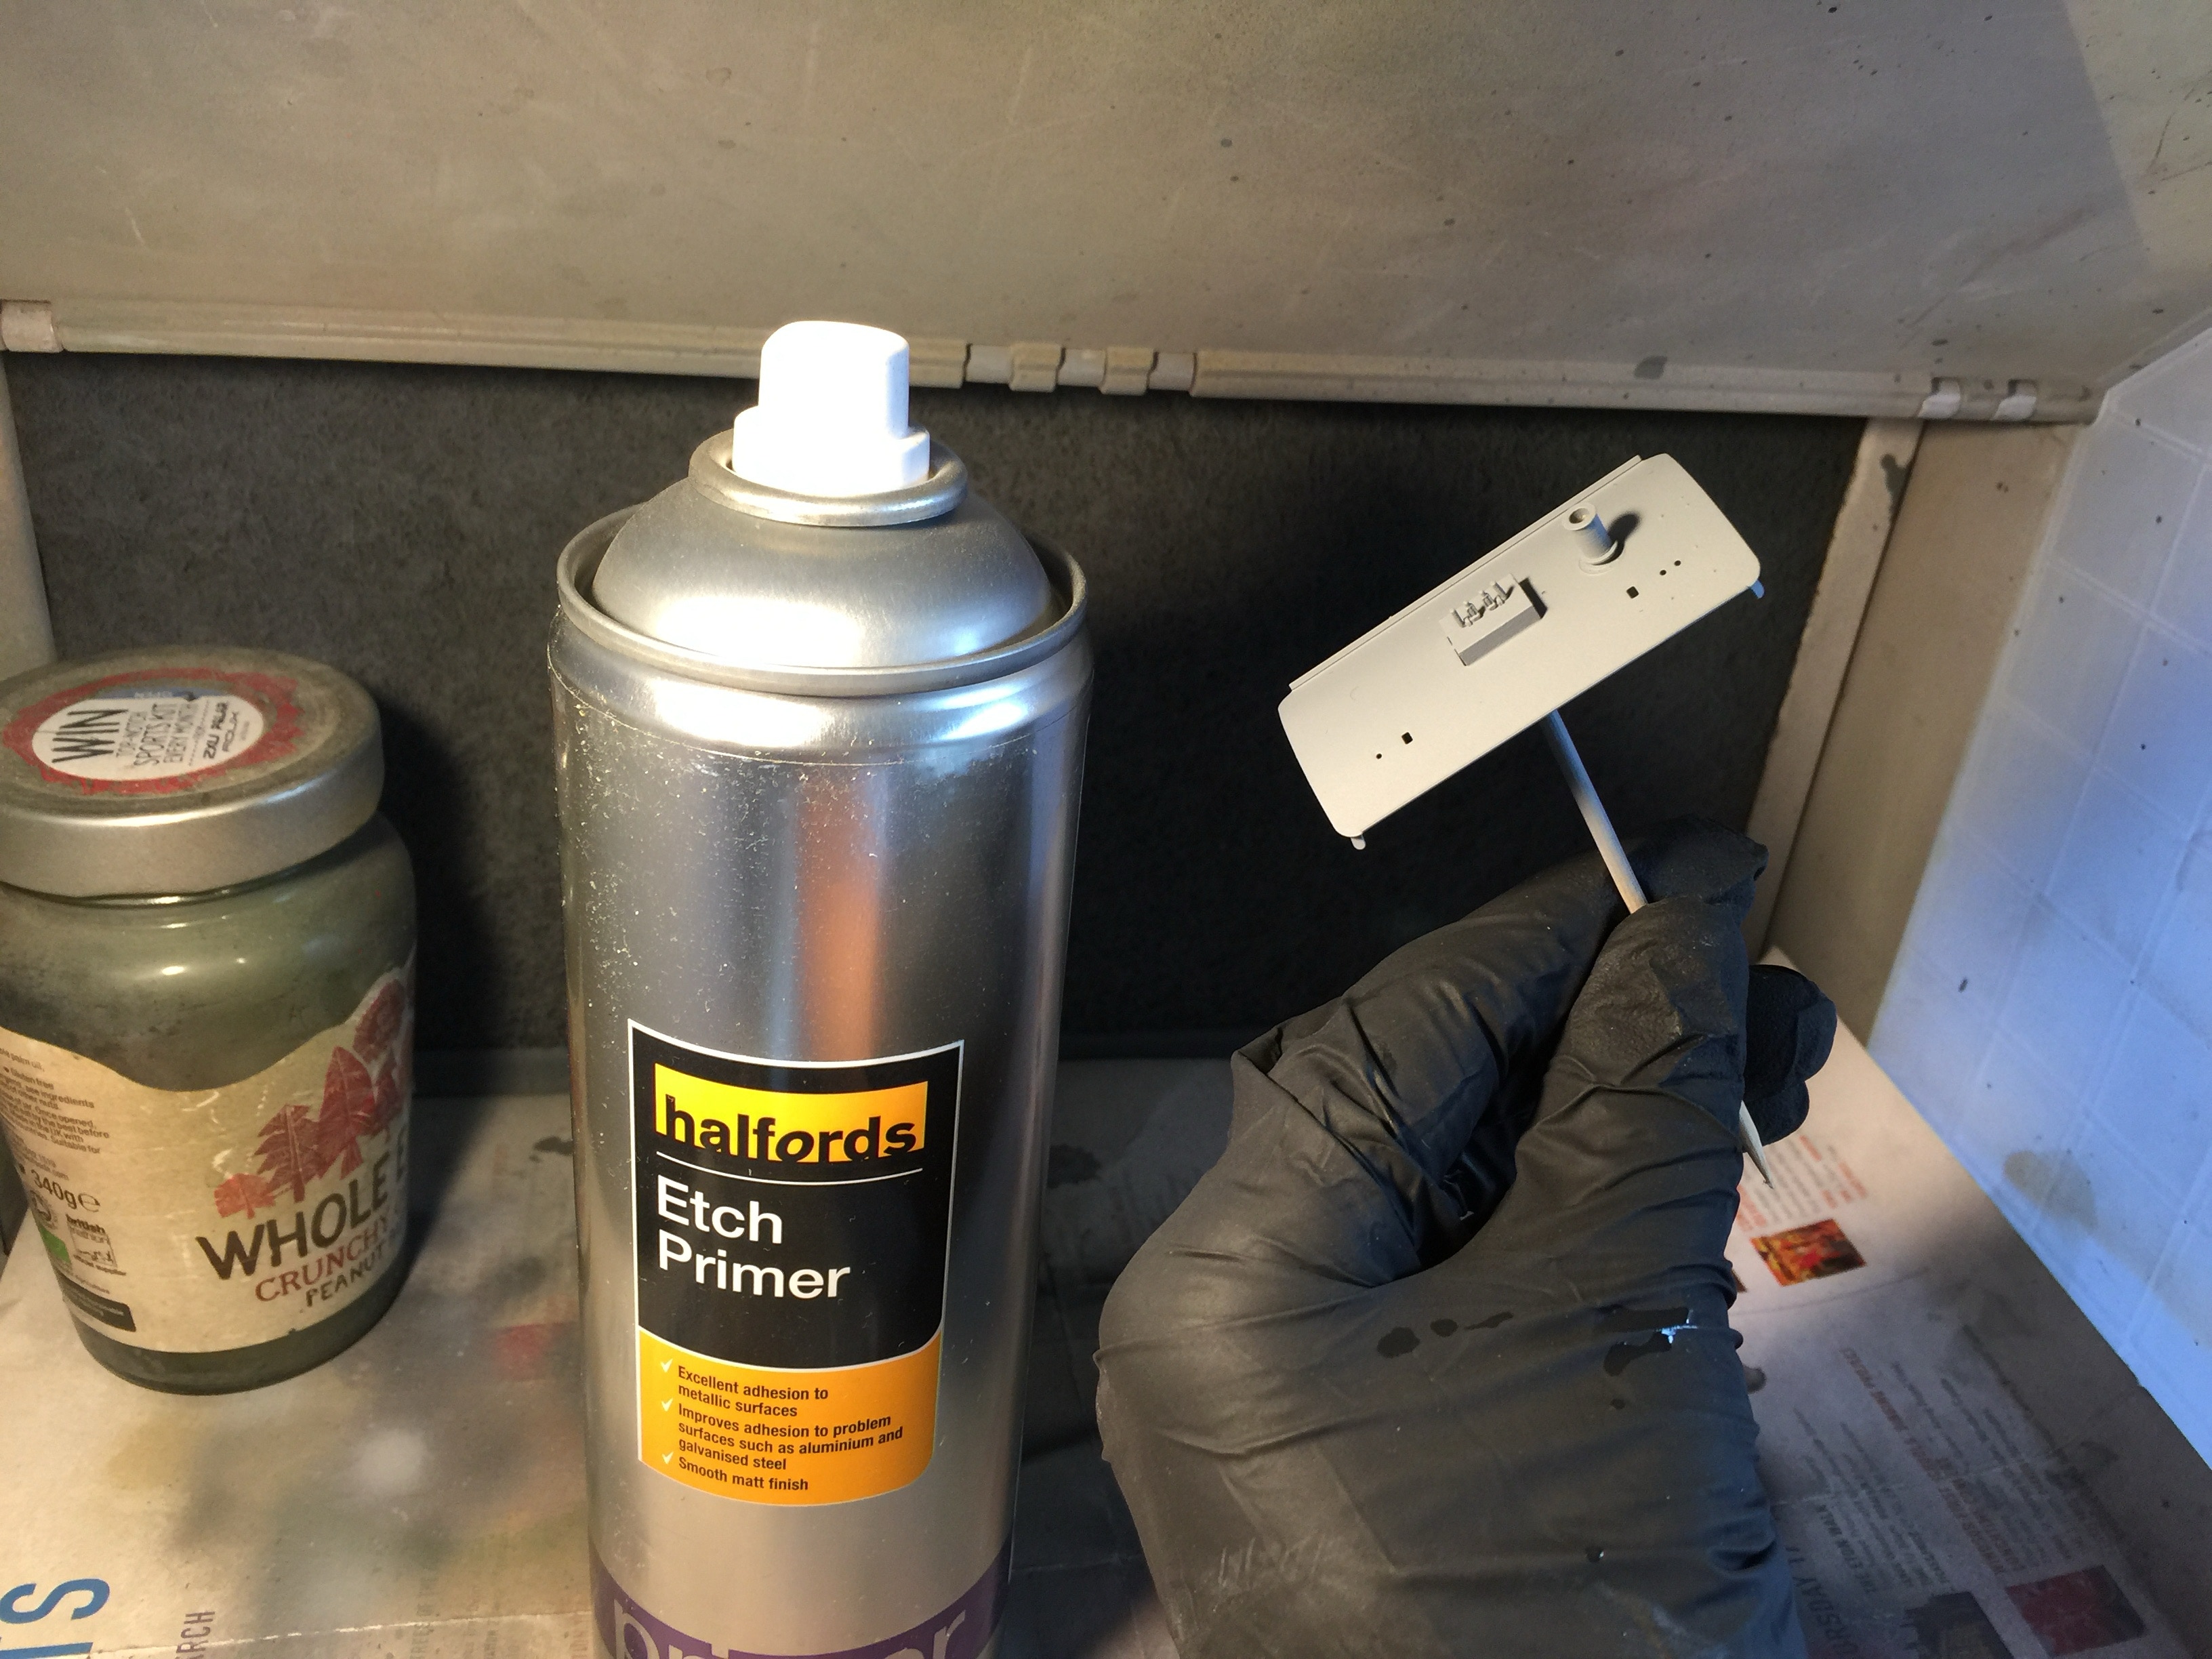
Place a piece of double sided tape on a stick and push this under the roof. Then paint with etching primer. After this paint it with grey paint of your choice.
Naar wens met verfpigmenten uit de kunstenaarsbenodigdhedenwinkel bewerken. Hier is de Dark Umber gebruikt.
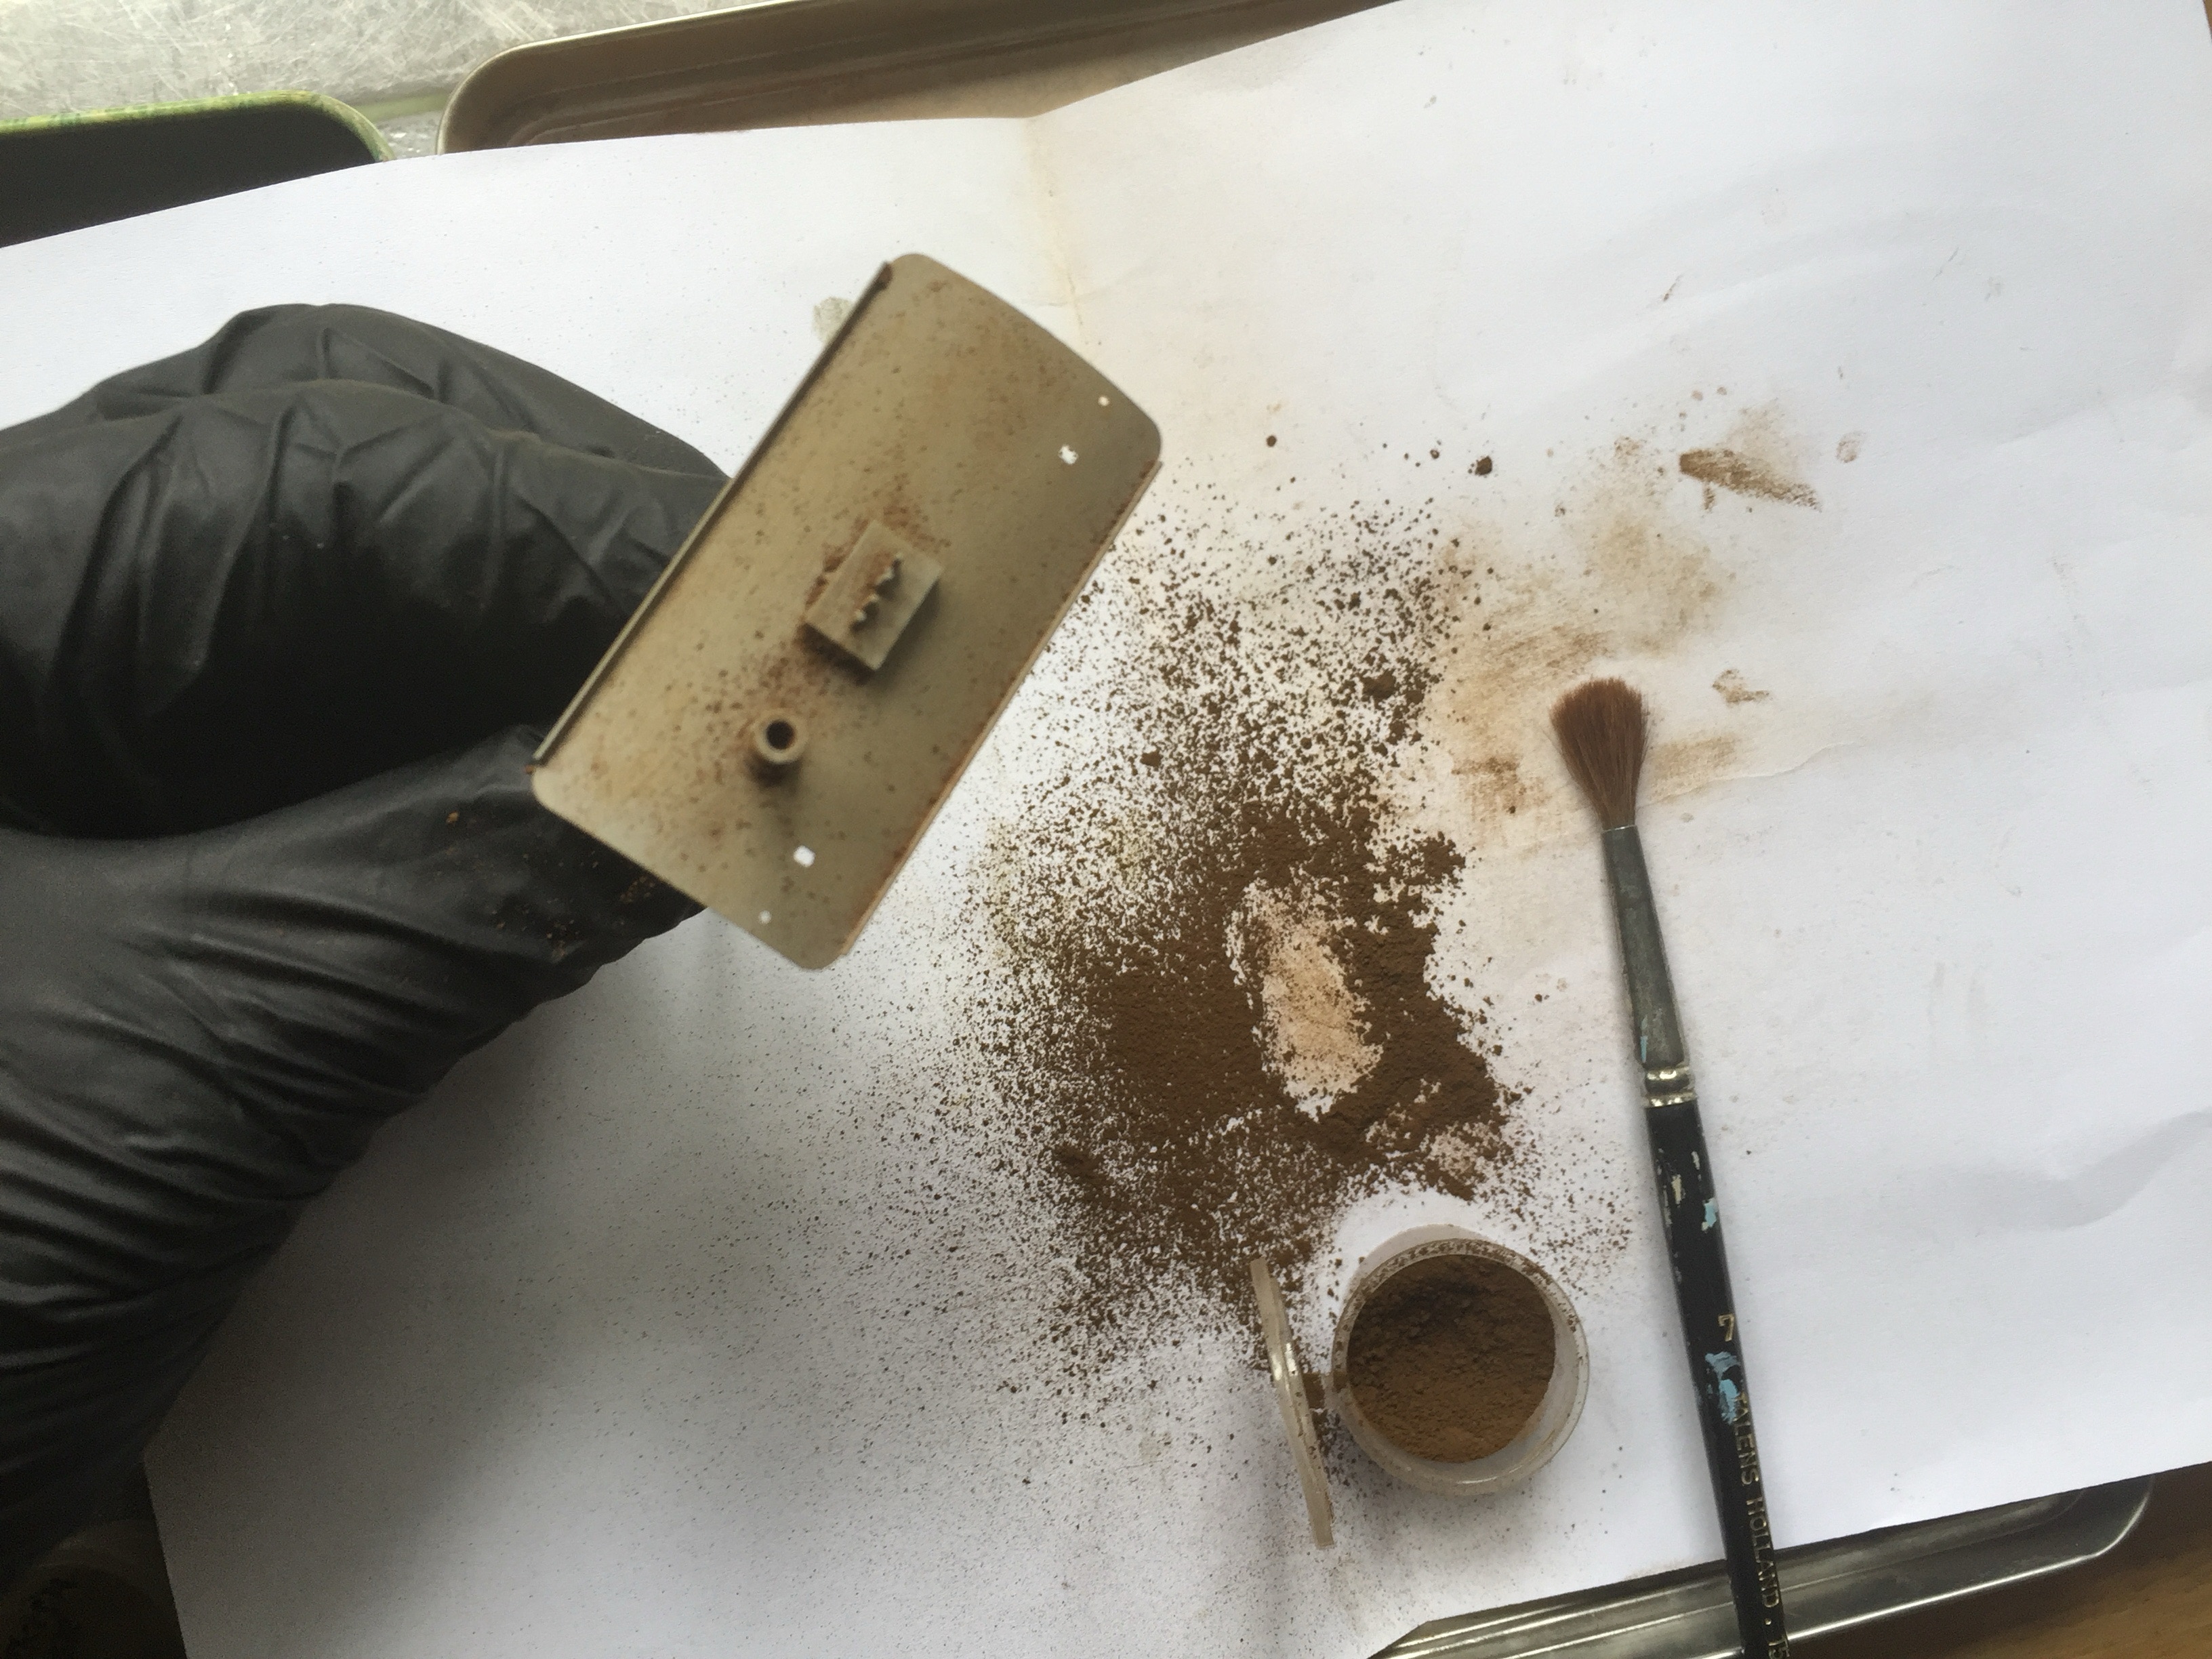
I use pigments from specialised art supply shops. Here I used Dark Umber.
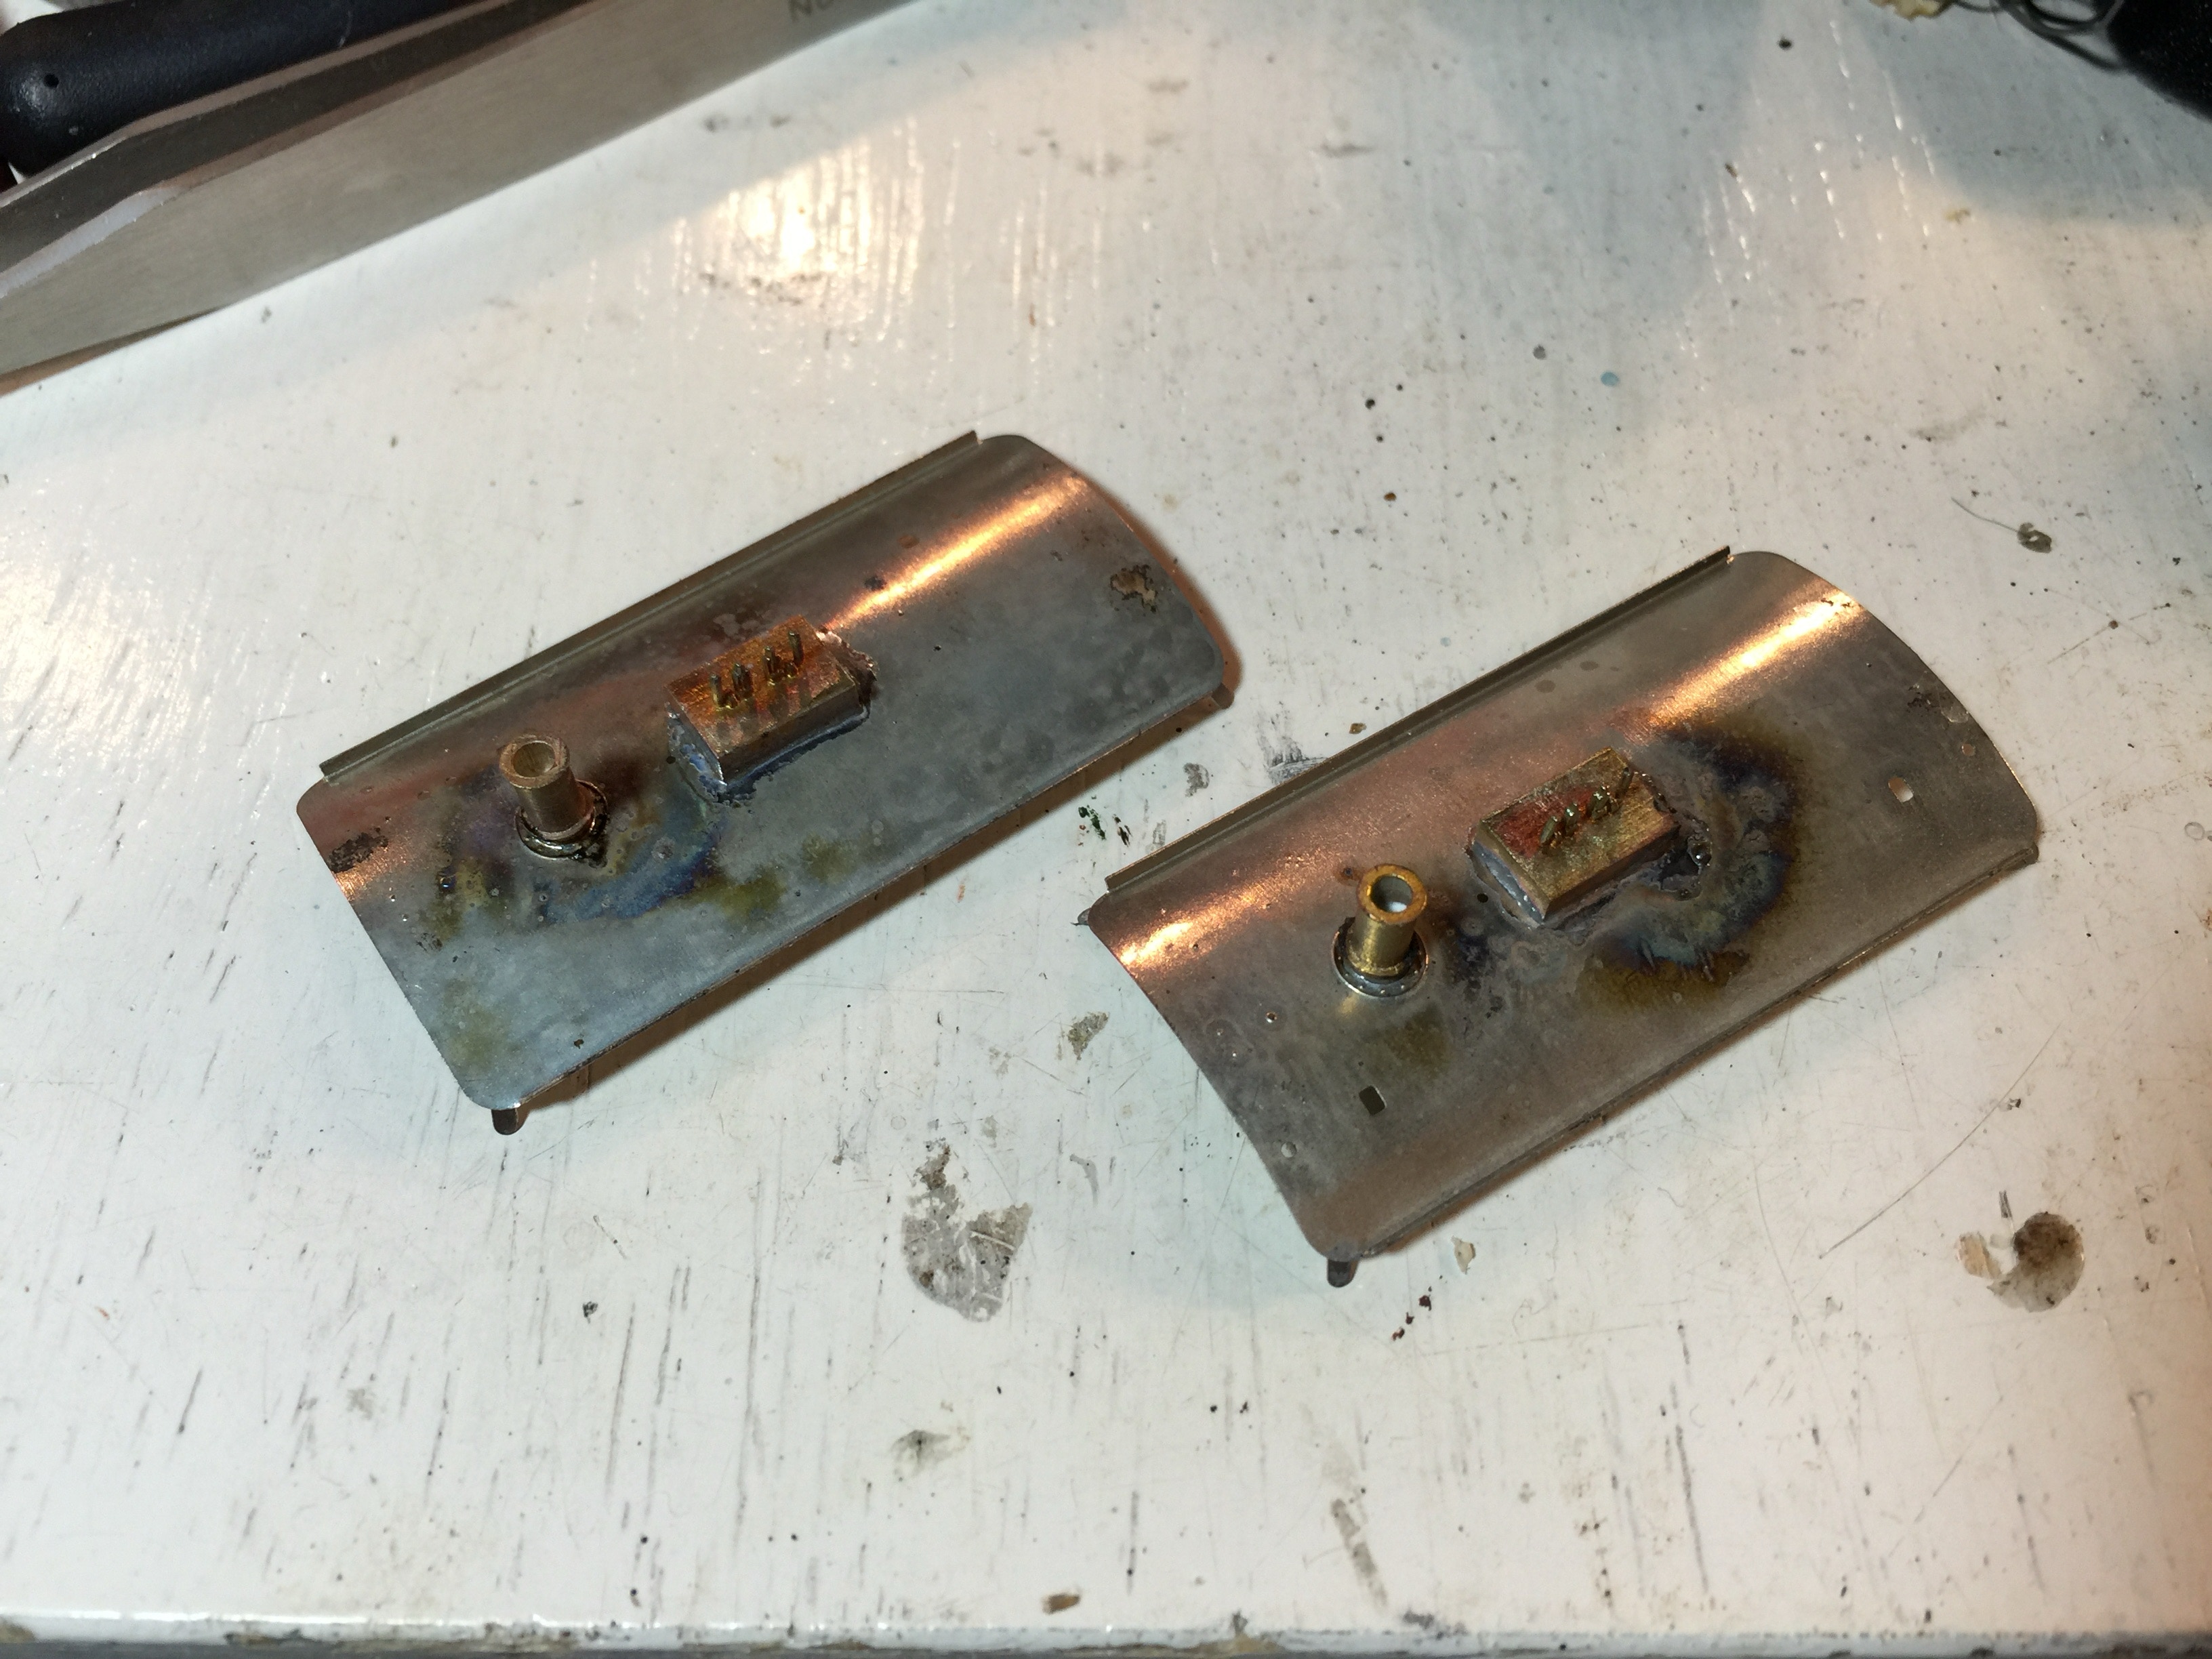
Links met en rechts zonder pigment.
Left with and right without pigments.
Dakketel verven
1
2
Ketel op een stokje plakken, weer met een klein stukje dik dubbelzijdig acrylic foamtape, dan met etsen grondverf spuiten en donkergrijs of zwart verven.
3
Painting roof tank
1
2
Fit tank on a piece of double side acrylic foam tape, then prime with etching primer and paint dark grey or black.
3
Dak afwerken
1
2
3
Finishing roof
1
2
3
Plak nu de ketel met secondenlijm op het dak vast.
Fix the tank with superglue on the roof. A little glue on the connectors to the roof will do.
Naderhand het ongeverfde stuk aan de onderkant nog even afwerken. Mocht je voor een blank messing fluit gekozen hebben, kun je deze er nu op solderen.
Cut the wires that go through the roof. If you choose to have a blank brass whistle on the roof, now is the time to solder it. If you wish, you can also paint the blank part where the paint support was attached.
Lipjes aan de onderkant op de hoeken van het dak 90 graden rond buigen. Let op dat dak voor en achter even veel uitsteekt. Passen en aanpassen, zodat het dak mooi op zijn plaats blijft zitten door de frictie.
Curve the tabs at the corners round. Make sure the roof sticks out the same amount on the front as on the back, but that will almost happen by itself. Bend the tabs more, or less, if the roof doesn’t fit or is too loose.
BELANGRIJK! Wanneer je dak op kast zet, schuif het dan eerst onder de bel aan de voorkant.
IMPORTANT! To place the roof in its place, first slide it under the steam bell at the front, then push the back in the box.
•